
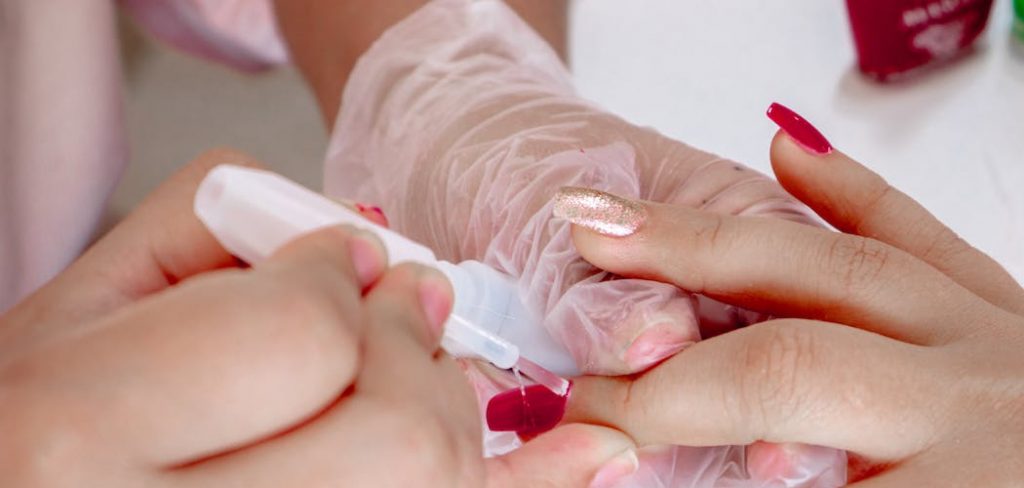
Gel nail stickers are an easy and convenient way to get a beautiful manicure. They give your nails a little extra sparkle, color, and style. However, if you want to keep your manicure looking its best, removing the gel nail stickers periodically is important. With regular removal of the stickers, you can prevent them from becoming dull, chipped, and brittle.
Additionally, removing the gel nail stickers allows you to keep up with changing trends in fashion and colors. Keeping your nails stylish is more achievable when you frequently change the nail stickers.
Removing gel nail stickers is relatively easy and straightforward. You can remove them without causing any harm to your nails or natural nail beds by taking your time. In addition, you won’t need to use acetone or other harsh chemicals in the process. This makes it a great option for those who don’t want to subject their nails to harsh products or who are trying to keep their natural nails healthy. In this blog post, You will learn in detail how to remove gel nail stickers.
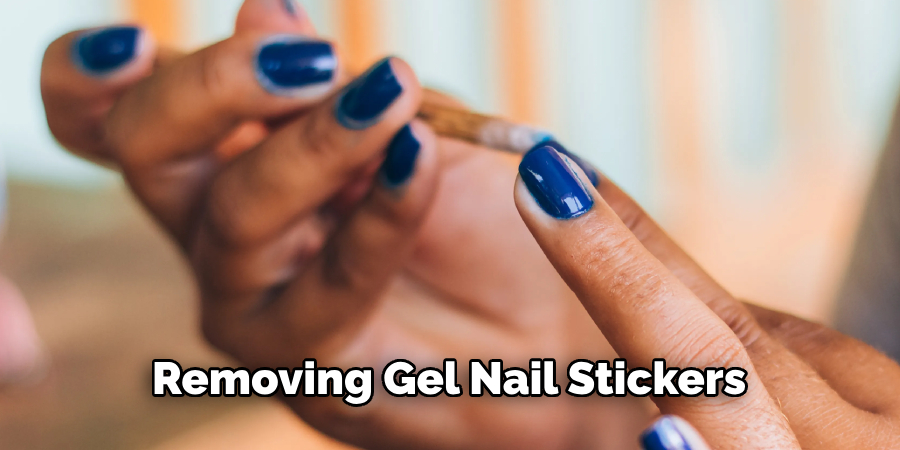
Step-by-Step Processes for How to Remove Gel Nail Stickers
Step 1: Inspect the Area
Start by ensuring that the sticker area on your nails is clean and free from dirt and oil. Use a nail file or buffer to lightly buff around the edges of the sticker, loosening it up for easier removal.
Step 2: Soak in Nail Polish Remover
Dab your nails with a cotton swab soaked in non-acetone nail polish remover. Let them soak for several minutes before moving to the next step. Using tweezers or your fingers, carefully peel off the sticker from your nail. If it’s still not coming off easily, use a cuticle pusher to help loosen it.
Step 3: Scrub Away Residue
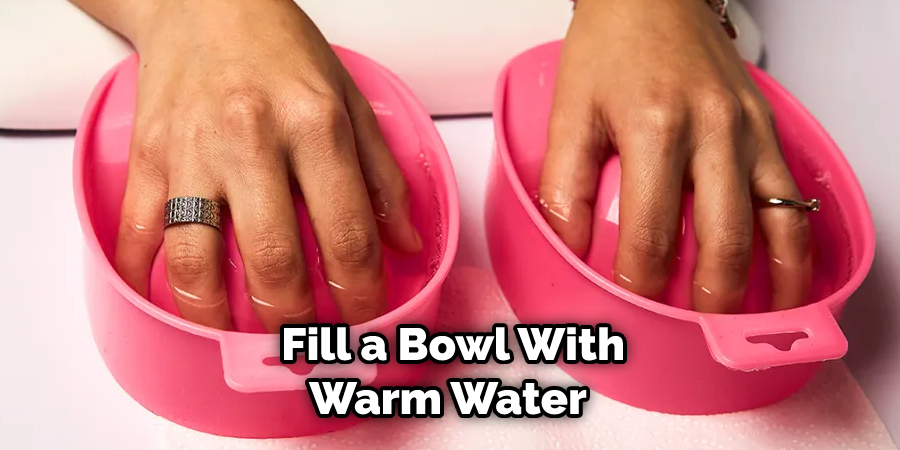
If you find some of the sticker residues are still stuck on your nails, don’t worry. Grab an old toothbrush and gently scrub the affected area. This should remove most of the residue. Fill a bowl with warm water and soak your nails for five minutes. This will help to soften any remaining adhesive, making it easier to remove.
Step 4: Apply Nail Polish Remover
If you find that there is still some residue on your nails, apply a few drops of nail polish remover and gently rub it with a cotton ball. This should remove most of the remaining adhesive. Rinse your nails in warm water to wash away any residue. Make sure to use a nail brush if any stubborn residue is stuck on your nails.
Step 5: Buff the Nails
Once all of the sticker residues have been removed, you’ll want to buff your nails with a buffer or file. This will help to restore their natural shine and remove any rough areas. Before applying a new layer of gel polish, you’ll want to apply a few drops of cuticle oil to your nails. This will help to nourish and protect the delicate skin around your nails.
Step 6: Reapply Gel Nail Polish
Once all the steps have been completed, you can reapply a new layer of gel nail polish. Start by applying a base coat and then follow with two coats of color.
Safety Tips for How to Remove Gel Nail Stickers
- Protect your nails by wearing gloves when removing the stickers. This will prevent the nail polish from staining your skin and protect your hands from any potential irritants in the remover.
- Wear safety glasses to shield your eyes from contact with any chemicals that may be present on the sticker or in the remover.
- Avoid inhaling the fumes from any of the products used to remove the sticker.
- Use an orange stick or a cotton swab to scrape away any residue gently, and use nail polish remover when necessary to dissolve any remaining pieces.
- After removing the sticker, clean your nails with soap and water to remove any remnants of nail polish or remover. Be sure to dry your nails completely before applying any new nail stickers.
Removing gel nail stickers can be tricky, but taking the necessary precautions can help ensure that you get the job done safely. By following these tips, you can remove gel nail stickers without causing any damage to your nails or skin.
How Long Does It Take for the Sticker Removal Process?
The time it takes to remove your gel nail stickers will depend on the type of adhesive used and the intensity of the sticker. It could take anywhere from a few minutes to several hours for complete removal. Generally, using acetone-based polish removers will speed up the process, but if you are looking for a more gentle approach, you may want to try a non-acetone alternative.
If you are using acetone, make sure that you follow the instructions carefully and use it in an area with adequate ventilation. Acetone can be very drying to your skin, so wear gloves when handling it and keep the product away from any open cuts or wounds on your hands and feet.
Are There Any Side Effects or Risks Associated With Removing Gel Nail Stickers?
The process of removing gel nail stickers is considered to be quite safe. As long as the instructions are followed properly, and the steps taken to remove the sticker are done in a slow and deliberate manner, there should not be any harm done to the nails. However, if you rush or use too much force when trying to peel off the sticker, you may damage the nail. Additionally, if you use any harsh chemicals or abrasive materials to try and remove the sticker, this could also cause damage to the nail.
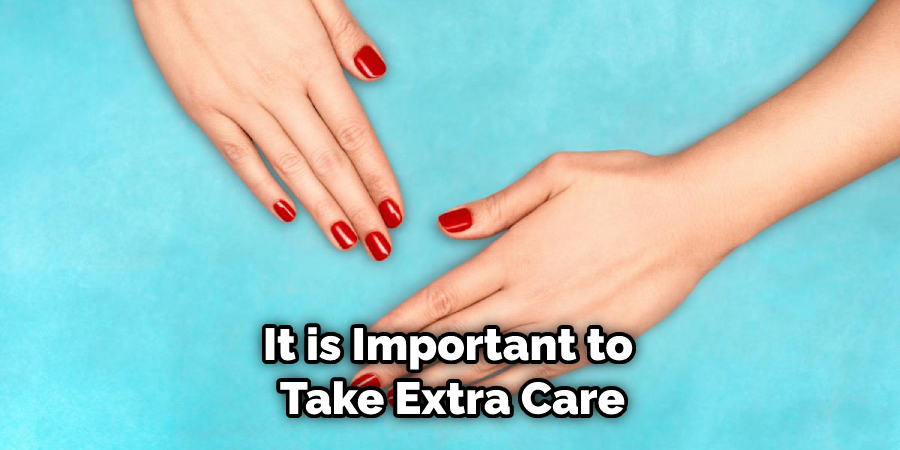
If you experience any burning sensation or discomfort when removing gel nail stickers, it is best to stop immediately and seek medical advice. It is important to take extra care when removing gel nail stickers, as damage to the nail can lead to an infection or other health problems.
Therefore, if you are unsure of how to remove the sticker properly, it is best to consult a professional. Removing gel nail stickers correctly should not cause any serious side effects or risks, but it is still important to take the necessary precautions to ensure safe and successful removal.
How Can You Prevent Damaging Your Natural Nails During Removal?
Taking off gel nail stickers can be a delicate process. To help prevent any potential damage to your natural nails, it is important to use the correct products and techniques for removal. Here are some tips to ensure that you are removing them safely and without causing unnecessary damage:
- Start by trimming down the length of the sticker with a nail clipper. This will help to make it less difficult and take less time when removing the sticker from your nails.
- Soak a cotton ball in acetone-free nail polish remover or rubbing alcohol and firmly press it onto each nail for about 10 minutes. The solvent should loosen the stickers adhesive so they can more easily come off.
- Gently file away the edges of the sticker to help it come off in one piece. If you have difficulty removing all of the pieces, additional filing may be necessary.
- Apply a nourishing cuticle oil or moisturizer to your nails once you’ve removed all of the stickers. This will help to replenish nutrients and keep your nails healthy.
Following these steps should make it easier for you to safely remove gel nail stickers without damaging your natural nails in the process. It is important to take extra care when filing or peeling away sticker pieces, as any excessive force can cause damage to the nail bed.
How Can You Prevent the Gel Nail Stickers From Reappearing After Removal?
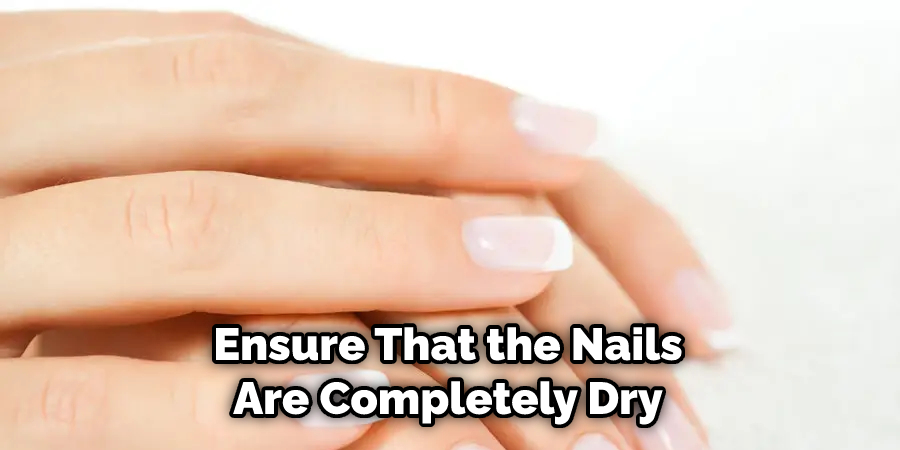
The best way to prevent gel nail stickers from reappearing after removal is to ensure that the nails are completely dry before applying the sticker. It’s also important to choose a sticker of good quality so that it adheres properly to the nail and won’t lift off easily. Once applied, it’s important to seal the sticker with a top coat or clear nail polish to ensure it will remain in place.
Finally, before removing the gel nail sticker, it’s important to ensure that the nails are completely dry and free of any excess moisture. This will help ensure that the adhesive on the back of the sticker won’t reattach itself when removed. With the right precautions and preparation, you can ensure that your gel nail stickers stay in place until you are ready to remove them.
Conclusion
One of the main disadvantages of removing gel nail stickers is that it can be quite time-consuming and difficult. Gel nail stickers are typically made from a thick, glossy material that adheres well to nails and doesn’t come off easily. It can be challenging to peel them off without damaging the sticker or your nails. It takes patience and practice to get the hang of it, and the process can be very tedious. It may also require multiple attempts before finally successfully removing them.
Removing your gel nail stickers doesn’t have to be a difficult process. You can quickly and easily get rid of unwanted nail art with the right techniques and materials. Be sure to follow the directions on the package for the best results. You will likely need acetone-based remover, cotton balls or pads, paper towels, and a bowl of warm water.
Start by soaking a cotton ball in the remover and pressing it onto your nails for several seconds. Then, use a paper towel to rub away the sticker until it comes off gently. I hope this article has been beneficial for learning how to remove gel nail stickers. Make Sure the precautionary measures are followed chronologically.
You Can Check It Out to Wash Out Arctic Fox Hair Dye
About the Author
Jane Hubbard is a passionate beauty expert with a wealth of experience in makeup, hair, and overall beauty techniques. After years of working as a hairdresser specialist, she followed her entrepreneurial spirit and started her own consultancy business.
Jane has always been driven by her desire to help others feel confident in their own skin, and she does this by sharing her knowledge, experiences, and practical beauty tips. Through her consultancy, she empowers individuals to embrace their unique beauty, offering tailored guidance that boosts both self-esteem and personal style.
Professional Focus
Specializes in makeup, hairstyling, and beauty consulting.
Provides personalized beauty advice, tips, and techniques to help individuals feel confident in their appearance.
Dedicated to staying up-to-date with the latest industry trends and developments.
Passionate about creating a comfortable and empowering experience for every client.
Education History
University of Craft and Design – Bachelor of Fine Arts (BFA) in Woodworking and Furniture Design
Woodworking Apprenticeships – Extensive hands-on training with skilled craftsmen to refine carpentry and furniture making techniques
Online Courses & Masterclasses – Continued education in advanced woodworking techniques, design principles, and specialized tools
Expertise:
Makeup artistry, hairstyling, and beauty consulting.
Personalized beauty techniques to enhance confidence and self-expression.
Educating clients on how to maintain their beauty routines at home.