
Are you looking for a classic, timeless nail look? The Gelish French manicure is perfect for those who want to take their nails to the next level! This look will give your nails a timeless and polished appearance that you can rock all year round. Here’s how to do gelish french manicure.
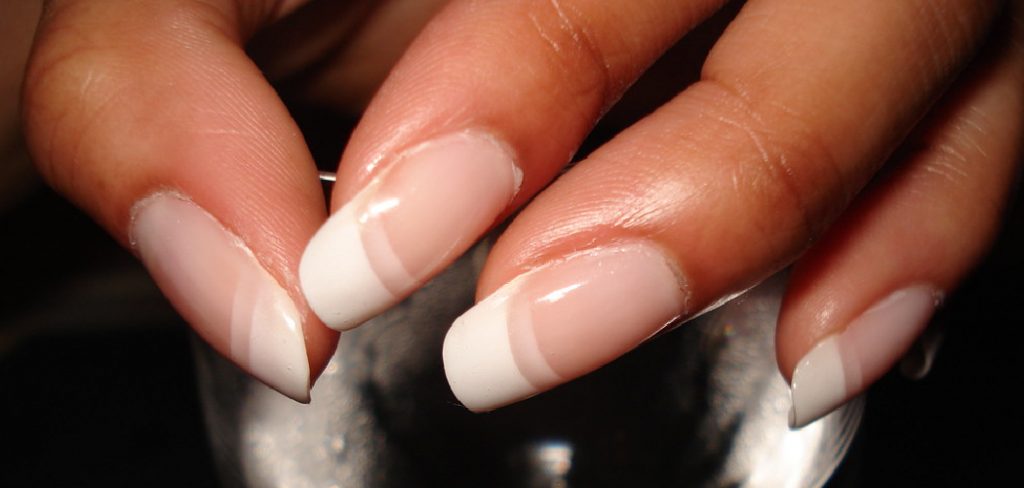
Having perfectly polished nails is a timeless beauty look, and one of the most popular manicure designs you can get is a French manicure. This classic design looks elegant on any length or shape of fingernail, and with the help of gelish products, it’s easy to do yourself at home! Take the guesswork out of getting salon-level results by following this step-by-step guide to performing your own flawless gelish French manicure with ease.
In this blog post, we’ll show you how to do it from start to finish so you can save money and have long-lasting results!
What Will You Need?
To achieve the perfect Gelish French manicure, you’ll need to get your hands on some specific supplies. Here’s what you’ll need:
- Gelish Foundation Base Coat
- Gelish French Tip White
- Gelish Mylar Mirror Top Coat
- Gelish Nail Art Brush
- Gelish Nail File and Buffer
- White Tape
- Nail Polish Remover
- Cotton Balls
- Cuticle Oil or Cream
Once you have all the necessary supplies, it’s time to get started.
10 Easy Steps on How to Do Gelish French Manicure
Step 1: Clean Your Nails
Before you begin, ensure your nails are clean and free of oils or dirt. Use a nail polish remover and a cotton ball to remove any existing polish from your nails. Then, use the gelish Nail File and Buffer to smooth out the edges of your nails gently.
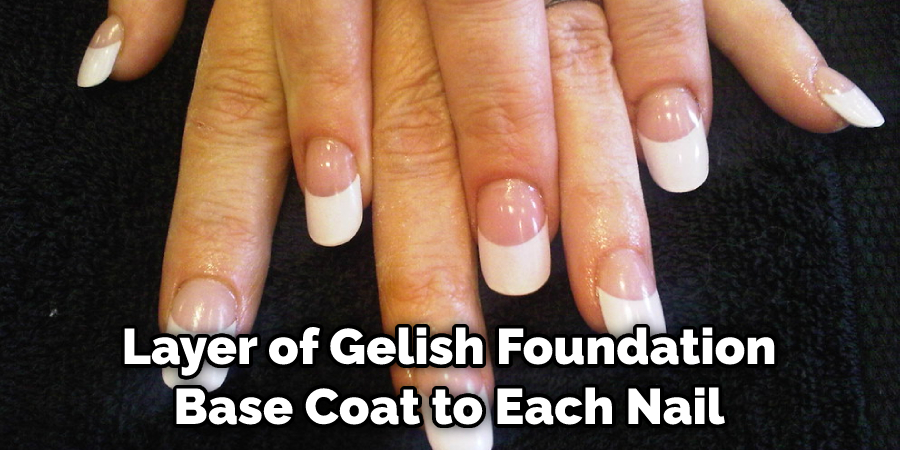
Step 2: Apply a Base Coat
Apply one layer of Gelish Foundation Base Coat to each nail, making sure that it covers the entire nail bed. This will help create an even canvas for the French tips. Allow it to dry completely before moving on to Step 3.
Step 3: Create French Tips with Tape
This is where you’ll get creative! Cut some white tape into triangles/rectangles to make French tips. Place the tape on your nail beds in the shape you want for your manicure and press it down firmly so that it stays in place.
Step 4: Apply Gelish French Tip White
Using the brush from the Gelish Nail Art Kit, paint a thin layer of Gelish French Tip White over each nail where you have applied the tape. Make sure to paint within the lines of tape so that no excess polish gets onto other areas of your nails. Allow this coat to dry completely before continuing.
Step 5: Peel Away the Tape
Once everything is set, carefully peel away the tapes from each nail bed and discard them. You should now have perfect french tip shapes on each of your nails! Be careful not to smudge the polish while doing this accidentally.
Step 6: Apply Mirror Top Coat
Once the French tips are done, it’s time to seal them in. Apply one layer of Gelish Mylar Mirror Top Coat for a glossy finish over your entire manicure. This will help make your nails shine and keep them looking beautiful for longer.
Step 7: Allow Time to Dry
Allow your nails some time to dry completely before touching or moving around too much. If you don’t give your nails enough time to set, then all of your hard work will be ruined! Don’t be tempted to skip this step – it’s important for long lasting results.
Step 8: Finish with Cuticle Oil
Now that everything is set and dried, it’s time to take care of those cuticles! Use a cuticle or cream to nourish and moisturize the skin around your nails. This will help keep them healthy and strong.
Step 9: Enjoy Your Manicure
The final step is to enjoy your beautiful, salon-level Gelish French manicure! You can now show off your polished nails with pride knowing you created them yourself. Remember to take care of your manicure and touch it up as needed.
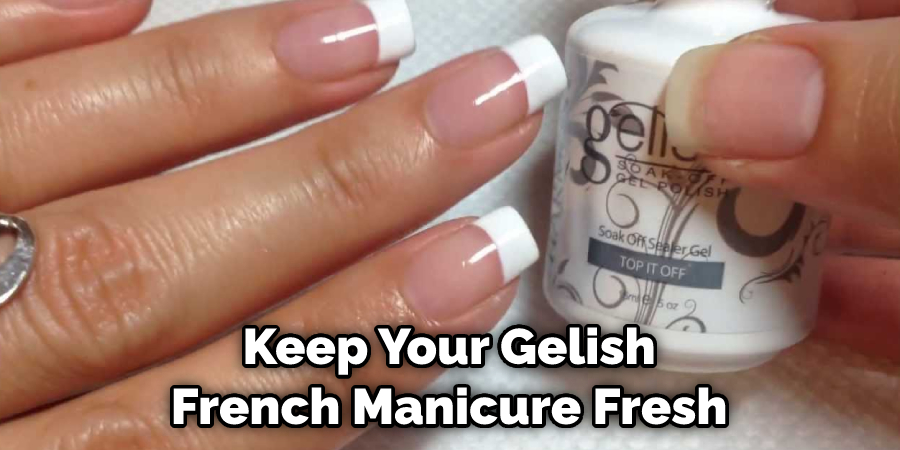
Step 10: Re-apply Every Two Weeks
To keep your Gelish French manicure fresh, re-apply the top coat every two weeks. This will help seal your design and keep it looking beautiful for longer. Additionally, use cuticle cream or oil every day to keep your nails hydrated and healthy.
Getting a professional-level gelish French manicure at home is easy when you know how! Follow these ten simple steps to get salon-quality results without the price tag. Whether you’re an experienced nail artist or just starting out, this guide should help you create the perfect French tips — with ease!
5 Additional Tips and Tricks
1. Apply Evenly and Thinly: When applying the base coat, make sure to apply it evenly and thinly. This will help create a smooth surface for the white tip to adhere properly.
2. Let the Base Coat Dry: Allow the base coat to dry completely before applying the white tip. This will help ensure that the tips stay securely in place and last longer.
3. Use a Striping Brush for a Precise French Tip: A striping brush or nail art brush is great for ensuring a precise and even line when creating your French tips. Make sure to dip it into gel polish with each stroke so you don’t create an uneven line.
4. No Air Bubbles: When using a topcoat, make sure to apply it evenly without any air bubbles to seal in the design and prevent smudging while also giving your manicure a beautiful shine!
5. Cure Properly: After you’ve finished all the steps, make sure to put your nails in an LED or UV light for the proper amount of time. This will help ensure that your Gelish French Manicure lasts longer and looks beautiful!
Follow these tips and tricks, and you’ll be able to create a perfect Gelish French Manicure every single time! With practice, you’ll be an expert in no time!

5 Things You Should Avoid
1. Too Much Product: Using too much of the products can cause a mess, so use minimal amounts. This includes the base coat, nail polish, and top coat.
2. Overfilling: Don’t overfill the white tips of your French manicure with too much product. It should look light and delicate.
3. Not Prepping the Nails Properly: Before starting your manicure, ensure you have prepared your nails by filing them and removing any oils or dirt from the surface with a lint-free wipe and rubbing alcohol.
4. Using Wrong Brushes: To achieve a perfect shape, use a thin French manicure brush that has finer bristles than regular nail art brushes.
5. Not Applying Topcoat: Topcoat is essential to get that glossy finish and protect your design from chipping or smudging, so don’t skip this step.
Now that you know what to avoid, it’s time to get started with your Gelish French Manicure!
What is the Difference Between Gelish and Gel?
Gelish is a soak-off gel that’s applied over the nails and cured with an LED or UV lamp. Unlike regular nail polish, it creates a more durable, long-lasting finish that won’t chip easily. Conversely, gel is an acrylic product that requires sculpting to create shapes and doesn’t come off as easily as Gelish.
Knowing the difference between these two products can help you choose the right one for your manicure needs! With this knowledge, you should be able to create perfect Gelish French Manicures in no time.
Is French Manicure Clear or Pink?
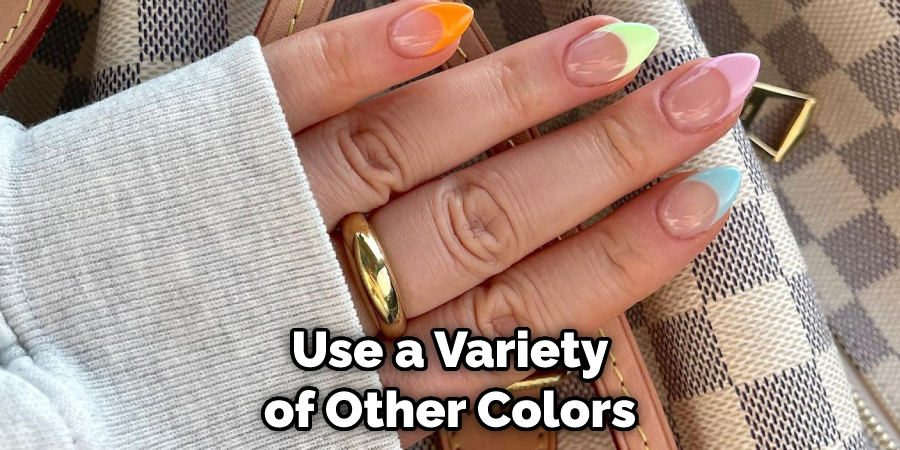
A traditional French manicure is usually clear or pale pink, although there are different variations that use other colors like navy blue and glitter. The classic French manicure typically uses white polish to create a “moon” shape at the base of the nails.
Additionally, you can use a variety of other colors in your French manicure. For example, you could use gel polish to create a beautiful ombre design or add some sparkle with rhinestones and glitter!
No matter what color you choose for your French manicure, make sure to follow the above tips and tricks for salon-quality results every time! With practice and dedication, you’ll be able to master this stylish look in no time.
Conclusion
The perfect French manicure requires patience and practice. It may take a few tries to get the hang of it, but once you do, you’ll be able to create an effortless nail art look that looks amazing and can be changed up depending on your preference. As always with Gelish products, quality is key – so make sure you use the best tools available in order to maximize your results.
Whether you’re a french manicure professional or just looking for a quick pop of color for special occasions, following these steps on how to do gelish french manicures will ensure you achieve salon quality nails in no time.
So don’t be afraid to try something new, and don’t forget to share those beautiful finished results with us! Till next time, happy gelling!
About the Author
Jane Hubbard is a passionate beauty expert with a wealth of experience in makeup, hair, and overall beauty techniques. After years of working as a hairdresser specialist, she followed her entrepreneurial spirit and started her own consultancy business.
Jane has always been driven by her desire to help others feel confident in their own skin, and she does this by sharing her knowledge, experiences, and practical beauty tips. Through her consultancy, she empowers individuals to embrace their unique beauty, offering tailored guidance that boosts both self-esteem and personal style.
Professional Focus
Specializes in makeup, hairstyling, and beauty consulting.
Provides personalized beauty advice, tips, and techniques to help individuals feel confident in their appearance.
Dedicated to staying up-to-date with the latest industry trends and developments.
Passionate about creating a comfortable and empowering experience for every client.
Education History
University of Craft and Design – Bachelor of Fine Arts (BFA) in Woodworking and Furniture Design
Woodworking Apprenticeships – Extensive hands-on training with skilled craftsmen to refine carpentry and furniture making techniques
Online Courses & Masterclasses – Continued education in advanced woodworking techniques, design principles, and specialized tools
Expertise:
Makeup artistry, hairstyling, and beauty consulting.
Personalized beauty techniques to enhance confidence and self-expression.
Educating clients on how to maintain their beauty routines at home.