
Do you want to learn how to use an eyelash applicator? Do you love having gorgeous, full lashes that make your eyes appear bigger and brighter with a single flick of the wrist? An eyelash applicator is the perfect tool for you! Here are the steps on how to use it.
Eyelash applicators are an essential tool that should be in every makeup lover’s collection! With the right techniques, you can effortlessly create glamorous lashes with ease. Whether adding texture and flare to a classic look or turning any average outfit into something fabulous, eyelash applicators will give your look a luxe touch every time.
In this blog post, I’ll walk you through how to use eyelash applicator correctly so you get perfect results each and every time.
What Will You Need?
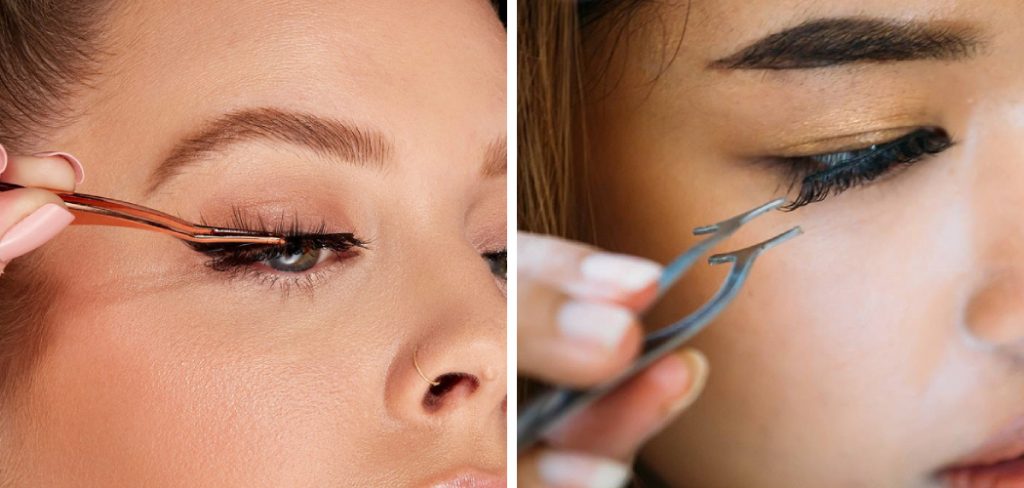
You’ll need an eyelash applicator, a set of false lashes, and some adhesive glue to get started. The most popular type of eyelash applicator is the tweezer-like tool, which allows you to grip and apply the false lashes easily.
- Your favorite eyelash applicator
- A pair of tweezers
- Your choice of natural or faux eyelashes
Once you have all your tools, you’re ready to begin!
10 Easy Steps on How to Use Eyelash Applicator
Step 1: Prepare Your Lashes
The most important step before applying false lashes is to make sure your natural lashes are prepped and ready. Use a lash curler to curl them up for a full, voluminous look. If you want, you can also apply some mascara to give your natural lashes a bit of color and texture.
Step 2: Apply Adhesive Glue
To ensure your false lashes stay in place all day long, you’ll need to use an adhesive glue that’s specifically formulated for false eyelashes. Take the applicator tool and dip it into the adhesive bottle before lightly coating the entire band of the false eyelashes. Let the glue dry for 1-2 minutes before moving on to the next step.
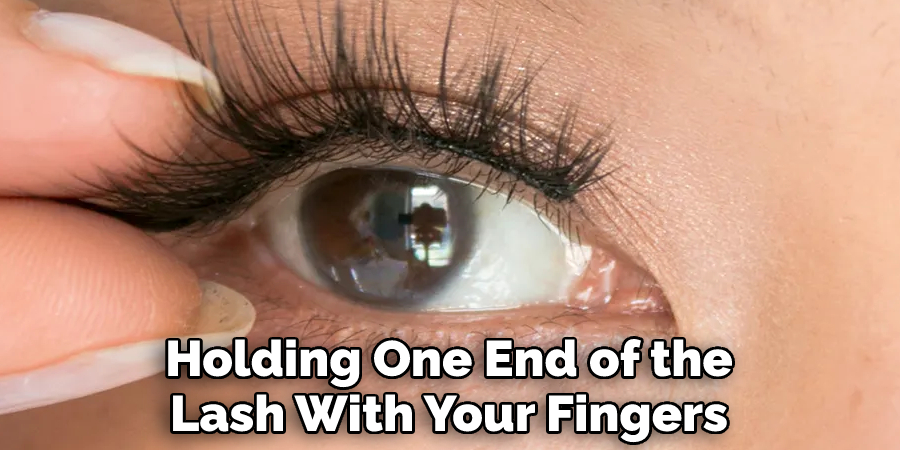
Step 3: Align Your Lashes
Holding one end of the lash with your fingers, take the applicator tool and carefully position it along your upper lash line. It’s important to ensure that the false lashes are aligned with your natural ones before applying them. Don’t be afraid to take your time and try a few different angles until you’re happy with the result.
Step 4: Secure Your Lashes
Using the applicator tool, gently press the false eyelash band down along your upper lash line to secure it in place. Make sure all areas of the false lashes are adhered to well before moving on to the next step.
Step 5: Trim Your Lashes
If the false eyelash is too long for you, take a pair of scissors and trim off any excess length. You want to ensure they fit comfortably without any protruding ends or gaps. Try to avoid cutting the inner corner of the false lash, as this will make them look unnatural.
Step 6: Apply Mascara
After trimming your lashes, apply a layer of mascara to blend your natural and false lashes together. This will create an even more seamless look and make them look like they’re a part of your own lashes. Additionally, this will help your false lashes last longer.
Step 7: Curl Your Lashes
Once you’ve blended your natural and false eyelashes together with mascara, use an eyelash curler to curl up the ends for a flirty finish. This step is optional but adds extra volume to your overall lash look. As an added bonus, curling your lashes also helps to ensure they stay in place.
Step 8: Apply Eyeliner
Finally, use liquid or gel eyeliner to define the edges of your eyes where the false lashes meet your skin. This will help give the illusion that you have longer, fuller lashes that are all yours. Be careful not to go overboard with this step, as too much eyeliner can tire your eyes.
Step 9: Check Your Work
Step back and check your work to ensure you’ve achieved the desired result. If you’re unsatisfied with how it looks, simply start from the beginning again and adjust accordingly. Ensure that all the steps are properly followed for the best results.
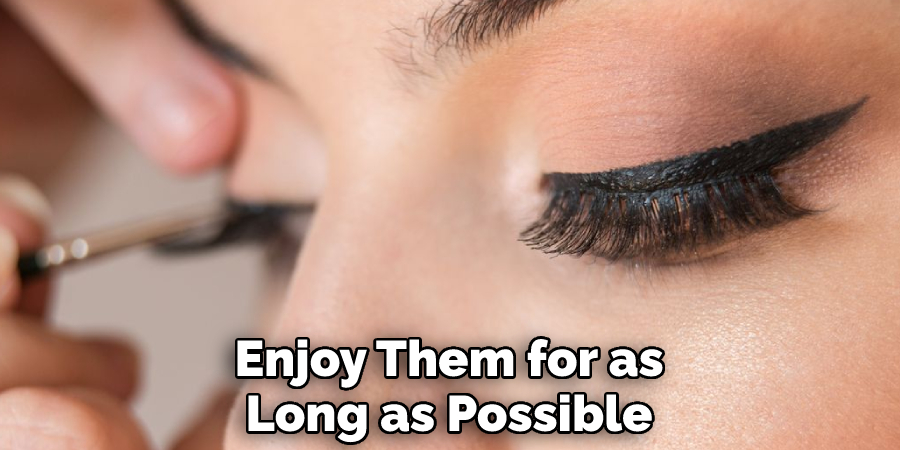
Step 10: Enjoy Your Fabulous Lashes!
Once you are happy with how your lashes look, enjoy them for as long as possible! False lashes can last anywhere from 1-3 weeks, depending on how well they were applied and cared for. You can reuse them multiple times if you take good care of them between uses.
By taking these simple steps, you’ll be able to master the art of applying false eyelashes with an eyelash applicator. So go ahead and give it a try for yourself! You never know how fabulous you can look until you do.
5 Additional Tips and Tricks
- Before applying your lashes, always make sure that you have clean and oil-free eyes. This will help the adhesive stick better to your skin and ensure the longevity of your false eyelashes.
- When applying false eyelashes with an applicator tool, consider using tweezers for extra precision when positioning them or pressing down on the lash band.
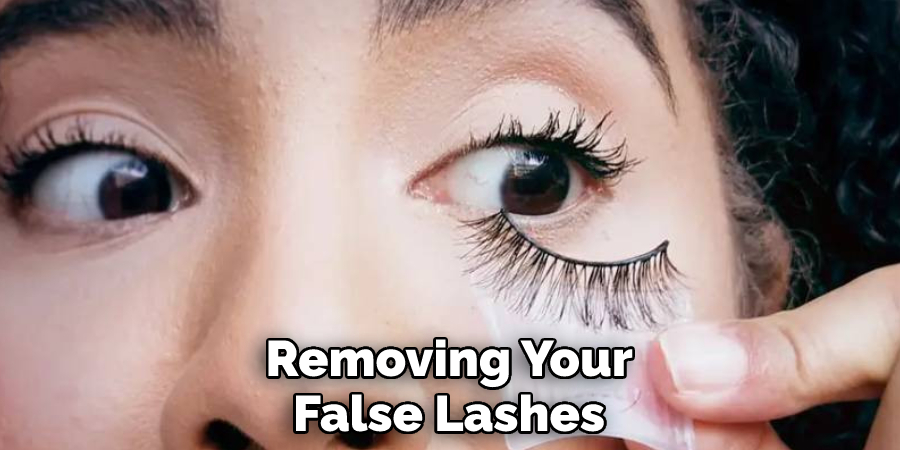
- After removing your false lashes at night, be sure to use a mild makeup remover solution to dissolve any remaining glue from both the lash band and your eyes.
- To keep your false lashes in tip-top shape, store them properly after each use in their original packaging or a clean container away from direct sunlight and dust particles.
- For added dimension and drama, try layering two different styles of false eyelashes for a bolder look.
By following these simple steps on how to use an eyelash applicator, you should have no trouble achieving luscious-looking lashes in no time!
5 Things You Should Avoid
- Avoid using an excessive amount of glue, as this can cause your false lashes to become clumpy and heavy.
- Try not to tug or pull on your false lashes too much, as it can damage the hair fibers, leading to a shorter lifespan for them.
- Don’t use expired eyelashes, as the adhesive will not be strong enough and may contain bacteria that can irritate your eyes.
- When removing your false lashes, don’t rip them off quickly, as this may cause your natural lashes to come out with them.
- Lastly, avoid reusing old lash glue, which can also lead to eye irritation and other health problems.
Considering these tips, you should have no problem achieving beautiful, long-lasting false lashes with an eyelash applicator. So go ahead and give it a try for yourself – you won’t regret it!
Is It Necessary to Use an Eyelash Applicator?
Using an eyelash applicator is unnecessary, but it can make the application process a lot easier and less time-consuming. If you struggle to apply false lashes with your bare hands, investing in an eyelash applicator may be worth it. The applicator will help give you extra precision and control when positioning the lash band onto your eye area and applying the glue.
Ultimately, using an eyelash applicator can save precious time and simplify your overall makeup routine.
Do You Put Mascara on Before Fake Lashes?
The general rule of thumb is to always apply mascara before putting on your false lashes. Doing so will help blend the false lash fibers with your natural ones, giving them a more natural appearance. Additionally, applying mascara first can also help make your eyelashes look thicker and fuller.
When applying mascara, be sure to focus on the tips of your natural lashes only, as this will make it easier for the false lashes to adhere to them once they are applied. Once you’ve finished applying mascara, let it dry thoroughly before moving on to the next step of applying false eyelashes with an eyelash applicator.
By following these simple steps on how to use an eyelash applicator and avoiding common mistakes, you should have no trouble achieving beautiful, long-lasting lashes in no time! So give it a try today and see for yourself.

Conclusion
Having long, luscious lashes is a dream of many people. An eyelash applicator is a great solution if you want to skip the hassle of manually applying each lash strip. After you’ve read all the steps outlined in this blog post, you now understand how to use an applicator for your false lashes. Don’t forget to use water-resistant glue and make sure to remove the lash strips correctly; these are little extras that could make a big difference in having beautiful, lasting eyelashes.
Experiment with different types of eyelash applicators until you find one that works best for you! With enough practice, this advice has left you feeling more confident about applying your false lashes with ease.
Hopefully, the article on how to use eyelash applicator has been helpful to you. Whether you’re a beginner or an experienced false lash wearer, we hope this advice has given you the information and confidence to master your application skills. Happy lashing!
About the Author
Jane Hubbard is a passionate beauty expert with a wealth of experience in makeup, hair, and overall beauty techniques. After years of working as a hairdresser specialist, she followed her entrepreneurial spirit and started her own consultancy business.
Jane has always been driven by her desire to help others feel confident in their own skin, and she does this by sharing her knowledge, experiences, and practical beauty tips. Through her consultancy, she empowers individuals to embrace their unique beauty, offering tailored guidance that boosts both self-esteem and personal style.
Professional Focus
Specializes in makeup, hairstyling, and beauty consulting.
Provides personalized beauty advice, tips, and techniques to help individuals feel confident in their appearance.
Dedicated to staying up-to-date with the latest industry trends and developments.
Passionate about creating a comfortable and empowering experience for every client.
Education History
University of Craft and Design – Bachelor of Fine Arts (BFA) in Woodworking and Furniture Design
Woodworking Apprenticeships – Extensive hands-on training with skilled craftsmen to refine carpentry and furniture making techniques
Online Courses & Masterclasses – Continued education in advanced woodworking techniques, design principles, and specialized tools
Expertise:
Makeup artistry, hairstyling, and beauty consulting.
Personalized beauty techniques to enhance confidence and self-expression.
Educating clients on how to maintain their beauty routines at home.