
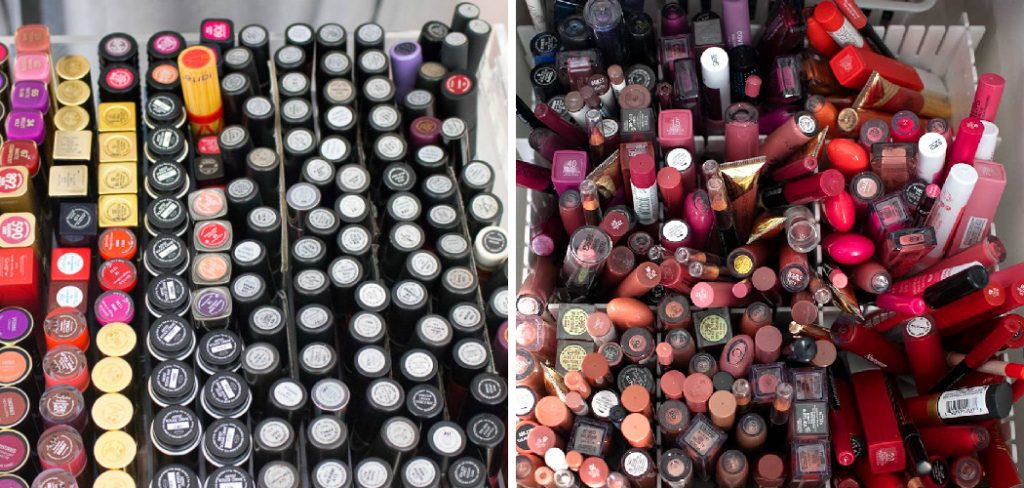
Are you constantly digging through cluttered drawers and dig out forgotten lipsticks? Do you ever get frustrated when you can’t find the color that matches your outfit for the day? Lipstick organization is key to keeping everything from nudes to reds to mauves organized and easily accessible.
Lipsticks are an essential part of any makeup collection, but they can also be a pain to keep organized. With numerous shades, different formulas and varying packaging sizes, finding the perfect system to organize lipsticks can be quite the challenge. However, with a few tips and tricks, you can easily create a system that works for you.
Whether it’s a quick fix organization setup or an intensive overhaul, we have some great tips and tricks for how to organize lipsticks so that every component—from swatching-friendly palettes to clever storage solutions—help make finding just the right lipstick shade simpler than ever.
What Will You Need?
Before diving into the various ways to organize your lipsticks, let’s first gather all the necessary supplies you will need. Here are some things that may come in handy:
- A Designated Space: This can be a vanity, drawer, or shelf specifically for your lipsticks.
- Clear Acrylic Organizers: These are great for keeping lipsticks visible and organized.
- Small Containers or Dividers: These can help separate your lipsticks by color, brand, or occasion.
- Labels or Markers: Use these to label your containers for easy identification.
- Storage Trays or Baskets: Great for storing lipsticks that are used less frequently.
Now that you have all the necessary supplies, let’s dive into some practical ways to organize your lipsticks.
10 Easy Steps on How to Organize Lipsticks
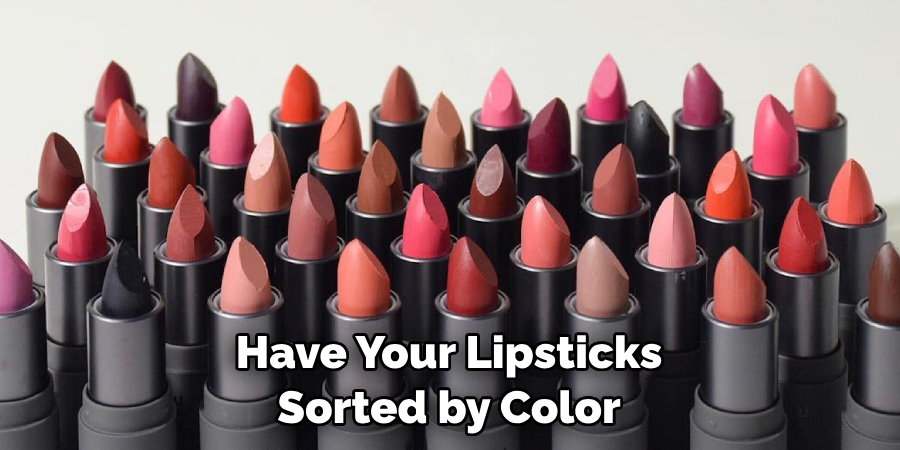
Step 1. Sort by Color:
Start by grouping your lipsticks according to their color family. Reds with reds, pinks with pinks, nudes with nudes, and so on. This approach makes it easy for you to find your desired shade quickly and efficiently.
Step 2. Categorize by Brand and Formula:
After sorting your lipsticks by color, further categorize them by brand and formula. Group together lipsticks from the same brand or those with similar formulas, such as matte lipsticks, liquid lipsticks, and glosses. This method not only helps you locate your lipsticks faster but also allows you to compare shades and textures easily.
Step 3. Arrange within Groups:
Once you have your lipsticks sorted by color and then by brand or formula, arrange them within their respective groups. For instance, within the reds, put your brightest shades at one end and your deepest at the other. For brands, arrange them alphabetically or by how often you use them. This will give you a more precise and efficient system when seeking out the perfect lipstick.
Step 4. Store in Designated Space:
Now that your lipsticks are sorted and arranged, it’s time to store them in your designated space. If you have a large collection, utilize clear acrylic organizers or containers to make your lipsticks easily visible. You can also utilize the vertical space by stacking your organizers. For smaller collections, small containers, trays, or baskets could be enough. Remember, the goal is to make your collection easy to see and access, so avoid stuffing all your lipsticks in one place.
Step 5. Label Your Containers:
After you have arranged your lipsticks, label each holder or container for easy identification. If you’ve organized by color, label the containers as ‘Reds’, ‘Pinks’, ‘Nudes’, etc. If you’ve categorized by brand or formula, label them accordingly. This will make it much quicker and simpler to find the exact lipstick you’re looking for.
Step 6. Regularly Clean and Dust Your Lipstick Storage:
To ensure your lipsticks stay in the best condition, it’s important to regularly clean and dust your storage area using a vacuum cleaner. Lipstick containers can easily collect dust and grime over time. So, use a clean cloth or disinfectant wipes to wipe down your storage containers and the lipsticks themselves. This not only maintains the cleanliness and hygiene of your lipsticks but also keeps your storage looking neat and tidy.
Step 7. Rotate Your Lipsticks Regularly:
In order to utilize your entire collection, it’s beneficial to rotate your lipsticks regularly. This ensures all lipsticks get used and none are forgotten at the bottom of the pile. You can rotate them seasonally, or simply put the ones you use most often at the front. Rotation also allows you to check the expiry dates and the condition of your lipsticks, ensuring any old or spoiled ones are discarded.
Step 8. Use a Lipstick Stand for Frequently Used Lipsticks:
Having a lipstick stand for your most-used lipsticks can be a real time saver. Place this stand on your vanity or any place that’s easily accessible. This way, your favorite lipsticks will always be within an arm’s reach, eliminating the need to rummage through your entire collection each time. This little tip can make your daily makeup application process much smoother and quicker.
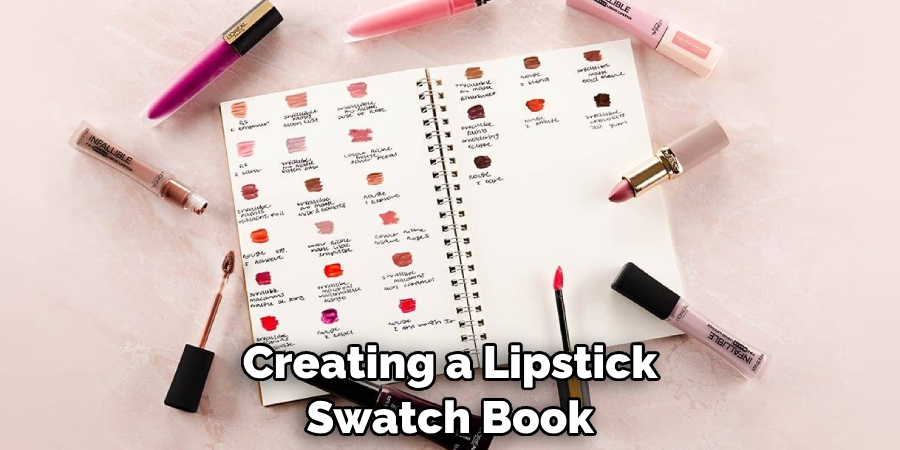
Step 9. Create a Lipstick Swatch Book:
Creating a lipstick swatch book can be incredibly helpful, especially if you have a large collection. It’s as simple as swatching each lipstick on a piece of paper, labeling it with the brand and shade name, and keeping all these pages together in a small book or binder. This way, you can easily see the true color of each lipstick without having to open each one. It’s a time-saver when deciding which color to wear and it also gives you a chance to explore and rediscover shades you might have forgotten about.
Step 10. Keep a Travel-Sized Lipstick Bag:
For those on-the-go moments or last-minute plans, keep a travel-sized lipstick bag with your all-time favorites. This will eliminate the need to carry around your entire collection and it also protects your lipsticks during travel. Opt for a small, padded bag or case, and remember to update the content according to season, occasion, or current favorites. Having this ready-to-grab bag can save you time and ensure you always have your top lipsticks at hand.
By following these simple steps, organizing and maintaining your lipsticks will become a breeze. Not only will you have a more efficient system of locating your desired shades, but it’ll also save you time and help keep your lipsticks in top condition.
5 Additional Tips and Tricks
Tip 1. Use a Lipstick Organizer with Adjustable Dividers:
For even more versatility in your lipstick storage, consider using an organizer with adjustable dividers. This allows you to customize the size of the compartments to fit different lipstick sizes and shapes, maximizing the use of space.
Tip 2. Create a ‘New In’ Section:
If you often buy new lipsticks, designate a particular spot as your ‘New In’ section. This helps you remember to try out your new acquisitions and prevents them from getting lost in the crowd of existing lipsticks.
Tip 3. Utilize Drawer Organizers:
If you have a vanity or makeup desk with drawers, consider using drawer organizers for your lipsticks. They are typically available in different sizes and are an excellent way to keep your lipsticks neat and visible, without taking up counter space.
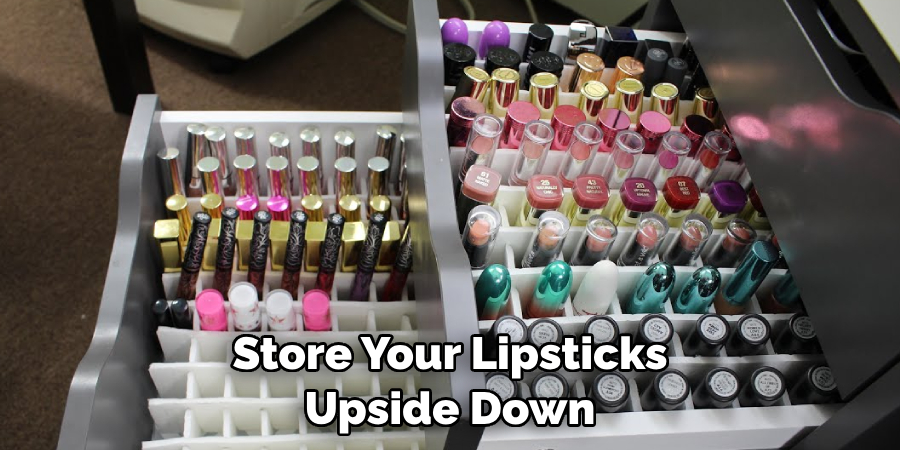
Tip 4. Store Lipsticks Upside Down:
Another useful tip is to store your lipsticks upside down. This way, if the brand and shade name are written on the bottom, they’ll be immediately visible, making it easier to pick out the lipstick you want.
Tip 5. Declutter Regularly:
Remember to go through your collection regularly – every 6 months or so – and declutter. Retire any lipsticks that are expired, broken, or ones you simply don’t use anymore.
With these additional tips and tricks, you can take your lipstick organization to the next level.
5 Things You Should Avoid
1. Avoid Leaving Lipsticks in Direct Sunlight:
Direct sunlight can cause your lipsticks to melt or change in texture and color. Always store your lipsticks in a cool, dry place away from direct sunlight.
2. Avoid Storing Lipsticks in the Bathroom:
The humidity in bathrooms can cause lipsticks to degrade faster. It’s better to store your lipsticks in a bedroom or vanity area.
3. Avoid Mixing Lipsticks and Other Makeup Products:
To maintain organization and prevent cross-contamination, keep your lipsticks separated from other types of makeup.
4. Avoid Keeping Expired Lipsticks:
While it’s tempting to hold on to that favorite discontinued shade, expired lipsticks can harbor bacteria. It’s important to routinely check and discard expired makeup.
5. Avoid Neglecting Regular Cleaning:
Lipstick containers can accumulate dust and grime. Regularly clean your lipstick storage and the lipsticks themselves to maintain hygiene and the longevity of the products.
By avoiding these common mistakes, you can ensure your lipsticks stay in top condition and your organization system remains efficient.
Conclusion
Overall, organizing lipsticks can be a fun and creative task that doesn’t have to be intimidating or anxiety-provoking. Whether you prefer minimalism or colorful chaos, these tips should help get your lipstick collection in order.
So if you take the time to organize your lipsticks, you’ll never have to waste time again searching for the perfect color. Plus, with an organized storage space, you can easily display it like its very own work of art!
Hopefully, the article on how to organize lipsticks has given you some practical and helpful ideas. By following the steps, tips, and tricks mentioned above, your lipstick collection will not only be organized but also well-maintained and easy to navigate. So go forth and organize your lipsticks—the world is your canvas, make it a masterpiece!
You Can Also Check This Out to Keep Lipstick From Melting
About the Author
Jane Hubbard is a passionate beauty expert with a wealth of experience in makeup, hair, and overall beauty techniques. After years of working as a hairdresser specialist, she followed her entrepreneurial spirit and started her own consultancy business.
Jane has always been driven by her desire to help others feel confident in their own skin, and she does this by sharing her knowledge, experiences, and practical beauty tips. Through her consultancy, she empowers individuals to embrace their unique beauty, offering tailored guidance that boosts both self-esteem and personal style.
Professional Focus
Specializes in makeup, hairstyling, and beauty consulting.
Provides personalized beauty advice, tips, and techniques to help individuals feel confident in their appearance.
Dedicated to staying up-to-date with the latest industry trends and developments.
Passionate about creating a comfortable and empowering experience for every client.
Education History
University of Craft and Design – Bachelor of Fine Arts (BFA) in Woodworking and Furniture Design
Woodworking Apprenticeships – Extensive hands-on training with skilled craftsmen to refine carpentry and furniture making techniques
Online Courses & Masterclasses – Continued education in advanced woodworking techniques, design principles, and specialized tools
Expertise:
Makeup artistry, hairstyling, and beauty consulting.
Personalized beauty techniques to enhance confidence and self-expression.
Educating clients on how to maintain their beauty routines at home.