
For many people, painting their toenails is a simple and enjoyable task. However, for individuals who are overweight or obese, this seemingly easy task can quickly become challenging. Being overweight can make it difficult to reach your toes comfortably or see them clearly. As a result, the process of painting your toenails becomes more complicated and requires some additional techniques.
In this guide, we will discuss some helpful tips and tricks on how to paint your toenails when you’re fat and make the process easier and more enjoyable for you.
Understanding Foot Care
Before we dive into the specifics of painting your toenails, it’s essential to understand the importance of foot care. Being overweight or obese can put extra pressure and strain on your feet, leading to various foot-related health issues such as plantar fasciitis and heel pain.
Regular foot care is crucial for maintaining overall health and preventing potential problems. This includes keeping toenails trimmed clean and properly moisturizing feet to avoid dryness and cracks. So, as you learn to paint your toenails when you’re fat, remember to also prioritize foot care.
Supplies You Will Need to Paint Your Toenails When You’re Fat
- Nail polish remover
- Cotton pads or balls
- Nail clippers
- Emery board or nail file
- Toe separators (optional)
- A sturdy chair or stool to sit on
- A comfortable position for easy access to your feet
- A handheld mirror (optional)
Step-by-step Guidelines on How to Paint Your Toenails When You’re Fat
Step 1: Prepare Your Nails
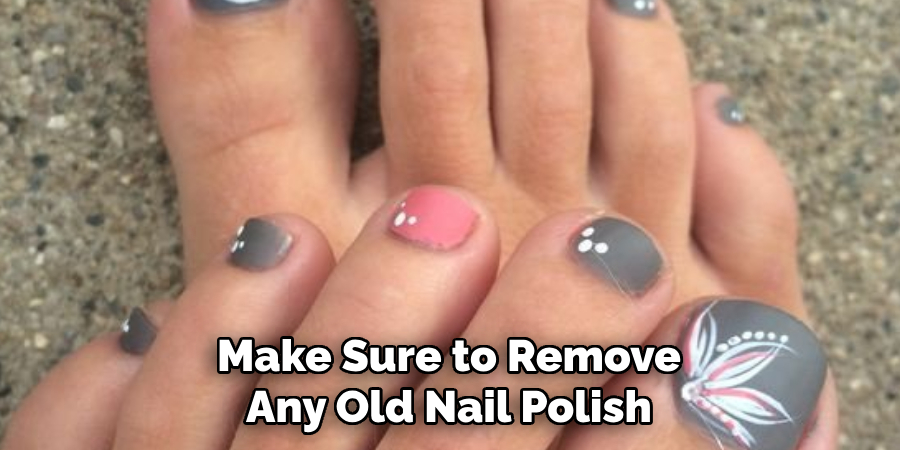
Before you start painting, make sure to remove any old nail polish using a gentle, non-acetone remover. This will also help clean your nails and get rid of any dirt or oil that might be present.
Next, trim your nails using a nail clipper and file them to achieve the desired shape. Be careful not to cut too close to the skin, as this can cause ingrown toenails. Preparing your nails will make it easier to apply the nail polish evenly.
Step 2: Use Toe Separators (Optional)
You can use toe separators if you have trouble reaching your toes or keeping them steady. These small foam or rubber devices fit between your toes and keep them apart, making it easier to paint each nail without smudging. Using toe separators also helps to prevent the polish from getting on your skin.
Step 3: Find a Comfortable Position
Having a comfortable position is crucial when painting your toenails, especially if you’re overweight. You can sit on a sturdy chair or stool that allows you to reach your feet comfortably. Alternatively, you can prop up your feet on pillows while lying down. Whichever position you choose, make sure it’s stable and allows you to see your toenails clearly. Make any necessary adjustments to ensure you’re comfortable and have easy access to your feet.
Step 4: Apply the Base Coat
Using a base coat is essential as it creates a smooth surface for the polish to adhere to, helping it last longer. It also protects and strengthens your nails from staining. Apply one thin layer of base coat and let it dry completely before moving on to the next step. This will prevent any smudging or streaks. Make sure to apply the base coat evenly and cover the entire nail, including the edges.
Step 5: Apply the Nail Polish

When applying the nail polish, make sure to use thin and even strokes. Start at the base of your nail and slowly move up toward the tip. Avoid using too much polish, as this can result in smudging or clumping. If you make any mistakes, use a cotton bud dipped in nail polish remover to clean up the edges. This is where using a handheld mirror can come in handy, as it allows you to see your nails from different angles.
Step 6: Allow the Polish to Dry
Once you’ve applied the desired number of coats, let the polish dry for at least 10-15 minutes before moving around. This will ensure that the polish stays intact and doesn’t smudge or smear. You can also use a quick-drying top coat to speed up the process and add extra shine. Make sure to let the top coat dry completely as well.
Step 7: Clean Up Any Messes
If you accidentally have any polish on your skin, use a cotton bud or Q-tip dipped in nail polish remover to clean it up. Ensure to do this before the polish dries, as it will be harder to remove once it sets. This step will help give your toenails a neat and professional look. If you’re having trouble reaching your feet, ask a friend or family member for help.
With these simple and practical tips, painting your toenails when you’re fat doesn’t have to be a daunting task. Remember to prioritize foot care and find a comfortable position that works for you. With practice, you’ll become more confident and skilled at painting your own toes like a pro! Happy painting!
Additional Tips and Tricks to Paint Your Toenails When You’re Fat
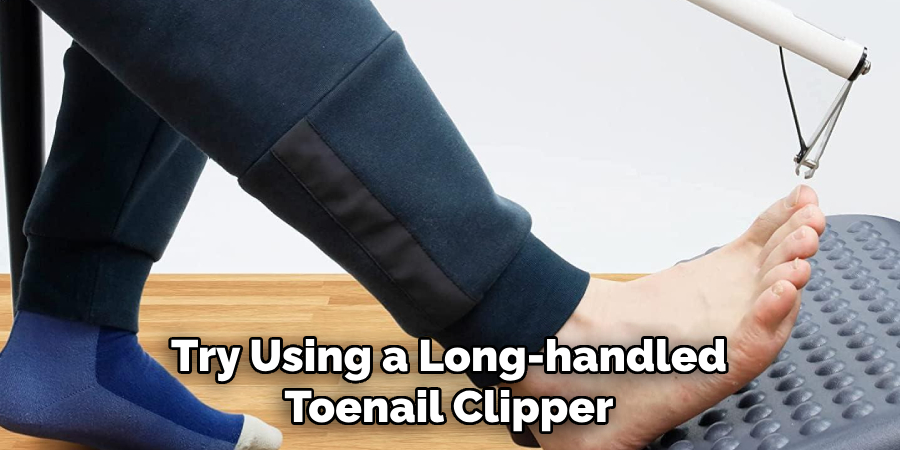
- If you have trouble reaching your toes, try using a long-handled toenail clipper or file to trim and shape them. Alternatively, you can ask a friend or family member for assistance.
- Consider using a toe separator when painting your toenails to prevent smudging and ensure even application of nail polish. You can also use cotton balls or tissues in between your toes to achieve the same effect.
- To avoid getting nail polish on your skin, apply a thin layer of petroleum jelly or lotion around your toenails before painting them. This will act as a barrier and make it easier to clean up any mistakes.
- If you have thicker toenails, consider using a specialized nail polish formula designed for thick nails or applying an extra layer of base coat before your regular nail polish.
- To add fun and unique designs to your toenails, Experiment with different nail polish application techniques, such as the “fishnet” or “shattered glass” method.
- If you struggle with precision when painting your toenails, try using a small makeup brush dipped in nail polish remover to clean up any mistakes and achieve a more polished look.
- Use quick-drying top coats to speed up the drying process and prevent smudging or smearing of your freshly painted toenails.
- If you have trouble sitting still while waiting for your toenail polish to dry, try watching a movie or TV show to help pass the time without moving too much.
- Remember to mix and match different nail polish colors or add some glitter for a more playful and eye-catching look.
- Lastly, remember that painting your toenails is supposed to be a fun and relaxing activity, so don’t stress too much about achieving perfection. Embrace your unique style and have fun with it!
Following these tips and tricks will help make painting your toenails a more enjoyable experience, regardless of your size or physical limitations. Happy painting! So go ahead and treat yourself to a spa day at home with some pampering nail care. You deserve it! Keep those toes looking fabulous all year round.
And remember, the most important thing is to have fun and express yourself through your painted toenails. Don’t let anyone or anything hold you back from feeling confident and beautiful in your own skin. Happy painting!
Things You Should Consider to Paint Your Toenails When You’re Fat
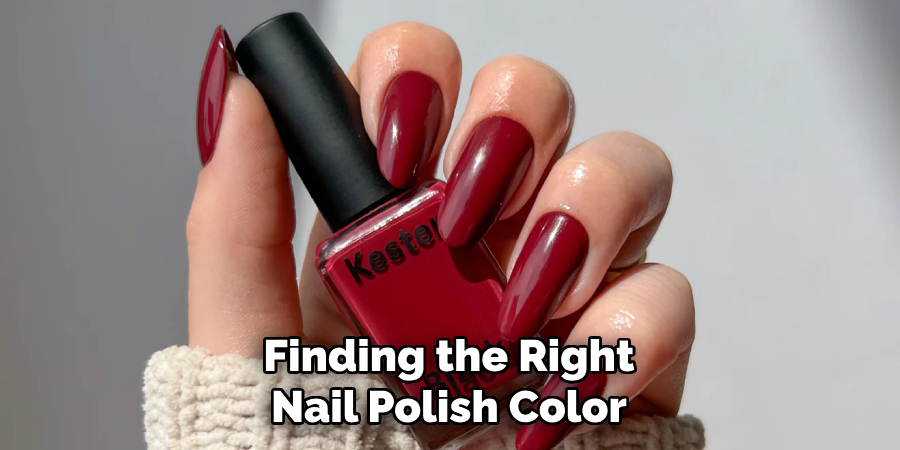
- The first thing you should consider before painting your toenails when you’re fat is finding the right nail polish color. Darker shades like black, navy blue, or dark red tend to make your toes look smaller and can be more flattering on larger feet. However, feel free to experiment with brighter colors if that’s what you prefer.
- Another important factor to consider is choosing the right nail shape. Round or oval-shaped nails can help elongate your toes and make them look slimmer. Avoid square or pointed shapes, as they can make your toes appear wider.
- Before starting to paint, it’s important to prep your toenails by trimming and filing them to the desired length and shape. This will create a smooth surface for the polish to adhere to and help prevent any chipping.
- When painting your toenails, make sure to use a base coat before applying the color. This will protect your nails from staining and help the polish last longer.
- It can be challenging for those with larger feet to paint the smaller toes without making a mess. To avoid this, you can use cuticle oil or vaseline around the edges of your toenails to act as a barrier for any excess polish.
- When applying the nail polish, try to stay close to the center of each nail and avoid getting too much on the sides. This will create a slimming effect and make your toes appear narrower.
- If you have trouble reaching your toes, use a long-handled or angled brush to help with precision and avoid accidental smudges.
- Once the polish has dried, finish off with a top coat to seal in the color and add extra shine. This will also help prevent any chips or cracks.
- Be patient when painting your toenails, and give yourself enough time for the polish to dry completely before putting on shoes or socks. This will prevent any smudging and ensure a flawless finish.
- Lastly, remember that confidence is key! No matter your size or shape, painting your toenails can be a fun and empowering way to express yourself. So don’t be afraid to rock those colorful toes with pride!
Following these considerations can help you achieve the perfect pedicure, no matter your size. Remember to have fun and experiment with different colors and designs to find what works best for you. Don’t let your weight hold you back from expressing yourself through your toenails. With these tips, you’ll be ready to show off those beautifully painted toes all year round! So go ahead and treat yourself to a little self-care because you deserve it. Happy painting!
Maintenance and Caring Tips for Paint Toenails
1. Apply Top Coat Every Few Days:
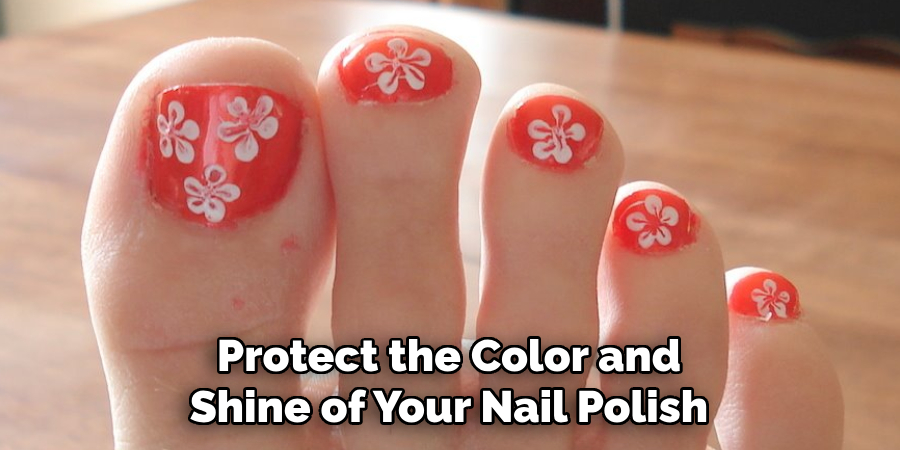
To protect the color and shine of your nail polish, it’s important to apply a clear top coat every few days. This will help extend the life of your paint toenails and prevent chipping or fading. This is especially important if you lead an active lifestyle or do a lot of manual labor. If your top coat starts to look dull, remove the old one and apply a fresh layer.
2. Avoid Harsh Chemicals:
Harsh chemicals can damage both your natural nails and your painted toenails. When using cleaning products or doing household chores, wearing gloves to protect your nails is important. Also, try to avoid exposing your painted toes to things like chlorine and bleach, as they can cause discoloration or damage to the polish. Additionally, when removing your old nail polish, opt for an acetone-free remover to avoid drying out your nails.
3. Keep Your Nails Moisturized:
Moisturizing is key for maintaining healthy and strong nails. Make sure to regularly apply cuticle oil or hand cream to your paint toenails and surrounding skin. This will help keep your nails from drying out and prevent hangnails and other nail-related issues. If your nails do become dry and brittle, consider taking a break from painting them to allow them to recover.
4. Use a Base Coat:
Using a base coat before applying polish can help protect your natural nails from potential damage. It also creates a smooth surface for the color to adhere to, making it easier to apply and preventing any rough or uneven spots. Allow the base coat to dry completely before applying your chosen color. Using a base coat can also prevent staining or discoloration of your nails from darker shades.
5. Avoid Picking or Peeling Your Polish:
As tempting as it may be, avoid picking or peeling off your paint toenails. This can not only ruin the polish but also damage your natural nails by tearing off layers. Instead, use nail polish remover and cotton balls to gently remove the polish. If you notice any chips or imperfections in your polish, try touching them up with a little rather than removing it entirely.
6. File Your Nails Regularly:
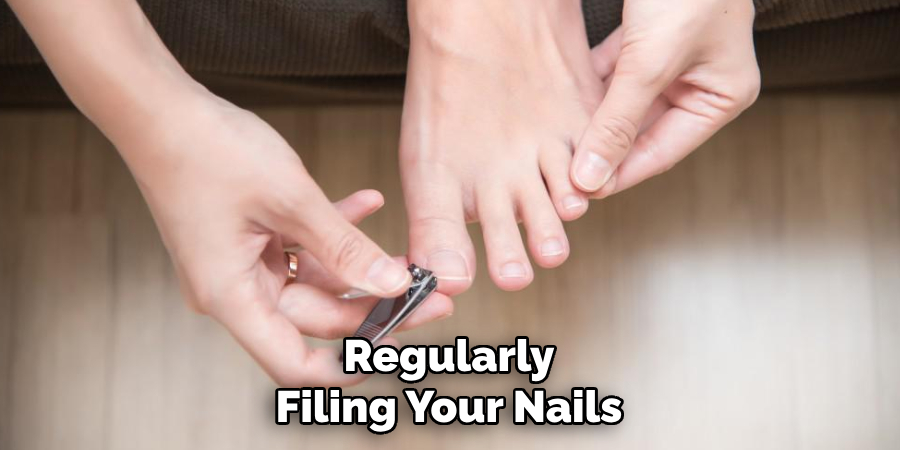
Regularly filing your nails can help prevent them from breaking or snagging, which can be painful and ruin your paint toenails. Use a nail file in one direction, rather than back and forth, to avoid any rough edges. Be careful not to file too aggressively, as this can also weaken your nails. Additionally, filing your nails can help maintain their shape and length, giving you more control over how they look when painted.
7. Give Your Nails a Break:
While it may be tempting to constantly have painted toenails, it’s important to give your nails a break every now and then. Letting them breathe without any polish can help prevent discoloration and allow them to repair any damage from chemicals or frequent painting. Try giving your nails a break for at least a week between each paint job.
Following these maintenance and caring tips for paint toenails can help keep your nails looking beautiful and healthy. Remember to also properly remove any old nail polish before applying a new layer, and always use quality products for the best results. With proper care, your paint toenails will stay vibrant and shiny for days to come! Happy painting!
Frequently Asked Questions
Why is It Important to Know How to Paint Your Toenails When You’re Fat?
Painting your toenails can be a challenging task for anyone, but it can be even more difficult for individuals who are overweight. This could be due to physical limitations or difficulty reaching certain areas of the body. Knowing how to properly paint your toenails can help you feel more confident and comfortable in your own skin. It can also be a great form of self-care and can help boost your mood.
Can’t I Go to a Salon and Get a Pedicure?
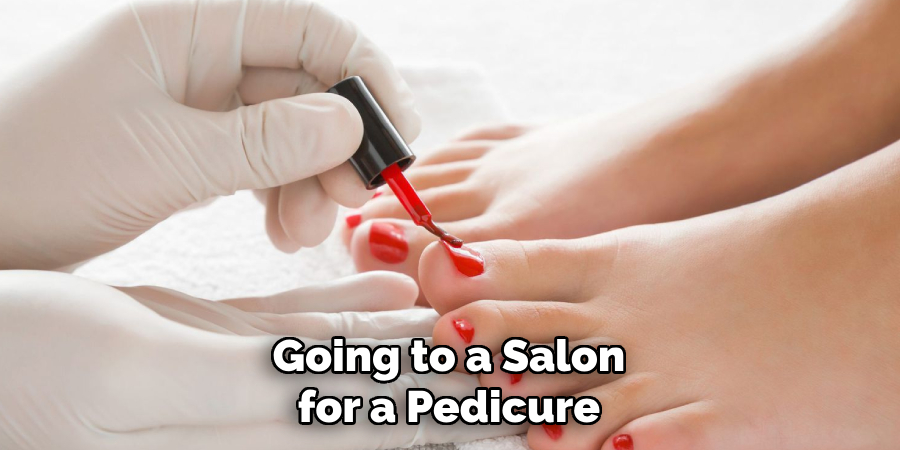
While going to a salon for a pedicure is always an option, it may not be accessible or affordable for everyone. Learning how to paint your toenails at home can give you more control over the process and allow you to personalize the colors and designs. Plus, it can also be a fun activity to do with friends or family.
What If I Have Limited Mobility or Flexibility?
If you have limited mobility or flexibility, reaching your feet and toes may be difficult. In this case, you can use tools such as a long-handled toenail clipper or a toe-spacer to help with reaching and painting your toenails. You can also propping up your foot on a stool or using pillows to support the process.
Conclusion
Now you know how to paint your toenails when you’re fat and why it’s important. Remember, practice makes perfect, and don’t be afraid to experiment with different techniques and colors. Don’t let your size hold you back from feeling confident and beautiful!
And if painting your toenails becomes too difficult, don’t hesitate to seek assistance from a friend, family member, or professional. Take care of yourself and enjoy the process of painting your toenails. Happy painting!
About the Author
Jane Hubbard is a passionate beauty expert with a wealth of experience in makeup, hair, and overall beauty techniques. After years of working as a hairdresser specialist, she followed her entrepreneurial spirit and started her own consultancy business.
Jane has always been driven by her desire to help others feel confident in their own skin, and she does this by sharing her knowledge, experiences, and practical beauty tips. Through her consultancy, she empowers individuals to embrace their unique beauty, offering tailored guidance that boosts both self-esteem and personal style.
Professional Focus
Specializes in makeup, hairstyling, and beauty consulting.
Provides personalized beauty advice, tips, and techniques to help individuals feel confident in their appearance.
Dedicated to staying up-to-date with the latest industry trends and developments.
Passionate about creating a comfortable and empowering experience for every client.
Education History
University of Craft and Design – Bachelor of Fine Arts (BFA) in Woodworking and Furniture Design
Woodworking Apprenticeships – Extensive hands-on training with skilled craftsmen to refine carpentry and furniture making techniques
Online Courses & Masterclasses – Continued education in advanced woodworking techniques, design principles, and specialized tools
Expertise:
Makeup artistry, hairstyling, and beauty consulting.
Personalized beauty techniques to enhance confidence and self-expression.
Educating clients on how to maintain their beauty routines at home.