
Gel polish has revolutionized the world of manicures, offering durability, longevity, and a glossy finish far exceeding traditional nail polish.
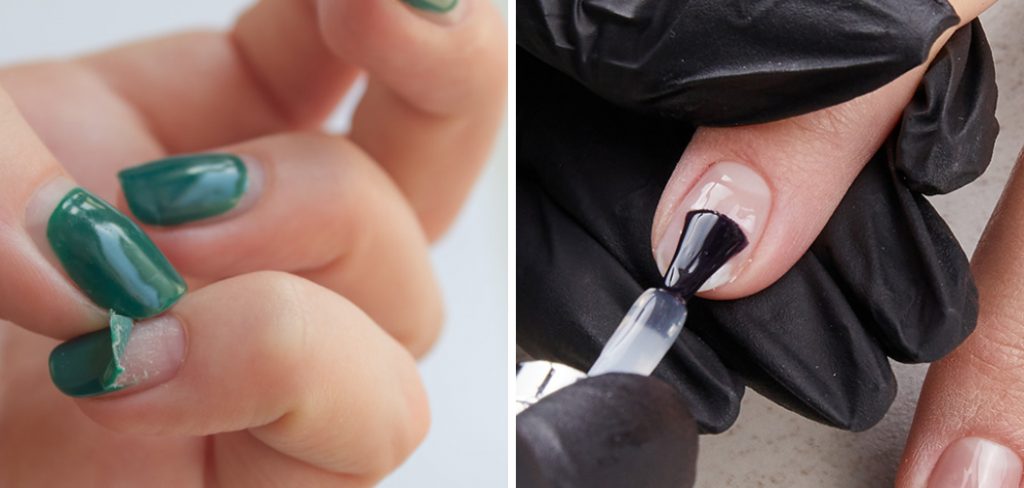
However, one of the primary challenges enthusiasts and professionals face is preventing gel polish from lifting prematurely. This annoying issue affects the aesthetic appeal and reduces the wear time of your manicure. The key to a long-lasting, flawless gel polish application is proper nail preparation, technique, and aftercare.
This guide will walk you through essential tips and tricks how to keep gel polish from lifting, ensuring a salon-quality manicure that endures the rigors of daily life. From prepping your nails correctly to understanding the importance of a top-quality top coat, we’ll cover all you need to know to say goodbye to lifting and peeling gel polish.
What are the Benefits of Gel Polish?
Before diving into how to prevent gel polish from lifting, let’s quickly recap the many benefits this type of nail polish offers.
- Longevity: One of the most significant advantages of gel polish is its longevity. When applied correctly and with proper aftercare, it can last up to two weeks without chipping or peeling.
- Durability: Gel polish is much more durable than traditional nail polish, making it an excellent choice for those with active lifestyles or jobs that are tough on nails.
- Glossy Finish: Gel polish dries to a high-shine finish, giving your manicure a professional and polished look.
- Quick Drying Time: Unlike regular nail polish, which can take up to an hour to fully dry, gel polish cures under an LED or UV lamp in just minutes.
- Wide Range of Colors: Gel polish comes in various shades and finishes, from classic nudes to bold neons, giving you endless options to express your personal style.
These are just a few of the reasons why gel polish has become so popular. However, to reap these benefits fully, it’s crucial to know how to keep gel polish from lifting.
What Will You Need?
Before we begin, make sure you have the following items on hand:
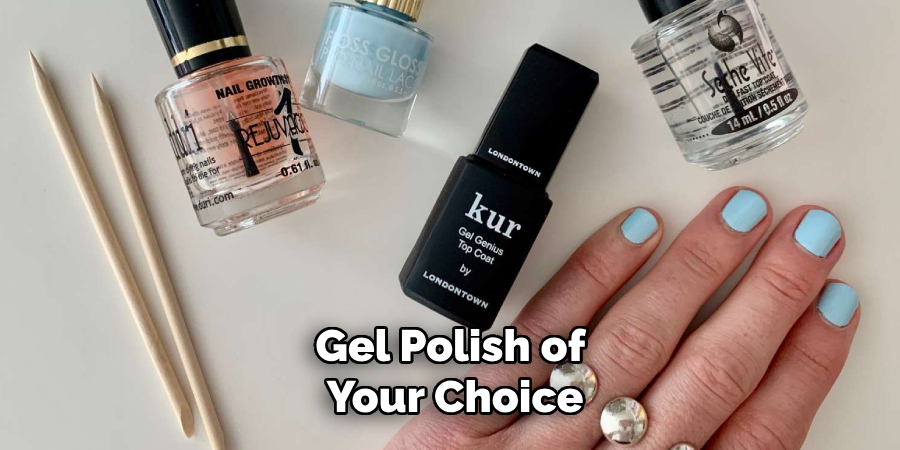
- Gel polish of your choice
- UV or LED lamp
- Base coat
- Top coat
- Bonding agent or dehydrator solution
- Lint-free wipes
- Nail file and buffer
With these tools, you can achieve a professional-looking and long-lasting gel polish application.
10 Easy Steps on How to Keep Gel Polish From Lifting
Step 1. Clean Your Nails Thoroughly:
Begin by cleaning your nails with a lint-free wipe soaked in alcohol or a nail dehydrator. This will remove any natural oils or residue from your nails, ensuring a clean surface to which the gel polish can adhere. Proper cleaning is critical to prevent the polish from lifting and peeling.
Step 2. Buff and Shape Your Nails:
After cleaning, the next step is to buff and shape your nails. Use a fine-grit nail file to shape the tips to your desired form, whether round, square, or almond-shaped.
Remember, how your nails are shaped can significantly affect the overall appearance of your manicure. Once you have your nails shaped, take a buffer and gently buff the surface of each nail. This creates a slightly rough texture that allows the gel polish to grip better, minimizing the chance of lifting.
However, be careful not to over-buff, as thinning the nails too much can lead to damage. Buff is just enough to remove the shine, which indicates that the nail surface is ready for the next step. Rinse your nails or use a lint-free wipe soaked in alcohol to remove the dust and debris from buffing, ensuring a clean base for the polish application.
Step 3. Apply a Bonding Agent or Nail Dehydrator:
Before applying any polish, use a bonding agent or nail dehydrator on your nails. This step is essential for those with oily nail beds or for anyone prone to polish lifting.
A bonding agent or dehydrator will remove any remaining moisture and oils from the nail surface, providing an optimal canvas for the base coat.
Apply a thin layer to each nail, avoiding the skin and cuticle area, and let it dry completely. This process enhances the polish’s adhesion and significantly extends the lifespan of your manicure by creating a stronger bond between your natural nail and the gel polish.
Step 4. Apply the Base Coat Carefully:
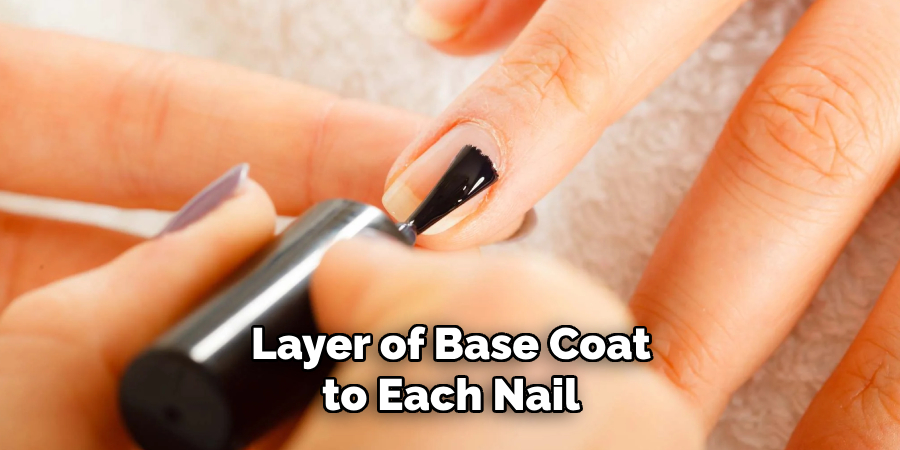
Apply a thin, even layer of base coat to each nail. The base coat serves as a primer for your gel polish, further ensuring the polish adheres securely to your nail and reducing the likelihood of lifting.
Be careful not to get the base coat on your skin or cuticles, as this can lead to premature peeling. After applying the base coat to all nails, cure under a UV or LED lamp according to the directions provided with your lamp, typically around 30 seconds to a minute. An adequately cured base coat is crucial for a long-lasting manicure.
Step 5. Apply Gel Polish in Thin Layers:
Once your base coat is cured, it’s time to apply your gel polish color. Start with a very thin layer, covering the entire nail but avoiding the cuticles and skin. Thin layers are crucial to preventing lifting; thick layers of polish are more likely to peel off.
After applying the first layer, cure it under your UV or LED lamp for the time specified by the polish manufacturer, usually between 30 seconds to 2 minutes. Repeat this step with a second thin layer of gel polish, ensuring complete coverage and a more vibrant color. Remember, each layer should be cured under the lamp before proceeding to the next to achieve a durable and long-lasting finish.
Step 6. Seal the Deal with a Top Coat:
After applying your chosen color and curing it, it’s time to apply a top coat. The top coat protects your manicure from chipping, peeling, and fading. A high-quality top coat will also give your nails that signature glossy finish. Apply one thin layer of top coat to each nail, covering the entire nail surface, including the edges, to seal and protect your polish. Cure it under your UV or LED lamp for the recommended time.
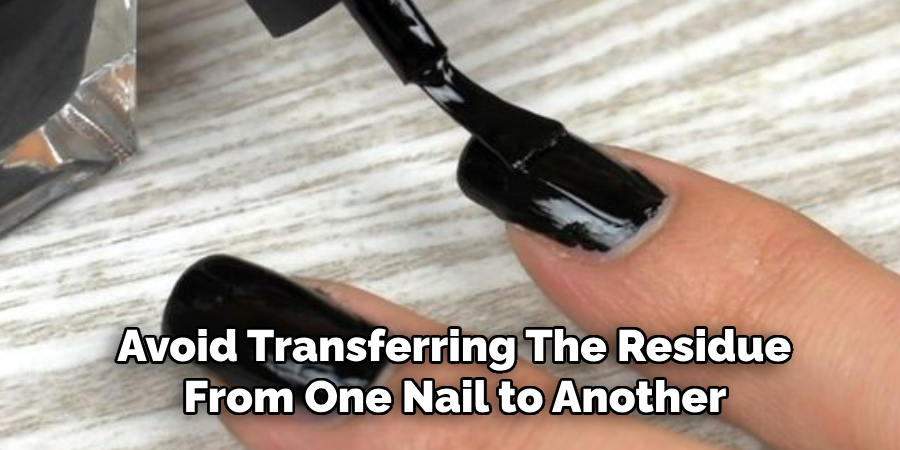
Step 7. Wipe Away Excess Residue:
After the final cure, you may notice a sticky residue on your nails. This is a normal part of the gel polish process and is easily remedied. Take a lint-free wipe soaked in isopropyl alcohol and gently wipe each nail. This removes the sticky layer and enhances the shine of your manicure. Be sure to use a clean section of the wipe for each nail to avoid transferring the residue from one nail to another.
Step 8. Hydrate Your Cuticles:
After meticulously applying your gel polish and ensuring it’s cured to perfection, the final step is to rehydrate your cuticles. Applying gel polish involves using alcohol and other dehydrating steps that can leave your skin and cuticles dry. To replenish moisture and promote healthy nail growth, apply a nourishing cuticle oil around the base of each nail.
Massage the oil into your cuticles and the surrounding skin to enhance absorption. Not only does this step provide essential hydration, but it also adds an extra level of care that makes your manicure look and feel luxurious. Regularly applying cuticle oil can help protect your nails and cuticles from damage and keep your hands well-groomed and polished.
Step 9. Regular Maintenance Checks:
Conduct regular maintenance checks to ensure your gel polish remains pristine and long-lasting. Inspect your nails daily for signs of lifting or peeling at the edges.
If you notice any small lifts or chips, you can lightly buff the area and apply a thin layer of top coat to seal it back down, followed by curing under a UV or LED lamp. This preventative measure can significantly extend the wear of your gel polish.
Remember to wear gloves when performing tasks that could damage your manicure, such as gardening or cleaning with harsh chemicals, to maintain longevity and appearance.
Step 10. Enjoy Your Beautiful Manicure:
Congratulations! You’ve mastered the art of applying gel polish at home. Take a moment to admire your hard work and beautiful, salon-quality finish. Remember, the key to a stunning manicure lies in the application process and the care and maintenance that follows.
Whether you’re a beginner or a seasoned pro, each manicure is an opportunity to express your unique style while caring for your nails’ health. Enjoy the durability and shine of your gel polish, and remember to share your new look with friends or on social media. Your gorgeous nails are now ready to make a statement wherever you go!
By following these ten simple steps, you can achieve a flawless and long-lasting gel polish manicure at home. With a bit of practice and patience, you’ll have salon-worthy nails without the hefty price tag.
5 Additional Tips and Tricks
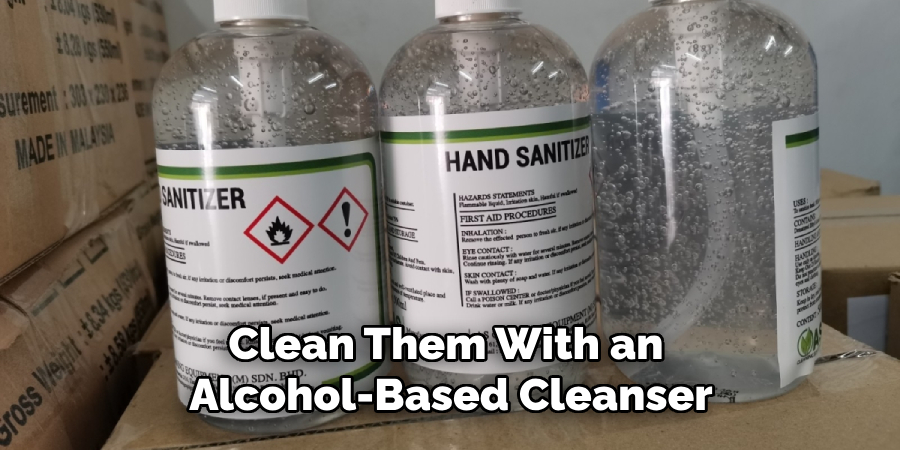
- Prepare Your Nails Properly: Before applying gel polish, ensure your nails are properly prepared. Clean Them With an Alcohol-based Cleanser to remove any natural oils or residue. Lightly buffing the nail surface can also help the gel polish adhere better.
- Apply Thin Layers: Thick layers of gel polish are more prone to lifting. To avoid this, apply the polish in thin, even layers, curing each layer under a UV or LED lamp according to the instructions. This technique ensures a stronger bond to the nail and a smoother finish.
- Use a Primer: A good quality primer can increase the adhesion of gel polish to your nails. Apply a thin primer layer after preparing your nails and before the base coat. Allow it to air dry for a few seconds to create a sticky surface to which the gel polish can bond more effectively.
- Cap the Nail Edges: When applying both the base coat and the color layers, be sure to ‘cap’ the free edge of your nails. Capping involves running the polish brush along the nail tip, which helps seal the polish and prevents lifting at the edges.
- Avoid Water and Heat: After applying your gel polish, avoid excessive exposure to water and heat for at least 12 hours. Water can seep into the edges and cause lifting, and heat can soften the polish before it’s fully set, resulting in a weaker bond to the nail.
With these additional tips and tricks, you can ensure that your gel polish stays in place for longer, giving you a flawless and long-lasting manicure.
5 Things You Should Avoid
- Avoid Using Oily Products: Before and after applying your gel polish, steer clear of hand creams, cuticle oils, or any products containing oils. These can create a barrier between your nail and the gel polish, reducing its ability to adhere correctly and increasing the risk of lifting.
- Don’t Skip the Nail Prep: Failing to properly prepare your nails before applying gel polish is a common mistake. Remove all traces of previous nail polish, gently push back and trim your cuticles, and buff the nail surface. Skipping these steps can lead to poor adhesion and premature lifting.
- Keep Away from Direct Sunlight During Application: UV rays can prematurely cure gel polish while applying it, leading to a bumpy texture or lifting. Always apply gel polish away from direct sunlight and cure it under a designated UV or LED lamp for the best results.
- Avoid Applying Gel Polish on Wet Nails: Water and moisture left on the nails before application can prevent the gel polish from adhering correctly. Ensure your nails are completely dry after cleaning and before applying any polish.
- Refrain from Over-Filing: While buffing the nail’s surface lightly before applying gel polish is necessary, over-filing can weaken your nails, making them more susceptible to lifting and peeling. Use a fine-grit file and gentle pressure to avoid damaging the natural nail.
By avoiding these common pitfalls, you can significantly reduce the chances of your gel polish lifting, ensuring a durable and beautiful manicure.
Why Does Your Gel Polish Peel Off Quickly?
After putting time and effort into applying gel polish, it can be frustrating when it starts to peel off quickly. But why does this happen? There are a few common reasons that may be causing your gel polish to lift or peel.
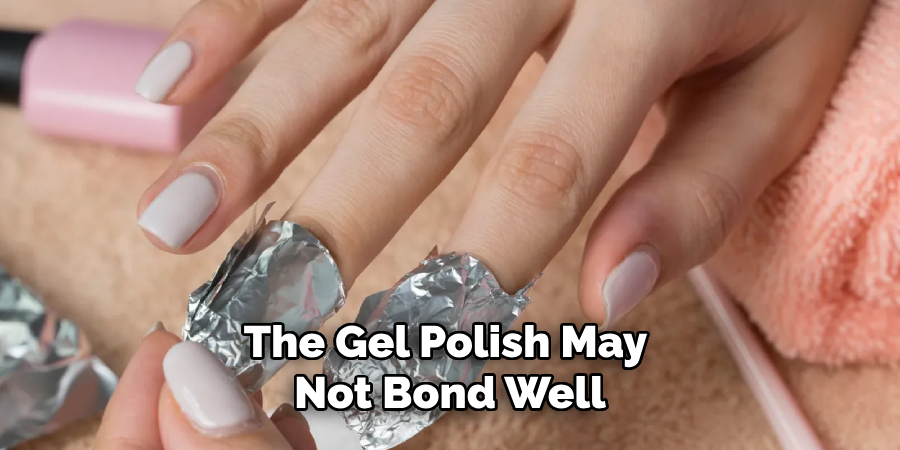
- Improper Nail Prep: As mentioned earlier, properly preparing your nails before applying gel polish ensures proper adhesion. If the nail surface is not cleaned and buffed correctly, the gel polish may not bond well, leading to peeling.
- Exposure to Moisture: Water or moisture on the nails during application can also cause issues with adhesion. This can happen if you don’t dry your hands thoroughly after cleaning them or apply gel polish right after washing your hands.
- Not Capping the Edges: As mentioned earlier, capping the free edge of your nails with each layer of gel polish helps to seal and prevent lifting at the edges. If this step is skipped, your polish can be more prone to peeling.
- Using Oily Products: Applying hand creams or cuticle oils before or after gel polish can create a barrier between the nail and polish, reducing its ability to adhere properly.
- Over-Filing: Filing your nails too aggressively or using a coarse-grit file can damage the natural nail and make it more prone to lifting and peeling. Always use a gentle touch while buffing your nails before applying gel polish.
Always prepare your nails properly, use thin layers of polish, cap the edges, and avoid exposure to moisture during application.
How to Fix Lifting Gel Polish?
If you notice your gel polish lifting or peeling off, don’t panic. You can follow some simple steps to fix the issue and salvage your manicure.
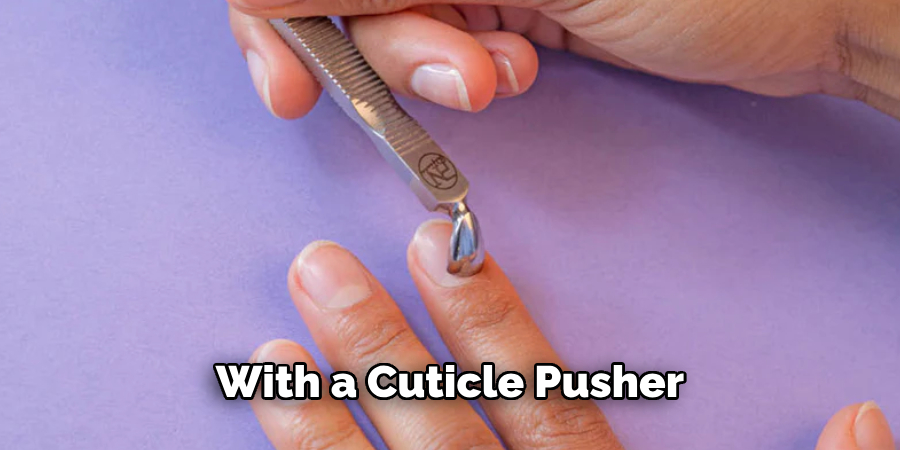
- Clean and Prep the Nail: Start by gently removing any lifted or peeling edges of the gel polish with a cuticle pusher or orange stick. Clean the nail surface thoroughly and buff lightly to remove any oils or residue.
- Apply a Bonding Agent: After cleaning and prepping the nail, apply a bonding agent designed explicitly for gel polish. This will help create a stronger bond between the natural nail and the gel polish.
- Reapply Gel Polish: Once the bonding agent has dried, reapply thin layers of base coat, color polish, and topcoat, making sure to cap the edges. Cure each layer under a UV or LED lamp according to the manufacturer’s instructions.
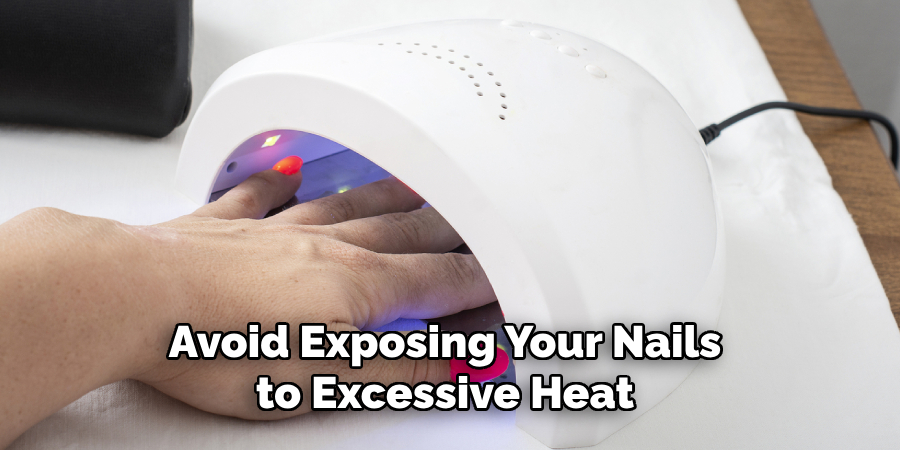
- Avoid Moisture and Heat: After fixing any lifting issues, it is essential to avoid exposing your nails to excessive heat or water for at least 12 hours. This will give the gel polish enough time to cure and bond to the nail fully.
By following these steps, you can quickly fix any lifting or peeling issues with your gel polish and enjoy a flawless, long-lasting manicure.
Conclusion
Attention to detail during every phase of the manicure process is key to ensuring that your gel polish remains pristine and adheres firmly to your nails.
This involves thorough nail preparation, avoiding water and excessive filing, carefully applying thin layers of polish and securing the edges, and steering clear of oily substances before and after application. Fixing any lifting promptly by cleaning, prepping, and re-applying as needed also plays a critical role in maintaining the integrity of your manicure.
By adhering to these guidelines on how to keep gel polish from lifting, you can reduce the likelihood of gel polish lifting, ensuring a lasting, beautiful finish. Remember, achieving and maintaining a flawless gel manicure is not just about the polish itself but also the care and technique applied during the nail prep and application process.
About the Author
Jane Hubbard is a passionate beauty expert with a wealth of experience in makeup, hair, and overall beauty techniques. After years of working as a hairdresser specialist, she followed her entrepreneurial spirit and started her own consultancy business.
Jane has always been driven by her desire to help others feel confident in their own skin, and she does this by sharing her knowledge, experiences, and practical beauty tips. Through her consultancy, she empowers individuals to embrace their unique beauty, offering tailored guidance that boosts both self-esteem and personal style.
Professional Focus
Specializes in makeup, hairstyling, and beauty consulting.
Provides personalized beauty advice, tips, and techniques to help individuals feel confident in their appearance.
Dedicated to staying up-to-date with the latest industry trends and developments.
Passionate about creating a comfortable and empowering experience for every client.
Education History
University of Craft and Design – Bachelor of Fine Arts (BFA) in Woodworking and Furniture Design
Woodworking Apprenticeships – Extensive hands-on training with skilled craftsmen to refine carpentry and furniture making techniques
Online Courses & Masterclasses – Continued education in advanced woodworking techniques, design principles, and specialized tools
Expertise:
Makeup artistry, hairstyling, and beauty consulting.
Personalized beauty techniques to enhance confidence and self-expression.
Educating clients on how to maintain their beauty routines at home.