
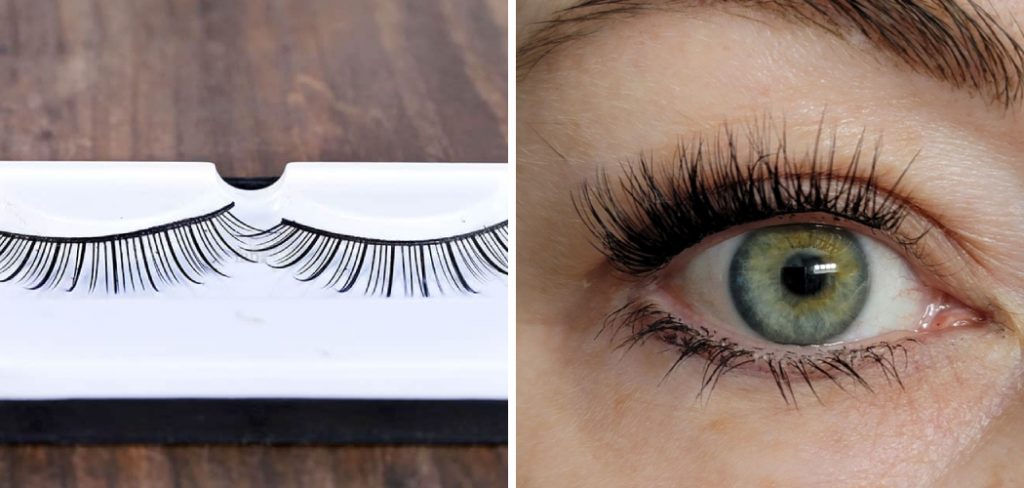
Are you tired of looking for ways to clean your Lashify lashes without damaging them? Look no further because we have the solution for you – cleaning your Lashify lashes with alcohol. This method is not only effective in removing stubborn glue and makeup residue, but it also helps to prolong the lifespan of your false lashes.
Cleaning your Lashify lashes is essential to maintain their longevity and keep them looking fresh and pristine. Using alcohol as a cleaning agent effectively removes dirt, oil, and makeup residue, ensuring your lashes remain in top condition.
In this guide, we will explore the step-by-step process of how to clean lashify lashes with alcohol, providing you with the tips and techniques needed to keep your lashes clean and ready for reuse.
What Will You Need?
Before diving into the cleaning process, let’s gather all the necessary materials for cleaning your Lashify lashes with alcohol. Here’s what you will need:
- Rubbing alcohol (or isopropyl alcohol)
- Cotton pads or Q-tips
- Small bowl or container
- Tweezers or lash applicator tool
- Clean towel or tissue paper
Now that we have everything we need let’s get started!
10 Easy Steps on How to Clean Lashify Lashes With Alcohol
Step 1. Remove the Lashes:
Begin by carefully removing your Lashify lashes. Use a gentle motion to peel them off from the outer corner towards the inner corner. Be sure to handle them delicately to avoid pulling out any of your natural lashes or damaging the false ones. A lash applicator tool or tweezers can provide better precision and control during this process. Place the removed lashes on a clean towel or tissue paper.
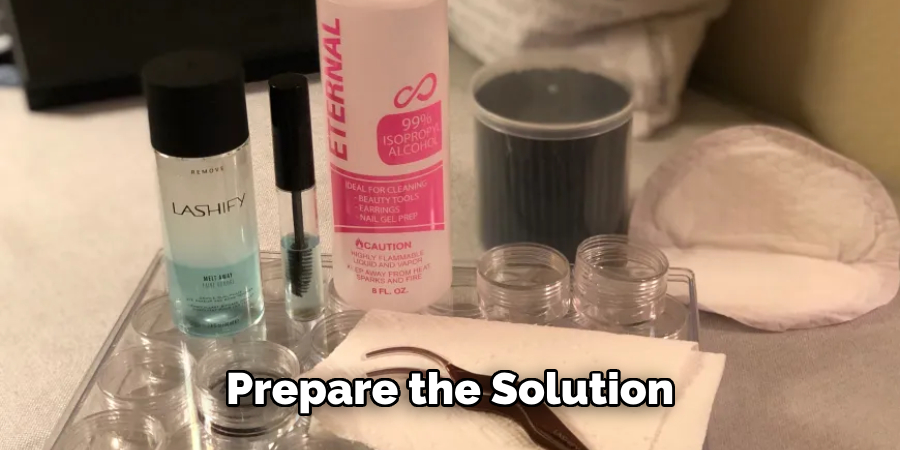
Step 2. Prepare the Alcohol Solution:
Pour a small amount of rubbing alcohol into a small bowl or container. The alcohol will act as a cleaning agent to break down and dissolve any remaining glue and makeup on the lashes. Ensure the container is clean to prevent any additional dirt or debris from contaminating your lashes.
Step 3. Soak a Cotton Pad or Q-tip:
Dip a cotton pad or Q-tip into the alcohol solution, ensuring it is sufficiently saturated but not dripping. The cotton pad is ideal for cleaning larger areas, while the Q-tip provides more precision for detailed cleaning around the band of the lashes. If you are cleaning multiple pairs of lashes, replace the cotton pad or Q-tip with a new one for each pair to prevent cross-contamination.
Step 4. Gently Clean the Lashes:
Using the soaked cotton pad or Q-tip, gently dab and wipe the lash band and the fibers. Start from one end and move toward the other, applying slight pressure to remove any stubborn glue or makeup residue. Be sure to avoid scrubbing, which can damage the delicate lash fibers. If needed, repeat this step until the lashes are thoroughly cleaned.
Step 5. Clean the Lash Band:
Focus on the lash band’s base, where most glue and residue tend to accumulate. If necessary, use a fresh, soaked cotton pad or Q-tip and gently run it along the band. Pay extra attention to any spots where glue buildup is particularly stubborn. The goal is to remove every trace of adhesive without pulling or bending the lash band excessively. For intricate areas, use tweezers to hold the lashes steady while you clean them to ensure precision.
Step 6. Rinse the Lashes (Optional):
Although not mandatory, rinsing the lashes can help remove any lingering alcohol residue. Fill another small container with lukewarm water and gently swish the lashes through it. This step ensures that your lashes are free from any cleaning agents, making them safe and comfortable for reuse. Pat the lashes dry with a clean towel or tissue paper, handling them delicately.
Step 7. Dry the Lashes:
Lay the cleaned lashes on a dry, clean towel or tissue paper. Allow them to air dry completely before storing or using them. This step is crucial, as any remaining moisture can affect the lash’s adhesive properties during the next use. Ensure the lashes are laid out flat and in natural shape to avoid deforming them during the drying process.
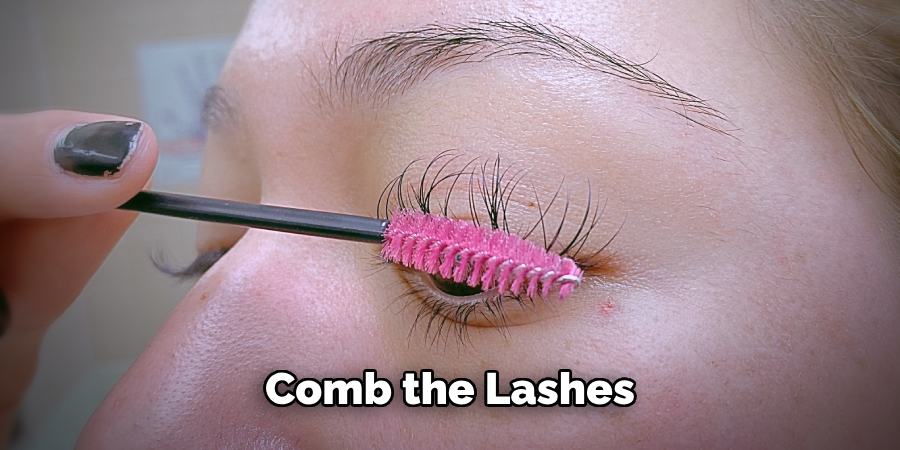
Step 8. Comb the Lashes:
Once the lashes are dry, gently brush through them with a clean spoolie or lash comb. This helps restore their original shape and fluffiness, ensuring they look as good as new. Comb from the base upward to separate any tiny clumps and remove tangles. Be gentle to avoid pulling out any fibers.
Step 9. Store the Lashes Properly:
After ensuring your lashes are dry and combed, store them in a clean, dry lash case. A protective case prevents them from collecting dust or being damaged. If the original packaging is available, it’s an excellent choice for storage since it’s designed to maintain the lash’s shape.
Step 10. Repeat as Needed:
Regular cleaning of your Lashify lashes is crucial, especially if you frequently use makeup products or reapply the lashes multiple times. By repeating the cleaning process as needed, you can maintain the lashes’ integrity, ensuring they stay hygienic and in optimal condition. Make it a routine to clean your Lashify lashes after every few uses or whenever you notice a buildup of glue and makeup residue. Consistent care will not only extend the lifespan of your lashes but also provide a more comfortable and seamless wearing experience each time. Keep your cleaning supplies handy so that it’s easy to incorporate this step into your lash care routine.
By following these steps, you can effectively clean and maintain your Lashify lashes with alcohol. You can enjoy beautiful and flawless lash looks for many future uses with proper care!
5 Additional Tips and Tricks
- Use an Alcohol-Based Cleanser: Opt for a cleanser that contains at least 70% isopropyl alcohol to effectively sanitize and remove any buildup from your Lashify lashes.
- Gentle Dabbing Method: Dampen a cotton pad with alcohol and gently dab the lashes. Avoid rubbing, which can damage the lash fibers and compromise their integrity.
- Avoid the Lash Band: To prevent weakening the adhesive bond, focus on cleaning the lash fibers while steering clear of the lash band.
- Air Dry Thoroughly: Allow the lashes to air dry completely after cleaning with alcohol before reapplying or storing them to ensure that they remain intact and ready for reuse.
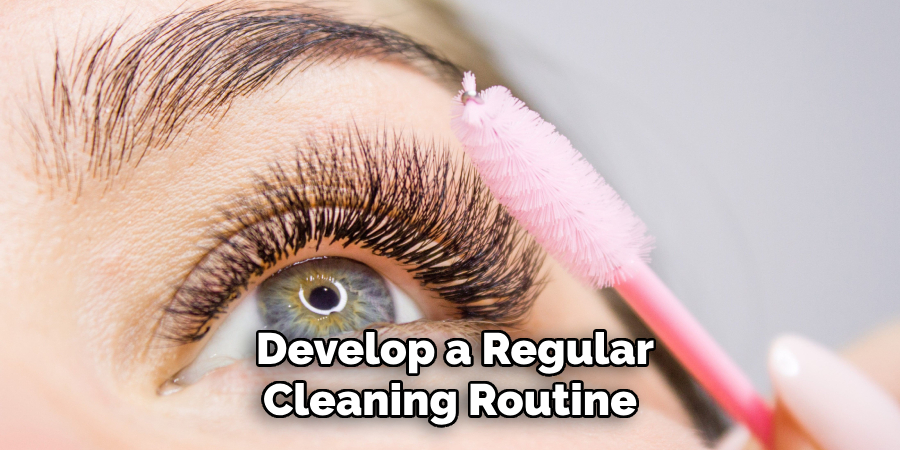
- Regular Cleaning Schedule: Develop a regular cleaning routine, ideally after every use, to maintain the cleanliness and longevity of your Lashify lashes. Regular care will also help prevent any potential eye irritations.
With these additional tips and tricks, you can ensure that your Lashify lashes remain in top condition for multiple uses.
5 Things You Should Avoid
- Using Harsh Chafing Motions: Avoid using aggressive rubbing or chafing motions while cleaning, as this can lead to unwanted damage to the delicate lash fibers.
- Submerging Lashes in Alcohol: Do not soak the entire lash strip in alcohol, as this can over-saturate and weaken the lash band, compromising its usability.
- Applying Too Much Pressure: Be gentle with the lash fibers when cleaning; excessive pressure can deform their shape and reduce their aesthetic appeal.
- Ignoring Drying Time: Skipping or shortening the air-drying process can lead to improper drying, which can cause potential damage or decreased adhesion when worn again.
- Reusing Dirty Cotton Pads: Always use a fresh, clean cotton pad for each cleaning session to prevent the transfer of oils, dirt, or old mascara back onto your lashes.
By avoiding these common mistakes, you can effectively clean and maintain your Lashify lashes for multiple uses without compromising their quality or appearance.
How Can You Reuse Your Lashes?
You can reuse your Lashify lashes multiple times with proper cleaning and maintenance. Here are a few tips to ensure that you get the most out of your lashes:
- Avoid using oil-based products on or near your lashes as they can weaken the adhesive bond.
- Store your clean lashes in a dry, cool place away from direct sunlight to prevent any potential damage.
- Use a lash-safe glue remover to gently remove any remaining adhesive residue before applying the lashes again.
- Be mindful of how often you have used each lash set and replace them when needed. Overused or damaged lashes can cause discomfort and may not look as flawless.
By following these tips, you can enjoy beautiful, reusable lashes for many applications. Proper cleaning and care are essential to maintain the integrity of your Lashify lashes, ensuring they stay hygienic, comfortable, and stunning with each use. So remember to clean your lashes regularly and handle them delicately for a long-lasting lash look that will turn heads!
Conclusion
In conclusion, how to clean Lashify lashes with alcohol is essential for their longevity and performance.
By following the detailed steps provided, such as gently dabbing the lashes with an alcohol-dampened cotton pad and ensuring they are thoroughly air-dried before use or storage, you can effectively remove build-up and keep your lashes hygienic. Additionally, incorporating tips and tricks, like avoiding oil-based products and using only fresh cotton pads, further helps preserve the lashes’ quality. Avoiding common pitfalls such as harsh rubbing and submerging the lash band in alcohol will also safeguard against damage.
With consistent care and mindful practices, you can enjoy the beauty and comfort of your Lashify lashes for multiple applications, ensuring they remain a stunning part of your beauty routine.
About the Author
Jane Hubbard is a passionate beauty expert with a wealth of experience in makeup, hair, and overall beauty techniques. After years of working as a hairdresser specialist, she followed her entrepreneurial spirit and started her own consultancy business.
Jane has always been driven by her desire to help others feel confident in their own skin, and she does this by sharing her knowledge, experiences, and practical beauty tips. Through her consultancy, she empowers individuals to embrace their unique beauty, offering tailored guidance that boosts both self-esteem and personal style.
Professional Focus
Specializes in makeup, hairstyling, and beauty consulting.
Provides personalized beauty advice, tips, and techniques to help individuals feel confident in their appearance.
Dedicated to staying up-to-date with the latest industry trends and developments.
Passionate about creating a comfortable and empowering experience for every client.
Education History
University of Craft and Design – Bachelor of Fine Arts (BFA) in Woodworking and Furniture Design
Woodworking Apprenticeships – Extensive hands-on training with skilled craftsmen to refine carpentry and furniture making techniques
Online Courses & Masterclasses – Continued education in advanced woodworking techniques, design principles, and specialized tools
Expertise:
Makeup artistry, hairstyling, and beauty consulting.
Personalized beauty techniques to enhance confidence and self-expression.
Educating clients on how to maintain their beauty routines at home.