
Removing overtone from hair can be a challenging process, especially if you have unintentional toning from hair dye or treatments. Whether you’re trying to achieve a more natural shade or balance out unwanted colors, understanding the right methods and products is crucial.
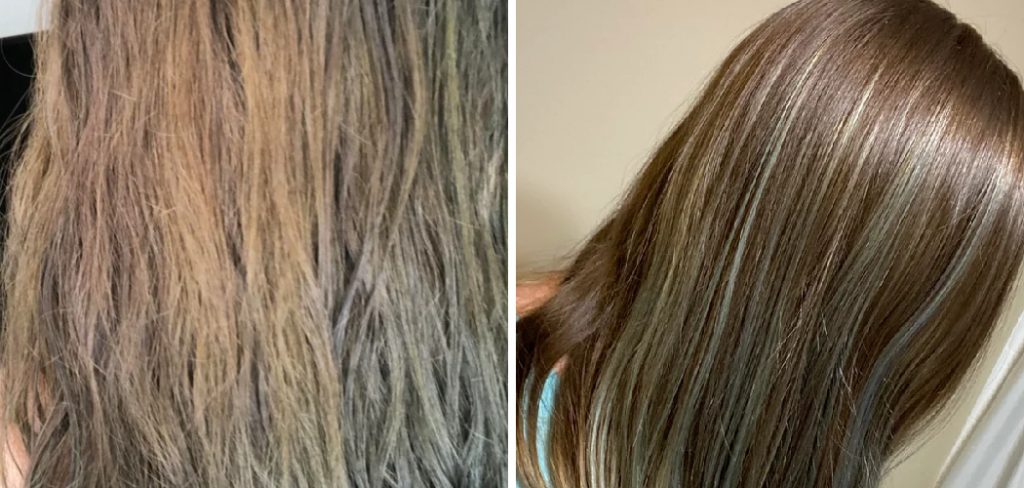
In this guide on how to remove overtone, we will explore effective techniques and approaches for eliminating overtone, ensuring you achieve the desired look while maintaining the health of your hair.
What is Overtone?
Overtone refers to the additional pigments and tones that can appear in hair as a result of dyeing or chemical treatments. These tones can sometimes be unintended, leading to a hue that does not align with the desired result. Overtone can manifest as brightness or depth that alters the overall color, creating an imbalance that may require correction.
Understanding overtone is essential for anyone engaged in hair coloring, as it plays a significant role in achieving that perfect shade. In some cases, overtone can even enhance or complement the main color, but when it doesn’t, knowing how to effectively remove or adjust it becomes important for maintaining a harmonious look.
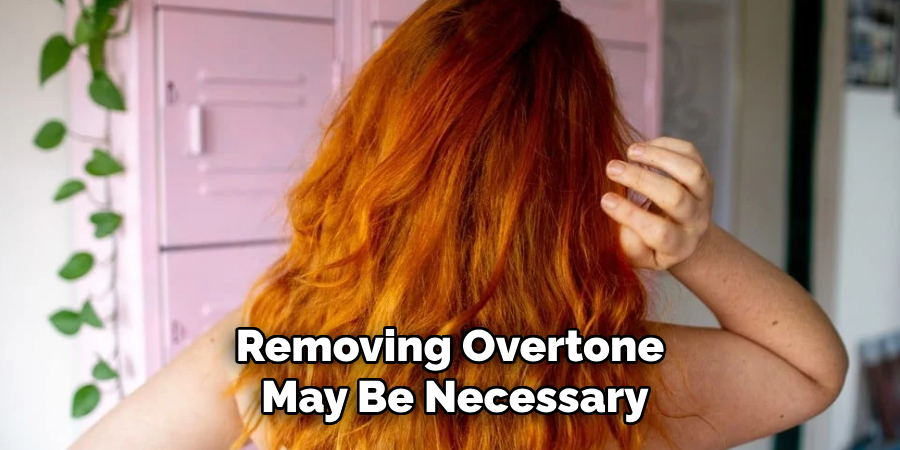
Why Removing Overtone is Important
There are various reasons why removing overtone might be necessary. These include:
Achieving a More Natural Color:
If you’ve accidentally ended up with an overtone that doesn’t align with your natural hue, you may want to remove it for a more authentic and subtle look. This is particularly important for those with blonde, red, or light-colored hair.
Balancing Out Unwanted Tones:
Sometimes, overtone can make the overall color look muddy or dull. In such cases, removing it can help balance out the tones and create a more vibrant and dynamic appearance.
Preparing for a New Color:
Removing overtone may be necessary when preparing to dye your hair a new color. By eliminating any existing overtones, you create a blank canvas that will allow the new color to take hold evenly and produce the desired result.
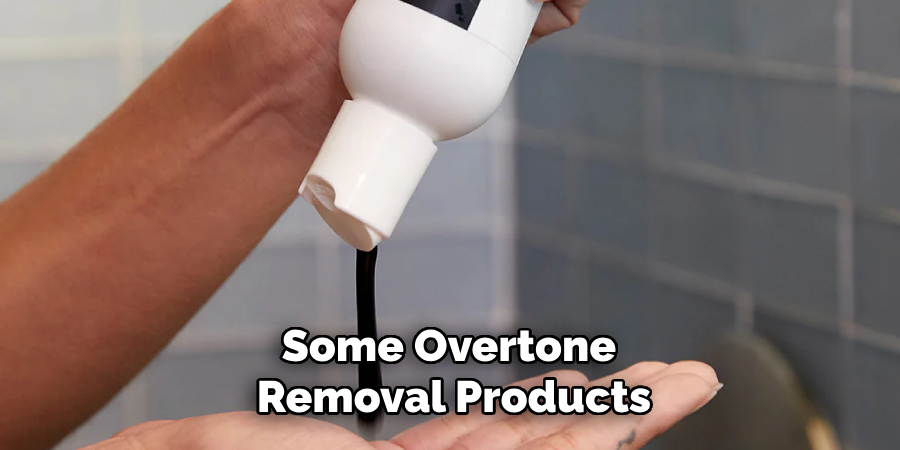
Needed Materials
Before we dive into the steps for removing overtone, it’s essential to gather all the necessary materials. These include:
Clarifying Shampoo:
A clarifying shampoo is vital in removing any build-up or residue that may be contributing to the overtone. It’s best to use a clarifying shampoo specifically designed for colored hair to avoid stripping the color.
Color Remover:
If you have significantly dark or strong tones that need to be removed, a color remover can be an effective solution. Be sure to choose one that is safe for your hair type and follow the instructions carefully.
Toning Shampoo:
For those with blonde, silver, or gray hair, toning shampoo can help neutralize unwanted brassiness caused by overtone.
8 Steps on How to Remove Overtone
Step 1: Prepare Your Hair
Before you begin the process of removing overtone, it’s crucial to ensure your hair is in the best possible condition. Start by washing your hair with a gentle, sulfate-free shampoo to remove any surface dirt and oils. This will help your hair absorb the treatment products more effectively. After rinsing, gently towel dry your hair to eliminate excess moisture without causing damage.
It’s also advisable to avoid using any heavy conditioners or styling products at this stage, as they can create a barrier that may hinder the efficacy of the products you will be using to remove the overtone. When your hair is clean and free of products, you’ll be ready to move on to the next steps.
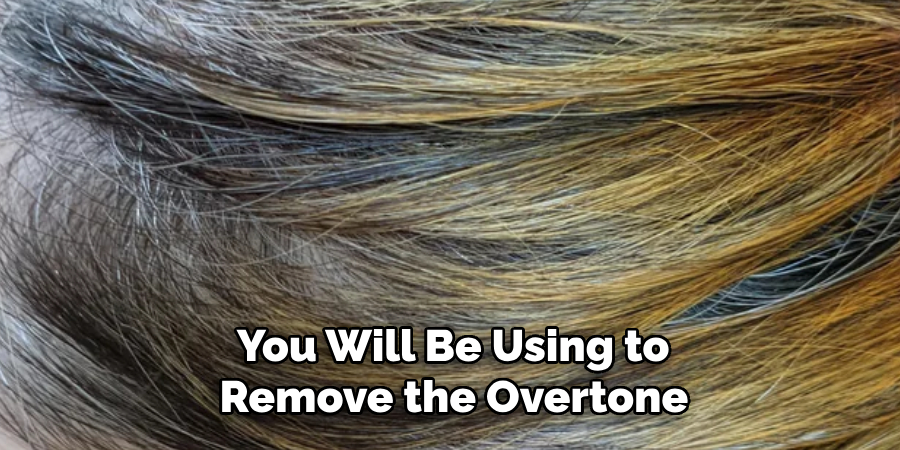
Step 2: Mix the Products
Once your hair is prepared, the next step is to mix the products you will be using to remove the overtone. If you are using a color remover, carefully follow the instructions on the packaging to ensure you achieve the right ratio of product to developer, if applicable. Generally, mix equal parts of the color remover and the developer in a non-metallic bowl, as metal can interfere with the chemical process.
If you’re opting for a clarifying shampoo, it can be used alone, but consider mixing it with a small amount of a lightweight conditioner to reduce potential dryness. For toning shampoo, simply shake the bottle gently to ensure an even distribution of the pigment. Prepare the mixtures just before you are ready to apply them to ensure they remain fresh and effective.
Step 3: Apply the Products
Using a color brush or your hands (with gloves on), apply the product mixture evenly to your hair, starting at the roots and working your way down. Make sure to saturate every section of hair thoroughly, as this will ensure an even removal of overtone.
If you are using a clarifying shampoo, apply it in the same manner but focus on massaging it into the scalp and roots for a deep cleanse. For toning shampoo, distribute it evenly throughout your damp hair and leave it on for 5-10 minutes before rinsing out.
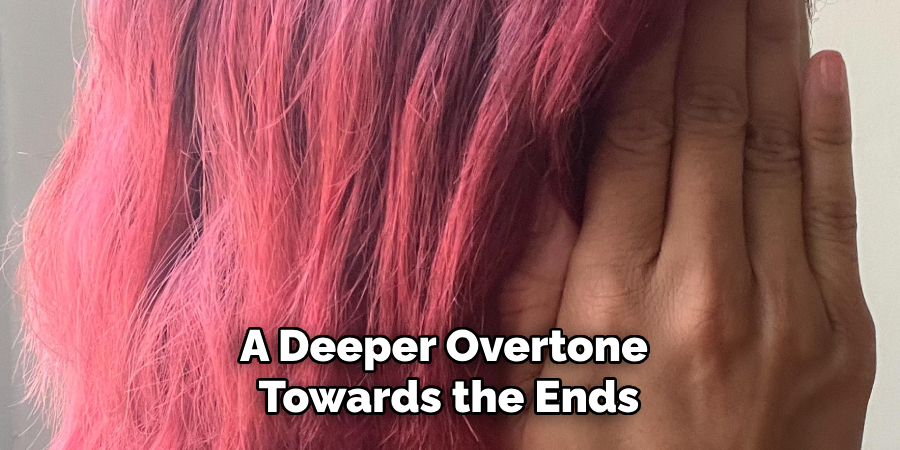
Step 4: Wait for the Product to Process
After applying the products, follow their recommended processing time. This can range from 5 to 30 minutes, depending on the product and the level of overtone you are trying to remove. Avoid leaving it in for longer than instructed, as this can cause damage or unwanted results.
It’s also important to note that the processing time may differ for different areas of your hair, depending on the level of overtone. For example, if you have brassy tones near your roots and a deeper overtone towards the ends, leave the product in longer at the root area.
Step 5: Rinse Thoroughly
Once the processing time has elapsed, it’s essential to rinse your hair thoroughly with lukewarm water to remove the product completely. Begin by letting the water flow through your hair gently to avoid unnecessary friction, which can lead to damage. Focus on ensuring that all remnants of the color remover, clarifying shampoo, or toning shampoo are washed out, as any leftover product can impact the final result or lead to dryness.
After rinsing, follow up with a nourishing conditioner to restore moisture and help detangle your hair. Allow the conditioner to sit for a few minutes before rinsing it out to ensure your hair receives the necessary hydration and care.
Step 6: Assess the Results
After rinsing out the products, it’s time to evaluate the outcome of your treatment. Gently towel-dry your hair and observe the color to see if the overtone has been successfully removed or neutralized. Check for areas that may still appear discolored or uneven, particularly focusing on the roots and ends of your hair. If you find that there are still lingering overtones, you may need to repeat the process with the appropriate product. If the results are to your satisfaction, proceed to style your hair as desired.
Additionally, it’s advisable to monitor the condition of your hair over the following days, as the true impact of the treatment may become more apparent with time. If needed, continue to hydrate and care for your hair with suitable products to maintain its health and vibrancy.
Step 7: Consider Professional Help
If you find that the overtone is still present or too stubborn to remove with at-home treatments, it may be best to seek professional assistance. Hairdressers have access to stronger and more specialized products and can assess your hair’s condition and recommend the most suitable treatment for your specific needs.
You can also consult with a professional for preventative measures to avoid future overtone mishaps. They may suggest hair care routines and products that are tailored to your hair type and color to maintain its vibrancy while minimizing the risk of unwanted undertones.

Step 8: Prevent Future Overtone
Once you’ve successfully removed overtone from your hair, it’s essential to take preventative measures to avoid its recurrence in the future. This includes using color-safe hair products, avoiding excessive heat styling, and limiting exposure to chlorine or saltwater. Regularly using clarifying shampoos can also help prevent build-up and maintain the vibrancy of your hair color.
Following these steps on how to remove overtone and incorporating them into your hair care routine can help you achieve and maintain a beautiful, vibrant hair color without any unwanted overtone. Remember to always pay attention to your hair’s needs and use suitable products to keep it healthy, strong, and looking its best.
Additional Tips
- Before applying any product, do a patch test on a small section of hair to ensure there are no adverse reactions.
- Deep condition your hair prior to treatment if it is already dry or damaged.
- Always wear gloves when handling chemical products.
- Use sulfate-free shampoos and conditioners to prolong the life of your hair color.
- If you are not satisfied with the outcome, seek professional help before attempting to re-dye your hair at home.
- Be patient and gentle with your hair during the process to avoid causing damage or further unwanted results.
- Remember that removing overtone can be a process and may require multiple treatments to achieve desired results, so don’t be discouraged if it takes a few tries.
Frequently Asked Questions
Q1: Can I Use Regular Shampoo to Remove Overtone From My Hair?
A1: Regular shampoos are not specifically designed to remove color or tone from the hair. It’s best to use a clarifying shampoo, color remover, or toning shampoo for targeted results.
Q2: How Often Can I Use Overtone Removal Products?
A2: It’s recommended to wait at least 2-4 weeks between treatments to avoid damaging your hair. Additionally, follow the instructions on each product for their specific guidelines on frequency of use.
Q3: Will Using an Overtone Removal Product Strip My Hair Color?
A3: Some overtone removal products may lighten or strip your hair color slightly, especially if used repeatedly. However, using toning shampoos or color removers specifically designed for removing overtones should not cause significant damage to your hair color. Always follow up with a nourishing conditioner to help restore any lost moisture.
Conclusion
Removing overtone from your hair may seem like a daunting task, but with the right products and techniques, it can be easily achieved at home. Remember to prepare your hair properly before applying any product, mix them correctly, follow processing times carefully, and asses the results before proceeding.
If needed, seek professional help for stubborn overtones and take preventative measures to avoid future mishaps. With these steps on how to remove overtone, you can maintain vibrant and healthy hair free from unwanted undertones. So go ahead and confidently rock your desired hair color!
About the Author
Jane Hubbard is a passionate beauty expert with a wealth of experience in makeup, hair, and overall beauty techniques. After years of working as a hairdresser specialist, she followed her entrepreneurial spirit and started her own consultancy business.
Jane has always been driven by her desire to help others feel confident in their own skin, and she does this by sharing her knowledge, experiences, and practical beauty tips. Through her consultancy, she empowers individuals to embrace their unique beauty, offering tailored guidance that boosts both self-esteem and personal style.
Professional Focus
Specializes in makeup, hairstyling, and beauty consulting.
Provides personalized beauty advice, tips, and techniques to help individuals feel confident in their appearance.
Dedicated to staying up-to-date with the latest industry trends and developments.
Passionate about creating a comfortable and empowering experience for every client.
Education History
University of Craft and Design – Bachelor of Fine Arts (BFA) in Woodworking and Furniture Design
Woodworking Apprenticeships – Extensive hands-on training with skilled craftsmen to refine carpentry and furniture making techniques
Online Courses & Masterclasses – Continued education in advanced woodworking techniques, design principles, and specialized tools
Expertise:
Makeup artistry, hairstyling, and beauty consulting.
Personalized beauty techniques to enhance confidence and self-expression.
Educating clients on how to maintain their beauty routines at home.