
Are you tired of using harsh chemicals to lighten your hair? Look no further than chamomile!
If you’re looking for a natural way to achieve lighter hair tones and add sun-kissed highlights, chamomile may just be your secret ingredient. Chamomile has been used for centuries as a natural hair lightener with its gentle and lightening properties. This botanical powerhouse brightens hair and adds a beautiful golden hue without the harsh chemicals in commercial hair dyes.
In this guide on how to use chamomile to lighten hair, we will explore the various methods and techniques to utilize the power of chamomile to lighten your hair, allowing you to achieve the sun-kissed look you desire, all while embracing the beauty of nature. Discover the wonders of chamomile and embark on a journey to naturally lighter and more vibrant locks.
What Are the Benefits of Using Chamomile to Lighten Hair?
Before jumping into the different methods of using chamomile to lighten hair, let’s first understand the benefits of this natural ingredient.
- Gentle and Safe: Unlike commercial hair dyes, which can damage hair with harsh chemicals, chamomile is a gentle and safe alternative. It does not strip hair of its natural oils, making it suitable for all hair types.
- Natural Lightening: Chamomile contains a compound called apigenin that helps to naturally lighten hair by breaking down melanin (the pigment responsible for our natural hair color).
- Adds Shine: In addition to lightening, chamomile also adds shine and luster to your hair, making it appear healthier and more vibrant.
- Soothes Scalp: Chamomile has anti-inflammatory properties that can soothe an irritated scalp, promoting healthier hair growth.

Now that we understand the benefits of using chamomile to lighten hair let’s dive into the different methods you can use to achieve natural highlights.
What Will You Need?
Before beginning any of the methods, it is essential to gather all the necessary materials. Here’s a list of items you will need:
- 1 cup of dried chamomile flowers or five teabags
- 2 cups of boiling water
- A spray bottle
- A fine-toothed comb or brush
- Lemon juice (optional)
Once you have all the materials, let’s get started with the methods.
10 Easy Steps on How to Use Chamomile to Lighten Hair
Step 1. Rinse and Style:
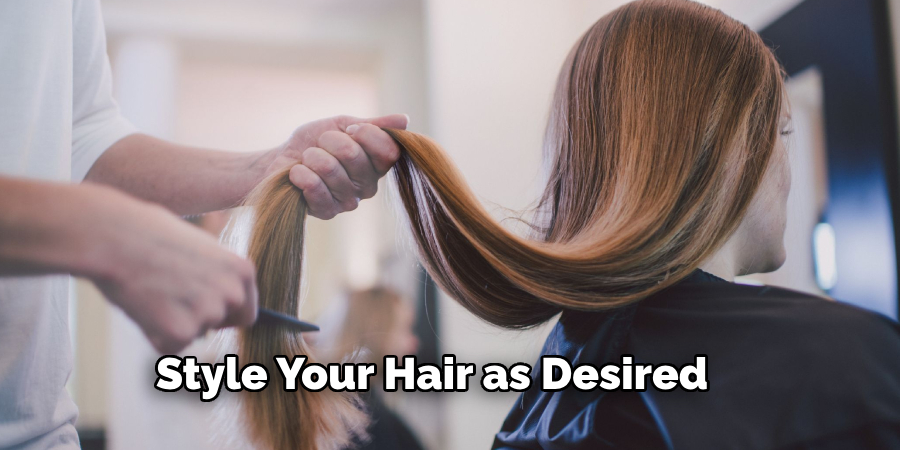
Start by rinsing your hair with water to remove any product buildup or impurities. Use a gentle shampoo and conditioner to cleanse and hydrate your hair. Once done, towel dry your hair until it is slightly damp. Style your hair as desired, ensuring it is detangled and easy to work with. This will provide a clean canvas for applying the chamomile solution and achieving optimal results. Remember, preparation is key to ensure even distribution and effective hair lightening.
Step 2. Brew Chamomile Tea:
Place 1 cup of dried flowers or five chamomile tea bags into a heatproof bowl or container. Pour 2 cups of boiling water over the chamomile and allow it to steep for about 30 minutes. This will create a strong chamomile infusion essential for lightening your hair. Once the tea has cooled to a comfortable temperature, strain the chamomile flowers or remove the tea bags, ensuring the liquid is free of any loose particles. The resulting tea will serve as the base for your natural hair-lightening treatment.
Step 3. Transfer to a Spray Bottle:
Carefully pour the brewed and cooled chamomile tea into a clean spray bottle. This will make it easy to apply the solution evenly across your hair. If desired, you can add 1–2 tablespoons of lemon juice to the tea before transferring it to enhance the lightening effect, especially if you plan to expose your hair to sunlight during the process. Shake the spray bottle gently to mix any added ingredients thoroughly.
Step 4. Protect Your Skin:
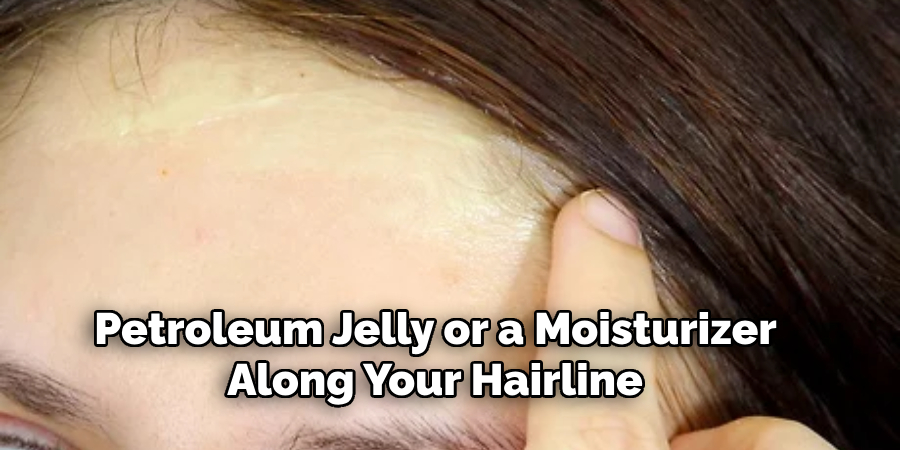
Before applying the chamomile solution, ensure your skin is protected from irritation. Drape a towel or cape around your shoulders to shield your clothing and skin from drips. You can also apply a thin layer of petroleum jelly or a moisturizer along your hairline, ears, and neck to create a barrier and prevent the solution from coming into direct contact with your skin. This step is essential if you add lemon juice to the mixture, as it can be mildly irritating to sensitive skin.
Step 5. Section Your Hair:
To ensure thorough and even application of the chamomile solution, it is essential to section your hair. Use hair clips or hair ties to divide your hair into manageable sections. Start by parting your hair down the middle from the forehead to the nape of your neck. Then, separate each side into two or more sections, depending on the thickness of your hair. This will allow you to easily apply the solution and ensure all strands are evenly coated. Working with smaller sections also helps to minimize any missed spots and achieve consistent results.
Step 6: Apply the Solution:
Using a hair dye brush or applicator bottle, apply the chamomile solution to your hair, starting from the roots and working towards the ends. Ensure that each section of hair is thoroughly saturated with the solution, covering both the top and underside of the strands. Gently massage the solution into your hair to ensure even distribution. As you apply the solution, it’s a good idea to have a mirror nearby or enlist a friend’s help to ensure you get all the spots. Take your time to work through each section, making sure that the solution is evenly applied from root to tip.
Step 7: Comb Through:
After applying the chamomile solution to your hair, use a wide-toothed comb to comb through your strands gently. This helps to ensure that the solution is evenly distributed and coats each strand from root to tip. Start from the top and work your way down, detangling any knots or tangles as you go. Comb through each section of hair thoroughly, ensuring that the solution reaches all areas and that there are no clumps or uneven patches. This step ensures that the lightening effect is consistent throughout your hair and helps to achieve an even, natural-looking result.
Step 8: Sun Exposure:

If you’re looking for a more dramatic lighting effect, consider exposing your hair to sunlight while the chamomile solution is still in your hair. The sun’s natural UV rays will activate the lightening properties of the chamomile, resulting in brighter and lighter locks. However, ensure not to overexpose your hair to direct sunlight, especially if you have dry or damaged hair, as it can cause further damage and dryness. If you plan to be in the sun for an extended period, consider wearing a hat or using a leave-in conditioner with SPF protection to protect your hair.
Step 9: Let It Sit:
After applying the chamomile solution and exposing it to sunlight (if desired), let it sit for at least 30 minutes. This will give the solution enough time to work its magic on your hair and create natural highlights. You can also cover your hair with a shower cap or plastic wrap during this time to help trap heat and intensify the lighting effect.
Step 10: Rinse and Condition:
Once the chamomile solution has had sufficient time to work, rinse your hair thoroughly with lukewarm water to remove all traces of the mixture. Make sure to wash your scalp and strands thoroughly to avoid any residue. Follow up with a deep-conditioning treatment or hydrating hair mask to restore moisture and nourish your hair. The lightening process can be slightly drying, so conditioning is essential to keep your hair soft, shiny, and healthy. Allow your hair to air dry or style it to reveal your refreshed, sun-kissed locks! Depending on your hair’s natural color and the intensity of the lightening effect you want, you may repeat this process once a week until you achieve your desired result.
By following these simple steps, you can naturally lighten your hair at home with chamomile tea.
5 Things You Should Avoid
- Overexposure to Sun: While chamomile can enhance natural highlights, excessive sun exposure without proper protection can lead to hair damage and dryness. When spending time outdoors, it’s essential to shield your hair with a hat or UV-protective products.
- Using Low-Quality Products: Opt for high-quality chamomile products or natural chamomile tea for hair lightening. Using products with low chamomile concentration or artificial additives may not yield the desired results and could damage your hair.
- Overprocessing: Avoid overusing chamomile treatments on your hair. Excessive application or leaving chamomile-infused products on for too long can lead to dryness and potential hair damage.
- Skipping Patch Tests: Before applying chamomile treatments to your entire head, perform a patch test to check for adverse reactions or allergies. This step is crucial to prevent potential scalp issues or unwanted side effects.
- Expecting Dramatic Results on Dark Hair: Chamomile is more effective at enhancing highlights on lighter hair shades. While it can add subtle golden tones to dark hair, it may not produce significant lighting effects.
Conclusion
How to use chamomile to lighten hair can be a natural and safe alternative to chemical-based hair lightening methods. By following the proper techniques and being mindful of potential risks, you can achieve subtle golden highlights without damaging your hair.
Remember to source high-quality products and perform patch tests before using chamomile on your entire head. While chamomile can enhance natural highlights, it may not produce dramatic results on dark hair shades. Embrace the unique benefits that chamomile offers and enjoy its nourishing properties for healthy, naturally lighter locks.
So, these are the five things you should avoid when using chamomile to lighten your hair. Follow these tips, and you’ll have
About the Author
Jane Hubbard is a passionate beauty expert with a wealth of experience in makeup, hair, and overall beauty techniques. After years of working as a hairdresser specialist, she followed her entrepreneurial spirit and started her own consultancy business.
Jane has always been driven by her desire to help others feel confident in their own skin, and she does this by sharing her knowledge, experiences, and practical beauty tips. Through her consultancy, she empowers individuals to embrace their unique beauty, offering tailored guidance that boosts both self-esteem and personal style.
Professional Focus
Specializes in makeup, hairstyling, and beauty consulting.
Provides personalized beauty advice, tips, and techniques to help individuals feel confident in their appearance.
Dedicated to staying up-to-date with the latest industry trends and developments.
Passionate about creating a comfortable and empowering experience for every client.
Education History
University of Craft and Design – Bachelor of Fine Arts (BFA) in Woodworking and Furniture Design
Woodworking Apprenticeships – Extensive hands-on training with skilled craftsmen to refine carpentry and furniture making techniques
Online Courses & Masterclasses – Continued education in advanced woodworking techniques, design principles, and specialized tools
Expertise:
Makeup artistry, hairstyling, and beauty consulting.
Personalized beauty techniques to enhance confidence and self-expression.
Educating clients on how to maintain their beauty routines at home.