
Are you tired of frizzy curls? Do you want to achieve defined and smooth curls that last all day long? Applying gel on curly hair can help you achieve the perfect definition, reduce frizz, and hold your curls in place.
For those with curly hair, achieving the perfect balance of definition and frizz control can be a constant challenge. That’s where the magic of gel comes in. Applying gel to curly hair can help enhance your natural curl pattern, lock in moisture, and provide lasting hold throughout the day.
In this guide on how to apply gel on curly hair, we’ll walk you through the step-by-step process of applying gel on curly hair, so you can embrace your beautiful curls with confidence. Get ready to unlock the secrets to a defined and bouncy mane that will leave you feeling fabulous!
What Are the Benefits of Applying Gel on Curly Hair?
Before we dive into the application process, let’s first understand why applying gel on curly hair can be beneficial. Here are some key benefits:
- Enhances Curl Definition: One of the main benefits of using gel on curly hair is that it helps improve your natural curl pattern. The gel defines each curl, making them more defined and bouncy.
- Reduces Frizz: Gels are formulated with ingredients that help control frizz and flyaways. Using a gel specifically designed for curly hair can combat frizz and achieve smooth and manageable curls.
- Provides Lasting Hold: Unlike most styling products that may lose their hold throughout the day, the gel gives long-lasting hold to your curls. This means you won’t have to continually touch up your hair throughout the day, giving you more time to focus on other things.
- Locks in Moisture: Gel can help lock in moisture and prevent dryness, essential for maintaining healthy and hydrated curls.
Now, let’s dive into how to apply gel on curly hair step by step!
What Will You Need?
Before you begin the application process, gathering all the necessary tools and products is essential. Here’s a list of what you’ll need:
- Gel: Use a specially designed for curly hair to achieve the best results.
- Hair Oil or Serum: This will help add moisture and shine to your curls.
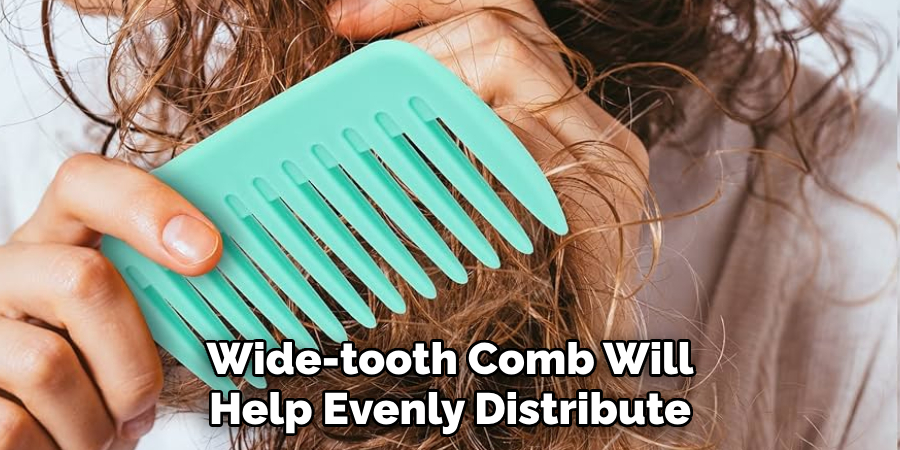
- Wide-Tooth Comb: A wide-tooth comb will help evenly distribute the gel throughout your hair.
- Microfiber Towel or Cotton T-shirt: These are gentler options for drying your hair than traditional towels, which can cause frizz.
Once you have ready all your tools and products, it’s time to apply gel to your curly hair.
10 Easy Steps on How to Apply Gel on Curly Hair
Step 1: Wash Your Hair
Start by thoroughly washing your hair with a sulfate-free shampoo. Massage your scalp gently to remove any dirt or product buildup. Rinse out the shampoo completely with lukewarm water. Avoid using hot water as it can strip away natural oils from your hair, leading to dryness.
To remove excess moisture, pat your hair dry with a microfiber towel or a cotton T-shirt. Curly hair tends to be more fragile when wet, so handle it carefully to minimize frizz and breakage.
Step 2: Apply Hair Oil or Serum
After washing and towel-drying your hair, it’s time to apply a hair oil or serum. This step adds an extra layer of moisture, helps to seal in hydration, and reduces frizz. Choose a lightweight oil or serum that suits your hair type and apply a small amount to the palms of your hands.
Gently work the product through your hair, focusing on the ends and areas prone to dryness. This will help nourish and protect your curls, making them soft, shiny, and more manageable. Be careful not to use too much product, as this can weigh down your hair and make it appear greasy. Remember, a little goes a long way regarding hair oils and serums!
Step 3: Section Your Hair
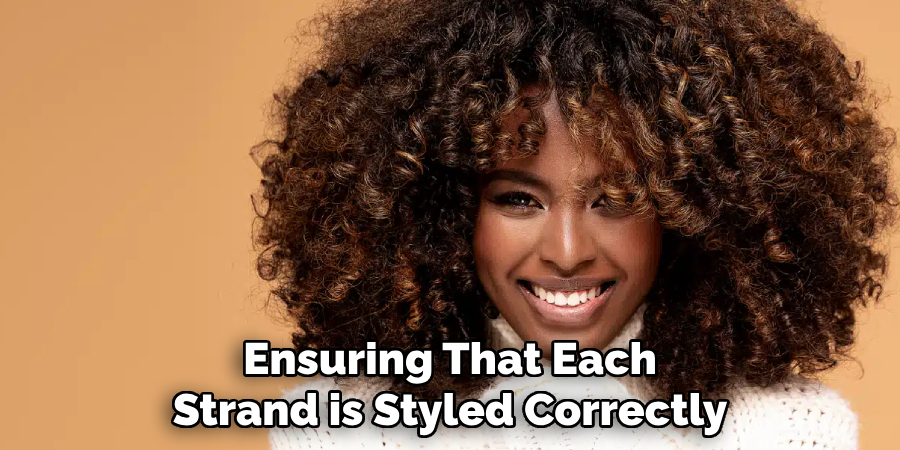
To ensure the distribution of products and practical styling, it’s essential to divide your hair into sections. This technique is especially beneficial for those with thick or lengthy hair. Start by using hair clips or hair ties to separate your hair into manageable sections.
The number of sections will depend on the thickness and length of your hair. By sectioning your hair, you can easily focus on one area at a time, ensuring that each strand is styled correctly and cared for. This technique also helps to prevent tangling and ensures that the products are evenly distributed throughout your hair. Take your time and be gentle when sectioning to avoid unnecessary pulling or breakage.
Step 4: Slightly Wet Each Section
Before applying any styling products, slightly wetting each section of your hair can help enhance the effectiveness and distribution of the products. You can use a spray bottle filled with water to lightly mist each section lightly, ensuring they are damp but not soaking wet.
This step helps to activate certain styling products and allows them to penetrate the hair strands more effectively, resulting in better hold and definition. Additionally, dampening the hair can make it more pliable and easier to work with, reducing the risk of breakage or damage during styling. Remember to start with a small amount of water and adjust as needed, depending on your hair type and the desired level of dampness.
Step 5: Apply Gel to Each Section
Now it’s time to apply the gel! Rub a small amount of your chosen gel between your palms to warm it up. This will make it easier to distribute throughout your hair. Next, apply the gel evenly to each section of hair, working from root to tip. Be sure to use only a little product as this can result in crunchy or greasy-looking curls. Start with a dime-sized amount and gradually add more if needed.
Step 6: Use a Wide-Tooth Comb
After applying the gel, it’s time to distribute it evenly through your hair strands. Use a wide-tooth comb to ensure even distribution and detangle any knots or tangles. Starting from the ends, gently comb through each section, working your way up to the roots.
The comb’s wide teeth help prevent excessive pulling or breakage, making it a suitable tool for curly hair. Be patient and gentle while combing to avoid disrupting the curl pattern or causing frizz. Once your hair is evenly combed through, you can proceed to the next step in your styling routine.
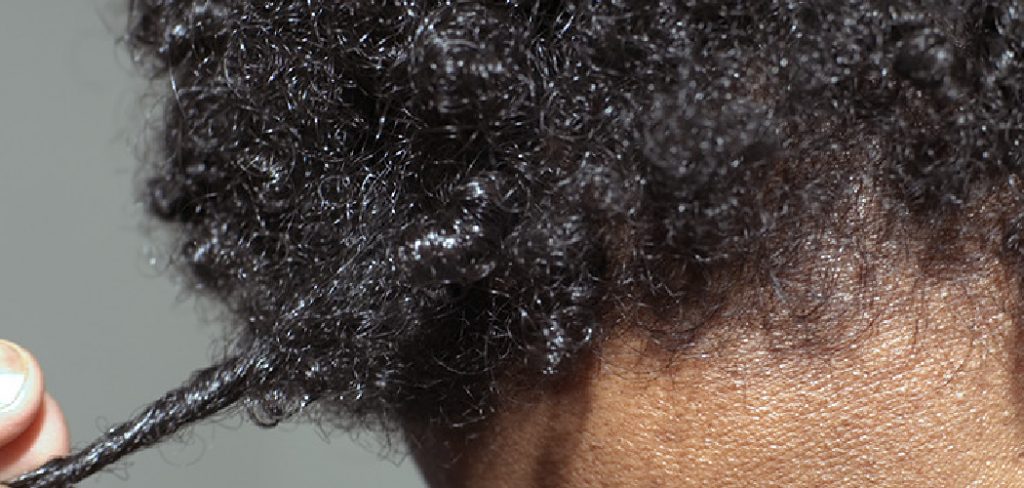
Step 7: Scrunch Your Curls
Scrunching is an essential technique for defining and encouraging your curls. To do this, use your hands to scrunch up each section of hair upward towards the scalp.
This helps to activate the gel and encourage curl formation, resulting in bouncier and more defined curls. You can also lightly shake your head from side to side while scrunching to enhance the natural movement of your curls.
Step 8: Continue with Remaining Sections
Once you have scrunched your curls in the first section, repeat the same technique with the remaining sections of your hair. Work through each section, ensuring you scrunch from the ends towards the scalp to encourage curl definition and bounce.
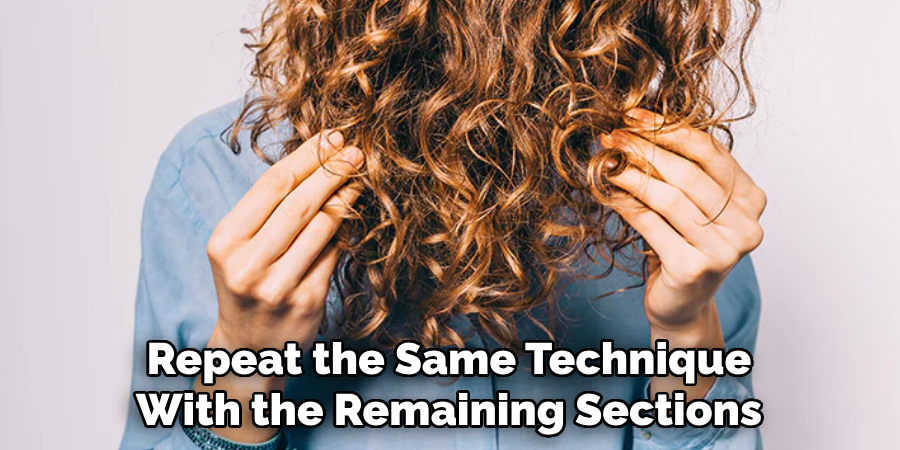
Take your time with each section, paying attention to distributing the product evenly and scrunching gently to avoid disturbing the curl pattern. This process helps ensure that all of your curls receive the same attention and styling for a uniform and cohesive curly hairstyle.
Step 9: Diffuse or Air Dry
After scrunching each section of your hair, you can either diffuse or air dry your curls. Diffusing with a blow dryer and a diffuser attachment helps to speed up the drying process while maintaining the shape and definition of your curls. Use a low heat setting and gently cup sections of your hair in the diffuser, moving it towards your scalp to dry the roots and then towards the ends to enhance curl formation.
If you prefer air drying, simply let your curls dry naturally without disturbing them. This allows your curls to set and maintain their natural shape and texture. Whichever method you choose, avoid touching or manipulating your hair until it is scorched to minimize frizz and maintain the integrity of your curls.
Step 10: Fluff and Refresh
Once your hair is dehydrated, it’s time to fluff up your curls and refresh them. You can use your fingers or a wide-tooth comb to separate the curls and add volume gently. If you notice any areas that need extra hold or definition, you can apply a small amount of gel to those sections and scrunch them again.
Lastly, you can use a lightweight oil or serum to add shine and moisture to your hair, leaving you with soft, defined, and bouncy curls! Remember to experiment with different products and techniques until you find the best for your unique curly hair. Enjoy rocking those beautiful natural curls!
You can achieve defined, moisturized, and healthy curls by following these steps and incorporating them into your hair care routine.
Conclusion
Curly hair can be a beautiful and versatile asset with the right products, techniques, and care. Don’t be afraid to try new styles and embrace your natural texture. Remember to listen to your hair’s needs and adjust your routine accordingly.
Hopefully, the article on how to apply gel on curly hair, step by step, has been helpful and informative. Now go forth and rock those gorgeous curls with confidence!
By following these tips, you can maintain healthy, bouncy, and defined curls that will turn heads wherever you go. So go ahead and rock those curls with confidence!
About the Author
Jane Hubbard is a passionate beauty expert with a wealth of experience in makeup, hair, and overall beauty techniques. After years of working as a hairdresser specialist, she followed her entrepreneurial spirit and started her own consultancy business.
Jane has always been driven by her desire to help others feel confident in their own skin, and she does this by sharing her knowledge, experiences, and practical beauty tips. Through her consultancy, she empowers individuals to embrace their unique beauty, offering tailored guidance that boosts both self-esteem and personal style.
Professional Focus
Specializes in makeup, hairstyling, and beauty consulting.
Provides personalized beauty advice, tips, and techniques to help individuals feel confident in their appearance.
Dedicated to staying up-to-date with the latest industry trends and developments.
Passionate about creating a comfortable and empowering experience for every client.
Education History
University of Craft and Design – Bachelor of Fine Arts (BFA) in Woodworking and Furniture Design
Woodworking Apprenticeships – Extensive hands-on training with skilled craftsmen to refine carpentry and furniture making techniques
Online Courses & Masterclasses – Continued education in advanced woodworking techniques, design principles, and specialized tools
Expertise:
Makeup artistry, hairstyling, and beauty consulting.
Personalized beauty techniques to enhance confidence and self-expression.
Educating clients on how to maintain their beauty routines at home.