
Are you tired of using heat styling tools to give your straight hair some texture? Look no further than curling cream! This versatile product is perfect for creating natural-looking curls and waves without damaging your hair.
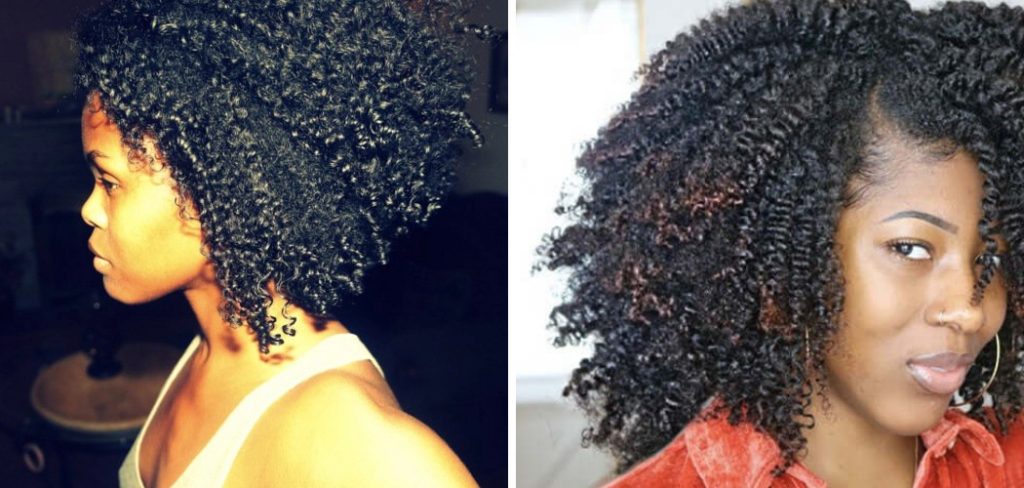
How to use curling cream on straight hair can be a game-changer for adding texture, waves, or curls to your locks without the need for excessive heat styling. This versatile product is designed to enhance and define curls, but it can also work wonders on straight hair by providing hold, moisture, and a natural-looking finish.
Whether you’re aiming for soft beachy waves or more structured curls, learning the proper technique to apply curling cream can help you achieve your desired look with ease. The key lies in understanding your hair type, choosing the right product, and applying it correctly to get the best results.
What Are the Benefits of Using Curling Cream on Straight Hair?
Curling cream has various benefits for straight hair, making it a popular choice among those who want to achieve curly or wavy styles without heat tools. Some of the key benefits include:
- Protects Hair From Heat Damage: Heat styling tools like curling irons and flat irons can cause damage to your hair over time. Curling cream allows you to avoid excessive heat styling, reducing the risk of harm.
- Provides Hold and Definition: Curling cream can help create defined curls or waves, adding texture and volume to straight hair.
- Adds Moisture and Shine: Straight hair often looks dull and lacks moisture. Curling cream adds moisture to the hair, leaving it shiny and healthy.
- Versatility: Curling cream can be used in various ways to achieve different looks. It can be applied to damp or dry hair for different hold levels and definitions.
What Will You Need?
Before diving into the steps of using curling cream on straight hair, ensure you have all the necessary tools and products. Here’s a list of what you’ll need:
- Curling Cream: Choose a product that suits your hair type and desired look.
- Wide-tooth Comb or Detangling Brush: This will help evenly distribute the product throughout your hair.
- Scrunchie or Hair Clips: These will be useful when sectioning off your hair for more straightforward application.
- Hairdryer: If you’re applying curling cream to damp hair, a diffuser attachment can help enhance your curls.
These are the basic essentials, but you can also use additional tools like a curling wand or rollers to amp up your curls.
10 Easy Steps on How to Use Curling Cream on Straight Hair
Step 1. Wash Your Hair:
Start by thoroughly washing your hair with a gentle, sulfate-free shampoo to remove any dirt, oil, or product buildup that could weigh your hair down. Follow this with a lightweight conditioner, focusing on the mid-lengths and ends to avoid making your roots greasy. Conditioning will help keep your hair soft and manageable, especially when styling straight hair for curls. Once finished, rinse your hair well with cool or lukewarm water to seal the cuticles and lock in moisture. Pat your hair gently with a microfiber towel or an old T-shirt to remove excess water without causing frizz. Do not leave your hair soaking wet; this can affect how the curling cream adheres to your strands during the next steps.
Step 2. Detangle Your Hair:
Use a wide-tooth comb or your fingers to gently detangle your hair, starting from the ends and working your way up to the roots. This method helps prevent breakage and minimizes unnecessary pulling on your strands. If you encounter stubborn knots, apply a small amount of leave-in conditioner or a detangling spray to make the process easier and smoother. Be patient and avoid using excessive force, which could damage your hair and lead to split ends. Properly detangled hair ensures even application of styling products and helps create defined, uniform curls in the later steps.
Step 3. Section Your Hair:
Dividing your hair into sections is crucial for ensuring that you are even applying your curling cream and achieving well-defined curls. Start by parting your hair into manageable sections using clips or hair ties. For most hair types, dividing it into 4-6 sections works well, but you can adjust based on your hair’s thickness and length. Ensure each section is neatly separated to avoid tangling as you work. Smaller sections allow for more precise product application, helping the curling cream coat every strand evenly.
This step ensures uniform curls and simplifies the styling process, saving you time and effort as you move through the routine.
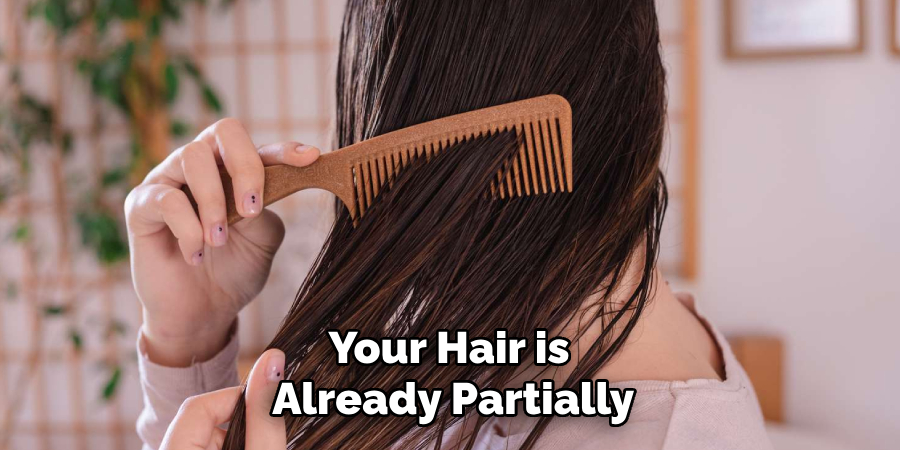
Step 4. Dampen Your Hair:
Your hair should be damp but not soaking wet when applying curling cream for optimal results. Start by lightly spritzing your hair with water using a spray bottle. Focus on evenly dampening each section, ensuring the moisture is distributed without drenching the hair. Damp hair allows the product to spread more effectively and absorb into the strands, enhancing curl definition and reducing frizz risk. If your hair is already partially dried after washing, make sure to rehydrate it slightly before proceeding.
Remember, the goal is to make your hair pliable and receptive to the curling cream, so take your time to prepare it properly at this stage.
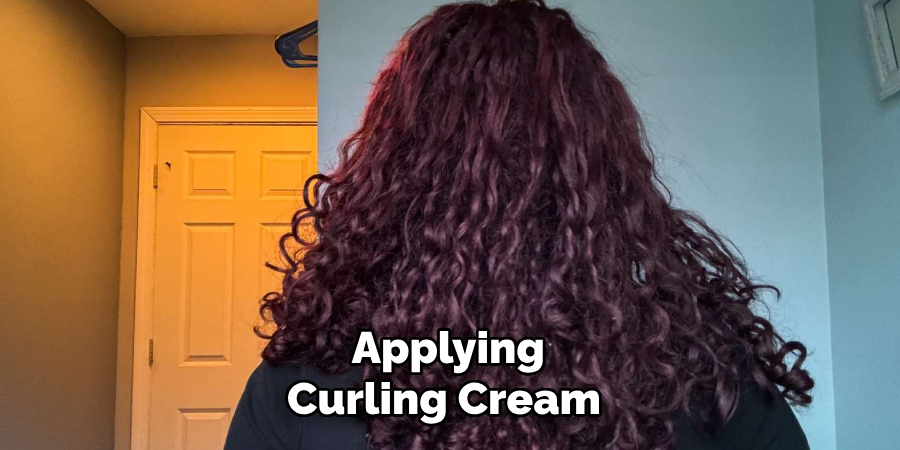
Step 5. Apply Curling Cream:
Now it’s time to apply the curling cream and create those gorgeous curls! Take a small amount of product, about the size of a quarter, and rub it between your palms to warm it up. Avoid using too much product, as this can damage your hair or make it look greasy. Start at the bottom section of your hair and gently work the curling cream into each strand from root to tip, making sure you coat every single one. You can use either the rake-and-shake method or the scrunching technique, depending on how defined you want your curls to be.
Step 6. Rake-and-Shake Method:
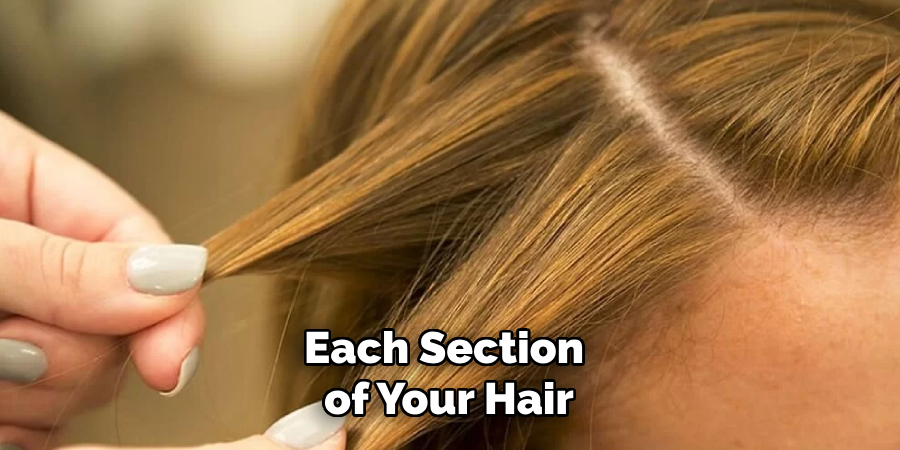
The rake-and-shake method is an excellent technique for achieving well-defined and smooth curls. Begin by dividing your hair into manageable sections, which will help ensure uniform application. Take a section of hair and run your fingers through it as if you are raking, evenly distributing the curling cream along the strands. Once you reach the ends of the section, gently hold the tips of your hair and give it a light shake. This motion helps the curls form naturally and fall into place without disrupting their pattern.
Repeat this process with each section of your hair, keeping your movements smooth and consistent. The rake-and-shake method is particularly effective because it combines even product distribution with a technique that encourages the hair to clump and curl in a defined way, resulting in bouncy, polished curls.
Step 7. Diffuse or Air-Dry:
Once you’ve completed the rake-and-shake method, it’s time to set your curls. You can allow your hair to air-dry naturally or use a diffuser attachment on your blow dryer for faster results. If you diffuse, set the dryer to a low heat and airflow setting to minimize frizz and maintain the curl pattern. Gently cup sections of your hair in the diffuser and lift them towards your scalp, holding for a few seconds before moving to the next section. Avoid touching your hair as it dries for air-drying to prevent disturbing the curls. Both methods can help your curls set beautifully, leaving them soft, defined, and full of life.
Step 8. Break the Cast and Finish:
Once your hair is dehydrated, it’s time to break the cast created by your styling products for soft, touchable curls. Apply a small amount of lightweight oil or serum to your hands to prevent friction. Gently scrunch your curls upward, breaking the stiff cast without disrupting the curl pattern. You can use a pick or your fingers at the roots to lift and fluff your hair for additional volume. This final step ensures your curls look natural, bouncy, and perfectly polished.
Step 9. Preserve Your Curls Overnight:
Maintaining your curls overnight is essential to keep them fresh and defined for the next day. Use a silk or satin bonnet, scarf, or pillowcase to reduce friction and prevent frizz while you sleep. Alternatively, you can try the “pineapple” technique by loosely gathering your curls on top of your head with a soft scrunchie or hair tie. This method helps protect your curl pattern and minimizes flattened sections, so you wake up with curls ready to shine.
Step 10. Refresh Your Curls During the Day:
Throughout the day, your curls may lose some of their bounce or definition. To refresh them, lightly mist your hair with water or a curl revitalizing spray. Use your fingers to reshape any curls that have loosened or become frizzy gently. You can apply a small amount of curl cream or gel for stubborn areas to redefine the curl pattern. This quick touch-up ensures your curls stay lively and well-defined until your next wash day.
By following these steps, you can achieve amazing curls with the help of curling cream. Experiment with different techniques and products to find what works best for your hair type and desired look.
Conclusion
Curling cream is a fantastic tool for enhancing natural curls and creating beautiful, defined hairstyles. With the right technique and products, you can achieve gorgeous curls that last for days. Remember to start with damp hair, use small sections, and distribute the product evenly for best results. Take care of your curls overnight and refresh them daily to keep them looking their best.
Hopefully, the article on how to use curling cream on straight hair has given you the knowledge and confidence to embrace your natural curls and rock them with style.
Embrace your unique curl pattern and experiment with different styles using curling cream! So go ahead and show off those stunning curls with confidence! Happy styling!
About the Author
Jane Hubbard is a passionate beauty expert with a wealth of experience in makeup, hair, and overall beauty techniques. After years of working as a hairdresser specialist, she followed her entrepreneurial spirit and started her own consultancy business.
Jane has always been driven by her desire to help others feel confident in their own skin, and she does this by sharing her knowledge, experiences, and practical beauty tips. Through her consultancy, she empowers individuals to embrace their unique beauty, offering tailored guidance that boosts both self-esteem and personal style.
Professional Focus
Specializes in makeup, hairstyling, and beauty consulting.
Provides personalized beauty advice, tips, and techniques to help individuals feel confident in their appearance.
Dedicated to staying up-to-date with the latest industry trends and developments.
Passionate about creating a comfortable and empowering experience for every client.
Education History
University of Craft and Design – Bachelor of Fine Arts (BFA) in Woodworking and Furniture Design
Woodworking Apprenticeships – Extensive hands-on training with skilled craftsmen to refine carpentry and furniture making techniques
Online Courses & Masterclasses – Continued education in advanced woodworking techniques, design principles, and specialized tools
Expertise:
Makeup artistry, hairstyling, and beauty consulting.
Personalized beauty techniques to enhance confidence and self-expression.
Educating clients on how to maintain their beauty routines at home.