
Are you looking for tips on applying powder blush? You’ve come to the right place! In this guide, we’ll discuss everything you need to know about applying powder blush like a pro.
Applying powder blush is a simple yet effective way to add color and dimension to your face, enhancing your natural beauty. Whether aiming for a subtle flush or a more dramatic look, mastering the technique can elevate your makeup routine. By understanding the proper tools, placement, and blending methods, you can achieve a flawless, long-lasting finish that complements your features and skin tone.
This guide on how to apply powder blush will walk you through the steps to apply powder blush like a pro. Let’s get started!
What Are the Benefits of Using Powder Blush?
Before we dive into the powder blush tutorial, let’s first understand why powder blush is a popular choice among makeup enthusiasts.
- Versatility: Powder blush comes in a wide range of shades and finishes, making it suitable for all skin types and tones.
- Long-lasting: With its lightweight and blendable formula, powder blush can provide long-lasting color without feeling heavy on the skin.
- Buildable Coverage: You can easily control the intensity of powder blush by gradually building up the product layer by layer.
- Easy to Use: Unlike cream or liquid formulations, powder blush is beginner-friendly and requires minimal tools for application.
Now that you know the benefits of using powder blush, let’s move on to the step-by-step guide on how to apply it.
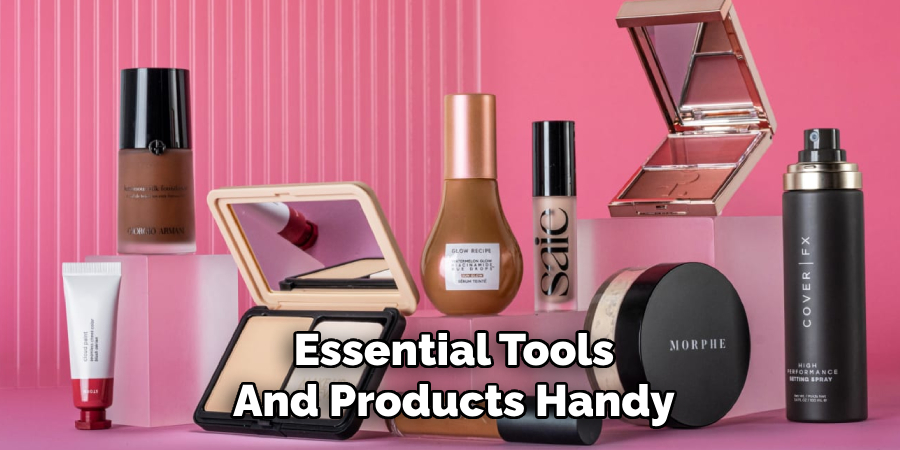
What Will You Need?
Before you begin, make sure you have these essential tools and products handy:
- Powder Blush: Choose a shade that complements your skin tone and desired look.
- Blush Brush: Opt for a fluffy brush with soft bristles to apply and blend the product seamlessly.
- Setting Powder: If you have oily or combination skin, use setting powder before applying blush to help it last longer.
Once you have these items, you’re all set to begin the application process.
9 Easy Steps on How to Apply Powder Blush
Step 1: Prepare Your Face
Start with a clean, moisturized face to ensure a smooth base for your makeup. Use your preferred cleanser to remove any dirt or oil, and follow up with a moisturizer suitable for your skin type to keep your skin hydrated.
If you plan on wearing a full face of makeup, apply a primer to help your makeup last longer and create a flawless finish. Allow the primer to set for a minute or two before moving on to the next step. This preparation ensures that your powder blush blends effortlessly and stays put throughout the day.
Step 2: Apply Foundation and Concealer
Once your skin is prepped, it’s time to even out your complexion with foundation and concealer. Start by choosing a foundation that matches your skin tone and provides your desired level of coverage, whether light for a natural finish or complete for a flawless look. Use a makeup sponge, brush, or fingertips to apply the foundation evenly across your face, blending it well into your hairline and jawline to avoid any harsh lines or discoloration.
Next, use a concealer to target specific areas that need extra coverage, such as dark circles under your eyes, redness around your nose, or blemishes. Opt for a concealer one or two shades lighter than your foundation for the under-eye area to brighten and highlight while choosing one that matches your foundation for concealing imperfections.
Blend the concealer gently with a brush or sponge for a seamless look. Set the foundation and concealer with a light dusting of translucent powder if you have oily skin, as this helps to lock everything in place and reduce shine throughout the day.
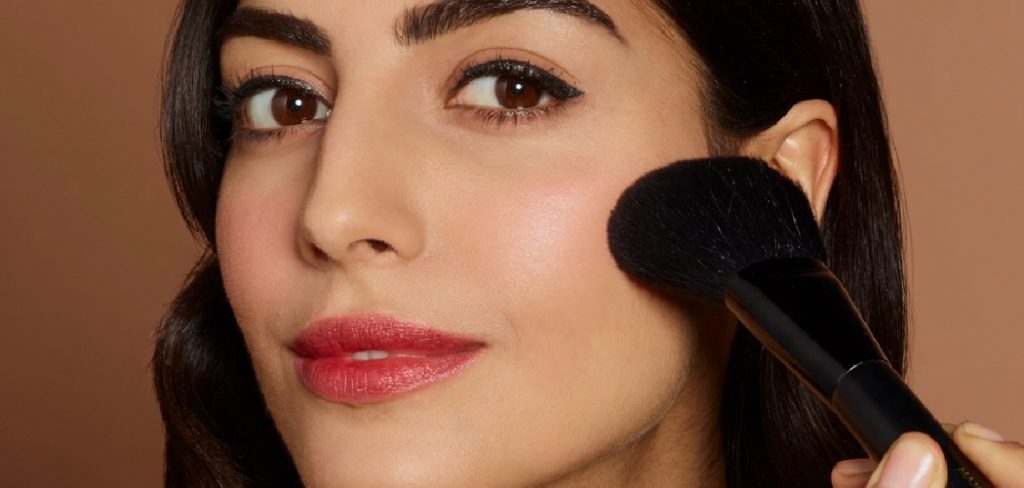
Step 3: Apply Powder Blush
Once your foundation and concealer are set, it’s time to add a touch of color to your cheeks using powder blush. Swirl a fluffy blush brush gently into the blush pan and tap off any excess product to prevent over-application.
Apply the blush to the apples of your cheeks, blending it upwards towards your temples for a lifted, natural look. Use light, circular motions to ensure even distribution and a soft finish. Build up the color gradually if needed, remember that it’s easier to add more than to take away. This step brings warmth and dimension to your face, enhancing your overall makeup look.
Step 4: Apply Highlighter
To add a radiant glow to your makeup look, apply highlighter to the high points of your face. Using a fan brush or your fingertips, gently sweep the highlighter onto the tops of your cheekbones, the bridge of your nose, the cupid’s bow, and the brow bone.
For a more dramatic effect, you can layer the product gradually. Be sure to blend well to ensure a natural, seamless glow that complements the blush. This step emphasizes your features and adds a luminous finish to your overall look.
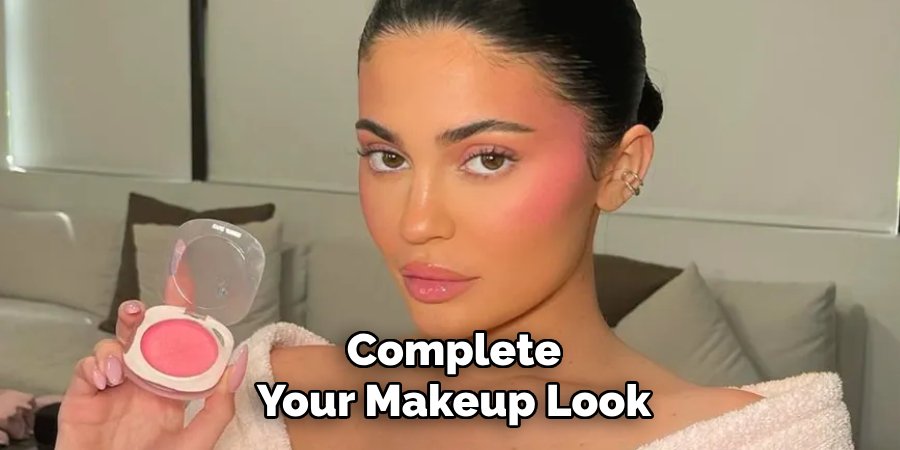
Step 5: Apply Lip Color
Complete your makeup look by applying lip color that complements your overall style and tone. Start by outlining your lips with a lip liner that matches your chosen lipstick or gloss. This helps define the shape and prevents the color from bleeding.
Then, fill your lips with your preferred lip product, starting from the center and blending outward for an even application. Blot your lips with a tissue and reapply for a more long-lasting effect. This final step ties the entire look together, adding a polished finish.
Step 6: Set Your Makeup
To ensure your makeup lasts throughout the day, use a setting spray or setting powder as the final step in your routine. If you prefer a dewy finish, use a setting spray that adds hydration and a subtle glow. For a matte look, gently dust a translucent setting powder over your face, focusing on areas prone to shine, such as the T-zone. This step locks in your makeup, enhances its longevity, and keeps it looking fresh for hours.
Step 7: Final Touches
Now that your makeup is complete add any final touches that enhance your overall look. This can include applying a touch of highlighter to the high points of your face, such as your cheekbones, the bridge of your nose, and your brow bone, for added radiance. You might also consider using a small amount of shimmer on your collarbones or shoulders if you wear an outfit that reveals them.
Finally, double-check your makeup in natural light to ensure everything is blended seamlessly and looks flawless. These final tweaks help you achieve a cohesive and polished appearance.
Step 8: Clean Your Tools
Once you’ve achieved your desired look, you must not overlook cleaning your makeup tools. Brushes, sponges, and applicators can accumulate product buildup, oils, and bacteria over time, which could affect your skin and makeup application.
Use a gentle brush cleanser or mild soap to thoroughly clean your tools, and rinse them with lukewarm water. Allow them to air dry entirely before their subsequent use. Regular cleaning not only extends the life of your tools but also promotes healthier skin and better makeup application results.
Step 9: Store Your Makeup Properly
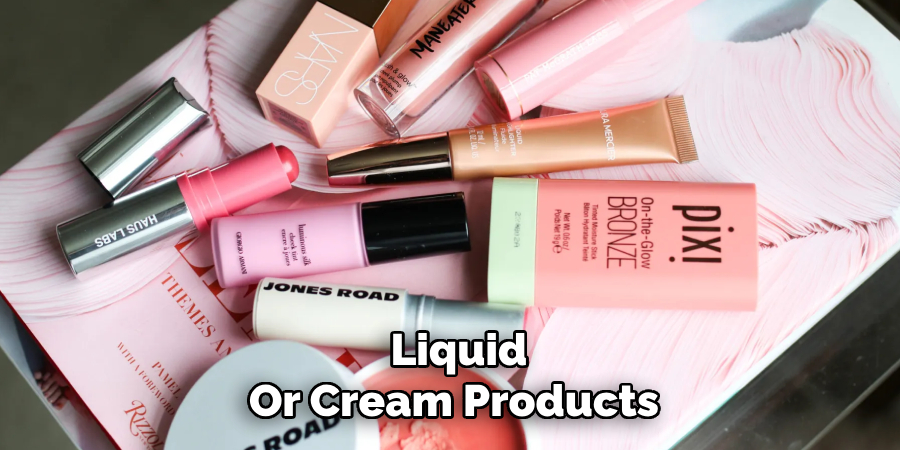
Proper storage of your makeup products is an essential yet often overlooked step in maintaining their quality and longevity. Keep your products in a cool, dry place away from direct sunlight, as excessive heat and light can degrade the formulations.
Use organizers or drawers to keep items tidy and easily accessible, ensuring lids are securely closed to prevent contamination or drying out. For liquid or cream products, seal them tightly to avoid spills or evaporation. Storing your makeup correctly can preserve its performance and make your overall routine more efficient.
By following these steps and tips, you can create a flawless everyday makeup look that enhances your natural beauty and boosts your confidence.
5 Things You Should Avoid
- Using the Wrong Brush: Avoid using a brush that’s too small or too dense, as it can lead to uneven application. Opt for a soft, fluffy blush brush for the best results.
- Applying Too Much Product: Overloading your brush with powder blush can create an overly dramatic look. Start with a small amount and build up the color gradually.
- Skipping Blending: Failing to blend properly can leave harsh lines on your cheeks. Always blend the blush seamlessly into your skin for a natural finish.
- Choosing the Wrong Shade: Using a color that doesn’t complement your skin tone can make the blush look unnatural. Select a shade that matches or enhances your natural complexion.
- Applying in the Wrong Area: Avoid placing blush too close to your nose or too low on your cheeks. Focus on the apples of your cheeks and blend outward for a lifted, flattering effect.
Conclusion
Applying powder blush effectively is all about balance and precision. You can achieve a natural and polished look by using the right tools, selecting a shade that complements your skin tone, and applying the product in the right areas with proper blending.
Remember to build the color gradually rather than applying too much at once, giving you more control over the final result. With practice and attention to detail, you can enhance your features and create a beautifully flushed complexion every time.
Hopefully, these tips and techniques have helped you understand how to apply powder blush like a pro.
About the Author
Jane Hubbard is a passionate beauty expert with a wealth of experience in makeup, hair, and overall beauty techniques. After years of working as a hairdresser specialist, she followed her entrepreneurial spirit and started her own consultancy business.
Jane has always been driven by her desire to help others feel confident in their own skin, and she does this by sharing her knowledge, experiences, and practical beauty tips. Through her consultancy, she empowers individuals to embrace their unique beauty, offering tailored guidance that boosts both self-esteem and personal style.
Professional Focus
Specializes in makeup, hairstyling, and beauty consulting.
Provides personalized beauty advice, tips, and techniques to help individuals feel confident in their appearance.
Dedicated to staying up-to-date with the latest industry trends and developments.
Passionate about creating a comfortable and empowering experience for every client.
Education History
University of Craft and Design – Bachelor of Fine Arts (BFA) in Woodworking and Furniture Design
Woodworking Apprenticeships – Extensive hands-on training with skilled craftsmen to refine carpentry and furniture making techniques
Online Courses & Masterclasses – Continued education in advanced woodworking techniques, design principles, and specialized tools
Expertise:
Makeup artistry, hairstyling, and beauty consulting.
Personalized beauty techniques to enhance confidence and self-expression.
Educating clients on how to maintain their beauty routines at home.