
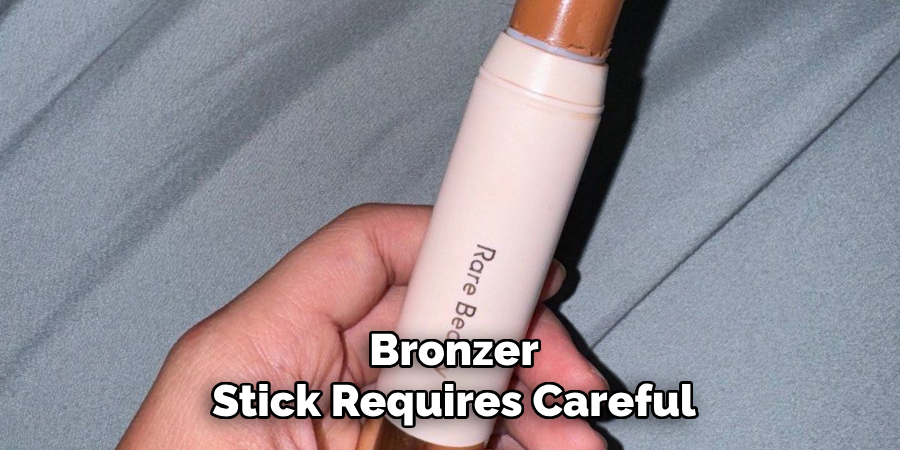
Are you tired of using powders and creams to get that perfect sun-kissed glow? Say hello to bronzer sticks, the latest beauty trend changing your makeup game.
A bronzer stick is an incredibly versatile makeup tool that can add warmth, dimension, and a natural sun-kissed glow to your face. Whether you’re a makeup beginner or a seasoned pro, learning how to use a bronzer stick can elevate your makeup routine and help you achieve a polished look. It’s quick, easy to use, and perfect for creating definition or enhancing your features.
In this guide on using a bronzer stick, we’ll walk you through the simple steps to seamlessly apply a bronzer stick and achieve a flawless finish.
What Are the Benefits of Using a Bronzer Stick?
Before diving into the application process, let’s first understand why bronzer sticks are so popular and their benefits.
- Portable: Bronzer sticks come in compact and travel-friendly packaging, making them easy to throw in your purse or makeup bag for touch-ups on-the-go.
- Easy to Use: Unlike powders that require brushes and blending skills, bronzer sticks can be applied directly onto the skin without any tools. This makes them perfect for beginners or anyone looking for a quick and effortless makeup routine.
- Multi-purpose: A bronzer stick can be used not only as a traditional bronzer but also as a contour, blush, or even eyeshadow. This versatility makes it a must-have product for those who love experimenting with their makeup looks.
- Natural Finish: When applied correctly, bronzer sticks can give you a natural-looking sun-kissed glow that mimics the effects of being in the sun. Say goodbye to harsh and streaky lines from powders!
What Will You Need?
To get started with using a bronzer stick, you’ll need the following items:
- Bronzer Stick: Of course, you’ll need a bronzer stick first. These come in different shades and formulas, so choose one that suits your skin tone and preferences.
- Moisturizer or Primer: To ensure smooth application and long-lasting wear, it’s essential to prep your skin with either a moisturizer or a primer before applying any makeup product.
- Concealer (optional): If you want to use a bronzer stick for contouring, consider using a concealer one shade lighter than your skin tone to highlight specific areas of your face.
- Beauty Sponge or Brush (optional): While bronzer sticks can be applied directly onto the skin, you may prefer using a beauty sponge or brush for blending and achieving a more seamless finish.
8 Easy Steps on How to Use a Bronzer Stick
Step 1. Start with Clean Skin:
Before applying any makeup, it’s essential to begin with a fresh canvas. Wash your face thoroughly using a gentle cleanser to remove dirt, oil, and impurities. Pat your skin dry with a clean towel and follow up with a moisturizer or primer to hydrate your skin and create a smooth base for makeup application.
This step ensures that the bronzer stick glides on evenly and stays in place throughout the day. Properly prepping your skin will also help to enhance the overall finish of your makeup look and prevent patchiness.
Step 2. Choose the Right Shade:
Selecting the perfect bronzer shade is crucial for achieving a natural-looking sun-kissed glow. Consider your skin tone carefully when making your choice. If you have fair to light skin, opt for a bronzer with cooler, taupe-based undertones to avoid an overly orange or muddy appearance. For medium to tan skin tones, select a warmer bronzer with golden undertones to enhance your natural radiance.
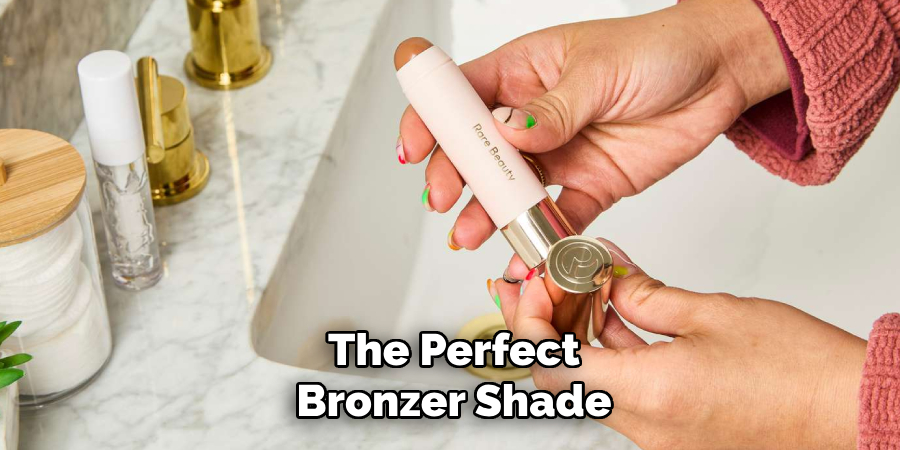
Those with deep skin tones should look for bronzers with rich, deep brown or copper undertones to complement and emphasize their features. Testing the shade on your jawline under natural light can help confirm it matches seamlessly. Remember, the goal is to create soft, subtle dimension rather than harsh, unnatural lines.
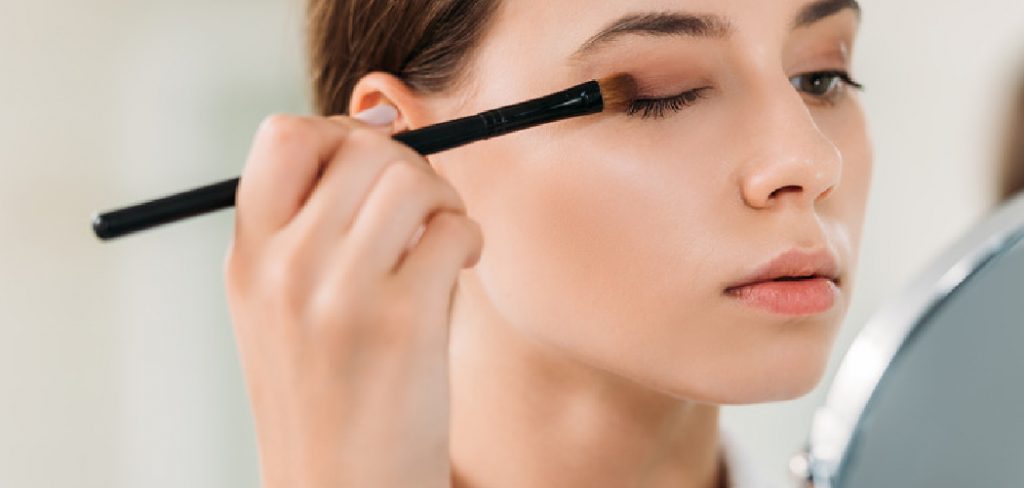
Step 3. Application Techniques:
Proper application techniques are key to achieving a flawless and natural bronzed look. Using a fluffy makeup brush or a dense blending brush, lightly pick up the bronzer product and tap off any excess to prevent over-application. Start by applying the bronzer to the areas of your face where the sun naturally hits—your forehead, cheekbones, and jawline—using a gentle sweeping motion.
For a more structured look, you can apply bronzer along the sides of your nose and chin to subtly contour these features. Make sure to blend thoroughly, using circular motions to eliminate harsh lines and create a seamless finish. Use a damp makeup sponge to blend for a soft, airbrushed effect for cream or liquid bronzers. Always build up the color gradually for a balanced and natural glow.
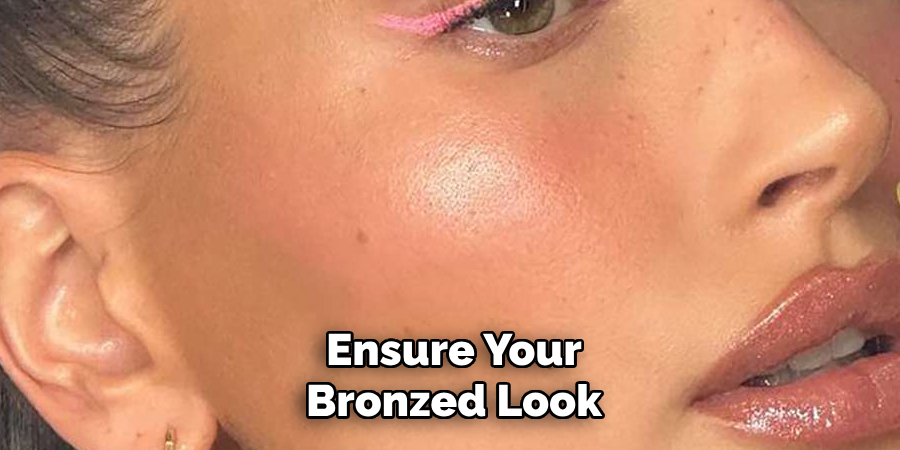
Step 4. Setting Your Bronzed Look:
To ensure your bronzed look lasts throughout the day, setting the makeup properly is essential. After blending your bronzer, lightly dust a translucent setting powder over your face to lock everything in place while maintaining a natural finish.
For an added glow, you can use a setting spray with a dewy or radiant finish, which sets your makeup and enhances the luminosity. Spritz the setting spray evenly across your face from a distance, allowing it to dry naturally. This step helps prevent fading or smudging, ensuring your bronzed look stays fresh and flawless for hours.
Step 5. Enhancing Your Bronzed Look with Highlighter:
To add an extra dimension to your bronzed look, apply a highlighter to the high points of your face where light naturally hits. Using a fan brush or your fingertips, gently sweep the highlighter onto the tops of your cheekbones, the bridge of your nose, the brow bone, and your cupid’s bow.
Opt for a shade that complements your bronzer—golden or champagne tones pair beautifully with a warm bronzed complexion. This step brings a radiant touch to your makeup, emphasizing your features and completing the sun-kissed glow.
Step 6. Perfecting the Look with Lip Color:
Complete your bronzed makeup look by choosing a lip color that harmonizes with your complexion’s warm, sun-kissed tones. Neutral shades like peach, nude, or soft coral enhance the natural glow. You can opt for a rich bronze or warm terracotta shade for a more dramatic finish.
Apply a lip liner to define the lips, then fill in with your chosen lipstick or gloss for a polished appearance. This final touch ties the look together, adding balance and sophistication to your bronzed beauty.
Step 7. Setting the Look for Longevity:
Finish with a setting spray or powder to ensure your bronzed makeup stays flawless throughout the day. A setting spray can help lock in your makeup, giving it a dewy and radiant finish, while a translucent setting powder can control shine and secure the look for hours.
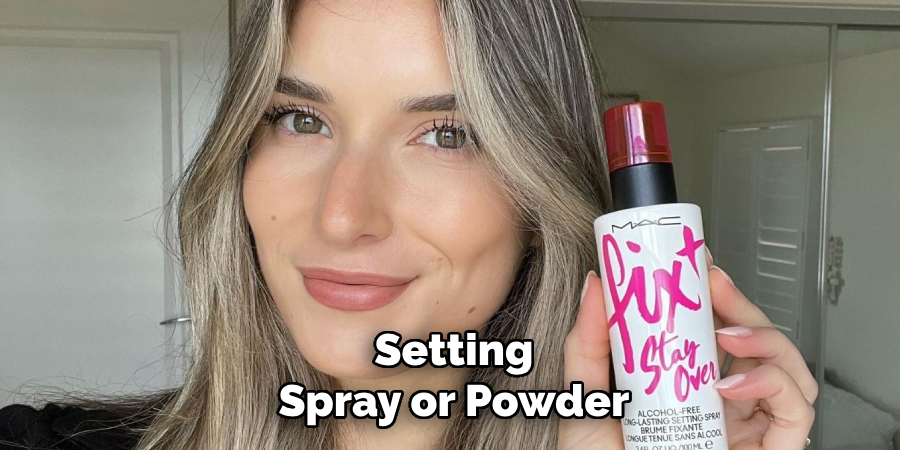
Lightly mist your face with the setting spray, holding it at arm’s length, or use a fluffy brush to dust the setting powder over your T-zone and other areas prone to oil. This step not only enhances the longevity of your makeup but also keeps it looking fresh and natural all day.
Step 8. Finishing Touches and Final Checks:
Before stepping out, take a moment to evaluate your finished look under natural lighting. This ensures your bronzed makeup is blended seamlessly and appears natural. Touch up any areas that may need extra blending or slight adjustments.
Adding a subtle highlighter to the high points of your face, such as the tops of your cheekbones, the bridge of your nose, and the inner corners of your eyes, can elevate the glow factor. Finally, pack a compact mirror and your chosen lip product in your bag for quick touch-ups throughout the day. With these finishing touches, your bronzed makeup look is complete and ready to impress!
By following these simple steps and tips, you can achieve a beautiful bronzed makeup look that enhances your natural beauty.
5 Things You Should Avoid
- Applying Too Much Product: Overapplying bronzer stick can make your makeup look unnatural and harsh. Start with a small amount and gradually build the color for a more natural finish.
- Skipping Blending: Failing to blend the bronzer properly can leave visible lines and uneven patches. Use a brush or sponge to seamlessly blend the product into your skin for a smooth application.
- Using the Wrong Shade: Choosing a shade that’s too dark or light for your skin tone can result in an unflattering look. Opt for a bronzer stick that complements your natural skin tone.
- Applying Bronzer All Over Your Face: Bronzer should be used to specific areas like the cheekbones, forehead, nose, and jawline. Avoid covering your entire face, as it can make your skin look overly tan and unnatural.
- Ignoring Your Base Makeup: Applying a bronzer stick directly to bare skin without a proper base (such as foundation or primer) can lead to patchiness. Make sure your base is smooth and even for the best application results.
Conclusion
How to use a bronzer stick requires careful application and attention to detail. You can achieve a natural, sun-kissed glow by avoiding common mistakes such as over-applying, skipping blending, or choosing the wrong shade.
Always apply bronzer to targeted areas of your face and ensure a smooth base for better results. With practice and the proper techniques, a bronzer stick can become an essential tool in your makeup routine, enhancing your features beautifully and effortlessly.
Hopefully, this guide has given you helpful insights and tips effectively. Remember to have fun with your makeup and experiment with different techniques to find what works best. Happy bronzing!
About the Author
Jane Hubbard is a passionate beauty expert with a wealth of experience in makeup, hair, and overall beauty techniques. After years of working as a hairdresser specialist, she followed her entrepreneurial spirit and started her own consultancy business.
Jane has always been driven by her desire to help others feel confident in their own skin, and she does this by sharing her knowledge, experiences, and practical beauty tips. Through her consultancy, she empowers individuals to embrace their unique beauty, offering tailored guidance that boosts both self-esteem and personal style.
Professional Focus
Specializes in makeup, hairstyling, and beauty consulting.
Provides personalized beauty advice, tips, and techniques to help individuals feel confident in their appearance.
Dedicated to staying up-to-date with the latest industry trends and developments.
Passionate about creating a comfortable and empowering experience for every client.
Education History
University of Craft and Design – Bachelor of Fine Arts (BFA) in Woodworking and Furniture Design
Woodworking Apprenticeships – Extensive hands-on training with skilled craftsmen to refine carpentry and furniture making techniques
Online Courses & Masterclasses – Continued education in advanced woodworking techniques, design principles, and specialized tools
Expertise:
Makeup artistry, hairstyling, and beauty consulting.
Personalized beauty techniques to enhance confidence and self-expression.
Educating clients on how to maintain their beauty routines at home.