
Are you tired of your curly hair being dry, frizzy, and unmanageable? A great solution to these problems is a hair mask specifically designed for curly hair. Hair masks provide deep nourishment and hydration to your locks, leaving them soft, shiny, and defined.
Curly hair often requires extra care and hydration to maintain its natural bounce and definition. A homemade hair mask is an excellent way to provide deeply nourishing treatment without expensive products or harsh chemicals. Natural ingredients such as avocado, coconut oil, or honey can restore moisture, enhance shine, and strengthen your curls.
This guide on how to make a hair mask for curly hair will walk you through creating a simple, DIY hair mask tailored specifically for curly hair, ensuring your locks stay healthy, soft, and manageable.
What Are the Benefits of a Hair Mask for Curly Hair?
Before we dive into the recipe for a DIY hair mask, it’s essential to understand the benefits of using one. Here are some of the main advantages of incorporating a hair mask into your curly hair care routine:
- Deep Hydration: As mentioned earlier, curly hair tends to be drier due to its unique texture and shape. A hair mask can provide intense moisture to your curls, nourishing them from within and leaving them soft and supple.
- Frizz Control: Curly hair can be challenging to manage with its natural tendency to frizz. However, regular use of a hair mask can help tame frizz by providing much-needed moisture and nourishment to the hair shaft.
- Enhanced Shine: Healthy, hydrated curls are naturally more lustrous and shiny. Hair masks can help restore your hair’s natural shine and radiance, making your curls look healthier and more vibrant.
- Improved Manageability: Curly hair can often be difficult to detangle and style due to its unique structure. A hair mask can make your locks more manageable by providing moisture and nourishment, making it easier to style or comb through.
What Will You Need?
To make a hair mask for curly hair, you’ll need some essential ingredients easily available in your kitchen or local grocery store. Here’s a list of what you’ll need:
- Avocado: This fruit is rich in healthy fats and nutrients that can nourish your curls.
- Coconut Oil: Known for its moisturizing properties, it helps hydrate and soften the hair.
- Honey: Honey is a natural humectant, meaning it attracts moisture from the environment and locks it into your hair, providing hydration and shine.
- Bananas: Bananas are packed with vitamins and minerals that help nourish and strengthen the hair.
- Olive Oil: Olive oil is an excellent source of antioxidants and healthy fats, making it a great ingredient for nourishing and hydrating curly hair.
- A Blender or Food Processor: Mix all the ingredients and create a smooth paste.
- A Shower Cap or Plastic Wrap: This will help keep your hair mask in place while it works its magic.
Once you have all your ingredients, it’s time to move on to the next step – creating your DIY hair mask!
10 Easy Steps on How to Make a Hair Mask for Curly Hair
Step 1. Prepare Your Ingredients:
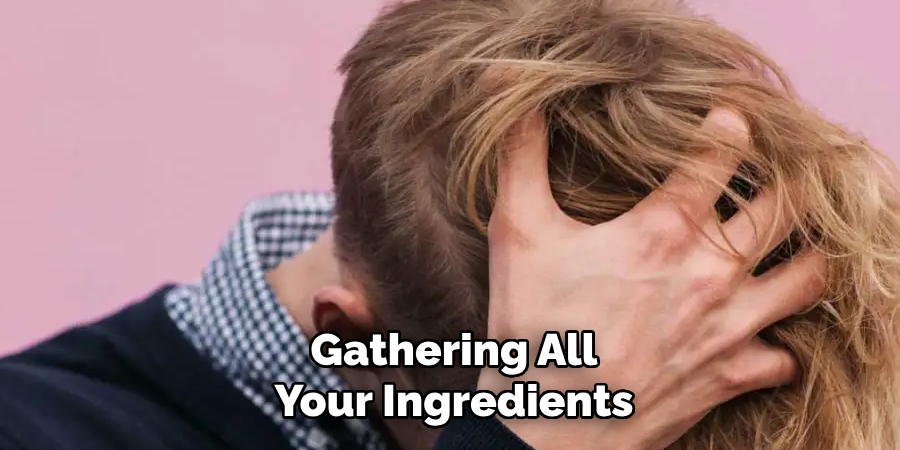
Start by gathering all your ingredients and tools listed above. Make sure each item is easily accessible to streamline the process. For best results, use fresh and high-quality ingredients. Measure out your coconut oil, honey, olive oil, and mash your banana in advance.
If your coconut oil is solid, consider warming it slightly to soften it, but avoid overheating. Proper preparation will ensure your hair mask is well-mixed and effective. Once everything is ready, move on to blending the ingredients.
Step 2. Blend the Ingredients:
Place the mashed banana, coconut oil, honey, and olive oil into your blender or food processor. Blend everything until the mixture forms a smooth, creamy paste. This step is crucial to ensure there are no lumps, as chunks of banana or unevenly mixed oils can be difficult to rinse out of your hair. Take your time blending to achieve a consistent texture, making the application process easier and more effective.
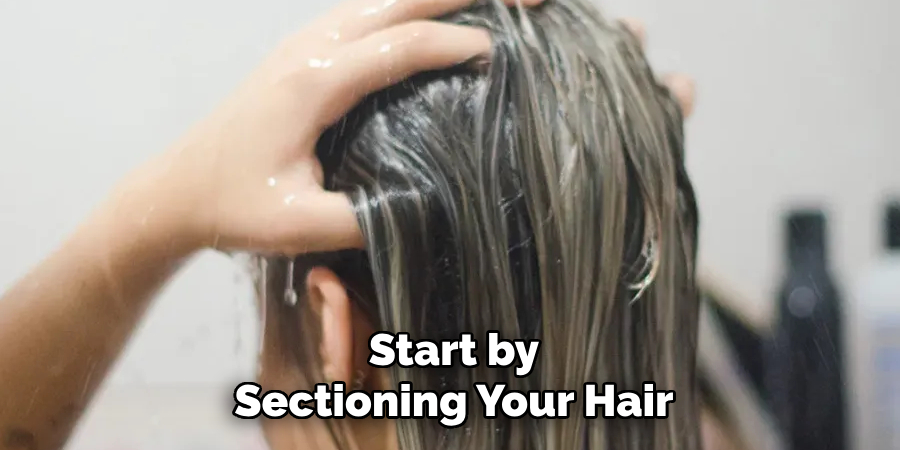
Step 3. Apply the Hair Mask:
Start by sectioning your hair into manageable parts to ensure even application. Using your hands or a brush, apply the hair mask generously from the roots to the tips, focusing on the ends, as they are typically the driest and most damaged. Once your hair is fully coated, gently massage your scalp to promote circulation and help the nutrients penetrate. Gather your hair into a bun to prevent messes, and cover it with a shower cap or towel. Allow the mask to sit for 20–30 minutes to nourish your hair deeply.
Step 4. Rinse and Cleanse:
After the mask has had time to work its magic, rinse it thoroughly with lukewarm water. Ensure all traces of the mask are removed to avoid any greasiness or residue. Follow up with a mild shampoo to cleanse your hair and scalp completely, then condition as usual if needed. Pat your hair dry with a towel and avoid harsh rubbing to prevent breakage. After this nourishing treatment, your hair should feel softer, shinier, and more hydrated. Repeat this process once a week for best results.
Step 5. Style and Protect:
Once your hair is dry, style it gently to avoid causing damage. Use a wide-tooth comb to detangle and minimize breakage. If you plan to use heat styling tools, always apply a heat protectant spray to shield your hair from damage. Opt for hairstyles that reduce strain on your hair, such as loose braids or buns, to maintain health and strength. Regular care and protection will ensure your hair remains vibrant and nourished after your treatment.
Step 6. Maintain a Healthy Hair Care Routine:
Consistency is key to maintaining healthy and nourished hair. To support hair growth from within, incorporate a balanced diet rich in vitamins and minerals, such as biotin, iron, and omega-3 fatty acids. Stay hydrated and minimize exposure to harsh environmental factors like excessive sun or pollution.
Additionally, avoid over-washing your hair, as it can strip natural oils. Use gentle, sulfate-free products tailored to your hair type and condition your hair regularly to lock in moisture. You’ll enjoy long-lasting results and improved hair health by nurturing your hair consistently.
Step 7. Schedule Regular Trims:
Trimming your hair regularly is essential to prevent split ends and promote overall hair health. Aim to schedule a trim every 6-8 weeks to remove damaged or brittle ends, which can travel up the hair shaft if left untreated.
Regular trims keep your hair looking fresh and polished and encourage healthier growth, allowing you to maintain your desired style and length. Remember, trimming is key to achieving stronger, healthier strands over time, even if you’re growing your hair out.
Step 8. Protect Your Hair While Sleeping:
Your nighttime routine plays a significant role in maintaining hair health. Use a silk or satin pillowcase to reduce friction, which can cause breakage and frizz. Alternatively, wrap your hair in a silk or satin scarf before bed. These materials help retain moisture and prevent unnecessary tangling while you sleep. Also, avoid going to bed with wet hair, which can make it more prone to damage.
Step 9. Customize Your Hair Mask:
The beauty of making your own DIY hair mask is that it can be customized to suit your specific hair needs. For example, if you have a dry scalp or dandruff, add a few drops of tea tree oil to the mix. If you have oily hair, try using a smaller amount of coconut oil or swapping it for a lighter oil like argan oil. Experiment with different ingredients and ratios until you find the perfect combination for your unique hair type.
Step 10. Share Your Results:
Once you’ve tried out your customized curl care routine or DIY hair mask, don’t forget to share your results! Document your process by taking before-and-after photos to see the visible transformation in your hair. Share your experience on social media platforms or within online hair care communities to inspire others and exchange tips.
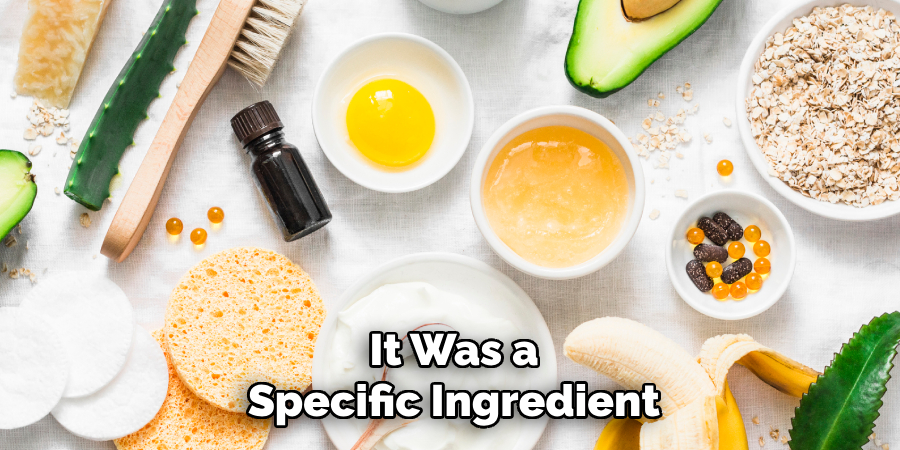
Highlight what worked best for you—whether it was a specific ingredient in your mask or a technique in your routine. Connecting with others can foster community and provide helpful insights for further refining your hair care regimen.
By following these steps and consistently caring for your curls, you can achieve nourished, healthy hair that makes you feel confident and beautiful.
Conclusion
How to make a diy hair mask for curly hair is a rewarding process that allows you to cater specifically to your hair’s unique needs.
By understanding the key ingredients that provide moisture, strengthen strands, and improve curl definition, you can craft a formula that works best for you.
The steps, from selecting the right base to experimenting with natural additives like oils and essential vitamins, emphasize the importance of personalization in hair care. Consistency in application and dedication to understanding your curls will ultimately result in healthier, shinier, and more manageable hair.
With a little creativity and experimentation, a DIY hair mask can become an essential part of your curl care routine.
About the Author
Jane Hubbard is a passionate beauty expert with a wealth of experience in makeup, hair, and overall beauty techniques. After years of working as a hairdresser specialist, she followed her entrepreneurial spirit and started her own consultancy business.
Jane has always been driven by her desire to help others feel confident in their own skin, and she does this by sharing her knowledge, experiences, and practical beauty tips. Through her consultancy, she empowers individuals to embrace their unique beauty, offering tailored guidance that boosts both self-esteem and personal style.
Professional Focus
Specializes in makeup, hairstyling, and beauty consulting.
Provides personalized beauty advice, tips, and techniques to help individuals feel confident in their appearance.
Dedicated to staying up-to-date with the latest industry trends and developments.
Passionate about creating a comfortable and empowering experience for every client.
Education History
University of Craft and Design – Bachelor of Fine Arts (BFA) in Woodworking and Furniture Design
Woodworking Apprenticeships – Extensive hands-on training with skilled craftsmen to refine carpentry and furniture making techniques
Online Courses & Masterclasses – Continued education in advanced woodworking techniques, design principles, and specialized tools
Expertise:
Makeup artistry, hairstyling, and beauty consulting.
Personalized beauty techniques to enhance confidence and self-expression.
Educating clients on how to maintain their beauty routines at home.