
Are you ready to add some sparkle and shine to your makeup look? Glitter face paint is the perfect way to make a statement and stand out.
Applying glitter face makeup is a fun and creative way to add sparkle to your look for parties, festivals, or costume events. Whether you’re going for a bold statement or subtle shimmer, mastering the proper techniques will ensure your glitter stays in place and looks flawless. Using the right products and following a few simple steps can achieve a stunning and eye-catching design that suits any occasion.
This guide on how to apply glitter face paint will walk you through the essentials of applying glitter face paint safely and effectively. Let’s get started!

What Are the Benefits of Glitter Face Paint?
Apart from adding an extra touch of glamour to your makeup look, there are several benefits to using glitter face paint.
One major advantage is that it can be used on any skin type or tone. This means that anyone can rock a glittery look, regardless of their complexion.
Glitter face paint is versatile and can be used in various ways – as a highlighter, eyeshadow, or even eyeliner. It allows for endless creativity and experimentation with different designs and colors.
Moreover, glitter face paint is generally non-toxic and safe for use on the skin. As long as you follow the proper guidelines for application and removal, it won’t cause any harm to your skin.
What Will You Need?
Before diving into the application process, it’s important to have all the necessary tools and products on hand. Here are some items you will need for applying glitter face paint:
- Glitter face paint (loose or in a gel or cream form)
- Makeup brushes (smaller ones for detailed work and larger ones for overall coverage)
- Mixing palette or small container
- Makeup sponge
- Water
- Moisturizer or primer
Once you have gathered all your supplies, preparing your skin for application is important.
9 Easy Steps on How to Apply Glitter Face Paint
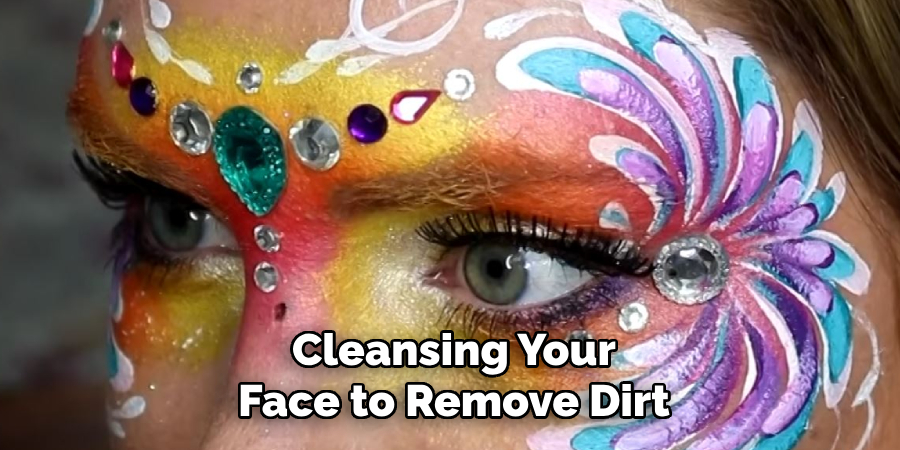
Step 1. Cleanse Your Skin
Begin by thoroughly cleansing your face to remove dirt, oil, or makeup. This step is crucial as it creates a clean canvas to which the glitter face paint can adhere and prevents clogged pores. Use a gentle cleanser that suits your skin type and follow up with a pat dry using a clean towel. Ensuring your skin is clean will also help the glitter paint last longer and look more vibrant. If necessary, exfoliate lightly to remove dead skin cells, but be gentle, especially if you have sensitive skin.
Step 2. Hydrate and Prime Your Skin
After cleansing, it’s important to properly hydrate and prime your skin to create a smooth and moisturized base for the glitter face paint. Start by applying a lightweight moisturizer suited for your skin type to keep your skin from drying out during the application.
A well-hydrated surface helps the glitter paint adhere better and prevents cracking or flaking. Follow this with a primer to further smooth your skin and create a barrier between your skin and the makeup. Primers with a slight tackiness work best, as they help the glitter and paint stick more effectively without sliding off. Be sure to allow both the moisturizer and primer to fully absorb into the skin for the best results before moving on to the next step.
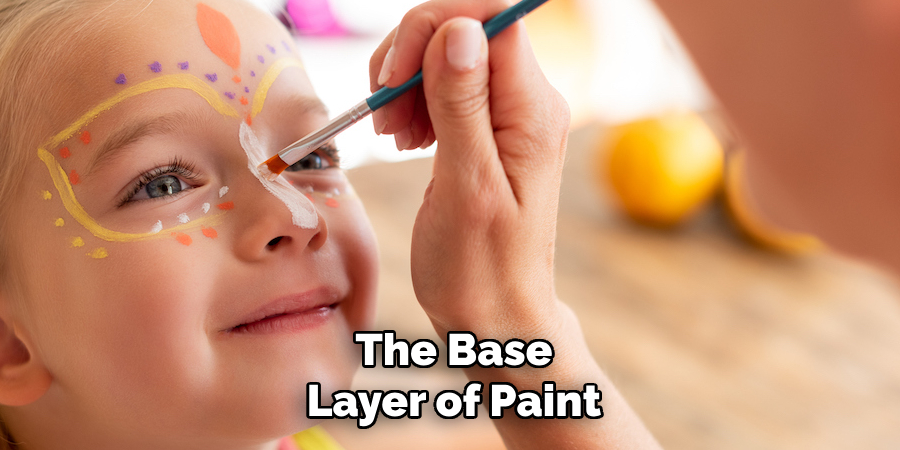
Step 3. Apply a Base Layer of Paint
To make the glitter face paint pop and last longer, start by applying a base layer of regular face paint in a color that complements your chosen glitter. Use a soft, clean sponge or brush to evenly spread the paint across the desired areas of your skin.
Focus on creating a smooth and even layer, as this will act as the foundation for the glitter and ensure consistent coverage. Allow the base layer to dry completely before adding any glitter to avoid smudging or patchy application. This step helps enhance the overall vibrancy and intensity of your glitter design.
Step 4. Apply the Glitter
Once the base layer of paint has dried completely, it’s time to add the glitter. Use a cosmetic-grade glitter for safety and a glitter adhesive or gel to ensure the glitter stays in place. Using a flat brush or your fingertips, gently press the glitter onto the areas where you’d like it to shine. Work in small sections to maintain precision and avoid excess fallout.
Apply additional layers if needed to achieve your desired intensity, but be cautious not to overapply, as this may cause the glitter to clump or lose its even appearance. Once finished, lightly tap off any loose glitter and admire your dazzling creation!
Step 5. Seal the Glitter
To ensure your glitter stays in place and maintains its sparkle, it’s essential to seal your design. Use a clear sealant or setting spray designed for glitter to lock everything in. Hold the spray at a distance of about 8-10 inches and apply a light, even coat over the glittered areas. Allow the sealant to dry completely, and repeat the process for extra durability. This step will prevent the glitter from flaking off and give your design a polished and finished look.
Step 6. Clean Up and Store Your Materials
Once you’ve completed your glitter project, take a moment to clean up your workspace and store your materials properly. Use a lint roller or tape to pick up any leftover glitter from surfaces.
Clean brushes or application tools thoroughly with soap and water or an appropriate cleaning solution to prevent glitter buildup. Store your glitter, adhesives, and sealants in a cool, dry place to keep them in good condition for your next project. Proper cleanup and storage will make your future projects even more enjoyable!
Step 7. Share Your Creation
Now that your glitter project is complete, it’s time to share your masterpiece with friends, family, or on social media! Capture high-quality photos in good lighting to showcase the sparkle and details of your design.
If your creation is a gift, consider adding a personal note or thoughtful packaging to make it extra special. Sharing your work not only spreads joy but can also inspire others to explore their creativity. Don’t forget to take pride in your hard work and enjoy the results of your effort!
Step 8. Reflect and Plan Your Next Project
Take a moment to reflect on your glitter project and the creative process you just completed. What techniques worked well, and what would you like to improve next time? Jot down any ideas or inspirations for future projects while they’re fresh in your mind. Keep a journal or folder to track your progress and document your creative journey.
Reflecting on your work helps you grow as an artist and keeps your passion for crafting alive. Use this opportunity to plan your next dazzling creation!
Step 9. Keep Practicing and Have Fun!
As with any skill, practice makes perfect. Continue exploring and experimenting with glitter face paint to improve your techniques and develop your unique style. Don’t be afraid to try new colors, designs, or tools – the possibilities are endless! The most important thing is to have fun and enjoy the process. Whether it’s for a special occasion, a costume party, or just for yourself, glitter face paint is a playful and exciting way to express yourself and add some sparkle to your life!
By following these steps and infusing your creativity, you can achieve stunning glitter face paint designs that stand out and last all day.
5 Things You Should Avoid
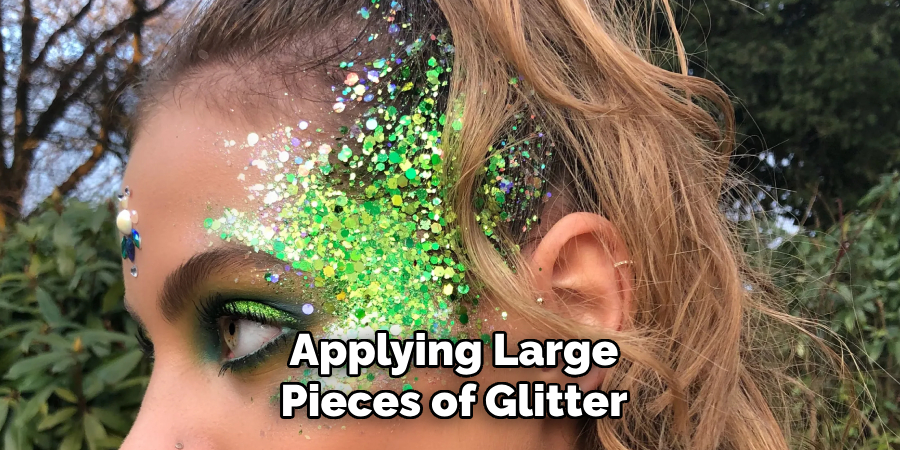
1. Using Chunky Glitter Near the Eyes: Avoid applying large pieces of glitter close to the eyes, as they can easily irritate or scratch the delicate skin around the area or even cause eye injuries.
2. Applying Glitter Directly to Bare Skin: Always use a safe cosmetic adhesive or primer before applying glitter. Skipping this step can lead to uneven application and make it difficult to remove later.
3. Ignoring Skin Sensitivity: Some individuals may have sensitive skin or allergies to certain adhesives or glitter components. Always test the product on a small skin patch before full application to prevent irritation or allergic reactions.
4. Overloading With Too Much Glitter
Excessive glitter can lead to flaking and shedding, which creates a mess and increases the chance of particles getting into sensitive areas like the eyes or mouth.
5. Using Non-cosmetic Glitter
Non-cosmetic glitters, such as craft glitter, are not designed for skin use and may contain sharp edges or harmful materials. Always select glitter that is specifically labeled as safe for cosmetic use.
Conclusion
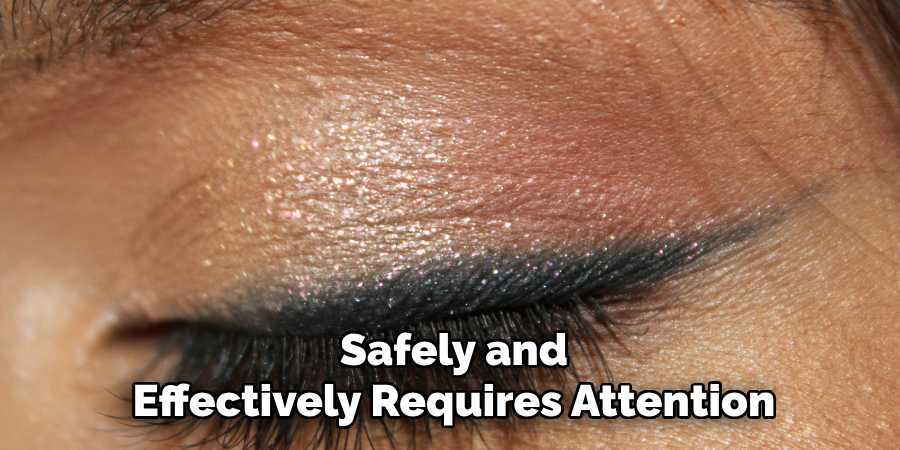
How to apply glitter face paint safely and effectively requires attention to detail and the right products.
Always start with a clean, prepared surface and ensure you’re using cosmetic-grade glitter and safe adhesives or primers to prevent skin irritation. Test any new products on a small skin patch to rule out any allergic reactions. Moderation is key—apply glitter sparingly to avoid messiness and protect sensitive areas like the eyes and mouth.
By following these tips, you can achieve a dazzling, long-lasting look while prioritizing your safety and skin health.
About the Author
Jane Hubbard is a passionate beauty expert with a wealth of experience in makeup, hair, and overall beauty techniques. After years of working as a hairdresser specialist, she followed her entrepreneurial spirit and started her own consultancy business.
Jane has always been driven by her desire to help others feel confident in their own skin, and she does this by sharing her knowledge, experiences, and practical beauty tips. Through her consultancy, she empowers individuals to embrace their unique beauty, offering tailored guidance that boosts both self-esteem and personal style.
Professional Focus
Specializes in makeup, hairstyling, and beauty consulting.
Provides personalized beauty advice, tips, and techniques to help individuals feel confident in their appearance.
Dedicated to staying up-to-date with the latest industry trends and developments.
Passionate about creating a comfortable and empowering experience for every client.
Education History
University of Craft and Design – Bachelor of Fine Arts (BFA) in Woodworking and Furniture Design
Woodworking Apprenticeships – Extensive hands-on training with skilled craftsmen to refine carpentry and furniture making techniques
Online Courses & Masterclasses – Continued education in advanced woodworking techniques, design principles, and specialized tools
Expertise:
Makeup artistry, hairstyling, and beauty consulting.
Personalized beauty techniques to enhance confidence and self-expression.
Educating clients on how to maintain their beauty routines at home.