
Magnetic eyelashes have become a game-changer in the beauty world, offering a quick and hassle-free alternative to traditional false lashes. Unlike glue-on lashes, magnetic lashes use tiny magnets to adhere to your natural lashes, making them easy to apply and remove. Whether you’re a makeup novice or a seasoned pro, mastering the art of magnetic eyelashes can elevate your look in minutes. This guide will walk you through the simple steps of how to put on magnetic eyelashes perfectly every time.
Why Magnetic Lashes Are a Game-Changer
Magnetic eyelashes have revolutionized the beauty industry for several compelling reasons. First and foremost, they eliminate the mess and hassle of traditional lash glue, making the application process faster and more efficient. This not only saves time but also reduces the risk of irritation or damage to your natural lashes caused by adhesive residue.
Magnetic lashes are also reusable, offering a cost-effective alternative to disposable false lashes. Their secure yet gentle hold ensures they stay in place throughout the day without feeling heavy or uncomfortable.
Additionally, magnetic lashes are versatile, available in various styles, lengths, and volumes to suit any occasion, from everyday wear to glamorous events. Whether you’re looking for a natural enhancement or a bold, dramatic effect, magnetic lashes deliver consistent results with ease.
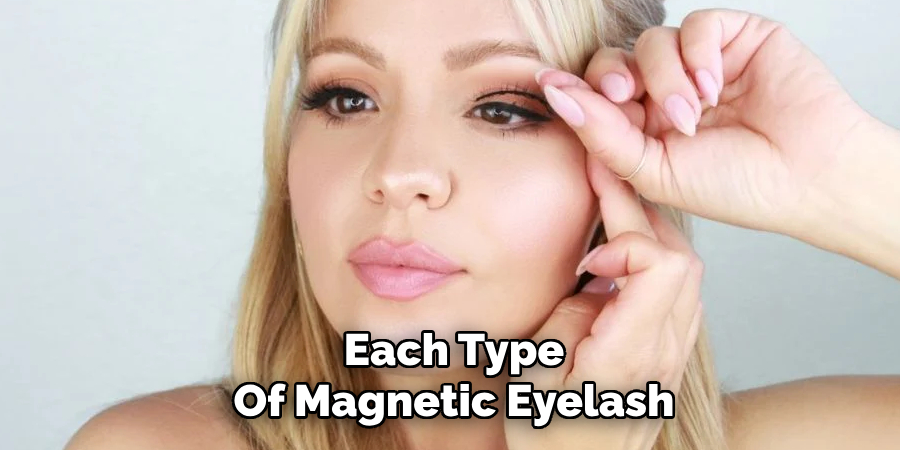
Types of Magnetic Eyelashes
Magnetic eyelashes come in several types to cater to different preferences and needs, making them a versatile beauty tool. The most common types include:
- Full Strip Lashes – These are designed to cover the entire lash line, offering a bold and dramatic look. They are ideal for special occasions or when you want to make a statement.
- Accent Lashes – These are half or partial strips that focus on the outer corners of the eyes. They create a subtle, natural enhancement, perfect for everyday wear.
- Magnetic Eyeliner Lashes – This type combines magnetic lashes with a special magnetic eyeliner. The eyeliner holds the lashes in place, simplifying the application process and creating a seamless finish.
- Individual Magnetic Lashes – These come as small clusters or single lashes, allowing for a customized look by adding volume and length to specific areas of the lash line.
Each type of magnetic eyelash provides a unique effect, enabling users to effortlessly switch between casual, professional, or glamorous styles as desired.
10 Methods How to Put on Magnetic Eyelashes
1. Choose the Right Style and Length for Your Eye Shape
The first and most crucial step to applying magnetic eyelashes successfully is selecting a pair that complements your eye shape and desired look. Magnetic lashes come in a variety of styles—natural, dramatic, wispy, cat-eye, and voluminous—and the right one enhances your features effortlessly.
If you have almond eyes, you’re lucky; most lash styles work well. For hooded eyes, shorter or tapered lashes can help avoid a heavy appearance. Round eyes benefit from lashes with longer ends to create a lifted, elongated effect. Be sure to also consider the magnet placement—some have three magnets, others five—for better hold and customization.
2. Prepare Your Natural Lashes with a Light Coat of Mascara
Although not always necessary, applying a light layer of mascara before your magnetic lashes can help provide grip and blend the fake lashes with your real ones. Curl your lashes gently, then sweep on a single coat of mascara, focusing on the roots rather than the tips.
This gives your magnetic lashes a sturdy base to rest on and prevents them from slipping. Avoid using too much product—clumpy lashes can interfere with proper placement or cause the magnets to lift. Let the mascara dry completely before proceeding to avoid any smudging or sticking.
3. Trim the Lashes for a Custom Fit
Pre-made magnetic lashes are designed to be slightly longer than necessary, so trimming them for a perfect fit is essential. Hold the lash strip against your lash line and note where the excess extends past the outer corner.
Always trim from the outer end—not the inner—so the lash maintains its natural gradient. Use small, sharp scissors and remove one magnet section at a time if needed. A proper fit ensures better magnet contact and comfort, especially at the inner and outer corners where improper sizing can cause irritation or detachment during wear.
4. Apply Magnetic Eyeliner with a Steady Hand
Magnetic lashes adhere to a special magnetic eyeliner, which acts as both a base and a glue alternative. Shake the eyeliner tube well to activate the formula, then draw a line along your upper lash line, keeping it as close to the roots of your natural lashes as possible.
A thicker line often provides a stronger hold, especially for heavier lash styles. You can wing it out or keep it simple depending on your makeup look. Allow the liner to dry completely before applying the lashes—this usually takes one to two minutes. Applying a second coat can help reinforce magnetic strength and longevity.
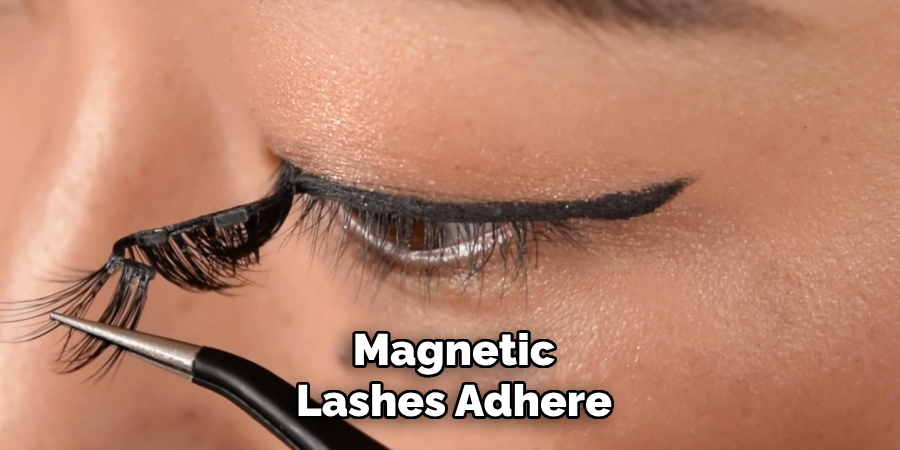
5. Use Tweezers or Lash Applicators for Precision
Using your fingers can work in a pinch, but magnetic lashes are often easier to apply with a lash applicator or a pair of tweezers. These tools help you place the lashes more precisely and avoid smudging your makeup. Grasp the lash at the center and gently lower it onto your lash line, starting from the middle and adjusting the ends afterward.
The magnets will snap into place over the magnetic liner, and you’ll feel a slight tug when they connect. Press down gently along the band to ensure each magnet is secured to the liner.
6. Adjust and Secure the Lashes with Gentle Pressure
Once the lashes are in place, use the tips of your fingers or the flat end of a lash applicator to press them gently into the liner. Work from the center outward, ensuring that all the magnets are locked down securely. Pay close attention to the corners, as these are the most prone to lifting.
If the magnets don’t hold, double-check that your liner is fully dry and not too thin. You can also press your natural and magnetic lashes together lightly to create a seamless blend and increase stability throughout the day.
7. Blend with Optional Mascara or Eyeliner Touch-Ups
If needed, apply a final coat of mascara to blend your natural and magnetic lashes together, especially if your natural lashes are lighter in color or sparse. Be gentle—pulling or tugging on the magnets with your mascara wand can cause shifting.
You can also go over your eyeliner again to hide any visible gaps or create a more defined look. Smudge-resistant gel or pencil liners can add depth and drama without disturbing the magnetic band. These finishing touches polish the overall appearance and give your lashes a more natural integration.
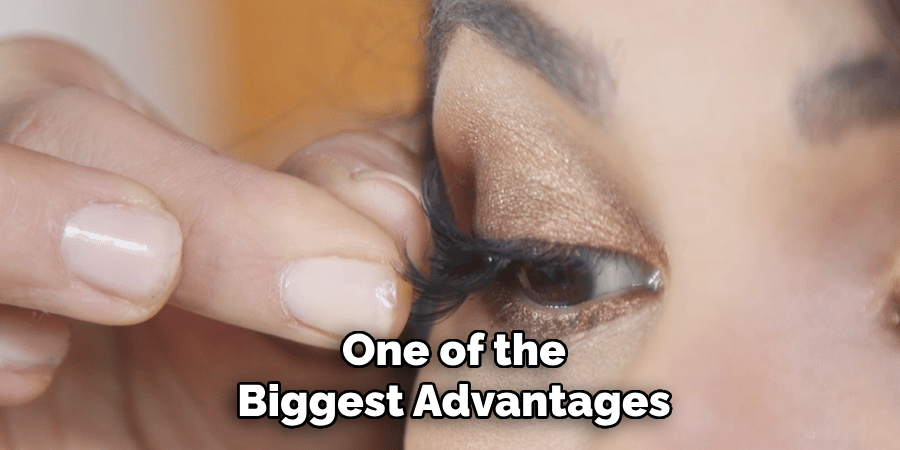
8. Reposition if Necessary Without Worry
One of the biggest advantages of magnetic lashes is that you can remove and reapply them without needing new glue or a full re-do. If your lashes feel off-center or start lifting at the edges, gently peel them away, adjust your liner if needed, and reattach them.
Unlike traditional glue lashes, magnetic ones give you flexibility—perfect for those still getting used to the process. To avoid excess movement, try not to touch or tug at them during the day. Once set, they should stay put with minimal maintenance if applied correctly.
9. Remove the Lashes Gently and Clean Both Lash and Lid
At the end of the day, gently peel the magnetic lashes off starting from one corner and pulling across. Avoid yanking or pulling quickly, especially if any mascara was applied to the band. Most magnetic liners are designed to resist smudging but come off easily with oil-based makeup removers.
Use a cotton swab or pad soaked in remover to dissolve the liner and wipe clean. The lashes themselves should be cleaned too—use a makeup remover wipe or cotton swab to gently remove any residue or mascara from the magnets and band. Store them in their original case to preserve their shape.
10. Store and Maintain Lashes for Reuse
Magnetic lashes are designed to be reusable, often lasting up to 30 wears or more with proper care. After each use, place them back into their container to maintain their curve and keep them dust-free.
Avoid bending the magnets or letting them stick to each other for long periods, as this can weaken their hold. Clean them regularly, especially if you wear them with mascara or over heavy eye makeup. Keeping your lashes clean and protected ensures a longer lifespan, better adhesion, and consistently flawless results every time you wear them.
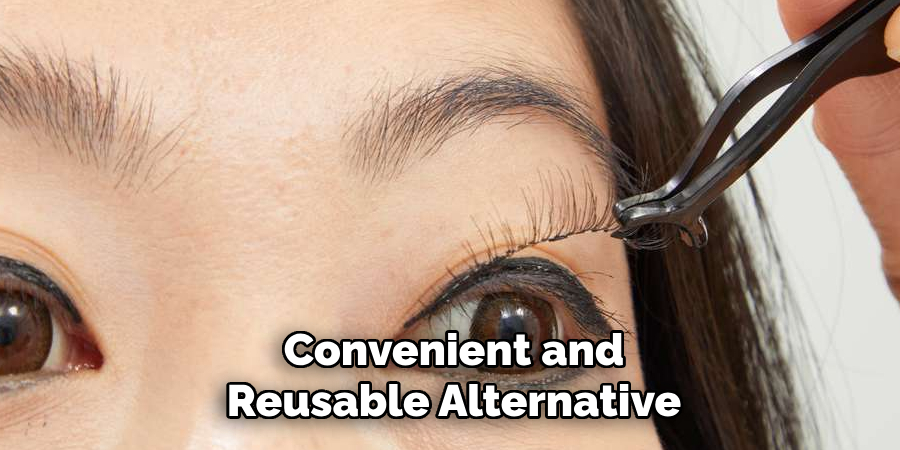
Conclusion
Magnetic lashes offer a convenient and reusable alternative to traditional false lashes, providing a hassle-free way to enhance your look. By following proper care and maintenance, you can enjoy their benefits for an extended period while ensuring they remain in excellent condition.
With their ease of use and long-lasting quality, magnetic lashes are a stylish and practical addition to any beauty routine. Thanks for reading, and we hope this has given you some inspiration on how to put on magnetic eyelashes!
About the Author
Jane Hubbard is a passionate beauty expert with a wealth of experience in makeup, hair, and overall beauty techniques. After years of working as a hairdresser specialist, she followed her entrepreneurial spirit and started her own consultancy business.
Jane has always been driven by her desire to help others feel confident in their own skin, and she does this by sharing her knowledge, experiences, and practical beauty tips. Through her consultancy, she empowers individuals to embrace their unique beauty, offering tailored guidance that boosts both self-esteem and personal style.
Professional Focus
Specializes in makeup, hairstyling, and beauty consulting.
Provides personalized beauty advice, tips, and techniques to help individuals feel confident in their appearance.
Dedicated to staying up-to-date with the latest industry trends and developments.
Passionate about creating a comfortable and empowering experience for every client.
Education History
University of Craft and Design – Bachelor of Fine Arts (BFA) in Woodworking and Furniture Design
Woodworking Apprenticeships – Extensive hands-on training with skilled craftsmen to refine carpentry and furniture making techniques
Online Courses & Masterclasses – Continued education in advanced woodworking techniques, design principles, and specialized tools
Expertise:
Makeup artistry, hairstyling, and beauty consulting.
Personalized beauty techniques to enhance confidence and self-expression.
Educating clients on how to maintain their beauty routines at home.