
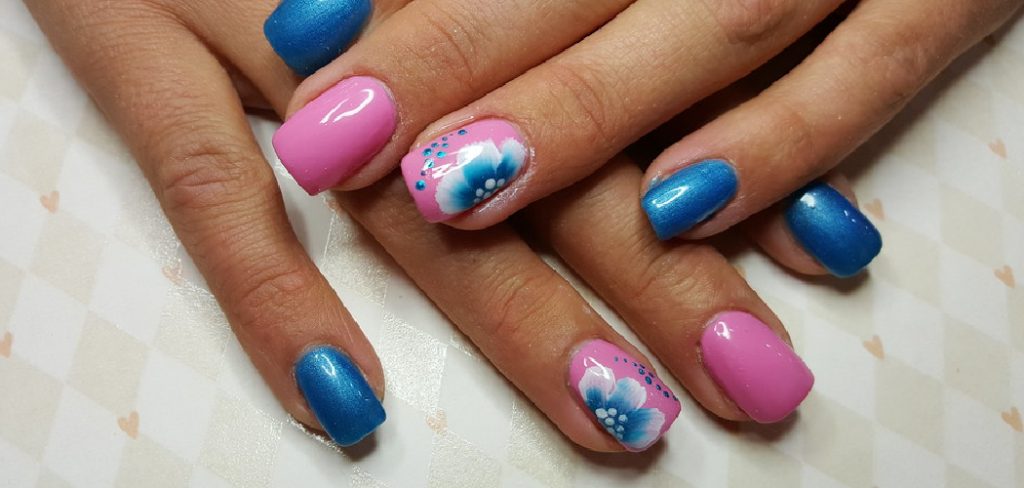
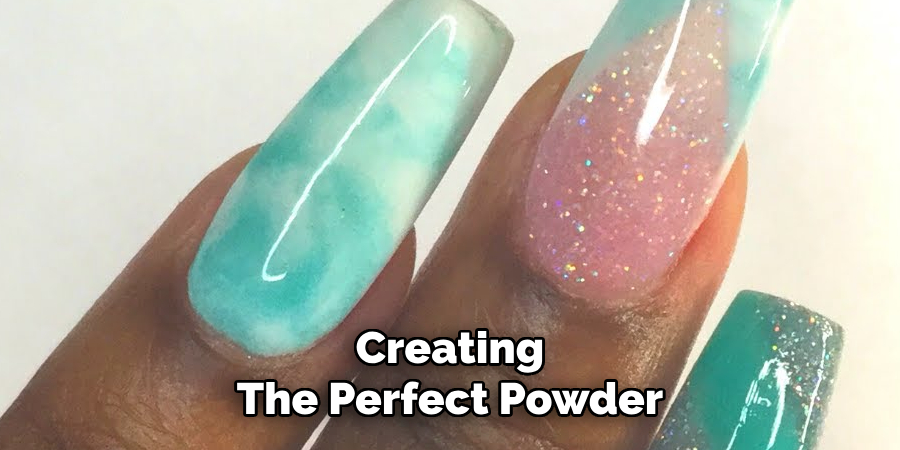
Are you looking for a fun and stylish nail color perfect for any occasion? Look no further than powder blue nails!
Creating flawless powder blue nails is a simple yet elegant way to achieve a stylish and sophisticated look. This soft and versatile color complements a variety of outfits and occasions, making it a popular choice for both casual and formal settings.
Whether you’re new to nail art or looking to refine your skills, the process involves a few essential steps to ensure a smooth and professional finish. From prepping your nails to applying the perfect coat of powder blue polish, following the right techniques will help you achieve a stunning manicure every time.
In this guide on how to make powder blue nail polish, we will cover the basic steps and tips to create a beautiful powder blue manicure.
What Are the Benefits of Using Powder Blue Nail Polish?
Before diving into creating a powder blue manicure, the benefits of using this particular shade are worth mentioning. Here are some reasons why you should consider incorporating powder blue nail polish into your collection:
- Timeless and Elegant Look: Powder blue is a classic color that never goes out of style. It gives off an elegant vibe that can elevate any look.
- Versatile Shade: For a casual or formal look, powder blue nail polish complements various outfits and occasions.
- Ideal for All Skin Tones: Unlike other shades, powder blue looks flattering on all skin tones. It adds a touch of sophistication without clashing with different skin undertones.
- Subtle Pop of Color: If you’re hesitant to try bold and bright nail colors, powder blue is a perfect choice, as it provides a subtle pop of color without being too overwhelming.
- Perfect for Any Season: Powder blue is a versatile shade that can be worn all year round. It’s refreshing in the spring and summer while adding a soft touch in the fall and winter seasons.
- Pairs Well with Other Colors: Powder blue is a great base color to play around with. It pairs well with other shades like white, silver, or pastel hues, allowing you to create unique and eye-catching nail designs.
In addition to these reasons, powder blue is known for its calming and soothing properties. The light shade can help to reduce stress and anxiety, making it the perfect choice for a relaxing manicure session.
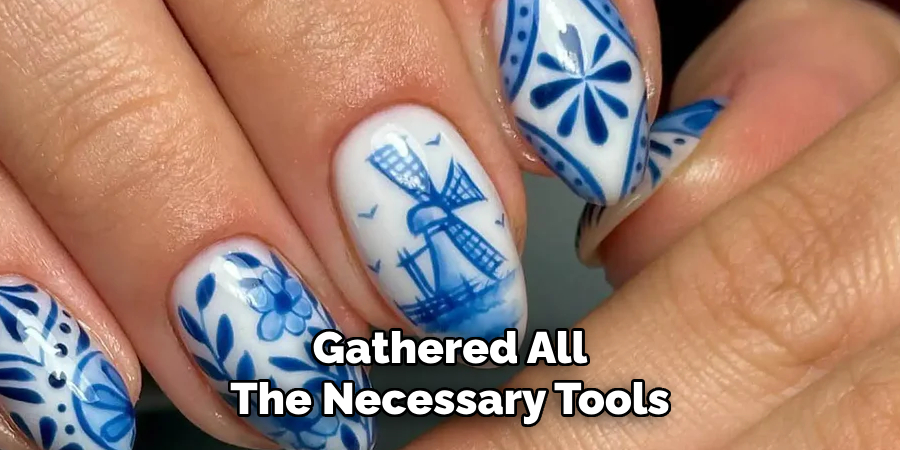
What Will You Need?
If you want to achieve a beautiful powder blue manicure, here are some essential tools and products that you will need:
- Powder blue nail polish
- A top coat for added shine and longevity
- Nail file and buffer
- Cuticle oil or cream
- Cotton balls or pads
- Nail polish remover (in case of any mistakes)
Once you have gathered all the necessary tools and products, you are ready to begin your powder blue manicure.
8 Easy Steps on How to Make Powder Blue Nail
Step 1: Prepare Your Nails
Start by removing any old nail polish using a cotton ball or pad soaked with nail polish remover. Be sure to clean the nails thoroughly, leaving no residue behind. Next, carefully file your nails into your desired shape—whether round, square, or almond—making sure each nail is even and smooth.
Use a nail buffer to gently smooth the surface of your nails, removing any ridges and creating a clean slate for the polish. Don’t forget to take care of your cuticles by applying cuticle oil or cream and then gently pushing them back with a cuticle stick.
Finish the preparation step by washing your hands with soap and water to remove any oils or leftover nail dust, ensuring your nails are clean and ready for the next step.
Step 2: Apply a Base Coat
Begin by applying a thin layer of base coat to each nail. A base coat is essential as it helps the nail polish adhere better, extends the life of your manicure, and protects your natural nails from potential staining caused by pigmented polishes. Cover the entire nail surface and allow it to dry completely before moving on to the next step. This step creates a smooth, even surface for your nail color.
Step 3: Apply the First Coat of Nail Polish
Once the base coat has dried completely, it’s time to apply the first coat of nail polish. Choose your desired color and sweep the brush over the nail in thin, even strokes, starting from the base near the cuticle to the tip. Avoid applying excessive polish, which can lead to uneven drying and smudges. Allow this layer to dry thoroughly before proceeding to the next coat for best results.
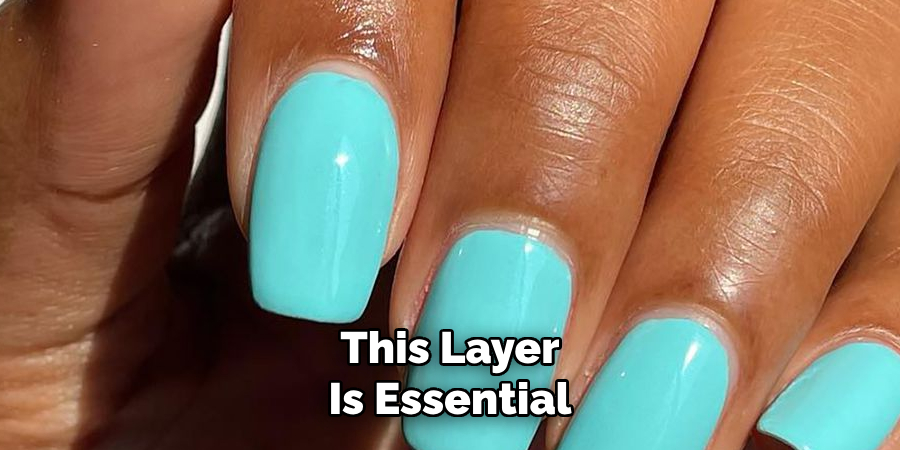
Step 4: Apply the Second Coat of Nail Polish
After the first coat has dried completely, apply a second coat of nail polish to enhance the color and achieve a more opaque finish. Like the first coat, use thin, even strokes to cover the entire nail, starting from the cuticle and moving towards the tip. Be careful not to overload the brush with polish to avoid clumps or streaks.
This layer is essential for deepening the intensity of the color and ensuring a smooth, professional-looking result. Allow the second coat to dry thoroughly before moving on to the next step to prevent smudging or imperfections. Patience is key to achieving a flawless manicure.
Step 5: Apply a Top Coat
Once the second coat of polish is completely dry, apply a top coat to seal in the color and add a glossy finish. The top coat protects your manicure from chipping and extends its longevity, keeping your nails looking fresh for longer.
Use the same technique as before, applying a thin, even layer and ensuring full coverage from the cuticle to the tip. Allow the top coat to dry thoroughly; rushing this step could jeopardize the polish underneath. A good top coat is the secret to a salon-quality manicure.
Step 6: Clean Up Any Mistakes
After completing the top coat, it’s time to perfect your manicure by cleaning up any mistakes. Even with a steady hand, it’s common to have slight smudges or excess polish on the skin around your nails. To address this, dip a small, angled brush or a cotton swab into nail polish remover and gently clean up the edges of your nails for a neat, professional finish. Focus on precision to avoid removing polish from the nail itself.
This step enhances the overall look of your manicure and ensures that each nail has crisp, clean edges. Taking the time to clean up any mistakes can transform your at-home manicure into one that rivals a salon.
Step 7: Moisturize Your Hands and Cuticles
Once your nails are dehydrated, it’s time to rehydrate your hands and cuticles. Manicures can often dry your skin, especially after using polish remover. Apply a rich hand cream or lotion to restore moisture and softness to your skin. Pay special attention to your cuticles by gently massaging a cuticle oil or balm.
This not only nourishes the delicate skin around your nails but also helps to promote healthy nail growth. Taking the time to moisturize regularly will keep your hands looking youthful and polished, making your manicure truly stand out.
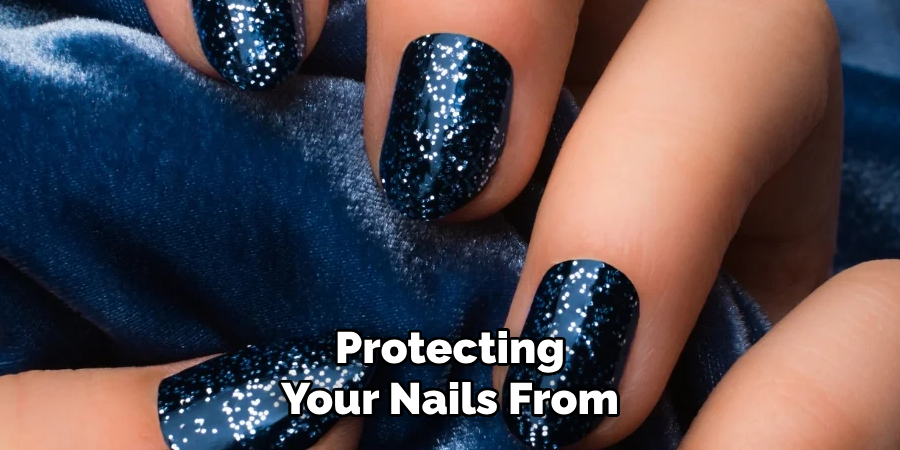
Step 8: Protect Your Nails
Protecting your nails from potential damage is essential to ensure your manicure lasts as long as possible. Always wear gloves when doing household chores, such as washing dishes or cleaning, to shield your nails from harsh chemicals and excess moisture.
Additionally, consider applying a top coat every few days to maintain the shine and prevent chipping. These simple habits will help extend the life of your manicure and keep your nails looking flawless.
You can achieve and maintain beautiful, healthy nails by following these tips. Always prioritize your nail health and avoid harsh chemicals or excessive filing.
5 Things You Should Avoid
- Using Low-Quality Nail Polishes
Avoid using cheap or low-quality nail polishes, as they may lack the pigmentation needed to achieve a true powder blue shade. They can also chip easily and compromise the overall appearance of your nails.
- Skipping a Base Coat
Neglecting a base coat can lead to an uneven application and may cause nail staining. A good base coat helps the color adhere better and provides a smooth foundation for the powder blue polish.
- Applying Thick Coats of Polish
Avoid applying thick layers of nail polish, which can cause smudging, bubbling, and uneven drying. Instead, use thin and even coats, allowing each layer to dry before applying the next.
- Not Using Proper Lighting
Poor lighting can make seeing imperfections or inconsistencies in your polish application difficult. Ensure you’re in a well-lit area for an even, flawless finish.
- Skipping Top Coat Protection
Not applying a top coat is a common mistake that can make your powder blue nail polish prone to chipping and losing its shine. A quality top coat helps seal the color, adds shine, and ensures your manicure lasts longer.
Conclusion
Creating the perfect powder blue manicure requires attention to detail and adherence to proper techniques.
You can achieve a smooth and even application by starting with clean and well-prepped nails, using high-quality polish, and working in proper lighting. Remember to finish with a protective top coat to enhance durability and shine, ensuring your manicure stays vibrant and chip-free for an extended period. With these steps, your powder blue nails will showcase a stunning and professional look.
Hopefully, the article on how to make powder blue nail polish has given you valuable information and tips to create a flawless manicure at home. Experiment with different designs, add glitter or nail art, and have fun with your powder-blue nails!
About the Author
Jane Hubbard is a passionate beauty expert with a wealth of experience in makeup, hair, and overall beauty techniques. After years of working as a hairdresser specialist, she followed her entrepreneurial spirit and started her own consultancy business.
Jane has always been driven by her desire to help others feel confident in their own skin, and she does this by sharing her knowledge, experiences, and practical beauty tips. Through her consultancy, she empowers individuals to embrace their unique beauty, offering tailored guidance that boosts both self-esteem and personal style.
Professional Focus
Specializes in makeup, hairstyling, and beauty consulting.
Provides personalized beauty advice, tips, and techniques to help individuals feel confident in their appearance.
Dedicated to staying up-to-date with the latest industry trends and developments.
Passionate about creating a comfortable and empowering experience for every client.
Education History
University of Craft and Design – Bachelor of Fine Arts (BFA) in Woodworking and Furniture Design
Woodworking Apprenticeships – Extensive hands-on training with skilled craftsmen to refine carpentry and furniture making techniques
Online Courses & Masterclasses – Continued education in advanced woodworking techniques, design principles, and specialized tools
Expertise:
Makeup artistry, hairstyling, and beauty consulting.
Personalized beauty techniques to enhance confidence and self-expression.
Educating clients on how to maintain their beauty routines at home.