
Are you tired of waking up with messy and dry hair every morning? Or do you want to give your hair some extra nourishment and shine?
How to apply night hair mask is a simple and effective way to nourish and rejuvenate your hair while you sleep. These masks are designed to deeply condition, repair damage, and strengthen your hair, leaving it soft, shiny, and manageable by morning.
Whether you’re dealing with dryness, frizz, or general dullness, using a night hair mask as part of your routine can help restore your hair’s health and vitality. Additionally, these masks work for all hair types, so everyone can benefit from incorporating them into their hair care routine.
The process is straightforward, but it’s important to follow the right steps and use the product correctly to maximize the benefits.
What Are the Benefits of Using a Night Hair Mask?
Using an overnight hair mask has several benefits for your hair, such as:
- Deeply nourishing and hydrating the Hair: The ingredients in night masks penetrate deep into the hair shaft, providing essential nutrients and moisture to the strands. This helps repair any damage and improves overall hair health.
- Reducing Frizz and Smoothing the Texture: Many night masks contain oils or proteins that can help tame frizz and smooth out rough textures, leaving your hair sleeker and more polished.
- Enhancing Shine and Softness: By profoundly moisturizing the hair, night masks can add shine and softness to dull or dry locks. This results in healthier-looking, more lustrous hair.
- Stimulating Hair Growth: Some night masks contain ingredients that can stimulate blood circulation to the scalp, promoting hair growth and thickness. This is especially beneficial for those with thinning or slow-growing hair.
- Protecting Against Damage: Overnight masks can also help protect hair from environmental and styling damage. These masks can prevent breakage and split ends by creating a barrier between the hair and outside elements.
What Will You Need?
To create your own DIY overnight hair mask, you will need:
- A small mixing bowl or container
- A comb or brush for applying the mask
- Plastic wrap or a shower cap to cover your hair while sleeping
- Your choice of ingredients for the mask (see next section for suggestions)
Make sure to choose high-quality and natural ingredients for the best results. You may also want to have a towel or old t-shirt on hand to protect your pillowcase from any potential mess.
8 Easy Steps on How to Apply Night Hair Mask
Step 1. Prepare Your Ingredients and Tools
Begin by gathering all the ingredients and tools to create and apply your night hair mask. Select your ingredients based on your hair’s specific needs—whether you’re targeting dryness, frizz, or breakage. For example, you might choose coconut oil or argan oil for hydration, aloe vera for soothing the scalp, or eggs for protein.
Lay out your tools, including the mixing bowl, comb or brush, and plastic wrap or shower cap, to ensure everything is within reach. If mixing multiple ingredients, use a whisk or spoon to blend them into a smooth, consistent mixture.
This preparation step ensures your application process is efficient and mess-free, allowing you to focus on nourishing your hair. Additionally, placing a towel or old t-shirt nearby will help you catch any drips and keep your bedtime routine clean and hassle-free.
Step 2: Apply the Mixture
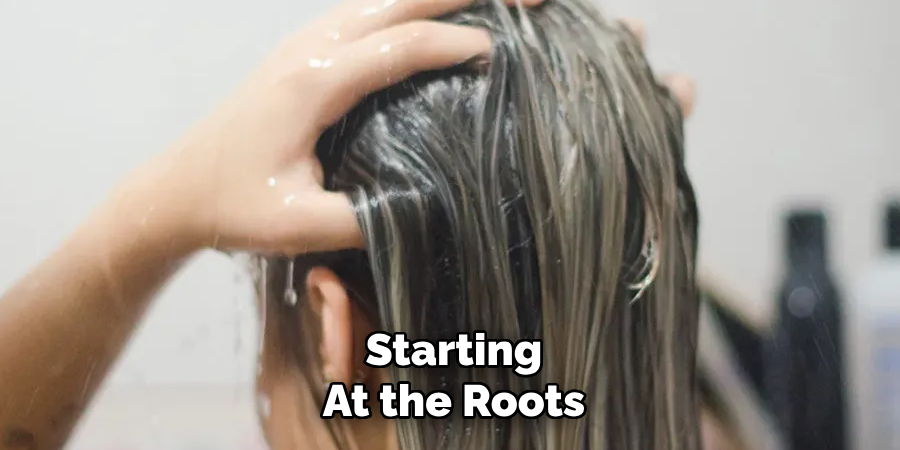
With your mixture ready, apply it to your hair, starting at the roots and working to the tips. Use a comb or your fingers to ensure even distribution and gently massage the mixture into your scalp to stimulate blood flow.
Divide your hair into sections if needed for a more straightforward application. Once thoroughly coated, gather your hair into a bun or secure it with a clip. Cover your hair with a plastic wrap or shower cap to lock in moisture and prevent drips, allowing the mixture to penetrate effectively.
Step 3: Let It Sit
Allow the mixture to sit on your hair for at least 20 to 30 minutes, depending on the type of treatment and the desired results. For deep conditioning or repair treatments, you may leave it on for up to an hour. To enhance the effectiveness of the treatment, you can apply gentle heat by wrapping a warm towel around your covered hair or using a low-heat setting on a hair dryer.
This helps open up the hair cuticles, allowing the nutrients and moisture to penetrate more deeply. While waiting, take this time to relax or engage in self-care activities, such as meditating or reading a book. Once the time is up, you’re ready for the final step to reveal healthier, shinier hair.
Step 4: Rinse and Shampoo
Rinse your hair thoroughly with lukewarm water to remove the treatment. Make sure to gently massage your scalp and work your fingers through your strands to ensure all residue is washed out. Follow up with a mild, sulfate-free shampoo to cleanse your hair without stripping it of the moisture and nutrients it has just absorbed. Be careful not to use water that is too hot, as it can cause dryness and reduce the benefits of the treatment.
After shampooing, rinse again until your hair feels clean and fresh. Consider applying a lightweight conditioner or leave-in treatment suited to your hair type to lock in moisture. This final step culminates in soft, hydrated, and revitalized hair that looks and feels its best.
Step 5: Dry Your Hair
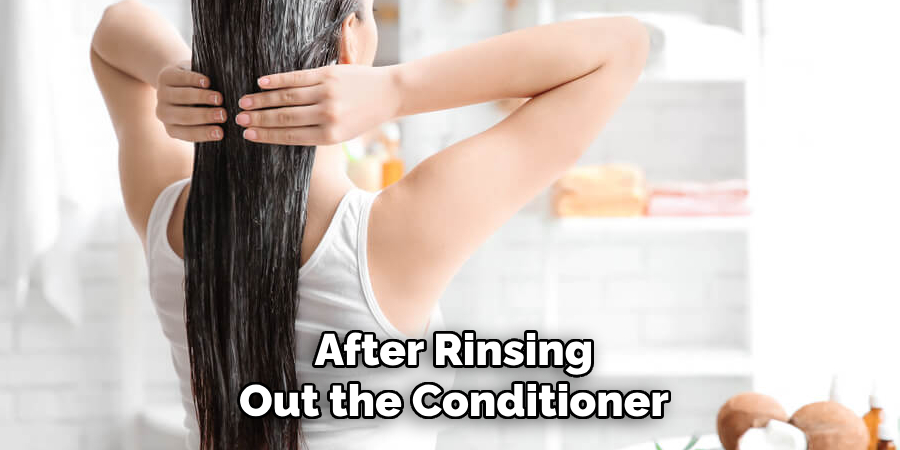
After rinsing out the conditioner or leave-in treatment, gently pat your hair dry with a soft, microfiber towel or an old cotton T-shirt. Avoid vigorous rubbing, as this can cause frizz and breakage. If you plan to use a blow dryer, apply a heat protectant spray to shield your hair from damage beforehand. Opt for a low-heat setting or allow your hair to air dry completely for a healthier, natural finish.
Step 6: Styling Your Hair
Once your hair is dry, it’s time to style it according to your preferences. If you’re using heated styling tools like flat irons or curling wands, apply a heat protectant product beforehand.
You can use products like mousse, gel, or styling cream to enhance your hair’s texture and shape for a more natural look. Remember to avoid over-styling or using excessive heat, as these practices can lead to damage over time. Experiment with different styles to find the best for your hair type and personal taste.
Step 7: Maintain Your Hair’s Health
Regular maintenance is key to keeping your hair looking its best. Trim your hair every 6-8 weeks to prevent split ends and maintain its shape. Incorporate a deep conditioning treatment into your routine at least once a month to restore moisture and keep your hair soft and manageable.
Pay attention to your scalp health by massaging it gently during washes and using products tailored to your specific needs, such as clarifying shampoos or treatments. Healthy hair starts with a nourishing hair care routine and consistent upkeep.
Step 8: Protect Your Hair from Environmental Damage
Environmental factors, such as sun exposure, pollution, and harsh weather conditions, can affect your hair’s health. To protect your hair, consider wearing a hat or scarf when spending extended periods in the sun to shield it from harmful UV rays that can cause dryness and discoloration.
Additionally, use hair products that contain UV protection for an added layer of defense. Pollution can lead to product buildup and scalp irritation, making cleaning your hair thoroughly but gently removing impurities essential. During colder months, keep your hair hydrated with nourishing oils or leave-in conditioners to combat dryness caused by low humidity.
By following these simple tips, you can maintain healthy, radiant hair all year round.

5 Things You Should Avoid
- Applying Too Much Product
Using excessive amounts of a night hair mask can weigh down your hair and make it greasy. Always follow the recommended quantity based on your hair length and texture.
- Skipping a Patch Test
Avoid applying a new hair mask directly without testing it on a small patch of your skin or hair first. This helps prevent allergic reactions or irritation.
- Not Detangling Your Hair Before Application
Applying a mask on tangled or messy hair can lead to uneven distribution. Always gently detangle your hair beforehand to ensure the mask is applied evenly.
- Leaving It on for Too Long
While night hair masks are designed for extended use, leaving them on longer than the recommended time can lead to buildup or hair damage. Always follow the instructions provided with the product.
- Skipping a Proper Rinse in the Morning
Failing to rinse the mask thoroughly can leave product residue in your hair, causing dullness or scalp issues. Ensure you’re using lukewarm water and taking your time to rinse thoroughly.
Conclusion
How to apply night hair mask effectively requires understanding its application and removal process.
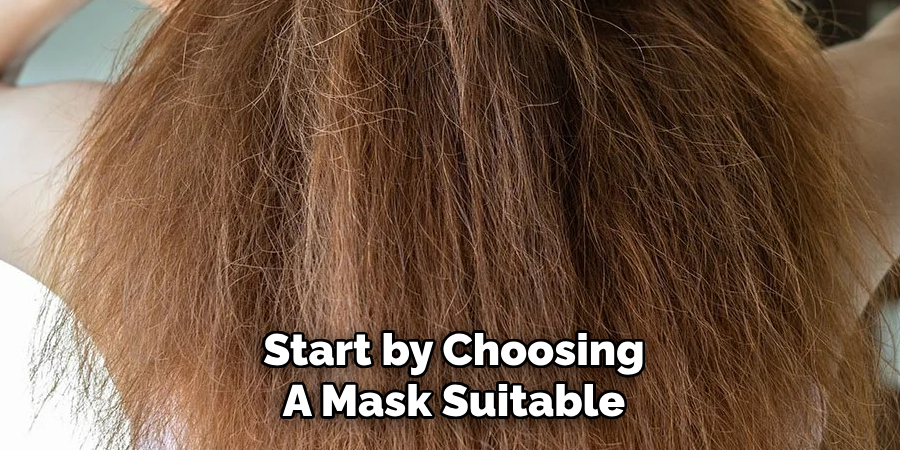
Start by choosing a mask suitable for your hair type and needs. Apply the mask evenly to clean, damp hair, focusing on the lengths and ends while avoiding the scalp unless specified otherwise. Protect your hair and bedding by covering it with a shower cap or a silk scarf. The mask should be left on for the recommended time, typically overnight, but always refer to the product’s guidelines. Ensure a thorough rinse in the morning with lukewarm water to remove all residue.
With consistent use and proper application, night hair masks can deeply nourish and rejuvenate your hair, leaving it healthier and more manageable.
About the Author
Jane Hubbard is a passionate beauty expert with a wealth of experience in makeup, hair, and overall beauty techniques. After years of working as a hairdresser specialist, she followed her entrepreneurial spirit and started her own consultancy business.
Jane has always been driven by her desire to help others feel confident in their own skin, and she does this by sharing her knowledge, experiences, and practical beauty tips. Through her consultancy, she empowers individuals to embrace their unique beauty, offering tailored guidance that boosts both self-esteem and personal style.
Professional Focus
Specializes in makeup, hairstyling, and beauty consulting.
Provides personalized beauty advice, tips, and techniques to help individuals feel confident in their appearance.
Dedicated to staying up-to-date with the latest industry trends and developments.
Passionate about creating a comfortable and empowering experience for every client.
Education History
University of Craft and Design – Bachelor of Fine Arts (BFA) in Woodworking and Furniture Design
Woodworking Apprenticeships – Extensive hands-on training with skilled craftsmen to refine carpentry and furniture making techniques
Online Courses & Masterclasses – Continued education in advanced woodworking techniques, design principles, and specialized tools
Expertise:
Makeup artistry, hairstyling, and beauty consulting.
Personalized beauty techniques to enhance confidence and self-expression.
Educating clients on how to maintain their beauty routines at home.