
Are you tired of using powder blushes that leave your cheeks looking cakey and dry? Look no further because cream blush sticks are here to save the day! These versatile makeup products can give you a natural, dewy glow that lasts all day.
Cream blush stick is a versatile and easy-to-use makeup product that can bring a natural, radiant glow to your complexion. Whether you’re a makeup novice or a seasoned enthusiast, mastering the application of a cream blush stick can enhance your look effortlessly. With their creamy texture and convenient packaging, these blushes are perfect for quick touch-ups and provide buildable color that can be tailored to suit any occasion.
This guide on how to use cream blush stick will walk you through the steps to apply a cream blush stick like a pro, ensuring a flawless and seamless finish every time.
What Are the Benefits of Using a Cream Blush Stick?
There are several benefits to using a cream blush stick:
- Easy to Use: As mentioned earlier, the creamy texture of these blushes makes them incredibly easy to apply. They glide smoothly onto your skin and blend effortlessly, making it a hassle-free process for beginners.
- Multipurpose: Cream blush sticks can also be used as lip colors or eyeshadows, making them versatile and perfect for creating a cohesive makeup look.
- Natural Finish: The creamy formula of these blushes gives you a natural-looking flush that mimics the appearance of your skin’s natural oils, providing a subtle sheen rather than an intense shimmer.
- Long-lasting: Unlike powder blushes that tend to fade throughout the day, cream blush sticks have a longer staying power and can withstand heat and humidity.
- Buildable Coverage: Whether you prefer a subtle hint of color or a more dramatic flush, cream blush sticks allow you to build up the intensity of the color, giving you control over your desired look.
What Will You Need?
To achieve the perfect flush with a cream blush stick, you’ll need a few things:
- A cream blush stick in your desired shade.
- A makeup brush or your fingers to blend the product onto your skin.
- A mirror for precise application.
Once you have these items, you’re ready to start creating a beautiful and long-lasting flush on your cheeks.
8 Easy Steps on How to Use Cream Blush Stick
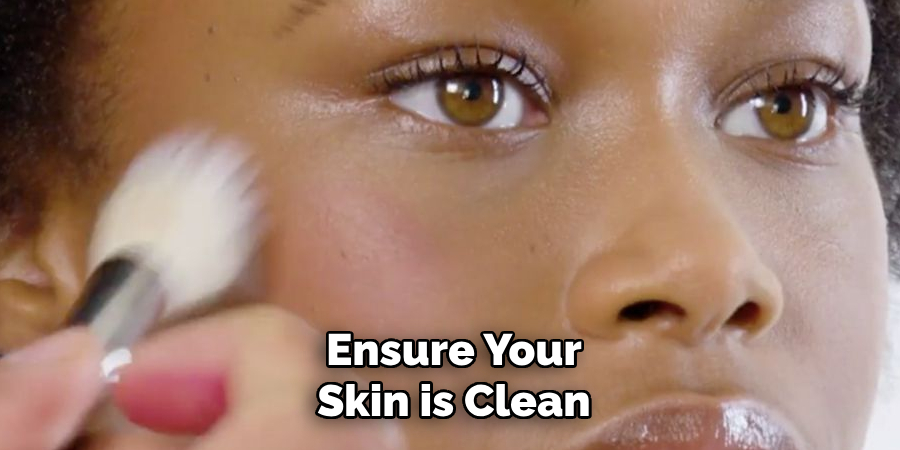
Step 1. Start with Clean Skin:
Before applying makeup, ensure your skin is clean and free of dirt or oils. This sets a smooth foundation for your blush and prevents uneven application. Wash your face gently with a cleanser that suits your skin type, and pat it dry with a clean towel. A clean canvas ensures your makeup looks fresh and lasts longer throughout the day. Follow up with a moisturizer to keep your skin hydrated and prepped for the next steps.
Step 2. Apply the Blush Stick:
To apply the blush stick, gently twist the product up to reveal just enough of the blush for application—there’s no need to overextend it. Identify the areas of your face where you want a touch of color; typically, this is the apples of your cheeks. Smile slightly to locate the roundest part of your cheeks, which is the ideal spot for application.
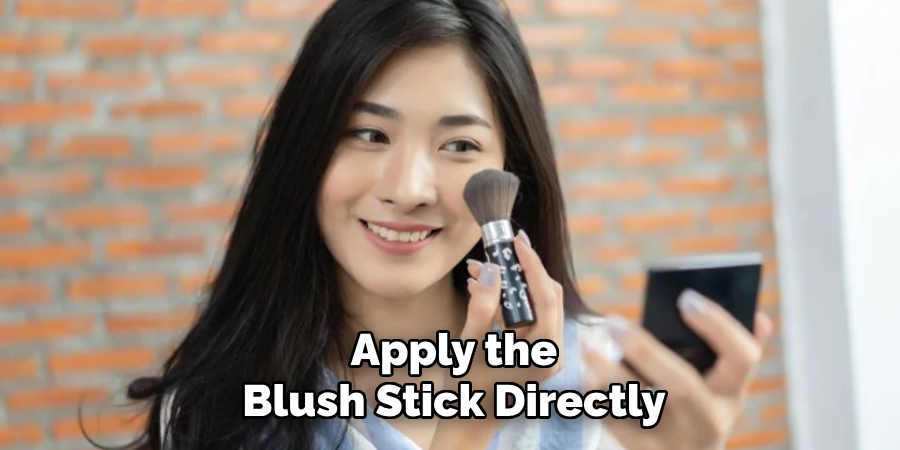
Apply the blush stick directly onto your skin using short, gentle strokes or dabs. Start with a light layer and build up the intensity gradually, as it’s easier to add more than to tone it down. Once applied, use your fingertips, a makeup sponge, or a blush brush to blend the color seamlessly into your skin.
Blend upward and outward motions toward your temples for a natural, lifted appearance. This method ensures smooth, even coverage and a radiant, youthful glow that complements your skin tone.
Step 3: Set Your Blush with Powder
Setting your blush with powder is essential to ensure it stays in place throughout the day. After blending your blush to perfection, take a translucent setting powder or a blush-colored powder that matches the shade you’ve applied. Using a fluffy brush, gently tap the powder onto the areas where you applied the blush.
Avoid sweeping motions, as this could disturb the cream blush underneath. Setting your blush with powder not only locks in the color but also helps to reduce shine and gives a more polished, long-lasting finish. For a more intensified look, you can layer a powder blush over the cream base, which adds depth and dimension to your cheeks. This technique ensures your makeup remains fresh and vibrant throughout the day, even in humid or warm conditions.
Step 4: Highlight for a Radiant Glow
To enhance your features and add a radiant glow, apply highlighter to the high points of your face. Focus on areas like the tops of your cheekbones, the bridge of your nose, brow bones, and the cupid’s bow.
Use a light hand and build up the intensity gradually to avoid an overly shiny appearance. Opt for a cream or liquid highlighter for a more natural look and blend it seamlessly into your skin with your fingers or a damp makeup sponge. Highlighting brightens your complexion and adds dimension, creating a luminous, dewy finish to your makeup look.
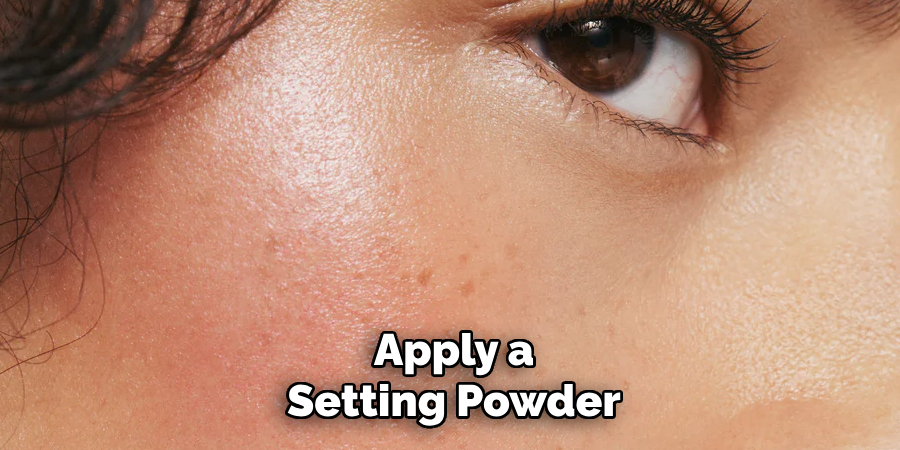
Step 5: Set Your Makeup
Apply a setting powder or spray to ensure your makeup lasts all day and stays in place. If you have oily skin, use a translucent setting powder and lightly dust it over areas prone to shine, such as your T-zone. For a more radiant finish or if you have dry skin, opt for a hydrating setting spray to lock in your makeup while maintaining a dewy glow. This step helps to minimize transfer, control shine, and keep your makeup intact for hours.
Step 6: Final Touches
Complete your makeup look with the finishing touches that bring everything together. Add a pop of color to your lips with your favorite lipstick or gloss, ensuring it complements the overall look.
If desired, apply a bit of highlighter to the highest points of your face, such as the tops of your cheekbones, the bridge of your nose, and your cupid’s bow, for an added glow. Lastly, double-check your makeup for any areas needing a little blending or adjustment, ensuring a flawless and polished result.
Step 7: Keep Up with Trends
Keeping up with makeup trends is essential to staying on your game. Follow popular makeup artists and beauty influencers on social media to stay updated on the latest techniques, products, and looks. Attend makeup workshops or classes to learn new skills and stay current in the industry.
Additionally, don’t be afraid to experiment with different looks and products. Makeup is meant to be fun and expressive, so play around with various colors, textures, and styles to find your unique style. Don’t hesitate to step out of your comfort zone and try new things.
Step 8: Take Care of Your Tools
Like any artist needs good quality tools, a makeup artist also needs high-quality brushes and tools to create flawless makeup looks. Invest in good quality brushes and learn how to clean and maintain them. This will help you achieve better results and ensure that your tools last longer.
By following these tips and continuously practicing, you can become a skilled makeup artist in no time.
5 Things You Should Avoid
- Applying Too Much Product at Once
Using a heavy hand with a cream blush stick can lead to an overly dramatic and unnatural look. Start with a light layer and build up gradually to achieve your desired intensity.
- Skipping Proper Skin Preparation
Failing to prepare your skin with moisturizer or primer can cause the cream blush to cling to dry patches or apply unevenly. Always ensure your skin is well-prepped for a smooth application.
- Blending with Dirty Tools or Fingers
Using unclean brushes or fingers to blend your cream blush can introduce bacteria to your skin and ruin the finish. Always use clean tools or sanitize your hands before application.
- Applying Directly to Powdered Skin
Cream blush doesn’t blend well with setting powders or other dry products. Apply it over foundation or tinted moisturizer before setting your face with powder for a seamless look.
- Ignoring Your Face Shape
Applying cream blush without considering your face shape can produce less flattering results. Tailor the placement to suit your natural features, like focusing on the apples of your cheeks or blending upward for a lifted effect.
Conclusion
How to use cream blush stick effectively requires a mindful approach to application. Start by selecting a shade that complements your skin tone for the most natural finish.
Apply the product directly to your cheeks, or use your fingertips for greater control. Blend the blush in light, circular motions, ensuring it melts seamlessly into your skin for a radiant, flushed appearance. Remember to layer the product gradually to avoid over-application, and always apply it before setting powder. With these steps, you can achieve a flawless and youthful look every time.
Hopefully, this guide has helped you understand the basics of blush application and how to incorporate it into your makeup routine.
About the Author
Jane Hubbard is a passionate beauty expert with a wealth of experience in makeup, hair, and overall beauty techniques. After years of working as a hairdresser specialist, she followed her entrepreneurial spirit and started her own consultancy business.
Jane has always been driven by her desire to help others feel confident in their own skin, and she does this by sharing her knowledge, experiences, and practical beauty tips. Through her consultancy, she empowers individuals to embrace their unique beauty, offering tailored guidance that boosts both self-esteem and personal style.
Professional Focus
Specializes in makeup, hairstyling, and beauty consulting.
Provides personalized beauty advice, tips, and techniques to help individuals feel confident in their appearance.
Dedicated to staying up-to-date with the latest industry trends and developments.
Passionate about creating a comfortable and empowering experience for every client.
Education History
University of Craft and Design – Bachelor of Fine Arts (BFA) in Woodworking and Furniture Design
Woodworking Apprenticeships – Extensive hands-on training with skilled craftsmen to refine carpentry and furniture making techniques
Online Courses & Masterclasses – Continued education in advanced woodworking techniques, design principles, and specialized tools
Expertise:
Makeup artistry, hairstyling, and beauty consulting.
Personalized beauty techniques to enhance confidence and self-expression.
Educating clients on how to maintain their beauty routines at home.