
Are you tired of applying individual fake lashes and ready for a more efficient and dramatic look? Cluster lashes may be the perfect choice for you!
How to apply cluster lashes is a simple and effective way to enhance your natural beauty by adding volume and length to your eyelashes. These small groups of pre-arranged lashes are an excellent alternative to full-strip lashes, offering more customization and a natural look. Whether you’re aiming for a subtle enhancement or a dramatic effect, cluster lashes provide the flexibility to design your ideal lash style.

With the right tools, a little practice, and proper techniques, you can achieve professional-looking results in the comfort of your own home. Let’s dive into the world of cluster lashes and discover how they can transform your eyes.
What Will You Need?
To apply cluster lashes, you will need the following supplies:
- Cluster Lash Extensions: These are individual clusters of lashes that come in different lengths and thicknesses. They can be found at most beauty supply stores or purchased online.
- Lash Adhesive: Look for a lash adhesive made explicitly for cluster lashes. It should be latex-free and waterproof.
- Tweezers: Tweezers are essential for picking up and placing the individual lash clusters onto your natural lashes.
- Scissors: You may need to trim some of the lash clusters to fit your desired length or shape.
- Makeup Remover: If you make any mistakes during application, it’s essential to have a gentle, oil-free makeup remover on hand.
- Q-Tips: These can be used for precision when applying lash clusters or for cleaning up any excess adhesive.
- Mirror: A handheld mirror will make it easier to see what you’re doing while applying the lashes.
9 Easy Steps on How to Apply Cluster Lashes
Step 1. Start with Clean Lashes:
Before you begin, ensure that your natural lashes are completely clean and free of any oils, makeup, or residue. Use a gentle eye makeup remover to thoroughly cleanse your lashes, as this step is crucial for the adhesive to bond correctly. Dirt or oils left on your lashes can compromise the hold of the lash clusters, causing them to lift or fall off prematurely. Once cleaned, allow your lashes to dry completely before moving on to the next step. Taking the time to clean your lashes properly will set a strong foundation for a flawless and long-lasting application.

Step 2. Choose the Right Cluster Size:
When selecting the correct cluster size, it’s essential to consider the shape and size of your eyes, as well as the look you’re aiming to achieve. Lash clusters come in various lengths and thicknesses, allowing you to customize your application for a natural or dramatic effect. For a more natural appearance, opt for shorter clusters that blend seamlessly with your natural lashes. If you prefer a bold, voluminous look, choose longer or thicker clusters to add noticeable definition.
Additionally, mixing cluster sizes can create a layered, textured effect, offering a professional finish. Take into account the placement of the clusters as well—shorter clusters can be placed on the inner corners of the eyes for a subtle transition. In comparison, longer clusters can be concentrated toward the center or outer edges to enhance the eye’s natural shape. Careful selection and placement of your lash clusters will enhance your overall look and ensure a cohesive, flattering result.
Step 3. Prepare the Adhesive:
Choosing the right adhesive is crucial to ensure your lash extensions stay in place while maintaining comfort and safety. Start by selecting an adhesive specifically designed for lash extensions—avoid using generic glues, as they can irritate the sensitive eye area. Pour a small amount of adhesive onto a clean, disposable surface, such as a palette or a small piece of foil, to prevent contamination and allow for easy access while working quickly.
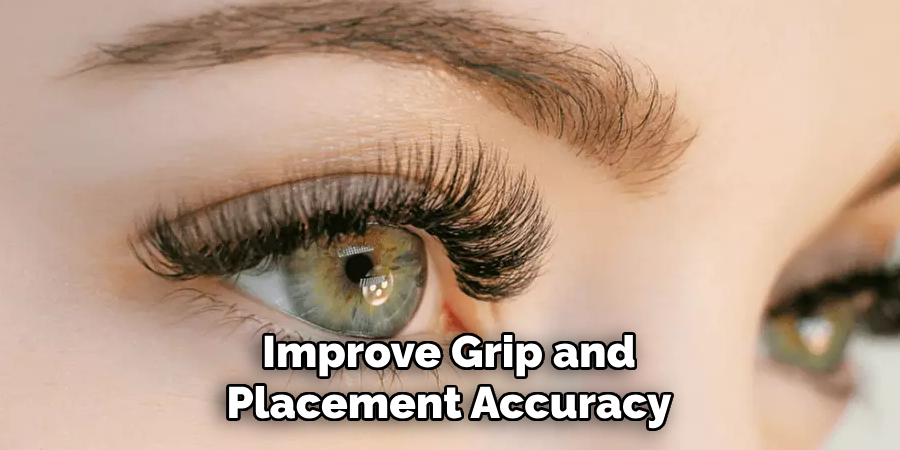
When using adhesive, timing is key. Most lash adhesives have a specific drying time, so be mindful of working within these limits. Dip the base of each lash cluster lightly into the adhesive, ensuring it is evenly coated but not overloaded. Excess glue can lead to clumping or discomfort, so always aim for a precise application. Before placing the lash on your natural lashes, allow the adhesive to become slightly tacky—this typically takes a few seconds and helps improve grip and placement accuracy.
Step 4. Pick Up the Lash Cluster:
Using a pair of precision tweezers, gently grasp the lash cluster by its base. Make sure to maintain a firm but delicate hold to avoid bending or damaging the lash fibers. Position the cluster at a slight angle for more control during application. This technique allows you to easily align the cluster with the natural lash line for a seamless look.
Take your time to ensure the cluster remains steady in the tweezers, as a secure grip is essential for a precise and effortless placement. If needed, adjust your lighting and mirror setup to get a clear view of the lash line—good visibility is crucial for achieving a professional finish.
Step 5. Dip into Adhesive:
Gently dip the tip of the lash cluster into the adhesive, ensuring that only the base is coated with a thin, even layer of glue. Avoid overloading the cluster with adhesive, as this can create clumps and make the application less natural. Using a minimal amount of glue ensures the lashes adhere securely without excess residue.
Hold the cluster steady and allow the adhesive a few seconds to become tacky—this step is key to preventing slipping and ensures better placement on the natural lash line. During this process, ensure your workspace is clean and free of distractions to maintain precision and focus. A steady hand paired with careful adhesive application will set a solid foundation for flawless lashes.
Step 6. Position the Lash Cluster:
Using tweezers, gently pick up the lash cluster by its base. Align it with your natural lash line, ensuring it sits as close to the roots of your lashes as possible without touching the eyelid. Start from the outer corner of the eye and work your way toward the inner corner, as this provides better control and a more natural-looking effect.
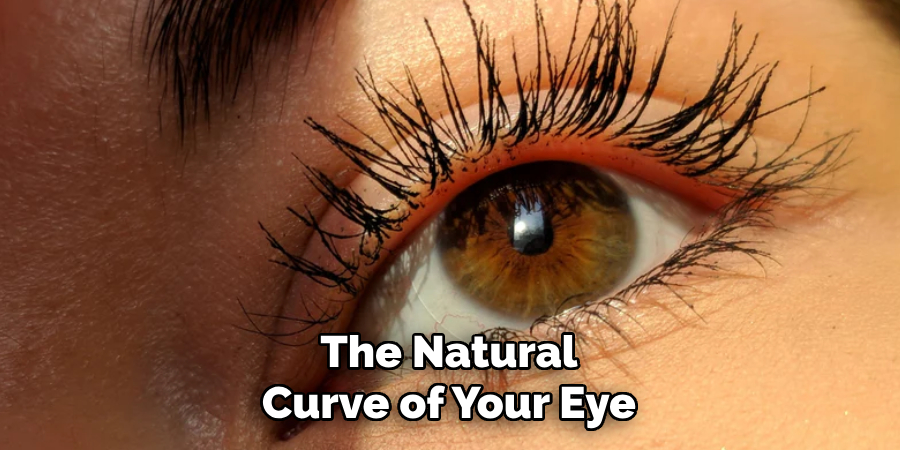
Carefully tilt the lash cluster slightly upward to mimic the natural curl of your lashes, which enhances the overall appearance and creates a lifted, open-eye look. Press it lightly against your lash line for a few seconds so the adhesive can bond properly.
Step 7. Press and Secure:
Once the lash cluster is in place, use a pair of tweezers or your fingertips to gently press the false lash and your natural lash line together. This creates a seamless blend and ensures that the lash cluster adheres securely to your natural lashes. Work your way from one corner of the lash line to the other, applying gentle pressure as you go.
For added security, consider using a lash applicator tool to press the underside of the lash band against your natural lashes, which helps reinforce the bond. Be patient during this step, as proper adhesion is crucial for long-lasting wear. If needed, lightly adjust the positioning to align the cluster perfectly with the natural curve of your eye.
Step 8. Repeat the Process:
Once you’ve successfully applied the first lash cluster, it’s time to repeat the process for the remaining clusters to complete the look. Take your time with each application, ensuring consistency in placement and alignment along the lash line. Start by selecting the next lash cluster and applying a small amount of adhesive to the lash band, just as you did before. Allow the glue to become tacky for a few seconds before positioning the cluster. Place it close to, but not directly on, your natural lashes to avoid discomfort and maintain the health of your natural lash line.
Step 9. Final Adjustments:
Carefully evaluate the overall look of your lashes to ensure they appear even and seamlessly blended with your natural lash line. Use tweezers or a lash applicator to gently press the lash clusters together with your natural lashes for a more uniform and professional finish. If necessary, adjust any clusters that may seem out of place or uneven. Additionally, you can use a clean spoolie brush to comb through the lashes lightly, ensuring they are well-separated and free from excess adhesive.
If there are any visible gaps, consider adding smaller lash pieces to fill them in for a flawless look. Finally, once you’re satisfied with the placement, seal the application with a thin coat of clear or black lash sealant to lock everything in place and extend the longevity of your lashes.
By following these tips and tricks, you can easily achieve a beautiful and natural-looking lash extension application.
Conclusion
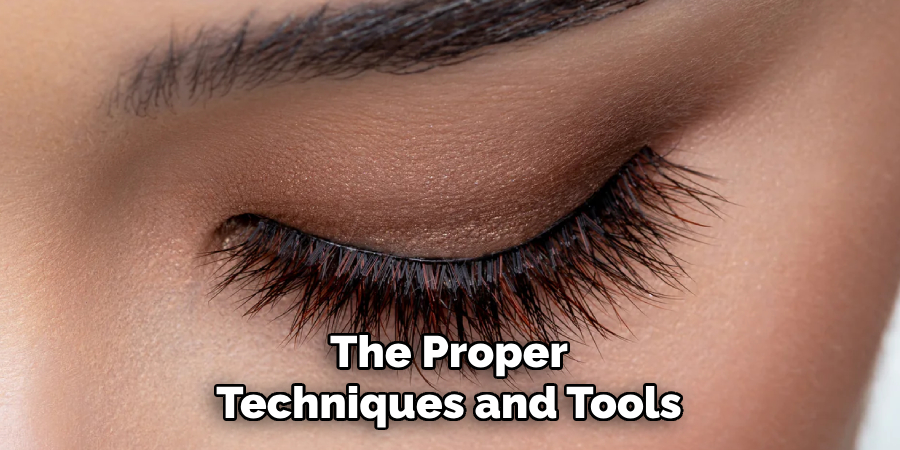
Applying cluster lashes can be an easy and rewarding process with the proper techniques and tools.
By carefully preparing your natural lashes, selecting the appropriate cluster lash style, and using a steady hand during application, you can achieve a seamless, natural-looking result. Paying attention to details, such as proper adhesive use and spacing, ensures a polished look while protecting the health of your natural lashes. With practice and patience, you can perfect your skills and enjoy the confidence boost that beautifully applied cluster lashes bring.
Hopefully, the article on how to apply cluster lashes has been helpful in guiding you through the process.
About the Author
Jane Hubbard is a passionate beauty expert with a wealth of experience in makeup, hair, and overall beauty techniques. After years of working as a hairdresser specialist, she followed her entrepreneurial spirit and started her own consultancy business.
Jane has always been driven by her desire to help others feel confident in their own skin, and she does this by sharing her knowledge, experiences, and practical beauty tips. Through her consultancy, she empowers individuals to embrace their unique beauty, offering tailored guidance that boosts both self-esteem and personal style.
Professional Focus
Specializes in makeup, hairstyling, and beauty consulting.
Provides personalized beauty advice, tips, and techniques to help individuals feel confident in their appearance.
Dedicated to staying up-to-date with the latest industry trends and developments.
Passionate about creating a comfortable and empowering experience for every client.
Education History
University of Craft and Design – Bachelor of Fine Arts (BFA) in Woodworking and Furniture Design
Woodworking Apprenticeships – Extensive hands-on training with skilled craftsmen to refine carpentry and furniture making techniques
Online Courses & Masterclasses – Continued education in advanced woodworking techniques, design principles, and specialized tools
Expertise:
Makeup artistry, hairstyling, and beauty consulting.
Personalized beauty techniques to enhance confidence and self-expression.
Educating clients on how to maintain their beauty routines at home.