
Are you looking for a makeup look that enhances your natural beauty? Look no further! Natural makeup is all about enhancing your features while keeping your overall look subtle and effortless.
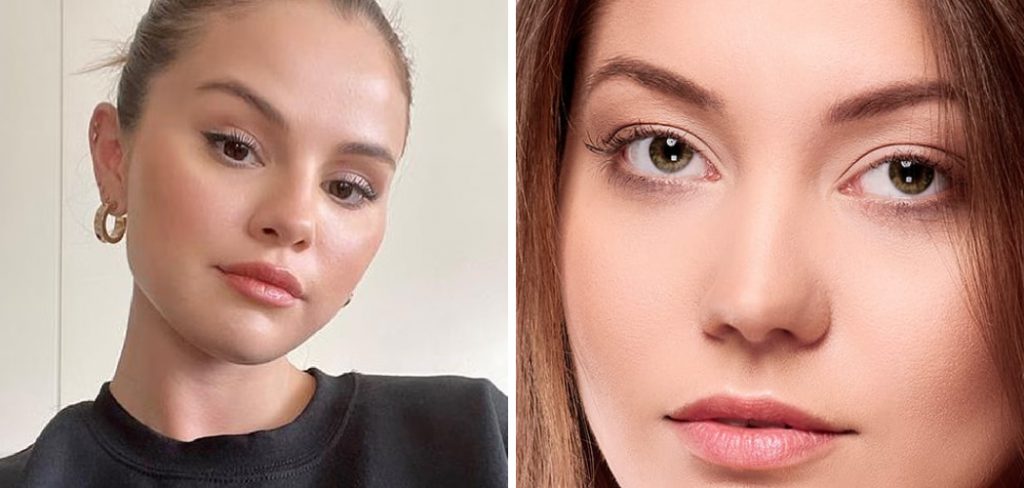
How to do a natural makeup look is all about enhancing your features while maintaining a fresh and effortless appearance. This minimalist approach focuses on lightweight products, subtle techniques, and a clean, polished finish that suits any makeup ideas natural. Additionally, this makeup look is perfect for those who prefer a more low-maintenance routine, as it requires minimal time and effort to achieve.
Whether you’re a makeup beginner or looking for a quick everyday routine, following a few fundamental steps can help you create a natural, radiant look that accentuates your beauty without appearing overly done.
What Are the Benefits of a Natural Makeup Look?
- Enhances Your Natural Features: Unlike heavy makeup, which can often mask or alter one’s appearance, natural makeup enhances and highlights your unique features.
- Quick and Easy: A natural makeup look typically involves using fewer products and simpler techniques, making it perfect for those who want a swift and effortless routine.
- Suitable for Any Occasion: Whether you’re going to work, running errands, or attending a formal event, a natural makeup look can be easily adjusted to suit any occasion.
- Light on the Skin: With minimal use of heavy products such as foundations and powders, a natural makeup look is gentle on the skin and allows it to breathe throughout the day.
What Will You Need?
You don’t need many products or tools to achieve a natural makeup look. Many people already have the necessary items in their makeup collection! Here are some of the essentials:
- Tinted Moisturizer or Light Coverage Foundation: This will even out your skin tone without giving too much coverage.
- Concealer: Use this to cover any blemishes or dark circles under your eyes.
- Mascara: A coat of mascara on your lashes will open up your eyes and make them appear more awake.
- Lip Balm or Tinted Lip Gloss: Choose a tinted lip product over a heavy lipstick for a subtle pop of color on the lips.
- Neutral Eyeshadow Palette: A versatile eyeshadow palette with neutral shades will allow you to create various looks, from natural to more dramatic.
- Eyebrow Pencil or Powder: Fill in sparse areas and define your brows for a polished look.
- Blush: Add a touch of color to your cheeks for a healthy, flushed look.
- Setting Spray: A few spritzes of setting spray lock everything in place and help your makeup last longer throughout the day.
10 Easy Steps on How to Do a Natural Makeup Look
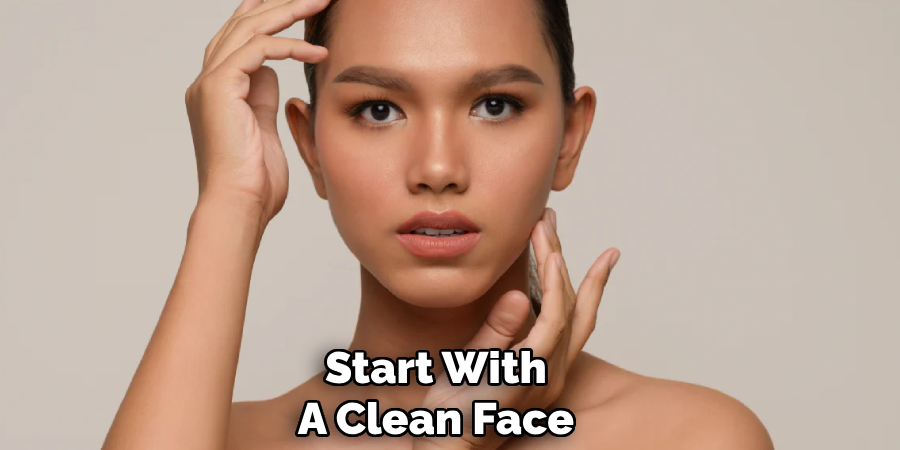
Step 1. Start with Clean Skin:
Wash your face with a gentle cleanser to remove dirt, oil, or leftover makeup. This will create a fresh and smooth canvas for your makeup. Pat your skin dry with a clean towel, and follow up with a lightweight moisturizer to keep your skin hydrated. Prep it for makeup application.
Step 2. Apply Primer:
Using a primer is essential to creating a flawless base for your makeup. Apply a pea-sized amount evenly across your face, focusing on areas where makeup tends to fade or crease, such as the T-zone, around the nose, and under the eyes. Primer helps to smooth out your skin’s texture, minimize the appearance of pores, and ensure your foundation goes on seamlessly.
Additionally, it helps your makeup stay put throughout the day by creating a barrier between your skin and the products, reducing oiliness, and prolonging wear time. Choose a primer that matches your skin type—hydrating for dry skin, mattifying for oily skin, or illuminating for a subtle glow.
Step 3. Even Out Your Skin Tone:
Apply a foundation that matches your natural skin color to even out your skin tone. Start with a small amount and blend it evenly across your face using a makeup sponge, brush, or your fingertips. Pay close attention to areas that require extra coverage, such as redness around the nose or uneven pigmentation on the cheeks.
Blend the product well around your jawline, hairline, and neck to avoid noticeable lines and ensure a seamless finish. If you prefer lighter coverage, you can opt for a tinted moisturizer or BB cream for a more natural look. Use a concealer on blemishes, under-eye circles, or discoloration for additional precision and spot coverage. Choosing the right shade and formula for your foundation and concealer is essential for achieving a flawless and harmonious complexion.
Step 4. Conceal Where Needed:
After applying your foundation, concealer can be used to target specific areas that require additional coverage. Select a concealer one to two shades lighter than your foundation for brightening under the eyes, and one that matches your foundation for covering blemishes or redness. Use a small, precise brush or the applicator with the concealer to dab the product onto problem areas, then gently blend it with your finger, a brush, or a sponge for a natural finish.

Pay special attention to areas like the inner corners of the eyes, which can often appear darker, or around the nose, where redness tends to be more pronounced. Layer your concealer sparingly to avoid creasing or caking, and set it with a light dusting of translucent powder to lock it in place and maintain a smooth appearance throughout the day.
Step 5. Set with Powder:
After applying your concealer, setting it with powder is crucial to ensure your makeup stays in place and looks flawless throughout the day. A finely milled translucent powder works well for most skin types and provides a lightweight, natural finish. Using a fluffy brush or a damp makeup sponge, gently press the powder onto areas where you’ve applied concealer, such as under the eyes, around the nose, and any spots prone to oiliness, like the T-zone.
This technique prevents creasing and helps control shine, giving your skin a polished, matte appearance. For a radiant look, consider using a powder with light-reflecting particles on highlighted areas, but always blend thoroughly to maintain an even complexion.
Step 6. Define Brows:
Start by brushing your brows upwards and outwards using a spoolie brush to reveal their natural shape. Using a brow pencil, powder, or pomade in a shade that closely matches your natural brow color, fill in sparse areas with light, hair-like strokes to mimic the texture of real brow hairs.
Focus on defining the arch and the tail while keeping the inner part of the brows softer for a more natural look. Once filled in, set your brows in place with a clear or tinted brow gel to lock in the shape and add a polished finish. Well-defined brows frame the face and bring balance to your overall makeup.
Step 7. Apply Neutral Eyeshadow:
Choose a neutral eyeshadow palette with shades that complement your skin tone. Begin by applying a light, matte shade all over your eyelids as a base to even out discoloration and create a smooth surface for the rest of the colors. Next, use a medium-toned shade in the crease of your eyelid to add depth and dimension.

Blend it thoroughly in windshield wiper motions to ensure no harsh lines. You can smudge a slightly darker shade along the outer corner of your eyes and the lower lash line for added definition. If desired, apply a shimmery or satin finish shade to the center of your lid to brighten the look and make your eyes pop.
Step 8. Lightly Line Your Eyes:
Using a soft pencil or gel eyeliner, gently line your upper lash line to define your eyes subtly. Start from the inner corner and work outward, keeping the line as close to the lashes as possible. If you prefer a more natural look, opt for a brown or gray liner instead of black. You can also lightly smudge the line with a small brush or fingertip for a softer effect. Consider lining your lower lash line lightly for a cohesive appearance, but keep the line delicate to avoid overpowering the look.
Step 8. Add Mascara:
To enhance your lashes, apply a coat of mascara starting at the base of your lashes and wiggling the wand upward to the tips. This technique ensures each lash is evenly coated and helps create a fuller, more voluminous look. For added drama, apply a second coat once the first has dried slightly, but avoid over-applying to prevent clumping.
Remember to use a gentle hand when applying mascara to your lower lashes, focusing only on the outer corners for a balanced and natural finish. Choose waterproof mascara for long-lasting wear or a regular formula for easier removal at the end of the day.
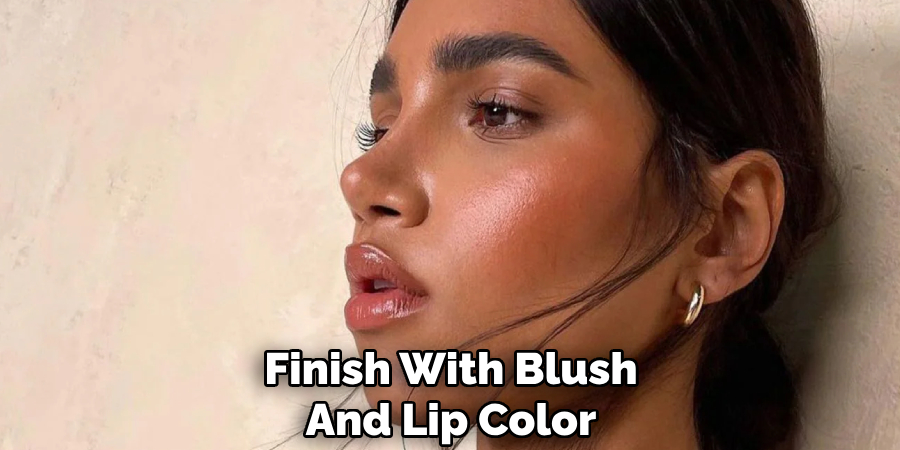
Step 10. Finish with Blush and Lip Color:
Select a blush shade that complements your skin tone and provides a healthy, radiant glow to complete your look. Using a blush brush, gently sweep the product onto the apples of your cheeks, blending it upward toward your temples for a natural, lifted effect. Remember, less is more—start with a small amount of product and build it up gradually to achieve your desired intensity.
By following these easy steps, you can achieve a flawless and long-lasting makeup look.
Conclusion
How to do a natural makeup look is all about enhancing your features while maintaining a subtle and effortless appearance.
By preparing your skin, choosing the right products, and applying them lightly, you can create a fresh and polished look suitable for any occasion. Remember, the key is to blend well and focus on bringing out your natural beauty rather than masking it.
With practice and attention to detail, a natural makeup look can be easy to achieve and beautifully timeless.
About the Author
Jane Hubbard is a passionate beauty expert with a wealth of experience in makeup, hair, and overall beauty techniques. After years of working as a hairdresser specialist, she followed her entrepreneurial spirit and started her own consultancy business.
Jane has always been driven by her desire to help others feel confident in their own skin, and she does this by sharing her knowledge, experiences, and practical beauty tips. Through her consultancy, she empowers individuals to embrace their unique beauty, offering tailored guidance that boosts both self-esteem and personal style.
Professional Focus
Specializes in makeup, hairstyling, and beauty consulting.
Provides personalized beauty advice, tips, and techniques to help individuals feel confident in their appearance.
Dedicated to staying up-to-date with the latest industry trends and developments.
Passionate about creating a comfortable and empowering experience for every client.
Education History
University of Craft and Design – Bachelor of Fine Arts (BFA) in Woodworking and Furniture Design
Woodworking Apprenticeships – Extensive hands-on training with skilled craftsmen to refine carpentry and furniture making techniques
Online Courses & Masterclasses – Continued education in advanced woodworking techniques, design principles, and specialized tools
Expertise:
Makeup artistry, hairstyling, and beauty consulting.
Personalized beauty techniques to enhance confidence and self-expression.
Educating clients on how to maintain their beauty routines at home.