
Are you tired of applying makeup that leaves your skin dry and flaky? If you have dry skin, then you know the struggle of finding products and techniques that work for your skin type.
Achieving a flawless makeup look starts with understanding your skin type, and for those with dry skin, proper preparation and application techniques are essential. If not cared for correctly, dry skin can often lead to flakiness, uneven texture, and a dull appearance, which can affect how makeup sits on the skin. By focusing on hydration, selecting the right products, and using specific techniques, you can create a smooth, radiant, and long-lasting makeup look that enhances your natural beauty without accentuating dryness.
In this guide on how to do makeup for dry skin, we will cover all the essential information on makeup for dry skin tips.
to help you achieve a flawless finish. So, let’s get started!
What Will You Need?
To begin with, you need to have the right products and tools in your makeup kit for dry skin. Here are some must-haves for a perfect makeup look on dry skin:
- Hydrating moisturizer
- Primer specifically formulated for dry skin
- Liquid or cream-based foundation
- Concealer
- Cream or liquid blush
- Highlighter
- Powder (optional)
- Setting spray
It’s essential to choose products that are hydrating and nourishing for dry skin. Avoid anything with alcohol, fragrance, or harsh chemicals, as these can strip away moisture from the skin.
10 Easy Steps on How to Do Makeup for Dry Skin
Step 1. Start with Clean Skin
Begin by washing your face with a gentle, hydrating cleanser specifically formulated for dry skin. This will help remove dirt, oil, or impurities without stripping away essential moisture.

Use lukewarm water instead of hot water, which can further dehydrate your skin. Pat your face dry with a soft towel, ensuring not to rub or irritate the skin. Clean skin provides the perfect base for your makeup application, ensuring everything sits smoothly and lasts longer.
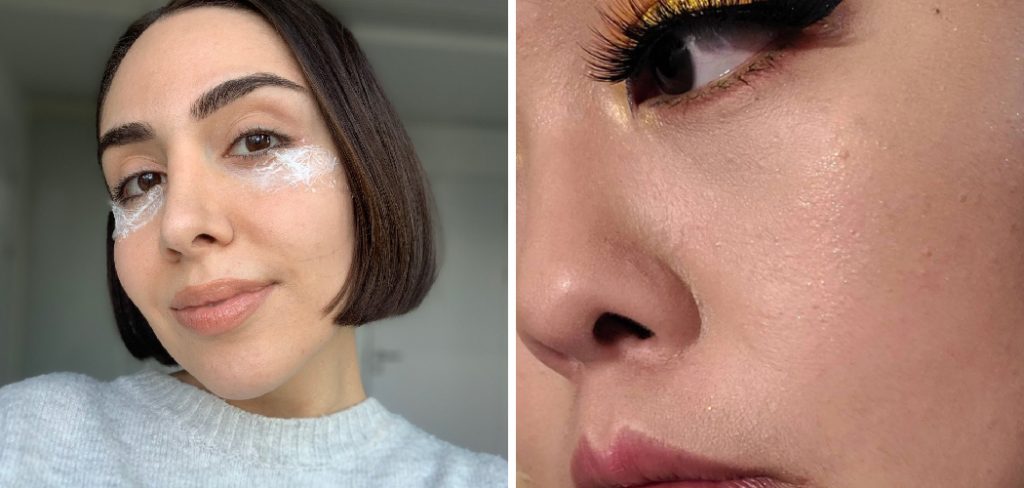
Step 2. Apply a Hydrating Moisturizer
After cleansing your face, the next essential step is to apply a hydrating moisturizer. This helps to lock in moisture, creating a smooth and hydrated base for your makeup application. Choose a moisturizer designed specifically for dry skin, preferably with ingredients like hyaluronic acid, ceramides, or glycerin, which are known for their deeply hydrating properties. Allow the moisturizer to fully absorb into your skin before proceeding to the next step, ensuring your skin feels plump and soft.
Step 3. Use a Primer Designed for Dry Skin
A primer tailored for dry skin is a game-changer for achieving a flawless makeup look. It helps to create a smooth surface, minimize the appearance of dry patches, and keep your makeup in place throughout the day. Opt for a primer with nourishing and hydrating ingredients, typically in a cream or gel-like consistency, as these work best for dry skin. Apply a small amount all over your face, focusing primarily on areas prone to flakiness, such as around the nose or forehead. Make sure to give the primer a few minutes to set before moving on to foundation application.
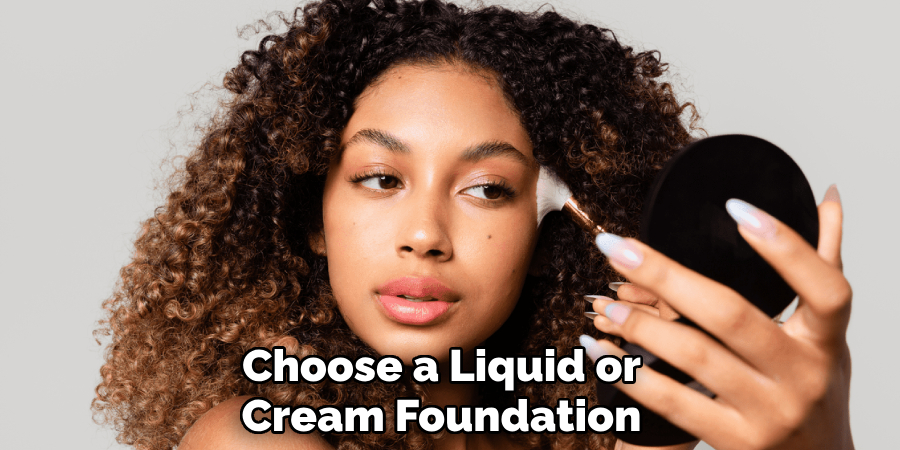
Step 4. Choose a Liquid or Cream Foundation
When selecting a foundation for dry skin, liquid or cream formulas are ideal, as they provide hydration and help create a smooth, dewy finish. Look for foundations labeled as hydrating, moisturizing, or specifically designed for dry skin. These formulas often contain ingredients like hyaluronic acid or glycerin, which help retain moisture throughout the day.
Avoid powder-based foundations, which can cling to dry patches and emphasize texture. Apply the foundation with a damp makeup sponge or brush to ensure even coverage and a seamless blend. Start with a small amount and build up as needed for a natural look.
Step 5. Apply Concealer
Choose a concealer that matches your skin tone or is one shade lighter to brighten the under-eye area and cover blemishes. Select a concealer with a peach or orange undertone for dark circles to neutralize discoloration.
Use a small amount of product and apply it in a triangular shape under your eyes for a lifted effect, or dab it directly onto any blemishes or redness. Blend the concealer with a damp makeup sponge, your fingertips, or a small brush for a smooth and seamless finish. Set the concealer with a translucent setting powder to prevent creasing and ensure longevity throughout the day.
Step 6. Use Cream or Liquid Blush
Choose a cream or liquid blush to achieve a natural, dewy finish that blends seamlessly into the skin. Select a shade that complements your skin tone—soft pinks and peaches are great for fair skin, while corals and deeper berry tones work well for medium to darker skin tones.
Dab a small amount of blush onto the apples of your cheeks, then blend upward along your cheekbones using clean fingertips, a makeup sponge, or a stippling brush. Build up the color gradually for a subtle, flushed look without overdoing it. Cream or liquid formulas are ideal for adding a healthy glow and work beautifully on all skin types, particularly if you prefer a fresh, radiant appearance.
Step 7. Add Highlighter
Highlighter is the perfect way to enhance your features and add a radiant glow to your skin. Choose a shade that complements your skin tone—champagne or gold tones for warmer undertones, pearl or silver shades for cooler undertones, and rose gold for neutral tones. Apply the highlighter to the high points of your face, such as the tops of your cheekbones, the bridge of your nose, the brow bones, and the cupid’s bow.
Use a fan brush, a beauty sponge, or your fingertips to blend it seamlessly into the skin for a natural, luminous finish. Remember, a little goes a long way, so start with a small amount and build up as needed to achieve your desired level of glow.

Step 8. Set with Powder
Setting your makeup with powder is essential to ensure longevity and minimize shine throughout the day. Using a large, fluffy brush, lightly dust a translucent setting powder or one that matches your skin tone over the areas where you tend to get oily, such as the T-zone.
For a more targeted approach, you can use a puff or a smaller brush to press the powder into the skin, focusing on areas like under the eyes to set concealer and prevent creasing. Be careful not to overapply the powder, which can lead to a cakey appearance.
Step 9. Finish with Setting Spray
Setting spray is the final touch to lock in your makeup and ensure it lasts throughout the day. Hold the spray bottle about 8-10 inches from your face, then mist it evenly in an “X” and “T” motion to cover all areas. Allow it to dry naturally without touching your face to keep your makeup flawless. A good setting spray not only prolongs wear time but also helps meld all the layers of makeup together for a smoother, more polished finish.
Step 10. Keep Lips Hydrated
Keeping your lips hydrated is essential to maintaining a healthy and polished look. Start by applying a nourishing lip balm or hydrating lip mask before applying lipstick or gloss. Look for products with ingredients like shea butter, vitamin E, or hyaluronic acid to lock in moisture. Remember to reapply throughout the day, especially in dry or cold weather, to prevent chapping and keep your lips soft and smooth. Well-hydrated lips feel more comfortable and ensure your lip products glide on effortlessly and look flawless.
By following these steps and prioritizing hydration, you can achieve a flawless and glowing makeup look, even with dry skin!
5 Things You Should Avoid
- Skipping Moisturizer: Never apply makeup without thoroughly moisturizing your skin first. Skipping this step can cause your makeup to cling to dry patches, resulting in an uneven finish and accentuating flakiness.
- Using Matte Foundations: Matte foundations can be overly drying and may exacerbate the appearance of dry skin. Instead, opt for hydrating or dewy-finish formulas that nourish your skin while providing coverage.
- Applying Too Much Powder: Excess powder can settle into fine lines and dry areas, making your skin look cakey and dull. Use powder sparingly, focusing only on areas prone to oiliness, like the T-zone.
- Neglecting Lip Care: Applying lipstick or lip products on chapped lips without exfoliating or hydrating can lead to an uneven and cracked appearance. Always prep your lips with a balm or exfoliator beforehand.
- Forgetting to Use a Setting Spray: Setting sprays lock in your makeup and add a layer of hydration to your finished look. Avoid skipping this step, as it helps prevent your makeup from looking dry and patchy throughout the day.

Conclusion
Prioritizing hydration and proper skin preparation is essential for achieving a flawless makeup look on dry skin.
Start by moisturizing thoroughly and using a hydrating primer to create a smooth base. Choose makeup products with nourishing and dewy formulas to prevent dryness and flakiness. Additionally, avoid matte powders or overly drying products, and instead opt for creamy or liquid textures. Focus on blending well and finish with a setting spray to lock in hydration and maintain a fresh, glowing appearance throughout the day.
Hopefully, the article on how to do makeup for dry skin has given you helpful tips and tricks to achieve a flawless and comfortable look.
About the Author
Jane Hubbard is a passionate beauty expert with a wealth of experience in makeup, hair, and overall beauty techniques. After years of working as a hairdresser specialist, she followed her entrepreneurial spirit and started her own consultancy business.
Jane has always been driven by her desire to help others feel confident in their own skin, and she does this by sharing her knowledge, experiences, and practical beauty tips. Through her consultancy, she empowers individuals to embrace their unique beauty, offering tailored guidance that boosts both self-esteem and personal style.
Professional Focus
Specializes in makeup, hairstyling, and beauty consulting.
Provides personalized beauty advice, tips, and techniques to help individuals feel confident in their appearance.
Dedicated to staying up-to-date with the latest industry trends and developments.
Passionate about creating a comfortable and empowering experience for every client.
Education History
University of Craft and Design – Bachelor of Fine Arts (BFA) in Woodworking and Furniture Design
Woodworking Apprenticeships – Extensive hands-on training with skilled craftsmen to refine carpentry and furniture making techniques
Online Courses & Masterclasses – Continued education in advanced woodworking techniques, design principles, and specialized tools
Expertise:
Makeup artistry, hairstyling, and beauty consulting.
Personalized beauty techniques to enhance confidence and self-expression.
Educating clients on how to maintain their beauty routines at home.