
Are you tired of spending money on expensive lip glosses? Have you ever considered making your own at home? Not only is it a fun and creative activity, but it can also save you money in the long run.
How to make lip gloss at home is a fun and rewarding DIY project that allows you to customize colors, scents, and ingredients to suit your preferences. Not only is it an affordable alternative to store-bought products, but it also gives you complete control over the quality of the ingredients used, making it a great option for those with sensitive skin or specific preferences for natural beauty products.
With just a few simple steps and ingredients that are easy to find, you can craft a nourishing and beautiful lip gloss right in your kitchen.
What Are the Benefits of Making Your Lip Gloss?
- Customization: As mentioned, making your lip gloss allows you to personalize it according to your preferences. You can choose from a variety of colors, scents, and ingredients to create the perfect lip formula for you.
- Cost-effective: DIY lip gloss is much more affordable than store-bought options. All you need are a few simple ingredients that can be easily found at any grocery store or online.
- Natural and Safe: By making your lip gloss, you have complete control over the quality and safety of the ingredients used. This is especially beneficial for those with sensitive skin or allergies to certain chemicals commonly found in commercial beauty products.
- Fun and Creative: Making your lip gloss can be a fun and creative activity. You can experiment with different ingredients, scents, and colors to create a personalized lip gloss that suits your preferences.
- Environmentally Friendly: By making your own lip gloss, you reduce your carbon footprint by eliminating the need for plastic packaging and the transportation of store-bought products.
What Will You Need?
To make your own lip gloss, you will need the following ingredients and materials:
- Beeswax or Vegan Wax (such as Candelilla wax)
- Carrier oil (such as coconut oil or almond oil)
- Essential oils for scent (optional)
- Mica powder or food coloring for color (optional)
- Lip balm containers or small jars
- Double boiler or heatproof bowl and pot
- Stirring utensil
Once you gather all the necessary ingredients and materials, you can start making your own lip gloss at home.
10 Easy Steps on How to Make Lip Gloss at Home
Step 1. Prepare Your Workspace
Ensure your workspace is clean and organized to avoid any contamination in your lip gloss. Wipe down all surfaces with a clean, damp cloth, and ensure that your utensils, bowls, and containers are sanitized. Lay out all your materials and tools within easy reach so you can work efficiently.
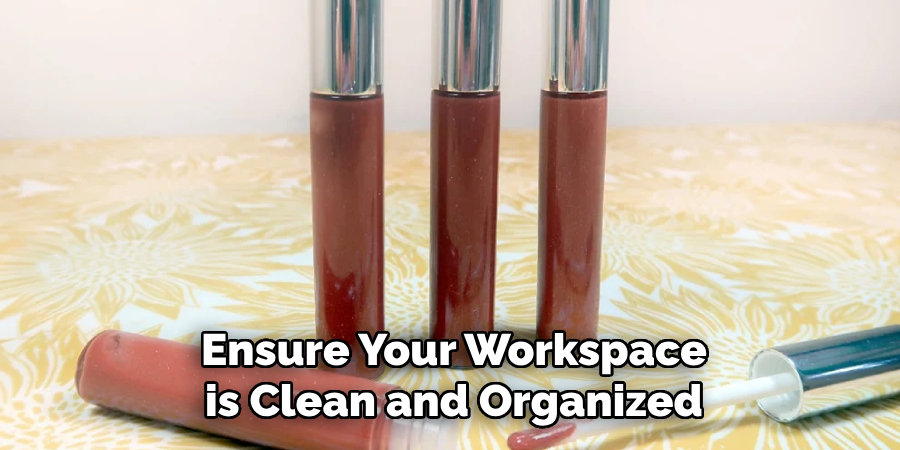
If you’re making multiple batches or experimenting with different colors or scents, consider labeling your containers to keep everything sorted. Having an organized workspace will not only make the process smoother but also ensure that your lip gloss is safe and ready to use.
Step 3. Measure Your Ingredients
Carefully measure each ingredient to ensure the consistency and quality of your lip gloss. Using a digital kitchen scale or precise measuring spoons is highly recommended for accuracy, especially when working with small quantities.
Common ingredients include a base like beeswax, shea butter, or coconut oil, along with optional additions like pigment powders, mica for shimmer, or essential oils for scent. It’s crucial to adhere to the correct ratios to avoid an overly thick, sticky, or runny texture. If you’re new to making lip gloss, starting with small test batches will allow you to tweak your recipe as needed without wasting ingredients. Be sure to double-check your measurements before mixing to achieve the desired final product.
Step 4. Melt the Wax and Oil
To begin melting the wax and oil, combine your chosen wax, carrier oil, and any optional butter in a heat-safe container, such as a glass measuring cup or a double boiler. Gently heat the mixture using a double boiler or by placing the container in a pot of simmering water. Stir the ingredients occasionally to ensure they melt evenly and blend smoothly. Avoid using direct heat, as it can cause the mixture to overheat or burn, potentially affecting the consistency of your lip gloss.
Step 5. Add Color
Once the wax and oil mixture has fully melted and is smooth, you can add your chosen color to the lip gloss. Cosmetic-grade mica powders, liquid lip colorants, or even a small amount of lipstick can be used to achieve the desired shade. Start with a small amount of color and gradually increase it until you reach the desired intensity, stirring thoroughly to ensure the color is evenly distributed. Keep in mind that the color may appear slightly different once the lip gloss sets, so testing a small amount on a surface can help you confirm the shade.
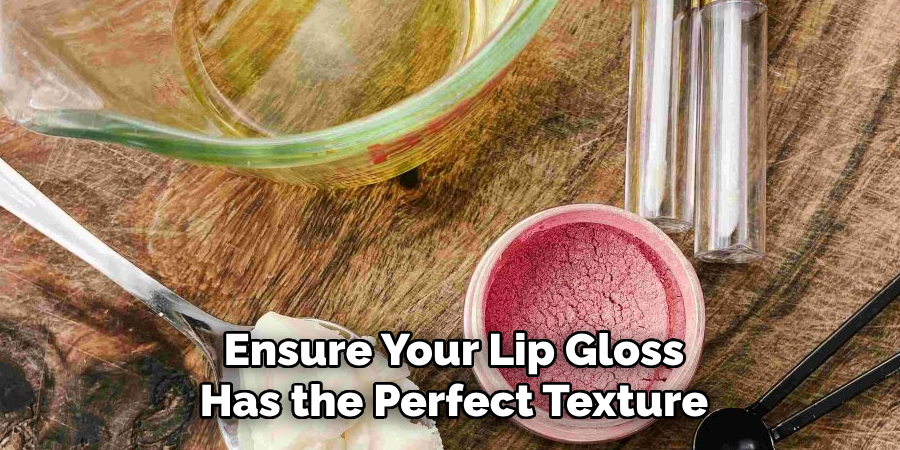
Step 6. Test the Texture
To ensure your lip gloss has the perfect texture, apply a small amount to your lips or the back of your hand. Assess how it feels—check for smoothness, consistency, and whether it glides easily without feeling too sticky or heavy. If the gloss feels too thick, you can add a bit more of your base oil to thin it out. On the other hand, if it feels too runny or lacks staying power, mix in a small amount of wax or thickening agent until you reach the desired consistency. Testing helps ensure your lip gloss offers a luxurious application and long-lasting wear.
Step 7. Remove from Heat
Once you are satisfied with the consistency and texture of your lip gloss, carefully remove the mixture from the heat source. Use a heat-resistant spatula or mixing tool to give it one final stir, ensuring all ingredients are well combined. Allow the mixture to cool slightly before proceeding to the next steps to avoid any risk of burns or spills during the pouring process.
Step 8. Pour into Containers
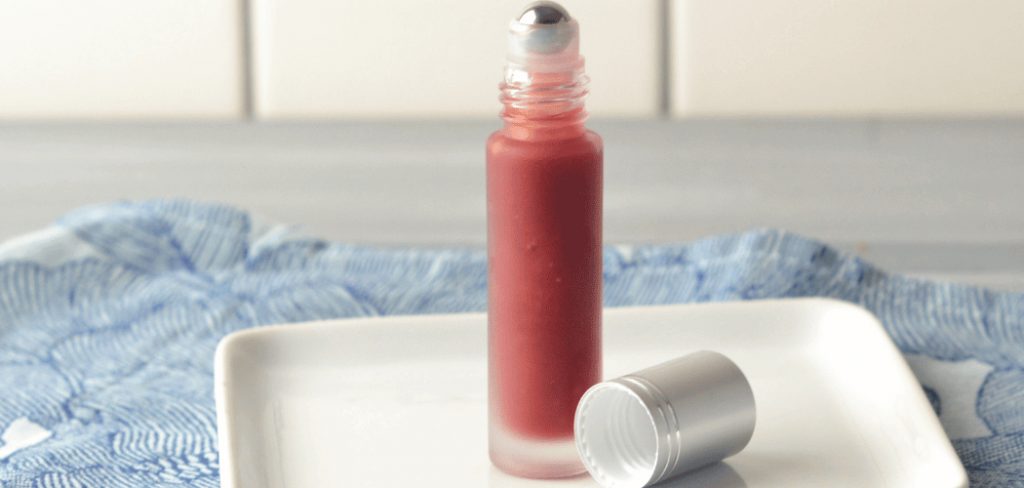
Carefully pour the cooled lip gloss mixture into your prepared containers using a small funnel or a pipette to ensure precision and prevent spills. Fill each container almost to the brim, leaving a small amount of space to allow the cap or lid to close securely. Work steadily and cleanly to maintain the professional look of your final product. Once all the containers are filled, set them aside to cool and solidify completely before sealing with their lids.
Step 9. Allow to Cool
Allow the filled containers to rest undisturbed at room temperature while the lip gloss mixture cools and solidifies completely. This process can take anywhere from 30 minutes to an hour, depending on the size of your containers and the thickness of the formulation. Avoid moving or jostling the containers during this time, as it may impact the smooth finish of your product. Once the lip gloss has fully set, double-check that each container is securely sealed before storing or using. This patience ensures your final product is stable, polished, and ready for use.
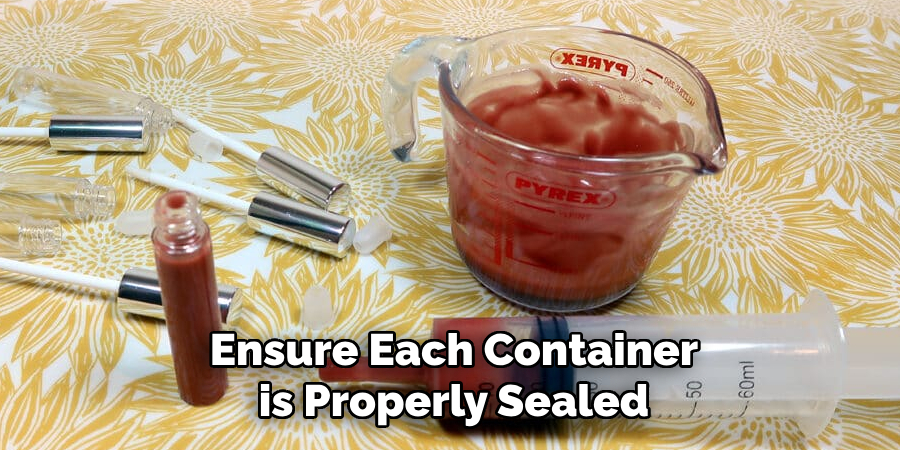
Step 10. 0eal and Store
Once your lip gloss has completely cooled and set, ensure each container is properly sealed to prevent any leakage or contamination. Label the containers with the product name and date of creation for easy identification and tracking. Store the finished lip gloss in a cool, dry place away from direct sunlight, as excessive heat or light can alter its consistency and quality. Proper storage not only extends the shelf life of your product but also maintains its effectiveness and appeal.
By following these simple steps, you can easily create your own custom lip gloss at home.
5 Things You Should Avoid
- Using Harmful Ingredients
Avoid using ingredients that can cause irritation or allergic reactions. For instance, harsh chemicals, synthetic fragrances, or low-quality pigments can damage your lips or lead to unwanted skin issues. Always opt for safe, natural, and skin-friendly alternatives.
- Skipping a Patch Test
Never skip a patch test before finalizing the formula. Testing a small amount on your skin can help you identify potential irritants or allergic reactions, ensuring your final product is safe for use.
- Neglecting Hygiene
Proper hygiene is crucial when making homemade lip gloss. Avoid using unclean utensils or containers, as they could introduce bacteria or contaminants into your product. Always sterilize your equipment and work in a clean environment.
- Ignoring Consistency Issues
Be careful with the proportion of ingredients. Overusing oils or waxes can result in a product that’s too runny or too thick. Test and adjust the ratio to achieve a balanced, smooth consistency.
- Exposure to Extreme Conditions
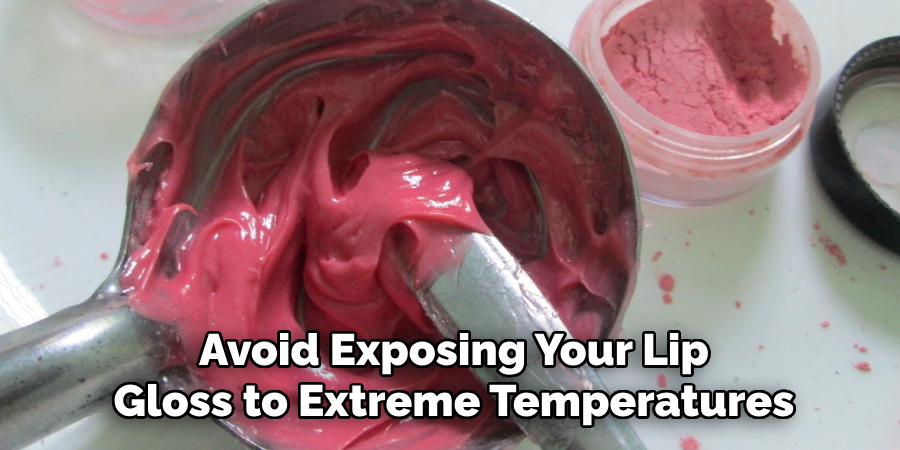
Avoid exposing your lip gloss to extreme temperatures while crafting or storing it. Excessive heat could degrade the quality of ingredients, while extreme cold may make the texture brittle and unappealing. Always craft and store under optimal conditions.
Conclusion
How to make lip gloss at home is a rewarding and creative process that allows you to personalize your product to suit your preferences.
By carefully selecting high-quality ingredients and following proper crafting techniques, you can achieve a smooth, nourishing gloss that enhances your lips. Remember to experiment with different ratios and shades to discover your perfect formula, and always store your creations in ideal conditions to preserve their quality.
With a bit of practice and attention to detail, crafting homemade lip gloss can become an enjoyable and satisfying endeavor.
About the Author
Jane Hubbard is a passionate beauty expert with a wealth of experience in makeup, hair, and overall beauty techniques. After years of working as a hairdresser specialist, she followed her entrepreneurial spirit and started her own consultancy business.
Jane has always been driven by her desire to help others feel confident in their own skin, and she does this by sharing her knowledge, experiences, and practical beauty tips. Through her consultancy, she empowers individuals to embrace their unique beauty, offering tailored guidance that boosts both self-esteem and personal style.
Professional Focus
Specializes in makeup, hairstyling, and beauty consulting.
Provides personalized beauty advice, tips, and techniques to help individuals feel confident in their appearance.
Dedicated to staying up-to-date with the latest industry trends and developments.
Passionate about creating a comfortable and empowering experience for every client.
Education History
University of Craft and Design – Bachelor of Fine Arts (BFA) in Woodworking and Furniture Design
Woodworking Apprenticeships – Extensive hands-on training with skilled craftsmen to refine carpentry and furniture making techniques
Online Courses & Masterclasses – Continued education in advanced woodworking techniques, design principles, and specialized tools
Expertise:
Makeup artistry, hairstyling, and beauty consulting.
Personalized beauty techniques to enhance confidence and self-expression.
Educating clients on how to maintain their beauty routines at home.