
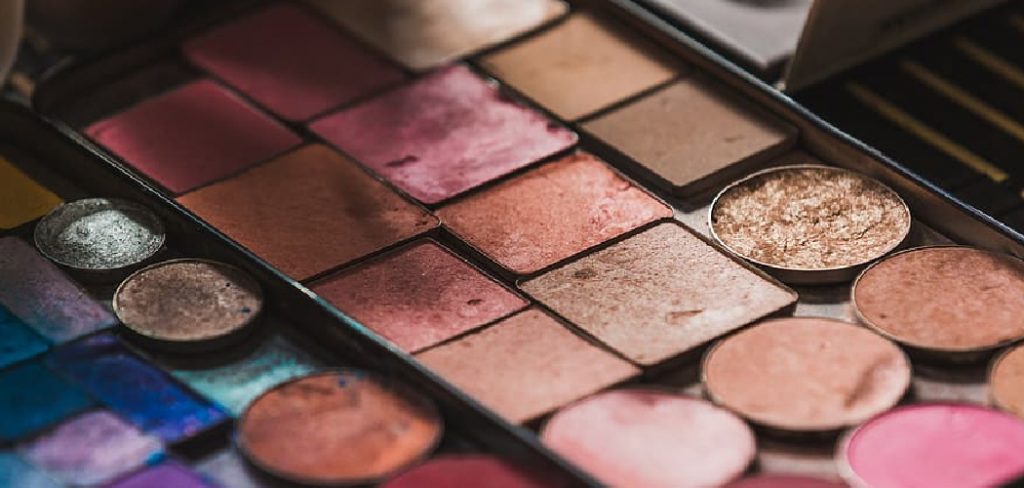
Are you tired of throwing away your eyeshadow palettes because they’ve broken or become unusable? Don’t worry, there is a way to fix them and make them as good as new!
Accidentally dropping your favorite eyeshadow palette can be a frustrating experience, especially when the colors shatter and create a mess. However, there’s no need to throw it away or despair. With a few simple household items and some easy-to-follow steps, you can fix your broken eyeshadow palette and make it look almost as good as new.
This guide on how to fix eyeshadow palette will walk you through the process of repairing your eyeshadow so you can continue to enjoy your makeup without having to replace the palette entirely. Let’s get started!
What Will You Need?
The first step is to gather all the necessary materials and tools for fixing your eyeshadow palette aesthetic. Here’s a list of items you’ll need:
- Rubbing alcohol or makeup remover
- A clean, small container or dish
- A butter knife or spoon
- Tissues or paper towels
- A cotton swab
- Plastic wrap or a plastic bag
Once you have everything ready, let’s move on to the next step.
10 Easy Steps on How to Fix Eyeshadow Palette
Step 1: Gather the Broken Pieces
Carefully open your broken eyeshadow palette and examine the damage. Using a butter knife, spoon, or your fingers, gently collect all the crumbled eyeshadow pieces. Be patient during this step to ensure you don’t lose any product. Place all the broken pieces into a clean, small container or directly into the pan they came from.
If there are any tiny particles scattered around the palette, you can use a cotton swab slightly dampened with rubbing alcohol to pick them up and add them back to the mixture. This will help ensure that every bit of the product is saved for the restoration process. If needed, clean the edges and surrounding areas of the palette with a tissue or paper towel before proceeding.
Step 2: Crush the Eyeshadow
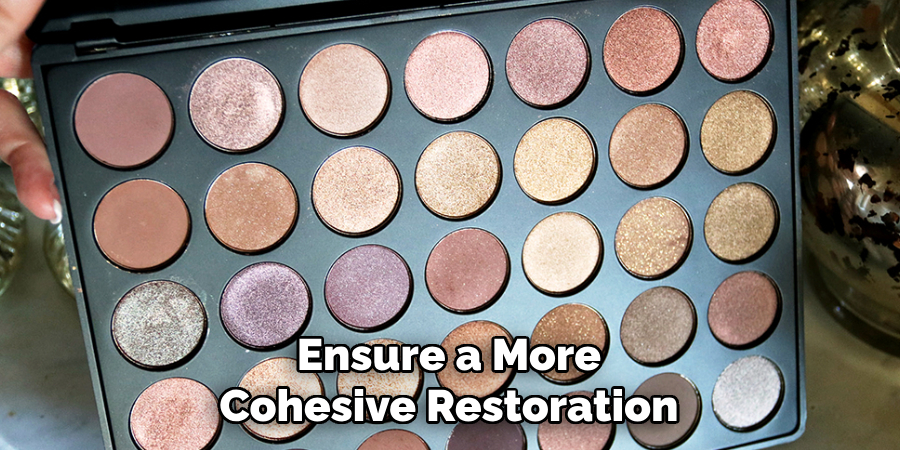
Using a small, clean tool like a metal spoon or the end of a makeup spatula, gently crush the broken eyeshadow into a fine, even powder. Be thorough during this step to eliminate any larger chunks, as a smooth consistency will ensure a more cohesive restoration. Take care to keep the crushed powder contained within the pan or container to prevent unnecessary waste or mess.
Step 3: Add Rubbing Alcohol
Carefully pour a small amount of rubbing alcohol (preferably 70% or higher) into a clean dropper or use a teaspoon for more controlled application. Gradually add the alcohol to the crushed eyeshadow, starting with just a few drops at a time. The goal is to create a paste-like consistency without oversaturating the product.
Use a clean tool, such as the end of a makeup spatula or a small brush, to gently mix the alcohol and powdered shadow together until a smooth, even texture is formed. Be patient during this step, as adding too much alcohol all at once can make the mixture overly liquid, which may prolong the drying time.
Step 4: Smooth the Mixture
To smooth the mixture, take a clean flat tool, like the back of a spoon or the bottom of a makeup spatula, and gently press down on the paste to flatten it evenly within the pan. Apply consistent pressure to ensure the surface is compact and free of air bubbles. This step will help restore the appearance of the eyeshadow and ensure it sets properly. Use small circular motions to create a smooth, professional finish, paying attention to the edges for a tidy result.
Step 5: Wrap and Press with Plastic
Take a piece of clean plastic wrap and place it gently over the surface of the eyeshadow pan. This will act as a barrier to protect the product while you apply additional pressure. Using your finger or a flat object, such as a coin, press down firmly but carefully on the wrapped surface. Focus on evenly distributing the pressure across the entire pan to ensure the eyeshadow is compact and smooth. The plastic wrap will help prevent any direct contact with the product, reducing the risk of damage or contamination.
Step 6: Remove Excess Product
Carefully unwrap the plastic wrap from the eyeshadow pan, pressing it down gently. Using a clean brush or a soft tissue, gently sweep away any loose powder around the edges of the pan. This will help tidy up the product and ensure a polished and professional appearance. Be cautious not to disturb the pressed eyeshadow while removing the excess. Once cleaned, your eyeshadow should be ready for use!
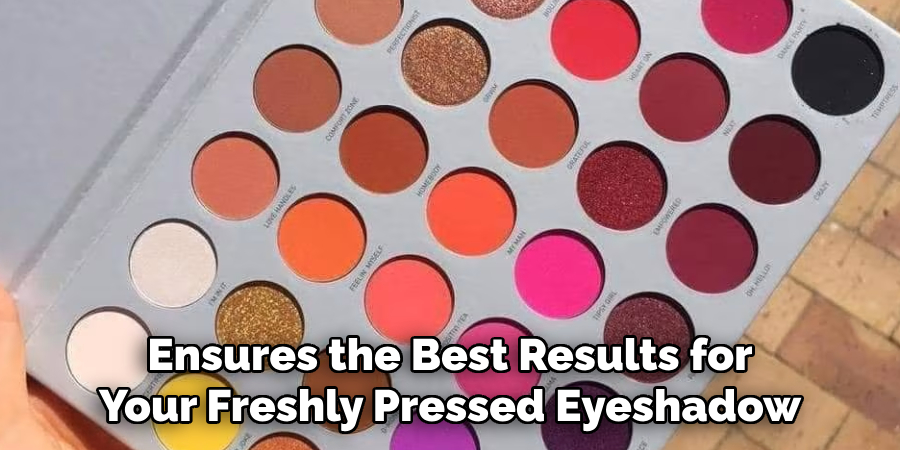
Step 7: Leave It to Dry
Allow the pressed eyeshadow to air dry completely before using it. Place the pan in a clean, dry area away from direct sunlight or excessive humidity, as these conditions may affect the drying process. Depending on the formula and the amount of binder used, this may take anywhere from a few hours to overnight. Ensure the product feels firm and dry to the touch before applying it to prevent smudging or uneven application. Patience during this step ensures the best results for your freshly pressed eyeshadow.
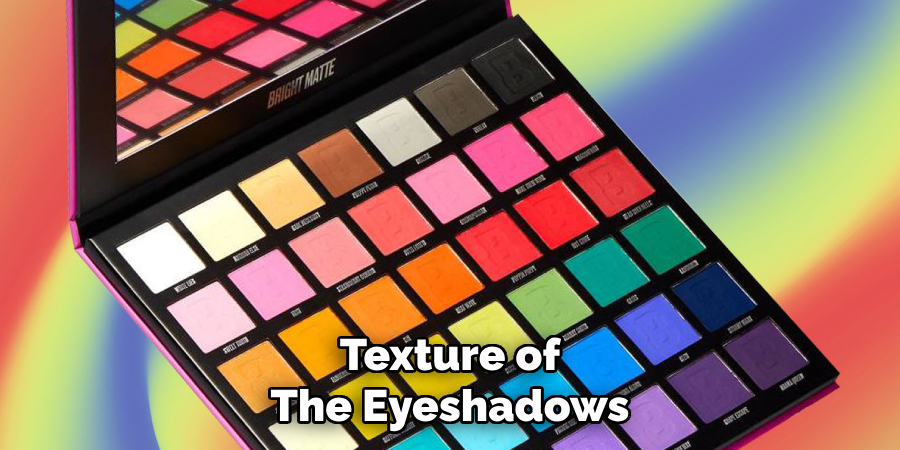
Step 8: Test the Texture
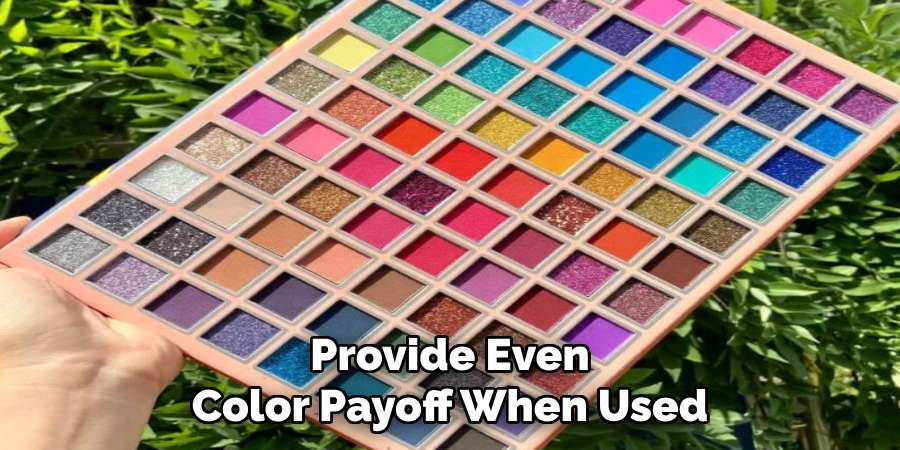
Gently run your fingertip across the surface of the pressed eyeshadow to test its texture. It should feel smooth and compact, without being too powdery or crumbly. If it feels too loose or cracks easily, consider adding a bit more binder and pressing it again. Conversely, if it feels overly firm or difficult to pick up with a brush, it may need less binder in the future. Testing the texture ensures the eyeshadow will apply effortlessly and provide even color payoff when used.
Step 9: Clean the Palette
Once you have tested the texture and are satisfied with the results, it’s time to clean up your palette. Use a soft, clean cloth or a cotton pad slightly dampened with rubbing alcohol to gently wipe around the edges of each pan and the palette itself. This removes any loose powder or residue, ensuring your palette looks professional and tidy. Allow the palette to air dry completely before closing it to prevent any moisture from affecting the eyeshadow. A clean palette not only enhances its appearance but also keeps your makeup collection hygienic and ready for use.
Step 10: Enjoy Your Restored Palette
Your palette is now refreshed and as good as new! Take a moment to admire your hard work and enjoy the satisfaction of having a clean and organized makeup collection. With your restored palette, applying makeup can feel even more enjoyable and creative. Regular maintenance like this ensures your makeup stays in top condition and ready for every occasion.
By following these simple steps, you can easily clean and restore your makeup palettes at home.
5 Things You Should Avoid
1. Using Excess Water
While it might seem like a quick solution to clean or restore your eyeshadow palette, using too much water can damage the product. Eyeshadows are not designed to handle excessive moisture, which can lead to a crumbling texture or even mold growth.
2. Applying Harsh Chemicals
Avoid using strong cleaning agents or chemicals on your eyeshadow palette. These substances can alter the pigment or texture of the eyeshadows and may potentially cause skin irritation when applied to your face.
3. Overpressing the Shadow
When attempting to fix a broken eyeshadow, be careful not to press it too hard into the pan. Overpressing can compact the product too much, making it difficult to use or blend on the skin.
4. Ignoring Residue Build-Up
Never neglect to remove residue, oils, or dust from your palette during the restoration process. Failing to follow this step can compromise the quality of your eyeshadow and reduce its shelf life.
5. Using Unclean Tools
Always use clean tools, such as spatulas or brushes, when fixing your palette. Dirty tools can introduce bacteria to your eyeshadow, potentially leading to contamination and skin breakouts.
What Type of Eyeshadow Palette Should You Buy?
When looking to purchase an eyeshadow palette, you have a few options.
- Traditional Powder: This is the most common form of eyeshadow, available in a pressed powder format. It offers buildable coverage and is easy to blend.
- Cream: Cream eyeshadows offer intense pigmentation and are great for creating bold looks. However, they can crease on oily eyelids and require more effort to blend.
- Liquid: Liquid eyeshadows offer a smooth and shimmery finish, making them ideal for use as a base or for creating graphic looks. They may require more precision when applying.
Regardless of the type of palette you choose, it’s essential to consider the colors and finishes in the palette.
Conclusion
To fix an eyeshadow palette, start by identifying the specific issues, such as cracked pans, poor pigmentation, or hard textures.
For cracked or broken eyeshadow, use a clean tool to crush the eyeshadow into a fine powder, then add a few drops of isopropyl alcohol and press it back into shape with a flat surface. Allow it to dry completely before use. If pigmentation is lacking, consider using an eyeshadow primer or dampening your brush to intensify the colors. For hardened textures, lightly scrape the top layer with a clean utensil to reveal the usable product beneath.
Hopefully, the article on how to fix eyeshadow palette has helped you salvage your favorite eyeshadow shades and save money on repurchasing new ones.
About the Author
Jane Hubbard is a passionate beauty expert with a wealth of experience in makeup, hair, and overall beauty techniques. After years of working as a hairdresser specialist, she followed her entrepreneurial spirit and started her own consultancy business.
Jane has always been driven by her desire to help others feel confident in their own skin, and she does this by sharing her knowledge, experiences, and practical beauty tips. Through her consultancy, she empowers individuals to embrace their unique beauty, offering tailored guidance that boosts both self-esteem and personal style.
Professional Focus
Specializes in makeup, hairstyling, and beauty consulting.
Provides personalized beauty advice, tips, and techniques to help individuals feel confident in their appearance.
Dedicated to staying up-to-date with the latest industry trends and developments.
Passionate about creating a comfortable and empowering experience for every client.
Education History
University of Craft and Design – Bachelor of Fine Arts (BFA) in Woodworking and Furniture Design
Woodworking Apprenticeships – Extensive hands-on training with skilled craftsmen to refine carpentry and furniture making techniques
Online Courses & Masterclasses – Continued education in advanced woodworking techniques, design principles, and specialized tools
Expertise:
Makeup artistry, hairstyling, and beauty consulting.
Personalized beauty techniques to enhance confidence and self-expression.
Educating clients on how to maintain their beauty routines at home.