Are you bored with your traditional makeup routine and want to spice things up? If so, then learning how to put on eyeliner can be a great way to experiment with different looks and elevate your overall makeup game.
Applying eyeliner can seem intimidating at first, but with a bit of practice and some helpful tips, it can become a seamless part of your makeup routine. Whether you’re aiming for a simple everyday look or a dramatic winged style, eyeliner has the power to transform and define your eyes, making them appear more striking.
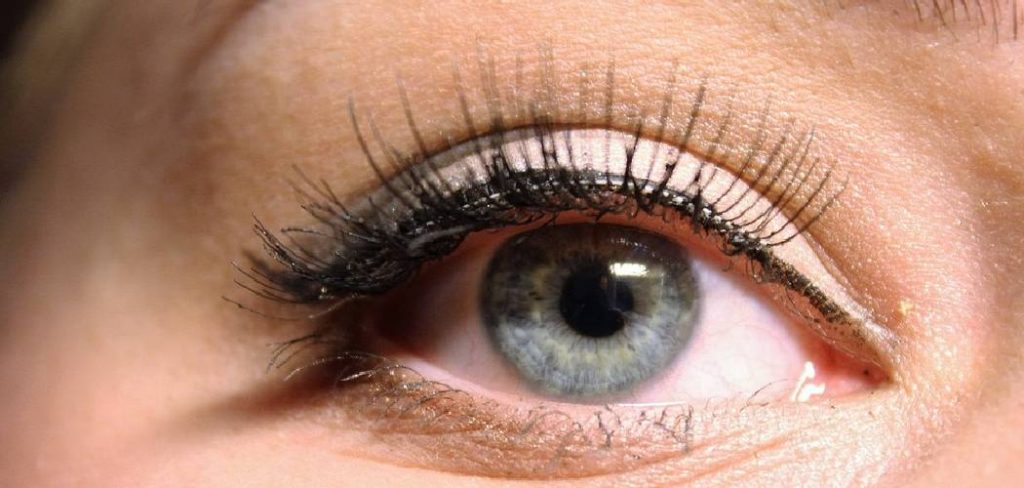
This guide will walk you through the basics of putting on eyeliner, from choosing the right type of product to mastering key techniques, so you can confidently elevate your makeup game.
What Are the Benefits of Using Eyeliner?
There are several benefits to using eyeliner as part of your makeup routine. Here are just a few:
- Enhance the Shape and Size of Your Eyes: One of the main reasons why people use eyeliner is to enhance their eye shape and make them appear larger or more defined. A well-placed line can create the illusion of bigger, more open eyes.
- Define and Highlight Your Natural Eye Color: Certain eyeliner shades can bring out specific colors in your eyes, making them stand out even more. For example, deep brown eyeliners can bring out golden flecks in hazel eyes, while navy blue liners can make blue eyes appear brighter.
- Complement Your Overall Makeup Look: Eyeliner can also be used to complement and complete your overall makeup look. A thin line of eyeliner along the upper lash line can add a subtle touch of definition, while a bold winged liner can give a dramatic effect. It all depends on the type of look you are going for – whether it’s natural and understated or bold and glam.
What Will You Need?
- Eyeliner: Of course, the first thing you will need is a good eyeliner. There are various types of eyeliners available in the market, such as pencil, gel, liquid, and pen liners. Choose one that works best for you and your skill level.
- Eyeshadow Primer: This is an optional step, but using an eyeshadow primer can help your eyeliner last longer and prevent it from smudging or creasing throughout the day.
- Angled Brush: If you are using a gel or cream eyeliner, having an angled brush can make application easier and more precise.
- Tape or Business Card: To achieve a crisp winged eyeliner look, you can use a piece of tape or a business card as a guide. Simply place it at the outer corner of your eye and align it with the edge of your eyebrow, then draw your liner along the edge.
- Q-tip/Cotton Swab: In case of any mistakes or smudges, having a Q-tip or cotton swab on hand can help clean up and fix any errors without ruining your entire look.
10 Easy Steps on How to Put on Eyeliner
Step 1: Choose Your Eyeliner
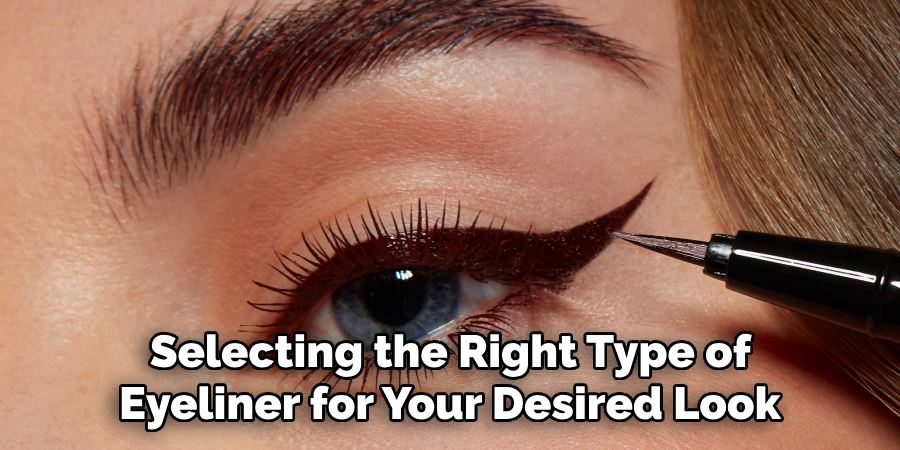
The first step to mastering your eyeliner application is selecting the right type of eyeliner for your desired look. There are several types of eyeliners available, such as pencil, gel, liquid, and pen liners, each suited for different preferences and styles. Pencil liners are great for beginners as they are easy to control and ideal for a softer, more natural appearance.
Gel liners provide a creamy texture and are perfect for creating bold, dramatic lines. Liquid liners, on the other hand, offer precision and are excellent for sharp, defined wings or cat-eye looks, while pen liners combine the ease of use of a pencil with the intensity of a liquid formula. Consider factors like your skill level, desired effect, and even the occasion when choosing your eyeliner.
Step 2: Prepare Your Eyelid
Before applying eyeliner, it is crucial to properly prepare your eyelid to ensure a smooth and long-lasting application. Start by gently cleansing your eyelid to remove any excess oil or makeup residue, as these can interfere with the liner’s adherence. Follow this by applying a lightweight eye primer or a small amount of concealer to create a smooth, even base.
Not only does this step prevent smudging and creasing throughout the day, but it also enhances the vibrancy and longevity of the eyeliner. For added stability, you can lightly dust translucent powder or a neutral eyeshadow over your eyelid to set the base. This preparation not only provides a clean canvas but also makes the application process more seamless and professional-looking.
Step 3: Hold the Skin Taut
To achieve a precise and smooth eyeliner application, gently hold the skin around your eye taut. Place one finger on the outer corner of your eye and lightly pull outward, creating a flat, even surface to work on. This allows the eyeliner to glide effortlessly across the lid without skipping or creating uneven lines. Be careful not to pull too hard, as the skin around the eyes is delicate. Maintaining a steady hand during this step will help you achieve a clean and professional finish.
Step 4: Start at the Inner Corner
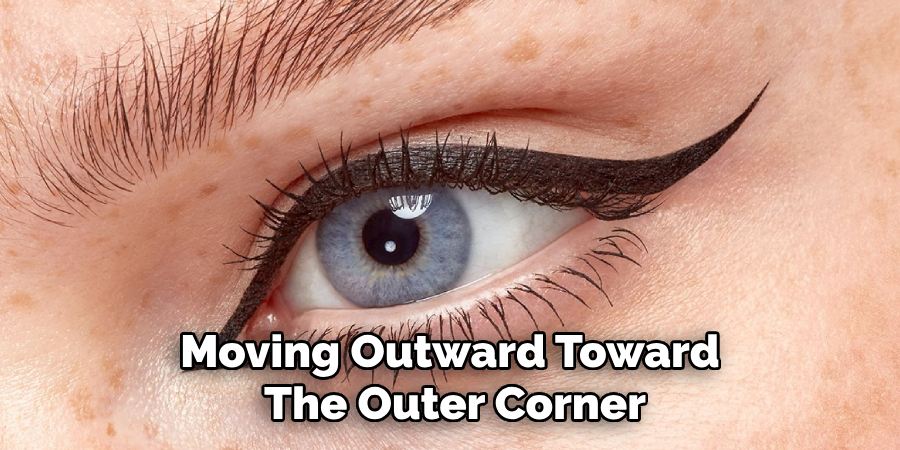
Begin applying the eyeliner at the inner corner of your upper lash line. Using small, controlled strokes, follow the natural curve of your eye, moving outward toward the outer corner. For a precise and defined look, keep the eyeliner as close to the lash line as possible. If you’re aiming for a winged effect, extend the line slightly past the outer corner, angling it upward toward the end of your eyebrow.
Step 5: Build Gradually
Start by applying a light layer of eyeliner and gradually build up the intensity to achieve your desired look. This approach allows you to maintain control and avoid over-application, which can lead to smudging or uneven lines. If you prefer a bold style, carefully layer the product step by step, ensuring each stroke is smooth and neat. For a softer, more natural appearance, opt for fewer layers and blend gently with a smudging tool or cotton swab.
Step 6: Create a Wing
To create the perfect wing, start by determining the angle and length that best suits your eye shape and desired look. Use the outer corner of your eye as a guide to extend the line upward in a natural direction that flatters your features. Begin with a light, thin stroke to outline the wing, ensuring symmetry on both sides. Once you’re satisfied with the shape, gradually thicken the line as needed, connecting it seamlessly to the rest of your eyeliner.
For added precision, you can use tape, a stencil, or the edge of a card as a guide to achieve a crisp, clean edge. Keep a cotton swab dipped in makeup remover on hand to quickly fix any mistakes and sharpen the wing for a polished finish.

Step 7: Tight line
Tight lining is an excellent way to add subtle definition to your eyes and make your lashes appear fuller. To achieve this look, use a waterproof gel or pencil eyeliner in black or brown for a natural finish. Gently lift your upper eyelid and apply the liner directly along the waterline, filling in the gaps between your lashes. Be sure to work carefully and slowly to avoid irritation. This technique enhances the appearance of your eyes without creating a heavy-lined look, making it perfect for both everyday wear and special occasions.
Step 8: Lower Lash Line
To define your lower lash line, use a soft pencil eyeliner in a shade that complements your upper liner. Start by lightly applying the liner as close to the lower lash line as possible, focusing on the outer two-thirds of the lash line for a more subtle and natural look. If you prefer a smudged effect, use a small, precise brush or a cotton swab to gently blend the liner. Avoid applying too much product near the inner corners to keep your eyes looking fresh and open. This step adds depth and balance to your eye makeup, completing the look with a polished finish.
Step 9: Clean Up
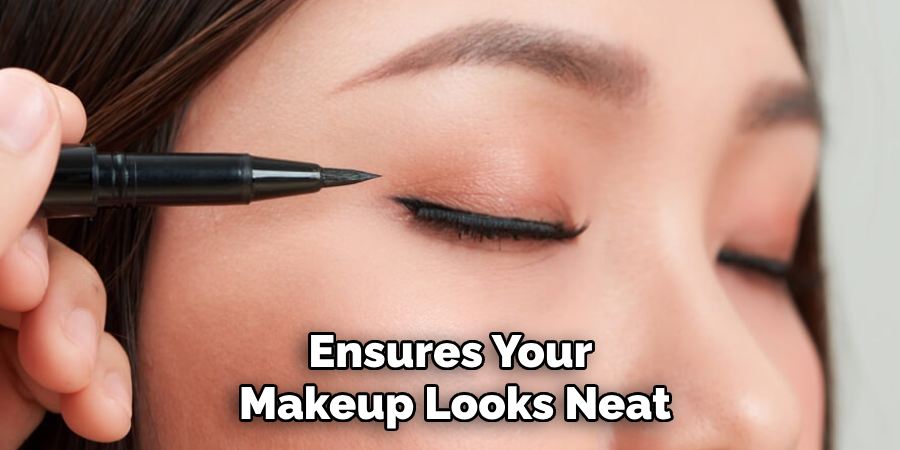
Once you have completed your makeup application, it’s important to clean up any fallout or smudges for a flawless finish. Use a clean makeup sponge, a cotton swab, or a makeup wipe to gently remove any stray makeup around the eyes, cheeks, or lips. If necessary, touch up your foundation or concealer to maintain an even complexion. This final step ensures your makeup looks neat, tidy, and professional, leaving you ready to impress.
Step 10: Set Your Look
To ensure your makeup stays in place throughout the day, it’s essential to set your look. Use a setting spray or a translucent setting powder, depending on your skin type and desired finish. Hold the setting spray about 8-10 inches from your face and mist it evenly, letting it dry naturally. Alternatively, lightly dust your face with setting powder using a fluffy brush, focusing on areas prone to oiliness, like the T-zone. This step helps lock in your makeup, reduces shine, and keeps everything looking polished for hours.
By following these tips, you can achieve a beautiful and long-lasting makeup look.
Conclusion
How to put on eyeliner takes patience and practice, but it can significantly enhance your overall makeup look.
Begin by choosing the right type of eyeliner—be it pencil, gel, or liquid—that best suits your style and skill level. Always opt for a steady hand and work in short, controlled strokes to achieve precision. Whether you prefer a subtle, natural effect or a bold, dramatic wing, remember to align the application with your eye shape for the most flattering result.
With time and experimentation, putting on eyeliner will become an effortless part of your routine.
About the Author
Jane Hubbard is a passionate beauty expert with a wealth of experience in makeup, hair, and overall beauty techniques. After years of working as a hairdresser specialist, she followed her entrepreneurial spirit and started her own consultancy business.
Jane has always been driven by her desire to help others feel confident in their own skin, and she does this by sharing her knowledge, experiences, and practical beauty tips. Through her consultancy, she empowers individuals to embrace their unique beauty, offering tailored guidance that boosts both self-esteem and personal style.
Professional Focus
- Specializes in makeup, hairstyling, and beauty consulting.
- Provides personalized beauty advice, tips, and techniques to help individuals feel confident in their appearance.
- Dedicated to staying up-to-date with the latest industry trends and developments.
- Passionate about creating a comfortable and empowering experience for every client.
Education History
- University of Craft and Design – Bachelor of Fine Arts (BFA) in Woodworking and Furniture Design
- Woodworking Apprenticeships – Extensive hands-on training with skilled craftsmen to refine carpentry and furniture making techniques
- Online Courses & Masterclasses – Continued education in advanced woodworking techniques, design principles, and specialized tools
Expertise:
- Makeup artistry, hairstyling, and beauty consulting.
- Personalized beauty techniques to enhance confidence and self-expression.
- Educating clients on how to maintain their beauty routines at home.
