Are you looking for a natural alternative to commercial hair dyes? Look no further than your kitchen! Making your natural hair dye is not only better for your hair but also more environmentally friendly and cost-effective.
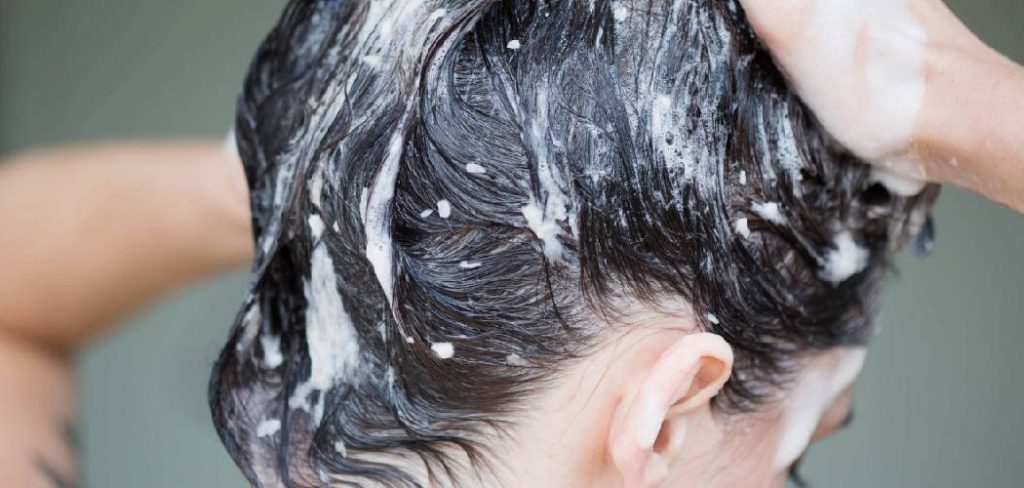
Coloring your hair can be a fun and creative way to refresh your look, but many commercial hair dyes contain harsh chemicals that may cause damage to your hair and skin. Natural hair dye offers a safer, more environmentally friendly alternative, using ingredients derived from plants, fruits, and other organic sources. Whether you’re looking to enhance your natural shade or try something bold, crafting your natural hair dye at home is not only simple but also empowering.
This guide on how to make natural hair dye will walk you through the steps and ingredients necessary to achieve beautiful, chemical-free hair color.
What Are the Benefits of Using Natural Hair Dye?
Natural hair dye has a multitude of benefits, both for your hair and overall health. Here are just a few reasons why you should consider making the switch to natural hair dye:
- No Harsh Chemicals: Traditional hair dyes contain harmful chemicals such as ammonia, bleach, and parabens, which can damage your hair and scalp.
- Gentle on the Scalp: The chemicals in synthetic hair dyes can cause irritation and even allergic reactions on sensitive scalps. Natural hair dyes use gentle ingredients that won’t cause any harm or discomfort.
- Environmentally Friendly: Chemical hair dyes not only harm our bodies but also harm the environment. By using natural hair dyes, we can reduce our carbon footprint and protect the planet.
- Long-Lasting Color: Contrary to popular belief, natural hair dyes can provide long-lasting color without the use of harsh chemicals. These dyes penetrate the hair shaft and stay vibrant for a longer period of time.
- Variety of Colors: Natural hair dyes come in a variety of shades, including reds, blondes, browns, and even fun colors like blue or purple. This allows you to experiment with different looks without compromising your health.
What Will You Need?
To get started with natural hair dye, you will need the following items:
- Natural Hair Dye: This can be purchased from health food stores or online retailers. Look for brands that use plant-based ingredients and avoid ammonia, parabens, and other harmful chemicals.
- Gloves: It is important to protect your hands while applying hair dye. Choose latex-free gloves if you have a latex allergy.
- Old Towels/Clothing: Natural hair dyes can stain clothing and towels, so it’s best to use old ones during the process.
- Applicator Brush/Comb: Depending on the type of natural hair dye you choose, you may need an applicator brush or comb to evenly distribute the dye.
- Shower Cap: Some natural hair dyes require you to leave the product on your hair for a certain amount of time. A shower cap can help keep the dye from dripping and make the process less messy.
- Hair Clips: If you have longer hair, it may be helpful to section off your hair with clips while applying the dye.
10 Easy Steps on How to Make Natural Hair Dye
Step 1: Choose Your Ingredients
When choosing your ingredients, it’s important to consider the type of natural hair dye you want to create and the color you hope to achieve, like green hair aesthetic. For darker shades, ingredients like coffee, black tea, or walnut powder can be used to add rich, deep tones.
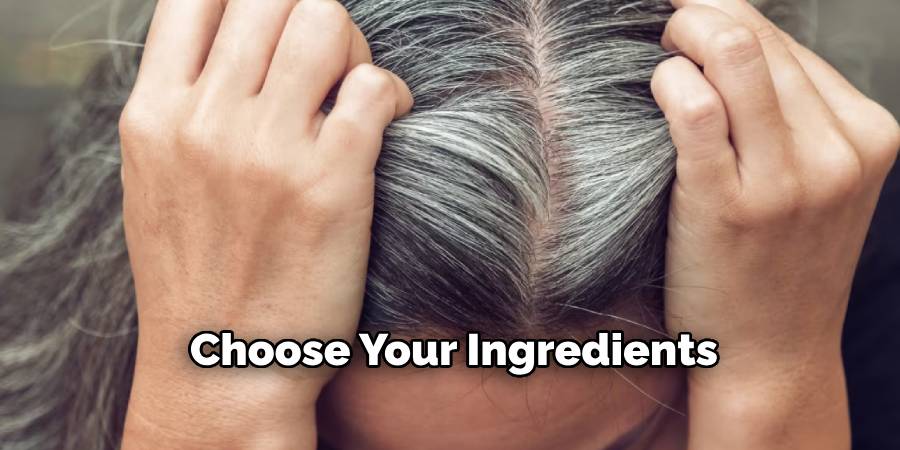
If you’re looking for lighter hues, chamomile or lemon juice can help bring out golden or blonde highlights. For red tones, beet juice or hibiscus flowers are great natural options. Always take into account any allergies or sensitivities you may have to avoid irritation. Additionally, the quality and freshness of your ingredients can impact the effectiveness of your dye, so try to source high-quality, organic ingredients whenever possible.
Step 2: Prepare the Ingredients
To prepare the ingredients for your natural hair dye, start by gathering all the necessary components based on your desired color. For instance, if you aim for dark tones, measure out the required amount of coffee grounds or black tea leaves. If lighter highlights are the goal, grate fresh cinnamon or prepare chamomile tea. For red tones, ensure you have fresh beet juice or dried hibiscus flowers. Once gathered, thoroughly clean and sanitize your tools and containers to prevent contamination. Blend or steep the ingredients as needed, following reliable recipes, to create a smooth or well-infused dye mixture.
Step 3: Perform a Strand Test
Choose a small, inconspicuous section of your hair to test the dye mixture. This will help you gauge the final color and ensure there are no adverse reactions.
Apply the prepared dye mixture to the selected strand, fully saturating it from root to tip. Wrap the strand in plastic or foil to contain the dye and allow it to process for the recommended time specified in your recipe. Once the time is up, rinse the strand thoroughly with lukewarm water and allow it to dry completely. Assess the color result and determine if adjustments to the dye mixture or processing time are needed before applying it to the rest of your hair.
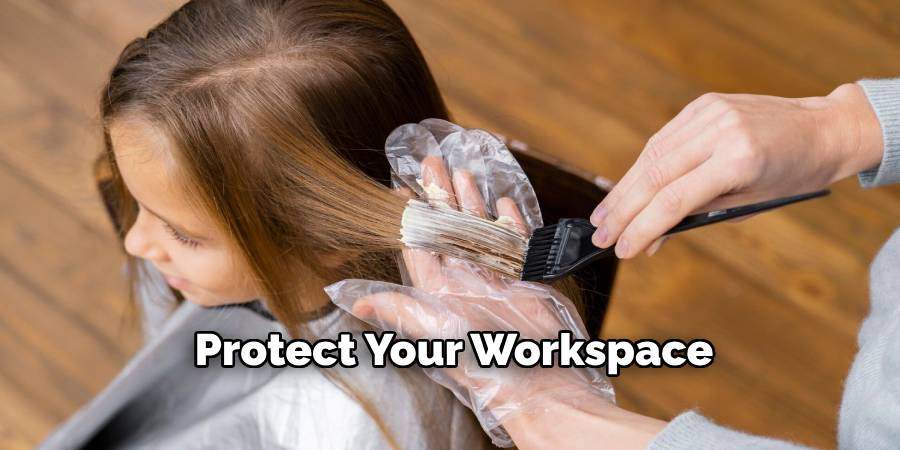
Step 4: Protect Your Workspace
To ensure a clean and stress-free dyeing process, take measures to protect your workspace from potential messes. Cover countertops, tables, or any surrounding surfaces with old towels, plastic sheeting, or newspaper to catch any drips or spills. Wear old clothing that you don’t mind staining, and consider using disposable gloves to prevent the dye from staining your hands. Keep paper towels or a damp cloth nearby for quick clean-up of any accidental splashes.
Step 5: Prepare Your Hair
Before applying the dye, ensure your hair is clean and dry. Avoid using heavy conditioners or styling products before dyeing, as they can create a barrier that prevents the color from adhering properly. Section your hair into manageable parts using clips or hair ties—typically four sections work well. This will make it easier to apply the dye evenly and ensure complete coverage. Additionally, comb through each section to remove any tangles, which can help the application process go more smoothly.
Step 6: Apply the Dye
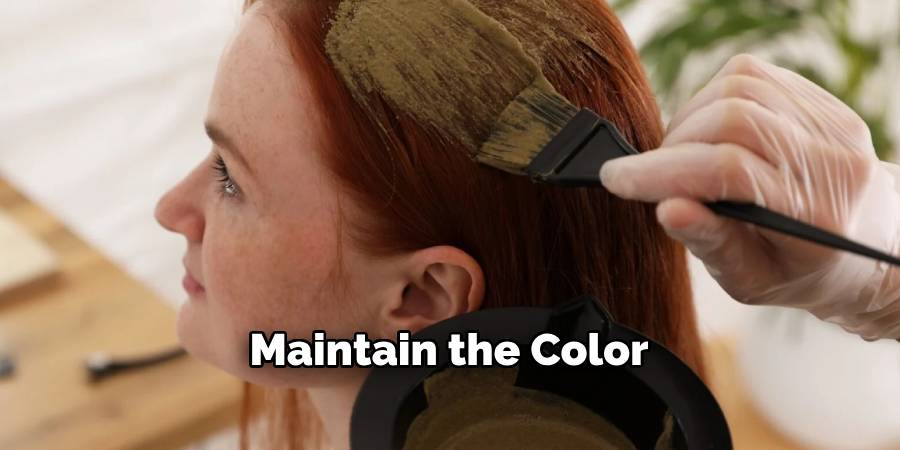
Start by putting on gloves to protect your hands from staining. Using a dye applicator brush or the provided bottle, begin applying the dye to one section of your hair. Start at the roots, as this area often requires more processing time, and work your way down to the ends.
Ensure that the dye is evenly distributed by massaging it gently into your hair with your fingers or using the brush. Repeat this process for each section, taking care to saturate all strands thoroughly. Once all sections are covered, check for any missed spots and reapply dye as needed for a consistent result. Finally, follow the instructions on the dye packaging regarding the amount of time to leave it in before rinsing.
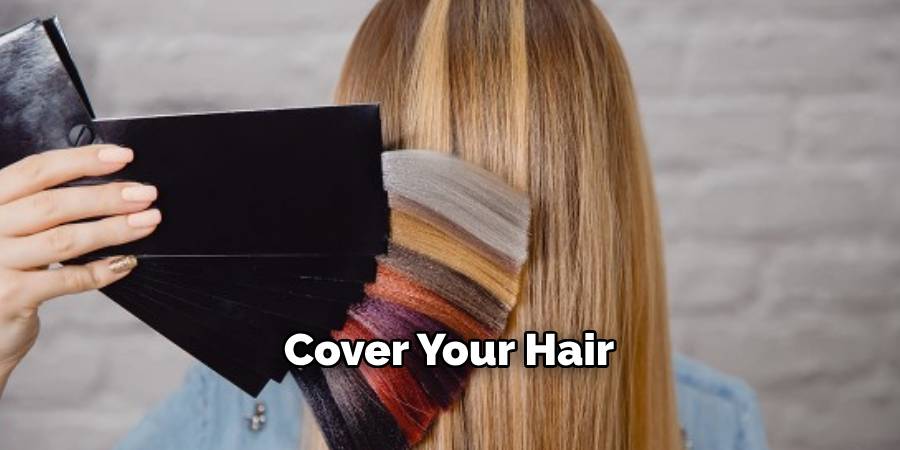
Step 7: Cover Your Hair
After applying the dye, use a plastic shower cap or a hair cover to protect your hair and keep the dye in place. This will help maintain an even temperature and prevent the dye from drying out, ensuring better color absorption. If no shower cap is available, you can wrap your hair gently with cling film or a plastic bag as an alternative. Make sure the cover is secure but not too tight to avoid discomfort.
Step 8: Allow Time for Processing
During the processing time, it’s important to follow the instructions provided with your hair dye to achieve the best results. Typically, this involves waiting anywhere from 20 to 45 minutes, depending on the type and brand of dye you’re using, as well as your desired color intensity. Avoid removing the hair cover or disturbing your hair during this period, as this could affect the evenness of the color. Use this time to relax, perhaps by reading a book or listening to music, and be mindful of a timer to ensure you do not exceed the recommended time limit. Over-processing can lead to hair damage or an unexpected shade.
Step 9: Rinse Thoroughly
Once the processing time is up, it’s time to rinse your hair thoroughly with lukewarm water. Remove the hair cover, and allow the water to run through your hair until it runs clear, ensuring all the dye is completely washed out. Avoid using hot water, as it can strip moisture from your hair. Gently massage your scalp to remove any residual dye, but refrain from using shampoo during this initial rinse unless instructed by the dye manufacturer.
Step 10: Maintain the Color
To keep your color looking vibrant and fresh, consider using color-safe shampoos and conditioners specifically designed for dyed hair. These products help to lock in the color and prevent fading. Limit the frequency of washing your hair to avoid stripping the color, and when you do wash, use lukewarm or cool water. Protect your hair from exposure to excessive sunlight by wearing hats or using UV-protective hair products.
By following these tips, you can maintain vibrant and long-lasting color in your hair.
Conclusion
How to make natural hair dye at home is an effective and eco-friendly way to color your hair without exposing it to harsh chemicals.
By using ingredients like henna, coffee, beet juice, or chamomile, you can achieve a range of shades while nourishing your hair. The process requires patience and experimentation to find the perfect blend that works for your desired color outcome. Always perform a patch test before applying any natural dye to ensure there are no allergic reactions.
With the right approach and care, natural hair dye can be a safe and sustainable option for transforming your look.
About the Author
Jane Hubbard is a passionate beauty expert with a wealth of experience in makeup, hair, and overall beauty techniques. After years of working as a hairdresser specialist, she followed her entrepreneurial spirit and started her own consultancy business.
Jane has always been driven by her desire to help others feel confident in their own skin, and she does this by sharing her knowledge, experiences, and practical beauty tips. Through her consultancy, she empowers individuals to embrace their unique beauty, offering tailored guidance that boosts both self-esteem and personal style.
Professional Focus
- Specializes in makeup, hairstyling, and beauty consulting.
- Provides personalized beauty advice, tips, and techniques to help individuals feel confident in their appearance.
- Dedicated to staying up-to-date with the latest industry trends and developments.
- Passionate about creating a comfortable and empowering experience for every client.
Education History
- University of Craft and Design – Bachelor of Fine Arts (BFA) in Woodworking and Furniture Design
- Woodworking Apprenticeships – Extensive hands-on training with skilled craftsmen to refine carpentry and furniture making techniques
- Online Courses & Masterclasses – Continued education in advanced woodworking techniques, design principles, and specialized tools
Expertise:
- Makeup artistry, hairstyling, and beauty consulting.
- Personalized beauty techniques to enhance confidence and self-expression.
- Educating clients on how to maintain their beauty routines at home.
