Are you tired of paying for expensive and time-consuming trips to the nail salon? Do you want a quick and easy way to achieve beautiful, long-lasting nails at home? Gel nail strips may be the perfect solution for you!
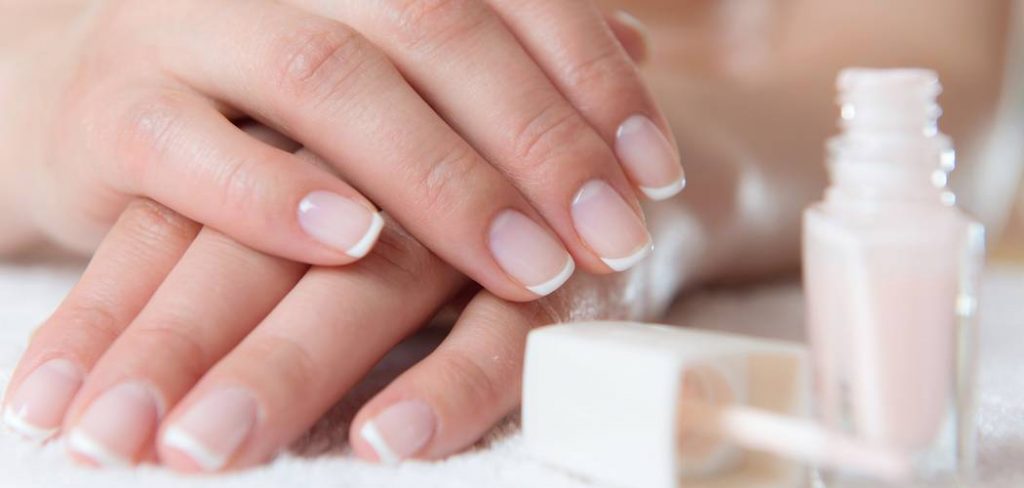
Gel nail strips are a quick and convenient way to achieve a salon-quality manicure from the comfort of your home. These innovative strips are pre-made designs with a gel-like finish, offering a professional look without the hassle of traditional gel applications. Whether you’re a beginner or a nail art enthusiast, applying gel nail strips is simple and mess-free with the right steps.
By following a few easy instructions on how to apply gel nail strips, you can enjoy beautiful, long-lasting nails in no time.
What Are the Benefits of Using Gel Nail Strips?
There are many reasons why gel nail strips have become so popular in recent years. Here are some of the top benefits:
- Time-saving: One major advantage of using gel nail strips is that they can save you a lot of time. Traditional gel manicures require multiple steps and can take up to an hour or more, whereas applying gel nail strips can be done in just 10-15 minutes.
- Cost-effective: Getting your nails done at a salon can add up quickly, especially if you want to change your design frequently. With gel nail strips, you can achieve the same professional look for a fraction of the cost.
- Convenience: With gel nail strips, you can have a salon-quality manicure at home, whenever it fits into your schedule. No more booking appointments or waiting in line at the nail salon.
- Less Damage to Natural Nails: Some people may experience damage to their natural nails with traditional gel manicures due to the harsh chemicals and UV light used. Gel nail strips do not require any curing under UV lamps, making them a safer option for your natural nails.
- Easy Removal: Removing traditional gel manicures can be a tedious process, often involving soaking and scraping off the polish. With gel nail strips, all you need is some acetone or nail polish remover, and they come right off without damaging your natural nails.
What Will You Need?
Before trying out gel nail strips, there are a few things you will need to ensure a successful manicure:
- Gel Nail Strips: These can be purchased in various designs and colors from drugstores or online.
- Cuticle Pusher: This will help push back your cuticles for a clean application.
- Nail File: You may need to file the gel strip to fit your nail length and shape.
- Acetone or Nail Polish Remover: As mentioned earlier, this is needed for easy removal of the gel strips.
- A Lamp: While not necessary, you can use a small LED lamp to cure any areas that may require some extra bonding.
10 Easy Steps on How to Apply Gel Nail Strips
Step 1. Prepare Your Nails:
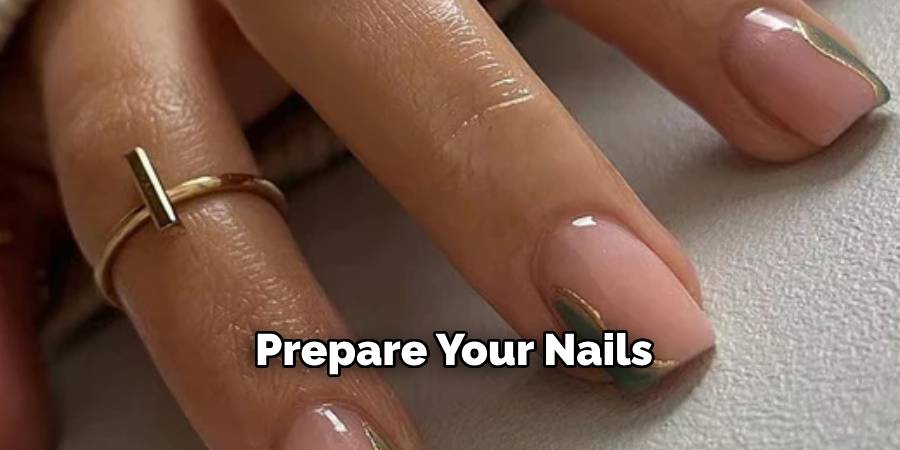
Start by ensuring your nails are clean and free of any dirt, oils, or residue. Wash your hands thoroughly with soap and water, then dry them completely. Use a nail polish remover or acetone to remove any existing nail polish or oils from the nail surface. This will help the gel strips adhere more securely.
Next, gently push back your cuticles using a cuticle pusher for a neat, polished look and to make sure the gel strip lies flat on your nail bed. If necessary, lightly buff the surface of your nails with a nail buffer to create an even base. Finally, shape your nails to the desired length and style using a nail file, making sure there are no rough edges. Proper preparation is key to achieving a long-lasting and flawless application.
Step 2. Shape and Buff:
After preparing your nails, it’s time to focus on shaping and smoothing them. Begin by using a nail file to shape your nails to your preferred style, whether that’s square, round, or almond-shaped. Be gentle to avoid splitting or weakening the nails. Once you’ve achieved your desired shape, use a buffer to lightly smooth the surface of each nail.
This step removes any ridges or imperfections, ensuring the gel strips adhere evenly for a seamless finish. Remember not to over-buff, as this can lead to thinning of the nails. A smooth and well-shaped nail bed is essential for achieving a professional-looking manicure.
Step 3. Push Back Cuticles:
Using a cuticle pusher, gently push back your cuticles to create a clean and even surface around the nail bed. This not only helps the gel strips adhere better but also gives your manicure a polished and tidy appearance. If necessary, you can apply a cuticle softener beforehand to make this step easier and more comfortable. Be careful not to push too hard or cut the cuticles, as this can lead to irritation or injury. A well-prepped nail ensures optimal results for your manicure.
Step 4. Select Gel Strips:
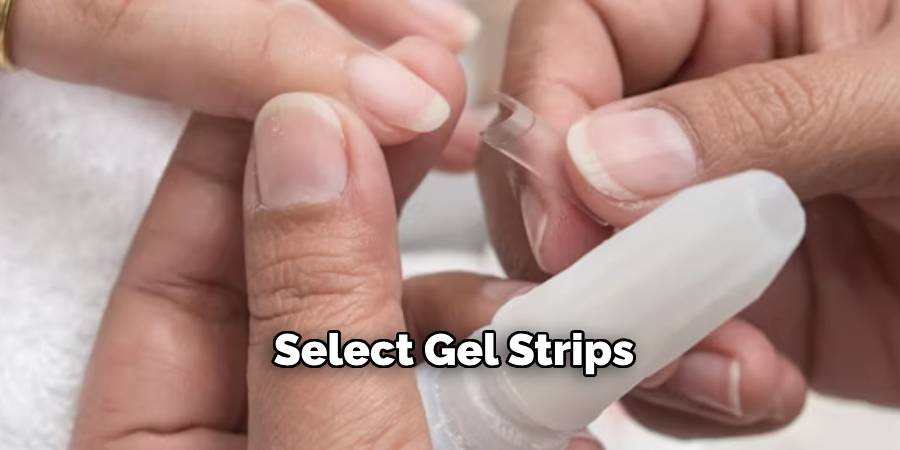
Choose gel strips that match the size and shape of your nails for the best fit. Most gel strip kits include a variety of sizes to accommodate different nail widths, so take your time to find the perfect match for each nail. If a strip is slightly too wide, you can gently trim it with a pair of small scissors or nail clippers for a more precise fit. Ensure that the strips cover the nail completely without overlapping onto the skin or cuticle. Properly selecting and sizing the gel strips ensures a smooth and natural-looking finish.
Step 5. Peel and Apply:
Carefully peel the gel strip off its backing using a pair of tweezers or your fingers. Align the base of the strip with your cuticle line, ensuring it sits slightly above the cuticle to avoid overlap. Gently press the strip onto your nail, smoothing it down from the center toward the edges. This helps to eliminate air bubbles and ensures a secure application. Use firm, even pressure to adhere the gel strip to your nail, adjusting as needed to perfect the placement. Repeat this process for each nail, taking care to maintain a neat and polished appearance.
Step 6. Smooth and Shape:
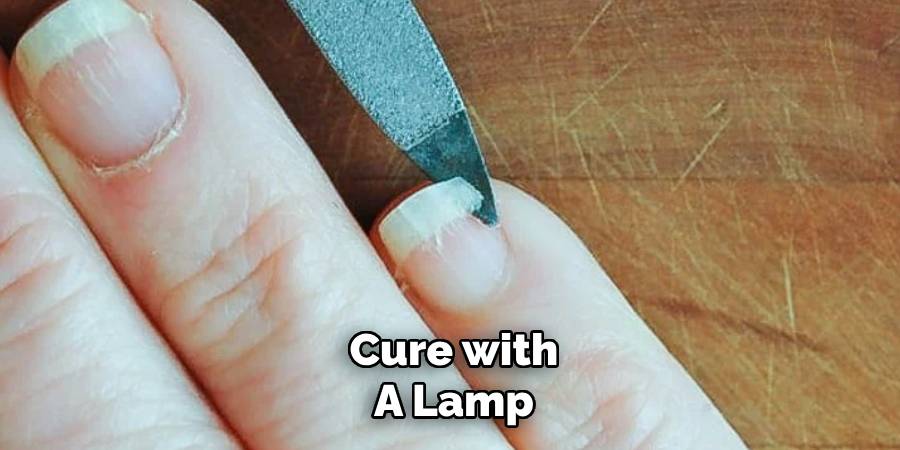
Using a nail file, gently shape the edges of the gel strip to match the natural contour of your nail. File in one direction to prevent fraying or tearing of the strip. Focus on smoothing the edges to ensure a seamless finish. For any excess material extending beyond your nail, carefully file downward at a 45-degree angle until it aligns perfectly. This step ensures a clean, professional look while enhancing the overall durability of the gel strips.
Step 7. Cure with a Lamp
Place your hand under an LED or UV nail lamp to cure the gel strips. Follow the recommended curing time provided by the manufacturer of your lamp, typically between 30 to 60 seconds for LED lamps. This step hardens the gel strips, ensuring they adhere securely to your nails and achieve a glossy, long-lasting finish. Make sure all nails are evenly exposed to the light for optimal results. Repeat the process for the other hand.
Step 8. Double-Check Edges:
Carefully inspect the edges of each nail to ensure the gel strips are securely adhered and no gaps or lifting are present. Use a gentle pressing motion with your fingertip or a silicone tool to smooth down any loose edges. This step helps to prevent premature peeling and ensures a seamless, professional-looking finish. If needed, lightly file the tips of your nails to remove any excess material and create a clean edge.
Step 9. Finish with a Top Coat
Apply a layer of clear gel top coat over each nail to seal and protect the gel strips. This step enhances the durability of your manicure and adds a glossy, polished finish. Ensure the top coat covers the entire nail, including the edges, to lock in the design and prevent chipping. Cure the top coat under a UV or LED lamp for the recommended time specified by the product instructions. Once cured, your flawless manicure is complete and ready to showcase!
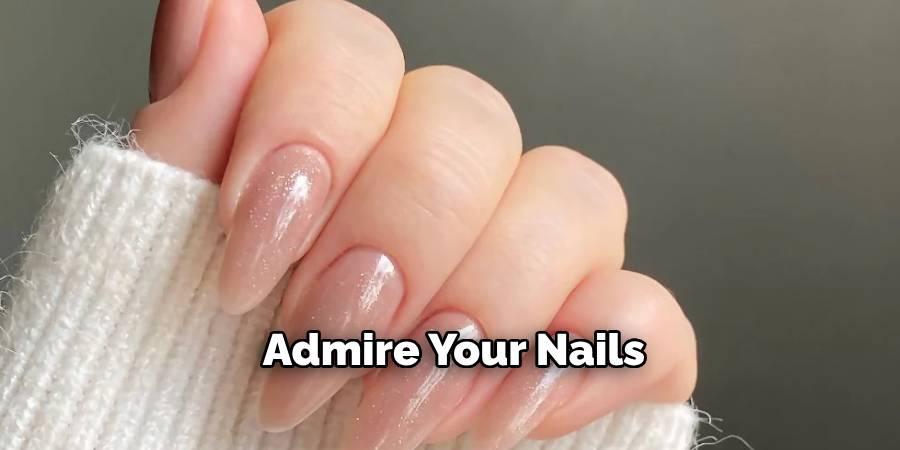
Step 10. Admire Your Nails:
Take a moment to appreciate the effort and creativity you’ve put into achieving your stunning manicure. Whether it’s a bold design, a subtle pattern, or a classic look, your nails now reflect your style. Show them off to friends, take photos, or simply enjoy the satisfaction of your polished and professional-looking nails. Don’t forget to care for your cuticles and keep your hands moisturized to maintain the beauty of your manicure!
By following these steps and tips, you can achieve salon-worthy nails at home. Experiment with different colors, patterns, and techniques to express yourself and have fun with your nail art.
Conclusion
How to apply gel nail strips is a simple and effective way to achieve salon-quality nails from the comfort of your home.
By carefully preparing your nails, selecting the right size strips, and applying them with precision, you can create a long-lasting, flawless manicure. With proper care and removal, gel nail strips can keep your nails looking beautiful while minimizing damage. Whether you’re looking for a quick beauty fix or a creative outlet, gel nail strips provide a versatile and convenient solution for stylish nails.
Hopefully, this guide has given you the confidence and knowledge to try gel nail strips for yourself.
About the Author
Jane Hubbard is a passionate beauty expert with a wealth of experience in makeup, hair, and overall beauty techniques. After years of working as a hairdresser specialist, she followed her entrepreneurial spirit and started her own consultancy business.
Jane has always been driven by her desire to help others feel confident in their own skin, and she does this by sharing her knowledge, experiences, and practical beauty tips. Through her consultancy, she empowers individuals to embrace their unique beauty, offering tailored guidance that boosts both self-esteem and personal style.
Professional Focus
- Specializes in makeup, hairstyling, and beauty consulting.
- Provides personalized beauty advice, tips, and techniques to help individuals feel confident in their appearance.
- Dedicated to staying up-to-date with the latest industry trends and developments.
- Passionate about creating a comfortable and empowering experience for every client.
Education History
- University of Craft and Design – Bachelor of Fine Arts (BFA) in Woodworking and Furniture Design
- Woodworking Apprenticeships – Extensive hands-on training with skilled craftsmen to refine carpentry and furniture making techniques
- Online Courses & Masterclasses – Continued education in advanced woodworking techniques, design principles, and specialized tools
Expertise:
- Makeup artistry, hairstyling, and beauty consulting.
- Personalized beauty techniques to enhance confidence and self-expression.
- Educating clients on how to maintain their beauty routines at home.
