
Adding a touch of sparkle to your makeup can transform any look from simple to spectacular. Whether you’re getting ready for a festival, a concert, or a special night out, facial glitter is the perfect way to make a bold statement. However, achieving that flawless, long-lasting shimmer can be tricky if you don’t use the right products and techniques. Learning how to stick glitter on face safely and effectively is the key to creating a dazzling look that stays put all day and night without causing skin irritation.
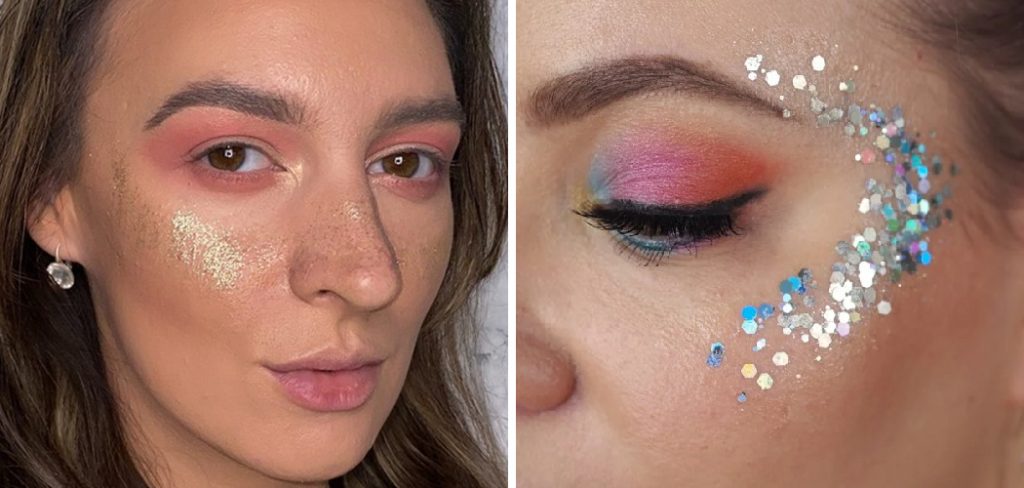
This guide is designed for beginners and will walk you through everything you need to know about glitter application. We will cover choosing the right type of glitter, preparing your skin, selecting a safe adhesive, and applying the glitter for maximum impact. With these simple steps, you can confidently create stunning, professional-looking glitter makeup for any occasion.
Why Learning to Apply Facial Glitter Matters
Knowing the correct way to apply facial glitter is crucial for both safety and style. Using the wrong products, like craft glitter or unsafe adhesives, can lead to serious skin irritation, allergic reactions, or even eye injuries. Proper application techniques ensure your festival look not only looks amazing but also feels comfortable and lasts through hours of dancing and fun. Mastering this skill allows you to express your creativity safely, protecting your skin while achieving a flawless, long-lasting sparkle that elevates your makeup artistry for any event.
Step-by-Step Guide: How to Stick Glitter on Face
Step 1: Choose Skin-Safe Cosmetic Glitter
The first and most important step is selecting the right kind of glitter. Never use craft glitter for facial application. Craft glitter is often made from metal or glass and has sharp, hexagonal edges that can cause micro-abrasions on your delicate facial skin and can be extremely dangerous if it gets into your eyes.
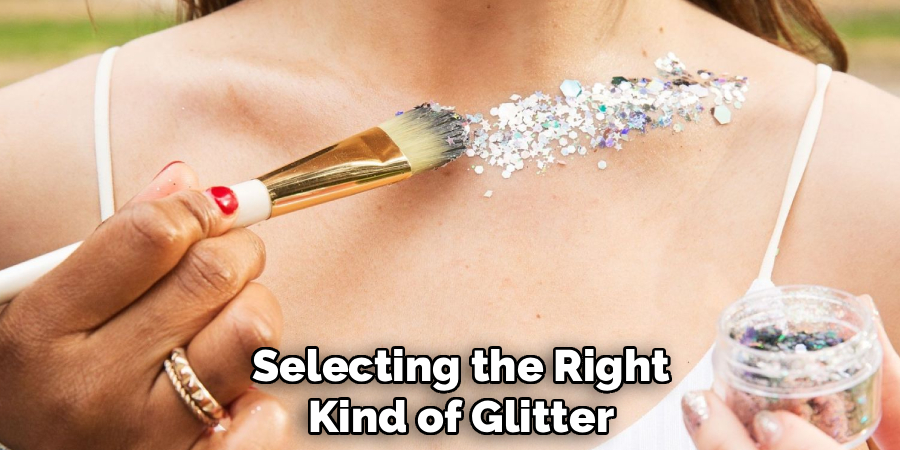
Always choose cosmetic-grade glitter, which is specifically designed for use on the skin. It is made from non-toxic plastic, is finely milled, and has rounded edges to prevent irritation. Look for biodegradable cosmetic glitter as a more environmentally friendly option.
Step 2: Prepare Your Skin with a Clean Base
Before you start your glitter application, it’s essential to prepare your skin properly. Begin with a clean, moisturized face. This creates a smooth canvas for your makeup and helps the products adhere better. Apply your usual foundation, concealer, and any other base makeup you plan to wear. Creating this base layer not only ensures a polished final look but also provides a barrier between your skin and the glitter adhesive. This step is crucial for achieving an even application and making the glitter removal process easier later on.
Step 3: Apply a Makeup Primer
A good makeup primer is a secret weapon for long-lasting glitter. After your base makeup is on, apply a thin layer of primer to the specific areas where you plan to apply the glitter, such as your cheekbones, temples, or around your eyes. A primer creates a tacky surface that gives the skin adhesive something to grip onto, ensuring your glitter stays in place for hours. For an extra hold, you can opt for a specialized glitter primer, which is formulated with a stickier texture designed specifically to lock down shimmer and glitter particles.
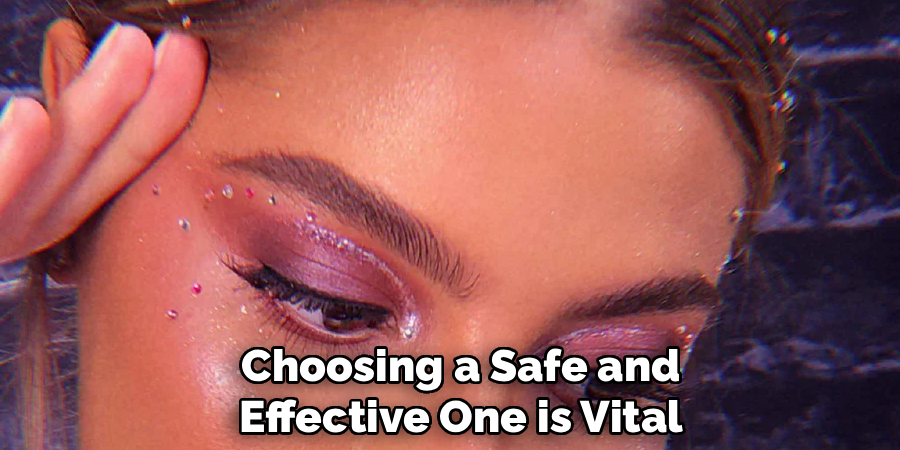
Step 4: Select a Safe Skin Adhesive
The adhesive is what will hold your glitter in place, so choosing a safe and effective one is vital. Never use eyelash glue, nail glue, or any other non-skin-safe adhesive on your face. Instead, opt for a product specifically designed for cosmetic glitter application. Popular and safe choices include clear lip gloss (for a light hold), Vaseline or petroleum jelly (for chunkier glitter), or a dedicated cosmetic glitter glue or gel. These products are formulated to be gentle on the skin while providing a strong, flexible hold that moves with your face.
Step 5: Apply the Adhesive to the Desired Area
Using a small, flat synthetic makeup brush or your fingertip, apply a thin, even layer of your chosen skin adhesive to the area where you want the glitter. Work in small sections to prevent the adhesive from drying before you have a chance to apply the glitter. If you are creating a specific design, you can use a fine-tipped brush for more precision. Be careful to avoid getting the adhesive in your eyes, hairline, or on your eyebrows unless that is part of your intended look.
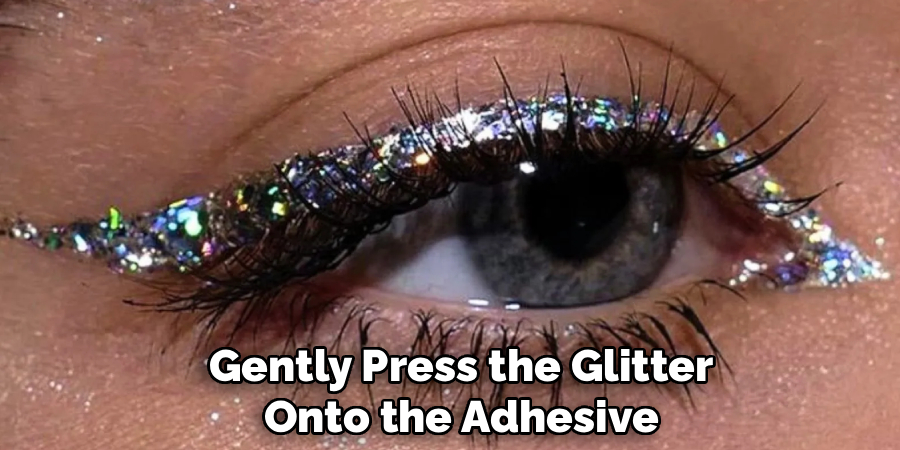
Step 6: Press the Glitter onto the Adhesive
Now for the fun part! While the adhesive is still wet and tacky, it’s time for the glitter application. You can use a flat makeup brush, a silicone applicator, or your fingertip to pick up the cosmetic glitter. Gently press the glitter onto the adhesive, rather than brushing it on. This pressing motion ensures the glitter adheres firmly and creates an opaque, high-impact sparkle. Continue to layer the glitter until you achieve your desired density and coverage. Tapping off any excess glitter from your brush before application can help minimize fallout.
Step 7: Set Your Look to Minimize Fallout
Once you are happy with your glitter placement, the final step is to set your look. This will help lock everything in place and prevent the glitter from transferring or falling off throughout the day or night. Hold a makeup setting spray about 8-10 inches from your face, close your eyes, and mist it lightly over your entire face. The setting spray will create a protective film over your makeup and glitter, ensuring your sparkling creation lasts as long as you do. Let the spray dry completely before touching your face. This last step is essential for a polished, long-wearing festival look.
Removing Glitter Safely
Removing glitter safely requires a gentle yet effective approach to protect your skin and minimize mess. Begin by using an oil-based cleanser or makeup remover, as the oil helps to break down the adhesive properties of the glitter. Apply the cleanser onto a cotton pad or soft cloth, and gently press it onto the glittered areas without rubbing, allowing the oil to grip onto the particles. Then, wipe away the glitter in soft, downward motions to avoid spreading it further.
Afterward, follow up with a mild face wash to clean away any remaining residue, and ensure your skin is left fresh and free of irritation. For stubborn glitter on other areas, a piece of tape lightly pressed against the skin can help lift any lingering flecks without causing damage. Always be thorough and patient when removing glitter to keep both your skin and environment safe.
Frequently Asked Questions (FAQs)
What Is the Best Adhesive to Use for Face Glitter?
The best adhesive is one specifically designed for cosmetic use on the skin. A dedicated cosmetic glitter glue or gel will provide the strongest and longest-lasting hold. For a lighter, more temporary application, you can use a thick, clear lip gloss or petroleum jelly. Always avoid non-cosmetic glues like eyelash glue or craft glue, as they can cause severe skin irritation and are not safe for facial use.
How Do I Remove Glitter from My Face Safely?
To remove glitter safely, start with an oil-based makeup remover or a natural oil like coconut or olive oil. Apply the oil to a cotton pad and gently press it onto the glittered area for a few seconds to loosen the adhesive. Then, swipe the glitter away carefully. Avoid harsh scrubbing. Follow up with your regular facial cleanser to remove any remaining oil and residue.
Is Craft Glitter Safe to Use on the Face?
No, you should never use craft glitter on your face. Craft glitter is typically made from metal or glass and has sharp edges that can cause tiny cuts (micro-abrasions) on your skin and can be extremely dangerous if they get in your eyes. Always use cosmetic-grade glitter, which is made from skin-safe plastic and has rounded edges to prevent injury.
Can I Apply Glitter Over My Eyeshadow?
Yes, you can definitely apply glitter over eyeshadow to create a stunning eye look. After applying your eyeshadow, use a fine-tipped brush to apply a thin layer of glitter adhesive onto your eyelid where you want the sparkle. Then, gently press the cosmetic glitter onto the adhesive. Using a glitter primer specifically for eyes can help prevent creasing and ensure the look lasts all day.
How Can I Prevent Glitter from Getting Everywhere During Application?
To control fallout, work in small sections and apply the adhesive sparingly. Before dipping your brush into the glitter, tap off any excess. You can also hold a tissue or makeup shield under the area you are working on to catch any loose particles. Another great tip is to do your eye makeup and glitter application before your foundation, so you can easily clean up any stray sparkles.
Conclusion
Learning how to stick glitter on face is a fun and creative way to elevate your makeup, and with the right approach, it’s both simple and safe. By following these steps, you can create breathtaking, long-lasting looks for any festival, party, or special event without compromising the health of your skin. The key is to always prioritize safety by using the correct products and being gentle with your skin.
Now that you have the knowledge and techniques, don’t be afraid to experiment with different colors, shapes, and designs. Unleash your creativity and get ready to shine
About the Author
Jane Hubbard is a passionate beauty expert with a wealth of experience in makeup, hair, and overall beauty techniques. After years of working as a hairdresser specialist, she followed her entrepreneurial spirit and started her own consultancy business.
Jane has always been driven by her desire to help others feel confident in their own skin, and she does this by sharing her knowledge, experiences, and practical beauty tips. Through her consultancy, she empowers individuals to embrace their unique beauty, offering tailored guidance that boosts both self-esteem and personal style.
Professional Focus
Specializes in makeup, hairstyling, and beauty consulting.
Provides personalized beauty advice, tips, and techniques to help individuals feel confident in their appearance.
Dedicated to staying up-to-date with the latest industry trends and developments.
Passionate about creating a comfortable and empowering experience for every client.
Education History
University of Craft and Design – Bachelor of Fine Arts (BFA) in Woodworking and Furniture Design
Woodworking Apprenticeships – Extensive hands-on training with skilled craftsmen to refine carpentry and furniture making techniques
Online Courses & Masterclasses – Continued education in advanced woodworking techniques, design principles, and specialized tools
Expertise:
Makeup artistry, hairstyling, and beauty consulting.
Personalized beauty techniques to enhance confidence and self-expression.
Educating clients on how to maintain their beauty routines at home.