
Learning how to use facial steamer properly ensures you maximize these therapeutic benefits while maintaining safety throughout your routine. Many people purchase these devices but never achieve optimal results because they skip essential preparation steps or use incorrect techniques.
This comprehensive guide eliminates the guesswork by providing clear, professional techniques that work for all skin types and steamer models. From initial setup to post-treatment care, you’ll discover everything needed to incorporate facial steaming into your skincare regimen effectively. Whether you’re a complete beginner or looking to refine your technique, these detailed instructions will help you achieve glowing, healthy skin from the comfort of your home.
Why Learning Proper Facial Steamer Usage Matters
Understanding correct facial steamer operation is essential for achieving professional skincare results while preventing potential skin damage or device malfunction. Improper technique can lead to irritation, excessive dryness, or ineffective treatments that waste both time and money. When used correctly, facial steamers provide deep pore cleansing, enhanced circulation, and improved product absorption that rival expensive spa treatments.
Proper usage also protects your investment by preventing common mistakes that damage equipment or reduce its effectiveness. Mastering these techniques transforms your skincare routine into a luxurious, therapeutic experience that delivers consistent, visible improvements to your skin’s health and appearance.
Step-by-Step Guide: How to Use Facial Steamer
Step 1: Prepare Your Skin for Steam Therapy
Begin your skincare routine by thoroughly removing all makeup, sunscreen, and surface dirt using your regular cleanser. This initial cleaning allows steam to penetrate deeply into your pores rather than just sitting on top of cosmetic residue.

Use gentle, circular motions with your cleanser to avoid irritating the skin before steaming. Pat your face dry with a clean towel, leaving it slightly damp to help the steam adhere better to your skin. Remove any jewelry around your neck and face area that might become uncomfortable during the steaming process.
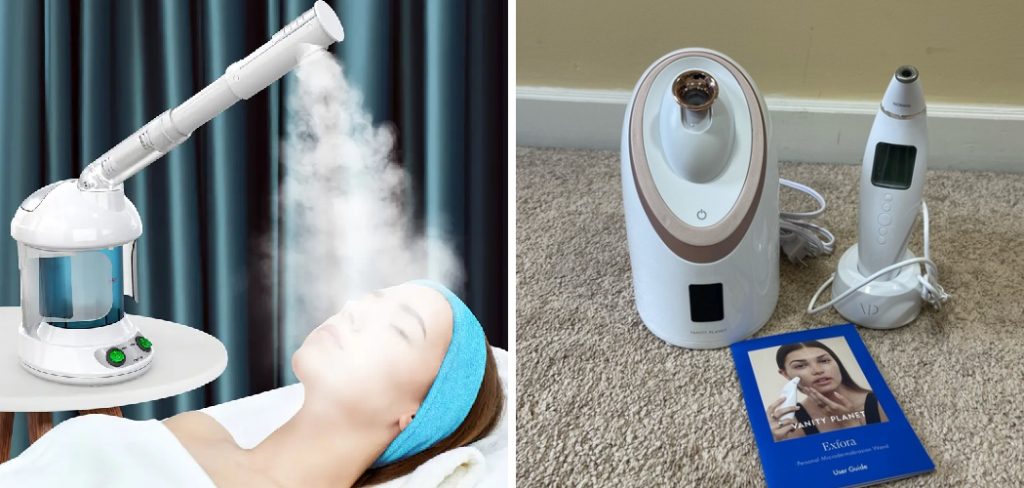
Step 2: Set Up Your Facial Steamer Device
Position your facial steamer on a stable, flat surface at a comfortable height for seated use. Fill the water reservoir with distilled water only, avoiding tap water which contains minerals that can clog the device and reduce steam quality. Check that the water level meets the manufacturer’s recommendations, typically indicated by fill lines on the reservoir.
Ensure the device is placed away from electrical outlets and other electronics that could be damaged by moisture. Connect the power cord securely and verify that all components are properly assembled according to the instruction manual.
Step 3: Allow Proper Warm-Up Time for Optimal Steam Production
Turn on your facial steamer using the power button and allow it to reach full operating temperature before beginning treatment. Most devices require 2-4 minutes to generate consistent steam output, though this varies by model and room temperature. During this warm-up period, avoid the temptation to position your face near the nozzle, as initial steam bursts can be irregular or too hot.
Use this time to gather any post-treatment skincare products you plan to use after steaming. Watch for steady, consistent steam production before proceeding, as irregular steam can indicate the device hasn’t reached optimal temperature. Some models include indicator lights that signal when the unit is ready for use.
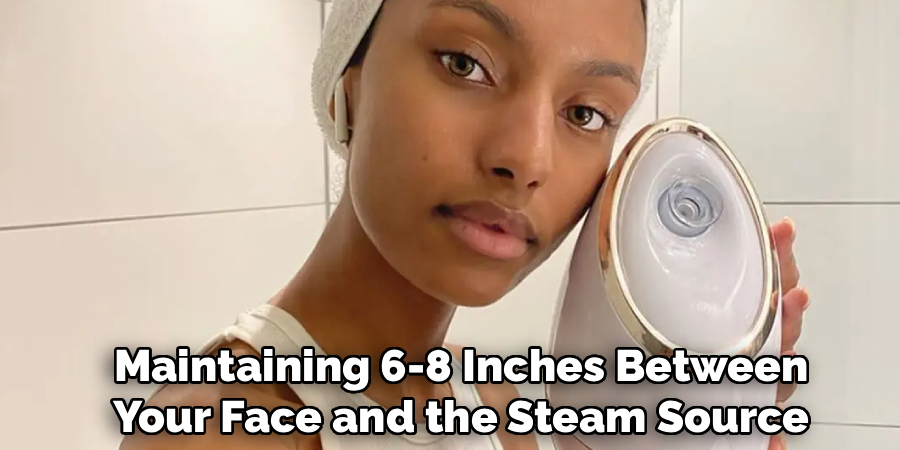
Step 4: Position Yourself for Safe and Effective Treatment
Sit comfortably in front of your steamer with your face approximately 6-8 inches from the steam nozzle, adjusting distance based on your skin sensitivity and comfort level. Drape a large towel over your head and shoulders to create a tent-like enclosure that traps steam around your face while preventing it from escaping into the room. Close your eyes to protect them from direct steam contact and to enhance relaxation during the treatment.
Maintain an upright posture to ensure even steam distribution across your entire face, avoiding tilting your head too far forward or backward. Keep your mouth slightly open to allow comfortable breathing while preventing excessive moisture intake.
Step 5: Begin Your Steam Session with Proper Timing
Start with a 5-7 minute session if you’re new to facial steaming, gradually increasing duration as your skin adapts to the treatment. Allow the warm steam to envelop your face evenly, occasionally turning your head slightly to ensure all areas receive adequate exposure.
Focus on breathing steadily and relaxing your facial muscles to maximize circulation benefits. Monitor your skin’s response throughout the session, watching for excessive redness or discomfort that might indicate the need to increase distance or reduce session length. For experienced users, sessions can extend to 10-15 minutes, but never exceed 20 minutes as prolonged exposure can lead to dehydration or irritation.
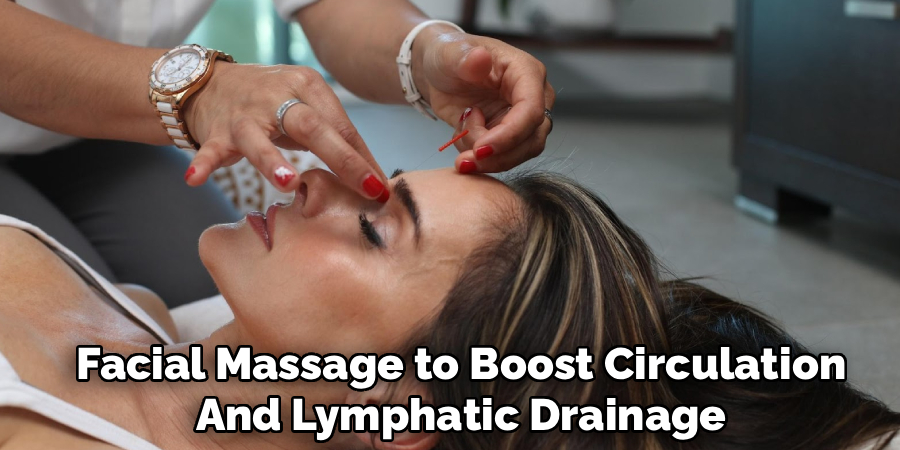
Step 6: Enhance Your Session with Gentle Facial Massage
While steam softens your skin and opens pores, incorporate gentle facial massage to boost circulation and lymphatic drainage. Use light, upward strokes with your fingertips along your cheeks, forehead, and jawline, being careful not to apply excessive pressure on steam-softened skin. Focus on areas where you tend to have congestion or dullness, using circular motions to stimulate blood flow.
Avoid aggressive rubbing or pulling on the skin, as the heat and moisture make it more sensitive than usual. The combination of steam and gentle massage helps loosen stubborn blackheads and promotes better product absorption for treatments you’ll apply afterward.
Step 7: Complete Your Session and Cool Down Gradually
As your steaming session nears completion, gradually reduce your exposure by slowly moving your face away from the steam source rather than abruptly ending treatment. Turn off the steamer and carefully remove the towel from over your head, allowing excess steam to dissipate naturally. Pat your face gently with a clean, soft towel to remove excess moisture while leaving skin slightly damp for better product absorption.
Avoid rubbing or harsh wiping, as your skin is more sensitive immediately after steaming. Allow your skin to cool naturally for 2-3 minutes before applying any products, as this cooling period helps your pores begin to close while maintaining the benefits of increased circulation. Observe how your skin looks and feels – it should appear slightly flushed with a healthy glow and feel soft and hydrated.
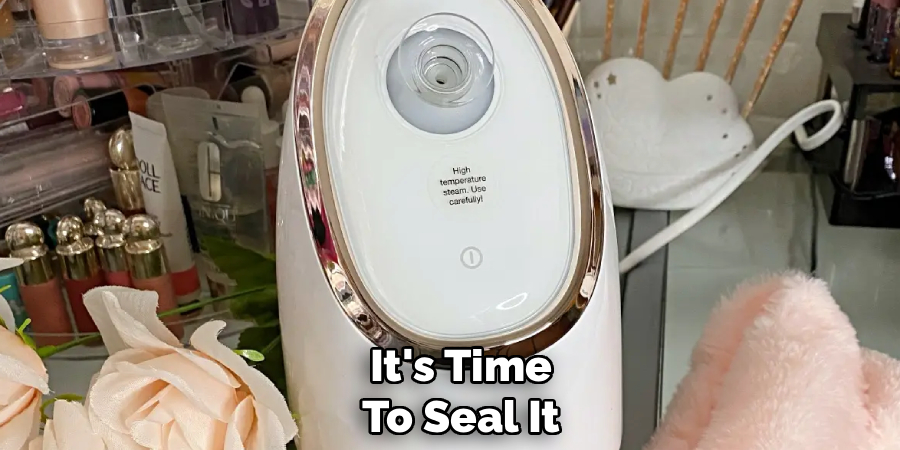
Benefits with Appropriate Moisturizing
Complete your facial steaming routine by applying a suitable moisturizer to lock in hydration and protect your freshly treated skin. Choose a product appropriate for your skin type – lighter formulations for oily skin and richer creams for dry or mature skin. Apply moisturizer using gentle upward strokes, avoiding harsh rubbing that could irritate your sensitized skin. Pay special attention to areas that tend to be drier, such as around the eyes and mouth, using products specifically formulated for these delicate zones.
If you’re doing this treatment during the day, finish with sunscreen, as steaming can temporarily increase your skin’s sensitivity to UV radiation. For evening treatments, consider using a slightly richer moisturizer or adding a few drops of facial oil for extra nourishment. This final step ensures your skin maintains the hydration and glow achieved through steaming.
Frequently Asked Questions (FAQs)
How Often Should I Use a Facial Steamer?
Most skin types benefit from facial steaming 1-2 times per week, though this can vary based on your skin’s needs and sensitivity. Oily or acne-prone skin may tolerate more frequent steaming, while sensitive or dry skin should limit sessions to once weekly. Start with once per week and gradually increase frequency if your skin responds well. Overuse can lead to dehydration, irritation, or disrupted skin barrier function, so consistency matters more than frequency.
What Type of Water Should I Use in My Steamer?
Always use distilled water in your facial steamer to prevent mineral buildup that can clog the device and reduce steam quality. Tap water contains minerals like calcium and magnesium that create deposits in the heating element over time, potentially damaging your steamer. Distilled water is inexpensive and available at most grocery stores. Using proper water extends your device’s lifespan while ensuring consistently pure steam for your skincare treatments.
Can I Add Essential Oils to My Facial Steamer?
Most facial steamers are designed for water-only use, and adding essential oils may damage internal components or void warranties. Essential oils can leave residue in the heating chamber and may cause skin reactions when concentrated in steam. For aromatherapy benefits during your session, use a separate essential oil diffuser in the room or apply diluted oils to your skin after steaming. Always check your device manual for specific guidance on additives.
Is Facial Steaming Safe for All Skin Types?
While most people can benefit from facial steaming, those with very sensitive skin, rosacea, or active inflammatory conditions should consult a dermatologist first. Pregnant women should also seek medical advice before beginning regular steaming routines. People with respiratory conditions may find steam therapy beneficial, but should start with shorter sessions. Always begin with shorter, cooler treatments and gradually increase intensity as your skin adapts to determine your optimal routine.
What Should I Do If My Skin Becomes Too Red or Irritated?
If you experience excessive redness, burning, or irritation during steaming, immediately stop the session and move away from the steam source. Apply a cool, damp cloth to your face to reduce heat and calm inflammation. Redness lasting more than an hour may indicate the steam was too hot or the session too long. For future sessions, increase your distance from the steamer, reduce treatment time, or lower the temperature setting if your device has adjustable controls.
Conclusion
Mastering how to use facial steamer opens the door to professional-quality skincare treatments from the comfort of your home. This systematic approach ensures you receive maximum benefits while maintaining skin health and safety throughout your routine.
Remember that consistency delivers better long-term results than occasional intensive treatments. Regular steaming sessions help maintain healthy, glowing skin while providing relaxing moments in your self-care routine. With proper technique and patience, your facial steamer becomes an invaluable tool for achieving radiant, healthy skin. Start incorporating these techniques into your routine today and experience the transformative power of professional steam therapy at home.
About the Author
Jane Hubbard is a passionate beauty expert with a wealth of experience in makeup, hair, and overall beauty techniques. After years of working as a hairdresser specialist, she followed her entrepreneurial spirit and started her own consultancy business.
Jane has always been driven by her desire to help others feel confident in their own skin, and she does this by sharing her knowledge, experiences, and practical beauty tips. Through her consultancy, she empowers individuals to embrace their unique beauty, offering tailored guidance that boosts both self-esteem and personal style.
Professional Focus
Specializes in makeup, hairstyling, and beauty consulting.
Provides personalized beauty advice, tips, and techniques to help individuals feel confident in their appearance.
Dedicated to staying up-to-date with the latest industry trends and developments.
Passionate about creating a comfortable and empowering experience for every client.
Education History
University of Craft and Design – Bachelor of Fine Arts (BFA) in Woodworking and Furniture Design
Woodworking Apprenticeships – Extensive hands-on training with skilled craftsmen to refine carpentry and furniture making techniques
Online Courses & Masterclasses – Continued education in advanced woodworking techniques, design principles, and specialized tools
Expertise:
Makeup artistry, hairstyling, and beauty consulting.
Personalized beauty techniques to enhance confidence and self-expression.
Educating clients on how to maintain their beauty routines at home.