
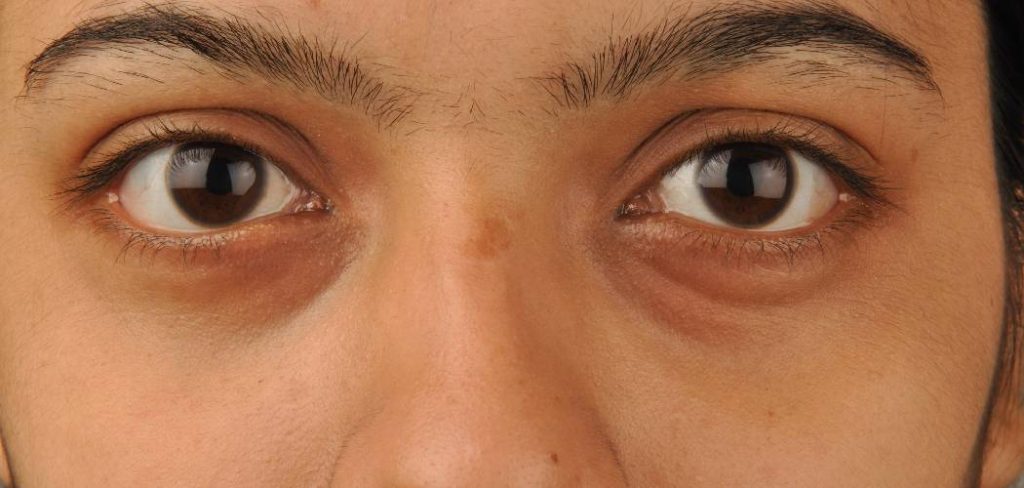
Dark circles under the eyes can be a persistent concern, making you look more tired than you feel. They can be caused by various factors, including genetics, lack of sleep, and aging. Fortunately, with the right techniques and products, you can effectively conceal them for a brighter, more refreshed appearance.
This guide on how to cover dark circles will walk you through a detailed process for flawlessly covering dark circles. By understanding the proper steps, from skin preparation to setting your makeup, you can achieve long-lasting coverage. We’ll explore the essential tools and provide a step-by-step tutorial to help you master the art of concealing.
Tools and Materials You’ll Need
- Hydrating Eye Cream
- Makeup Primer
- Color Corrector (peach, orange, or yellow tones)
- Creamy, Hydrating Concealer (1-2 shades lighter than your skin tone)
- Liquid or Cream Foundation
- Small Concealer Brush or Makeup Sponge
- Fluffy Blending Brush
- Translucent Setting Powder
- Setting Spray
10 Step-By-Step Guidelines on How to Cover Dark Circles
Step 1: Prep the Under-Eye Area
Proper skin preparation is the foundation of a flawless makeup application. The skin under your eyes is delicate and prone to dryness, which can cause makeup to look cakey or settle into fine lines. Start by applying a small amount of a hydrating eye cream. Gently tap the cream into the skin using your ring finger, as this applies the least amount of pressure. This step not only moisturizes but also creates a smooth canvas for the products that follow.
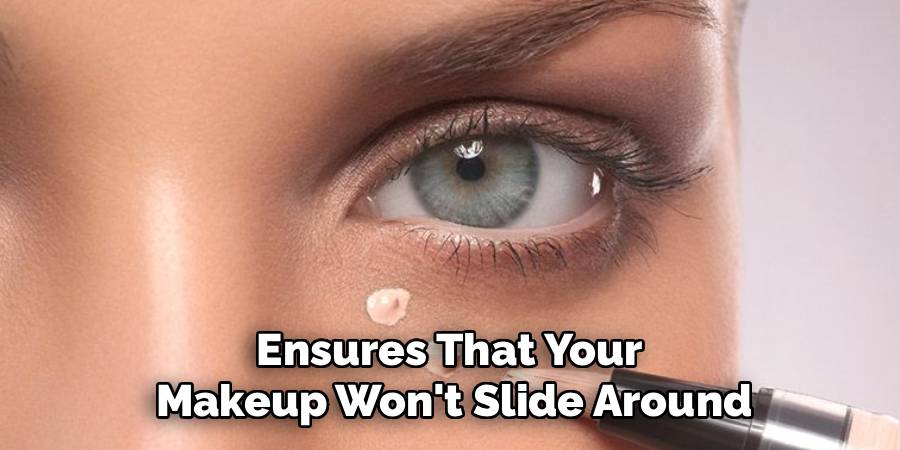
Allow the eye cream to fully absorb for a minute or two before moving on. This ensures that your makeup won’t slide around. Next, apply a thin layer of makeup primer to the under-eye area. A primer helps to fill in any fine lines, creating an even smoother surface. It also acts as a barrier between your skin and the makeup, which helps the concealer last longer throughout the day without creasing or fading.
Step 2: Apply a Color Corrector
Color correction is a crucial step that many people skip, but it makes a significant difference in neutralizing discoloration. The principle is based on color theory: using a color opposite on the color wheel to cancel out another. For dark circles, which often have blue or purple undertones, peach or orange correctors are most effective. If your circles are more brownish, a yellow-toned corrector can work wonders to brighten the area.
Using a small brush or your ring finger, apply a very thin layer of the color corrector directly onto the darkest parts of your under-eye circles. Focus the product only where the discoloration is visible, which is typically in the inner corners and along the orbital bone. Gently pat and blend the product into the skin until the dark hues are visibly neutralized. Be careful not to use too much product; a sheer layer is all you need to counteract the darkness.
Step 3: Choose the Right Concealer
Selecting the right concealer is just as important as the application technique. Look for a creamy, hydrating formula that won’t dry out the delicate under-eye area. Matte or thick concealers can settle into fine lines and accentuate texture. Your concealer should be one to two shades lighter than your natural skin tone. This will not only cover the corrected area but also add brightness, creating a lifted and more awake look.
To find your perfect shade, test concealers on your jawline or inner wrist. The ideal shade should blend seamlessly with your skin while providing a subtle brightening effect. Avoid concealers that are too light, as they can create a noticeable white or gray cast under the eyes, drawing more attention to the area you’re trying to conceal. A liquid or cream-based concealer offers buildable coverage and a more natural finish.
Step 4: Apply Concealer Strategically
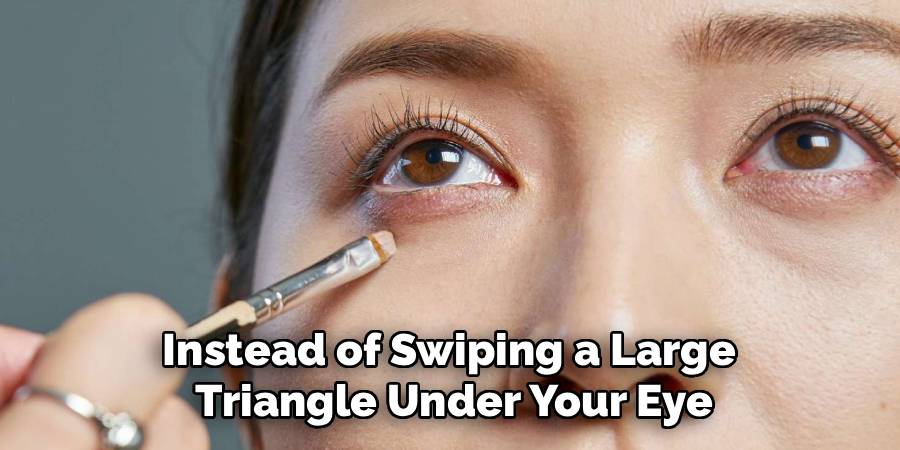
The way you apply concealer can significantly impact the final result. Instead of swiping a large triangle under your eye, focus the application for a more natural and lifted effect. Apply a few small dots of concealer at the inner corner of your eye, where darkness is most prominent. Then, place another dot at the outer corner, angling it upwards towards your temple. This placement technique helps to create a visual lift.
This method prevents you from applying too much product directly under the center of your eye, where it’s most likely to crease. By concentrating the concealer on the inner and outer corners, you address the primary areas of concern while using less product overall. This strategic application provides coverage where it’s needed most and avoids overloading the skin, leading to a smoother, more natural-looking finish that lasts all day.
Step 5: Blend the Concealer Gently
Proper blending is key to ensuring your concealer looks like a second skin rather than a layer of makeup. You can use a damp makeup sponge, a small, fluffy concealer brush, or your ring finger. If using a sponge, gently bounce it over the concealer dots to press the product into the skin. This stippling motion blends the product seamlessly without wiping it away. It melts the concealer into your skin for an undetectable finish.
If you prefer a brush, use light, tapping motions to blend the edges of the concealer outward. For those using their fingers, the warmth from your skin helps the product melt and blend effortlessly. Use your ring finger to gently pat the concealer, starting from the inner corner and working your way out. Ensure all edges are softened so there are no harsh lines between the concealer and the rest of your skin.
Step 6: Apply Foundation
After your concealer is perfectly blended, it’s time to apply your foundation. This step helps to unify your skin tone and ensure the concealed area blends seamlessly with the rest of your face. Apply your preferred liquid or cream foundation to your face, but be careful around the under-eye area you just perfected. Use a light hand and avoid applying a heavy layer of foundation directly over the concealer.
Gently blend the foundation up towards the under-eye area, lightly tapping the edges to merge it with the concealer. A makeup sponge is excellent for this step, as it can press the foundation into the skin without disturbing the concealer underneath. The goal is to create a cohesive look where the concealer and foundation meet undetectably. This creates a balanced complexion where the under-eyes are bright but not noticeably different from the rest of your face.
Step 7: Reapply Concealer if Needed
Sometimes, one layer of concealer isn’t enough to fully cover very dark circles, especially after applying foundation. Take a moment to assess your under-eye area. If you can still see some darkness peeking through, it’s time for a second, very light layer of concealer. This step is about precision and building coverage only where it is absolutely necessary, rather than applying another full layer.

Apply a tiny dot of concealer just on the remaining dark spots, which are often in the deepest part of the inner corner. Use the tip of your finger or a small precision brush to gently tap and blend this small amount of product. The key is to be minimal and targeted. This touch-up ensures complete coverage without adding bulk or increasing the risk of creasing, leaving you with a bright and flawless under-eye area.
Step 8: Set the Under-Eye Area
Setting your concealer is a non-negotiable step to prevent it from creasing and to lock it in place for the entire day. For this, you will need a finely milled translucent setting powder. Avoid heavy, pigmented powders, as they can add texture and look cakey under the eyes. Translucent powders are lightweight and designed to set makeup without altering the color of your concealer or foundation.
Dip a small, fluffy brush or the tip of a damp makeup sponge into the setting powder, and tap off any excess. Before applying the powder, look up and gently smooth out any creases that may have formed with your finger. While still looking up, lightly press the powder onto the under-eye area. This technique sets the concealer in a smooth state. Don’t bake by applying a thick layer; a light dusting is sufficient to do the job effectively.
Step 9: Dust Away Excess Powder
After letting the setting powder sit for about a minute, it’s time to sweep away any excess. Use a large, clean, fluffy brush for this step. Gently dust the brush over the under-eye area in light, sweeping motions. This will remove any loose powder that hasn’t been absorbed, leaving behind a smooth, matte finish that is perfectly set.
This step ensures that your under-eye area doesn’t look overly dry or powdery. The goal is to set the liquid and cream products without adding visible texture. By gently dusting away the excess, you maintain the brightness of the concealer while ensuring it won’t budge. Your under-eyes will look smooth and airbrushed, and your makeup will be locked in for hours of wear without creasing.
Step 10: Finish with Setting Spray
The final step to complete your flawless under-eye routine is to use a setting spray. A good setting spray will meld all the layers of makeup together—primer, corrector, concealer, foundation, and powder—for a more skin-like and less powdery finish. It also helps to rehydrate the skin and extend the wear time of your makeup, ensuring everything stays in place all day.

Hold the setting spray bottle about 8-10 inches away from your face and spritz it a few times in an “X” and “T” motion to cover your entire face evenly. Allow the spray to air dry completely without touching your face. This final touch will lock in your hard work, giving your makeup a beautiful, seamless finish and ensuring your dark circles remain perfectly concealed from morning to night.
Following these steps on how to cover dark circles will not only give you a flawless look, but also help boost your confidence. Remember, makeup is not about covering up flaws, but enhancing your natural beauty.
Frequently Asked Questions
Q1: Can I Use Foundation Instead of Concealer for Dark Circles?
A1: While you can try to use foundation, it is generally not recommended as the primary product for covering dark circles. Foundations are formulated to even out the skin tone across the entire face and typically offer lighter coverage than concealers. Concealers are more pigmented and specifically designed to cover imperfections like dark circles and blemishes. Using foundation alone may not provide enough coverage for significant discoloration.
Q2: Why Does My Under-Eye Concealer Always Crease?
A2: Concealer creasing is a common issue that can be caused by several factors. Over-applying the product is a primary cause, so always start with a thin layer. Not prepping the skin with a hydrating eye cream can also lead to creasing, as makeup will settle into dry lines. Finally, failing to set your concealer with a fine, translucent powder is a crucial misstep. Setting the liquid concealer locks it into place and prevents it from moving and settling into creases throughout the day.
Q3: Should Concealer Be Lighter or Darker Than Foundation?
A3: For the under-eye area, your concealer should be one to two shades lighter than your foundation and natural skin tone. This not only covers the darkness but also brightens the area, creating a lifted and more awake appearance. However, for covering blemishes on other parts of your face, it is best to use a concealer that exactly matches your foundation color to avoid drawing attention to the spot.
Q4: How Do I Choose the Right Color Corrector Shade?
A4: Choosing the right color corrector depends on the undertones of your dark circles. For bluish or purple-toned circles, which are common in fair to medium skin tones, a peach or pink corrector works best. For deeper, more brownish or grayish circles often seen in medium to dark skin tones, an orange or red-toned corrector is more effective. The key is to apply a thin layer to neutralize the discoloration before applying concealer.

Conclusion
Covering dark circles effectively is a skill that can transform your entire look, making you appear more rested and vibrant. By following these detailed steps on how to cover dark circles—from prepping your skin and color correcting to strategic application and setting—you can achieve a flawless, long-lasting finish.
Remember that the right tools and products are just as important as the technique. With a little practice, you can confidently say goodbye to tired-looking eyes and hello to a bright, refreshed complexion.
About the Author
Jane Hubbard is a passionate beauty expert with a wealth of experience in makeup, hair, and overall beauty techniques. After years of working as a hairdresser specialist, she followed her entrepreneurial spirit and started her own consultancy business.
Jane has always been driven by her desire to help others feel confident in their own skin, and she does this by sharing her knowledge, experiences, and practical beauty tips. Through her consultancy, she empowers individuals to embrace their unique beauty, offering tailored guidance that boosts both self-esteem and personal style.
Professional Focus
Specializes in makeup, hairstyling, and beauty consulting.
Provides personalized beauty advice, tips, and techniques to help individuals feel confident in their appearance.
Dedicated to staying up-to-date with the latest industry trends and developments.
Passionate about creating a comfortable and empowering experience for every client.
Education History
University of Craft and Design – Bachelor of Fine Arts (BFA) in Woodworking and Furniture Design
Woodworking Apprenticeships – Extensive hands-on training with skilled craftsmen to refine carpentry and furniture making techniques
Online Courses & Masterclasses – Continued education in advanced woodworking techniques, design principles, and specialized tools
Expertise:
Makeup artistry, hairstyling, and beauty consulting.
Personalized beauty techniques to enhance confidence and self-expression.
Educating clients on how to maintain their beauty routines at home.