
Color corrector makeup can be a game-changer when it comes to achieving a flawless complexion. With the right technique, it helps neutralize redness, brighten dull skin, and tackle stubborn dark circles that regular concealers may not completely cover.
Knowing how to choose and apply the correct shades is essential for the best results. In this guide on how to use color corrector makeup, we will walk you through the process with easy steps, answer some common questions, and share expert tips to perfect your makeup routine.
Why Use Color Corrector Makeup?
Color corrector makeup is a powerful tool for achieving a balanced and even skin tone. Unlike traditional concealers, which work to cover imperfections, color correctors are designed to neutralize unwanted tones based on the principles of color theory. For example, a green corrector can counteract redness from acne or rosacea, while a peach or orange shade helps to camouflage dark circles and pigmentation.
By addressing specific concerns at their root, color correctors allow your foundation and concealer to work more effectively, resulting in a smooth, natural finish. Incorporating color correctors into your routine can enhance your overall makeup look, giving you the confidence of a polished and radiant complexion.
Tools and Materials You’ll Need
- Color Correcting Palette (Including Green, Peach, Yellow, Lavender, Etc.)
- Makeup Primer
- Foundation and Concealer
- Makeup Brushes (Flat and Blending Brushes)
- Makeup Sponge or Beauty Blender
- Setting Powder
- Facial Moisturizer
- Cleanser and Toner
- Makeup Remover for Corrections
- Mirror
- Good Lighting
9 Step-by-step Guidelines on How to Use Color Corrector Makeup
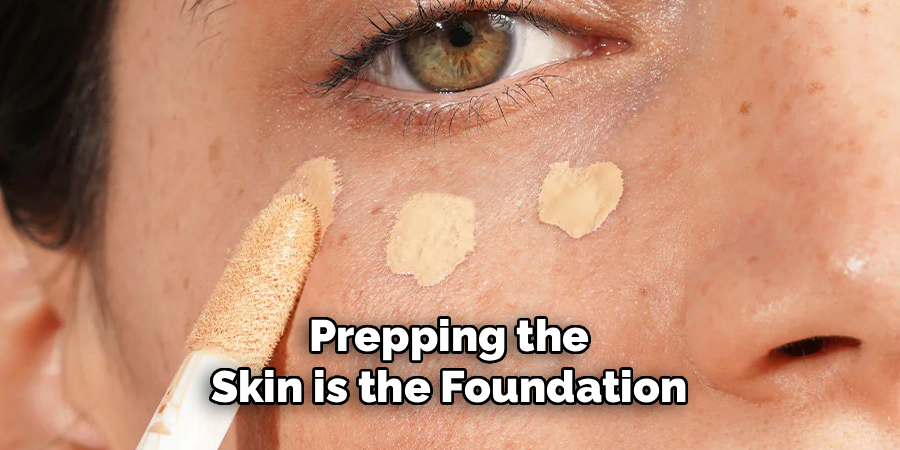
Step 1: Prep Your Skin
Prepping the skin is the foundation of any effective makeup application. Begin by thoroughly cleansing your face to remove any dirt, oil, or previous makeup. Follow with a hydrating moisturizer, allowing it to absorb fully into your skin.
Next, apply a primer to create a smooth base that helps the color correctors adhere better and last longer. Proper prep ensures all subsequent makeup layers blend well and look natural for hours.
Step 2: Understand Color Theory
Before applying any product, it’s important to understand how color theory works. Color correctors are based on the color wheel principle—opposite colors cancel each other out. For example, green neutralizes redness, and peach/orange corrects blue or purple undertones.
Take a moment to study your skin and identify which discolorations you want to target. This knowledge will help you choose the right shades and apply them only where needed.
Step 3: Choose the Right Corrector Shade
Selecting the correct shades is crucial for seamless coverage. If you have redness from acne or blemishes, opt for a green corrector. For dark circles with blue or purple hues, peach or orange correctors work best. Yellow can help brighten dull skin, while lavender addresses sallow or yellow undertones.
Always swatch the product on your jawline or wrist before use to make sure it matches your corrective needs. Avoid using too much product, as thin layers look more natural and blend easily with foundation.
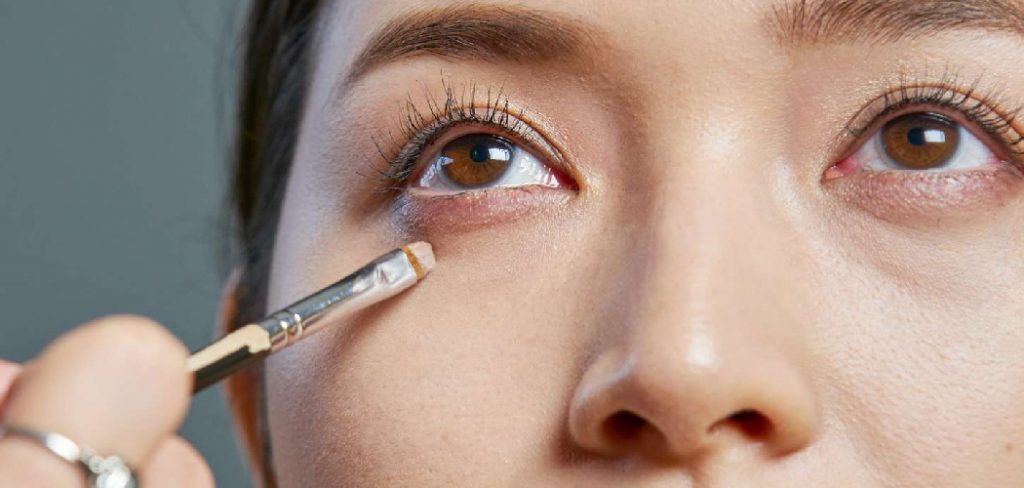
Step 4: Apply Corrector in Thin Layers
Less is more when it comes to color correcting. Using a small brush or the tip of a clean finger, dab a thin layer of corrector only on the discolored areas. Avoid spreading it onto unaffected skin to prevent patchiness.
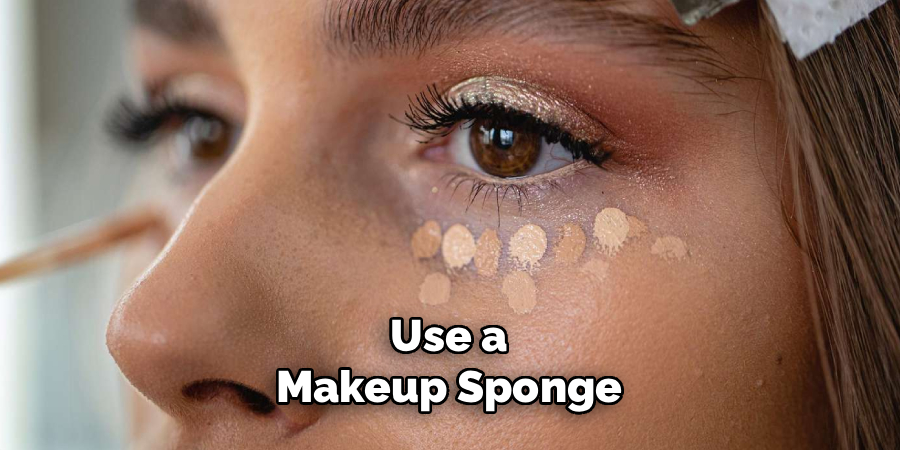
After applying the initial layer, use a makeup sponge or clean brush to lightly blend the edges. This ensures the corrector melts into your skin for an invisible finish that won’t peek through your foundation.
Step 5: Let the Product Set
Patience is key to long-lasting results. Once you’ve applied and blended the corrector, wait a minute or two to let the product set. This helps prevent it from moving around or mixing with your foundation later.
Use this time to prepare your foundation or finish up other steps in your routine. Letting the corrector set improve coverage and longevity throughout the day.
Step 6: Apply Foundation Carefully
After the color corrector has set, apply foundation using a dabbing or stippling motion instead of swiping. This approach helps maintain the placement of your corrector underneath and avoids disturbing the targeted coverage.
If you need extra coverage, use a buildable foundation and add layers in thin segments. Blend well around the edges for a flawless finish that looks both natural and polished.
Step 7: Conceal if Needed
If discoloration is still visible after foundation, follow up with a concealer that matches your skin tone. Focus on the corrected areas, tapping the product gently without dragging the underlying layers.
Blending is essential here. Use your fingertip or a damp sponge to tap the concealer in until it seamlessly merges with the foundation. This step enhances coverage without looking cakey.
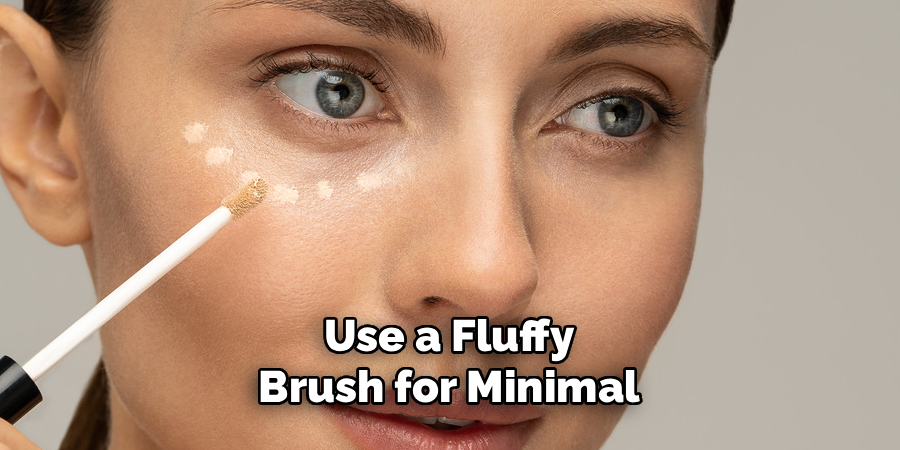
Step 8: Set with Powder
To keep everything in place, dust a light layer of setting powder over your face, paying special attention to the areas you corrected. Use a fluffy brush for minimal product and avoid buildup.
Setting powder locks in all the previous layers and prevents creasing or fading throughout the day. Opt for a translucent powder to avoid altering the color of your foundation and corrector.
Step 9: Finishing Touches
Add any finishing touches you like, such as blush, bronzer, or highlighter, to complete your look. Avoid applying too many creamy products over corrected areas to prevent disrupting the layers underneath.
Take a moment to check your face in different lighting to ensure even coverage. A setting spray can be used as a final step to give your makeup lasting power and a fresh, dewy finish.
Following these steps on how to use color corrector makeup will help you achieve a flawless complexion. Remember to always start with a small amount of product and build up as needed for best results.
Additional Tips
- Always start with a small amount of product and build up only if necessary. Too much color corrector can look obvious under makeup.
- Use correctors only where there is discoloration, rather than all over your face.
- Blend well at every stage—edges that aren’t blended will show throughthe foundation.
- Choose creamy, blendable formulas; stiff or dry textures are harder to work with.
- Clean your tools regularly to avoid breakouts and uneven application, and don’t forget to remove makeup thoroughly at the end of the day.
- Always test out color correctors before using them on a big occasion to avoid any unexpected reactions or results.
- Remember to use color correctors sparingly, as a little goes a long way. It’s always better to start with less and build up gradually, rather than applying too much and having to remove excess product.
- Don’t forget about skincare – using products specifically designed for your skin concerns can help reduce the need for color correcting in the first place.
Frequently Asked Questions
Q1: What Is the Best Way to Choose a Color Corrector Shade?
A1: Choosing the right color corrector shade starts with identifying your specific skin concern and undertone. For redness, use green; for dark circles, use peach or orange; for dullness, use yellow or lavender. Testing the corrector on a small area before committing to your whole face can help prevent mismatched correction. Take time to assess your skin in natural light to ensure accurate shade selection and the most natural results.
Q2: Can I Use Color Corrector With My Everyday Makeup Routine?
A2: Yes, color correctors can be incorporated into your daily routine without much trouble. The key is to apply them sparingly and blend them well, so they remain undetectable under the foundation. When used properly, they can enhance your complexion and reduce the need for heavy concealer or foundation. Just remember to keep the rest of your makeup light for a fresh, natural finish.
Q3: Will Color Corrector Make My Makeup Look Cakey?
A3: When applied correctly, color correctors should not make your makeup look cakey. The main reason for cakiness is the use of excessive layers or not blending thoroughly. Stick to thin layers, focus correction only where needed, and ensure each product is fully blended before applying the next. Using lightweight textures and a setting powder can also help maintain a smooth complexion.
Q4: Is Color Corrector Safe for Sensitive Skin?
A4: Most color correctors are safe for all skin types, but if you have sensitive skin, opt for fragrance-free and hypoallergenic formulas. Always patch test a small area before applying to your entire face to avoid irritation. Look for products with soothing ingredients and avoid correctors with harsh chemicals. Regularly cleansing your skin and tools will further protect your skin from breakouts and allergic reactions.
Conclusion
Using color corrector makeup can transform your beauty routine by targeting specific skin issues and creating a smooth, even base for the rest of your makeup. With the right tools, understanding of color theory, and careful application, anyone can achieve professional-looking results at home.
Remember to prep your skin, use corrector sparingly and precisely, and blend each layer thoroughly for best results. Follow these steps on how to use color corrector makeup, keep the tips and FAQs in mind, and you’ll find it easier than ever to confidently showcase your natural beauty.
About the Author
Jane Hubbard is a passionate beauty expert with a wealth of experience in makeup, hair, and overall beauty techniques. After years of working as a hairdresser specialist, she followed her entrepreneurial spirit and started her own consultancy business.
Jane has always been driven by her desire to help others feel confident in their own skin, and she does this by sharing her knowledge, experiences, and practical beauty tips. Through her consultancy, she empowers individuals to embrace their unique beauty, offering tailored guidance that boosts both self-esteem and personal style.
Professional Focus
Specializes in makeup, hairstyling, and beauty consulting.
Provides personalized beauty advice, tips, and techniques to help individuals feel confident in their appearance.
Dedicated to staying up-to-date with the latest industry trends and developments.
Passionate about creating a comfortable and empowering experience for every client.
Education History
University of Craft and Design – Bachelor of Fine Arts (BFA) in Woodworking and Furniture Design
Woodworking Apprenticeships – Extensive hands-on training with skilled craftsmen to refine carpentry and furniture making techniques
Online Courses & Masterclasses – Continued education in advanced woodworking techniques, design principles, and specialized tools
Expertise:
Makeup artistry, hairstyling, and beauty consulting.
Personalized beauty techniques to enhance confidence and self-expression.
Educating clients on how to maintain their beauty routines at home.