
Halloween makeup can be incredibly fun and creative, but removing it at the end of the night can often feel like a daunting task. Many cosmetic products, especially those designed for long wear, can leave traces on your skin if not properly cleaned off. This guide will walk you through everything you need to know for a safe, effective, and gentle removal process.

By following these steps on how to remove halloween makeup, you’ll keep your skin healthy and refreshed after your festivities. Plus, using the right technique helps prevent irritation and breakouts. Let’s dive into the tools and specific steps to make your makeup removal as easy as possible.
What is Halloween Makeup?
Halloween makeup is a type of special effects or heavy-duty makeup specifically designed for creating spooky or dramatic looks. It typically consists of face and body paint, glitter, fake blood, and prosthetics to achieve various characters such as zombies, vampires, witches, or monsters.
Although it may look like regular makeup, Halloween makeup has different ingredients that make it more difficult to remove. These ingredients can clog pores and cause skin irritation if not removed properly, making it important to take extra care when using Halloween makeup.
Why Is Proper Removal Important?
Proper removal of Halloween makeup is essential to maintaining the health and appearance of your skin. Many types of costume makeup contain heavy pigments, oils, or even wax-based formulas that can clog pores if not thoroughly cleaned off. Leaving makeup on overnight or improperly removing it can lead to irritation, redness, or breakouts.
Furthermore, the delicate skin around your eyes and lips is particularly prone to damage if makeup is scrubbed off too aggressively. Taking the time to remove your makeup correctly ensures your skin can breathe, recover, and stay hydrated after a long day of festivities.
Tools and Materials You’ll Need
- Gentle Facial Cleanser
- Oil-based Makeup Remover or Micellar Water
- Soft Cotton Pads or Swabs
- Soft Washcloths or Towels
- Lukewarm Water
- Moisturizer
- Q-tips for Tricky Corners
- Optional: Facial Steamer or Bowl of Hot Water
- Optional: Soothing Face Mask
9 Step-By-Step Guidelines on How to Remove Halloween Makeup
Step 1: Prepare Your Workspace and Gather Materials
Before starting, make sure your hands are clean to avoid transferring any germs to your face. Lay out all your tools and products within easy reach to keep the process smooth and uncluttered.
This simple organization ensures you don’t have to fumble for items in the middle of removal. Preparation is key to a gentle, mess-free experience.

Step 2: Remove Accessories and Wigs
Take off any wigs, hats, or hair accessories first. This prevents tangling or product stains on your hair and lets you reach every part of your face.
It also gives you a clearer view to assess the areas that need special attention, especially around the hairline or ears. Be gentle when removing any prosthetics to avoid damaging your skin.
Step 3: Loosen the Makeup with Oil-Based Remover
Apply an oil-based makeup remover or micellar water to a cotton pad. Gently press it onto your skin, allowing the product to dissolve the makeup before you begin wiping.
This step is especially important for thick or waterproof products. Letting the remover set for a few seconds helps break down pigments more effectively, making the rest of the process easier.
Step 4: Wipe Away Makeup with Gentle Motions
Rather than scrubbing, slowly wipe makeup away using soft, circular motions. Start at the forehead and work your way down the face, changing cotton pads as needed to avoid smearing.
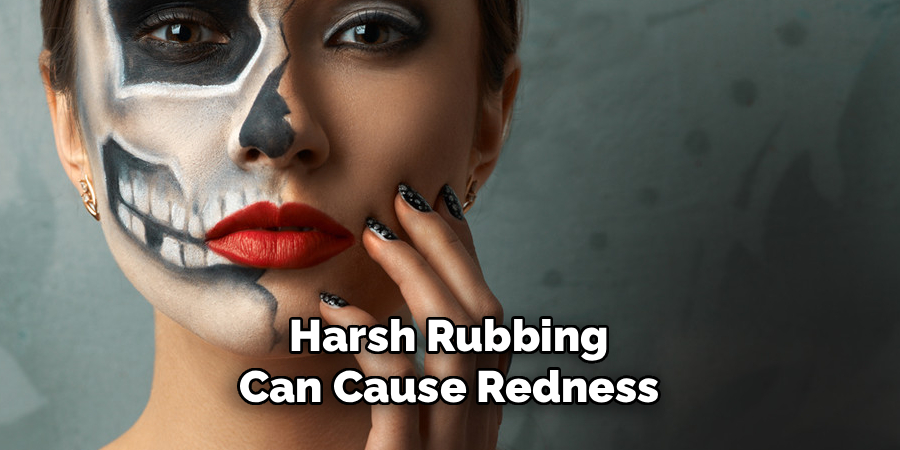
Harsh rubbing can cause redness and irritation. Be patient and repeat until most of the makeup is gone. This is especially helpful for heavy coverage looks.
Step 5: Pay Extra Attention to Eyes and Lips
The skin around your eyes and lips is more delicate, so use specialized removers or extra care here. Hold the soaked pad over the area for several seconds before lightly wiping away color and adhesives.
Avoid tugging or pulling to prevent any damage. Sometimes, it may take a few passes to fully remove intense pigments or lash glue.
Step 6: Use a Gentle Facial Cleanser
With most makeup gone, wash your face with a gentle cleanser suited to your skin type. Lather it up and massage in small circles, making sure to reach your jawline and hairline.
This helps remove any leftover residue while soothing your skin after the removal process. Be sure to rinse thoroughly with lukewarm water for best results.
Step 7: Rinse and Pat Your Skin Dry
After cleansing, splash your face with lukewarm water to wash away any traces of makeup and cleanser. Pat your face dry with a clean, soft towel—never rub harshly.
This will leave your skin feeling fresh and clean, reducing the chances of post-makeup breakouts. Towels should be laundered regularly to avoid transferring bacteria.
Step 8: Soothe and Moisturize
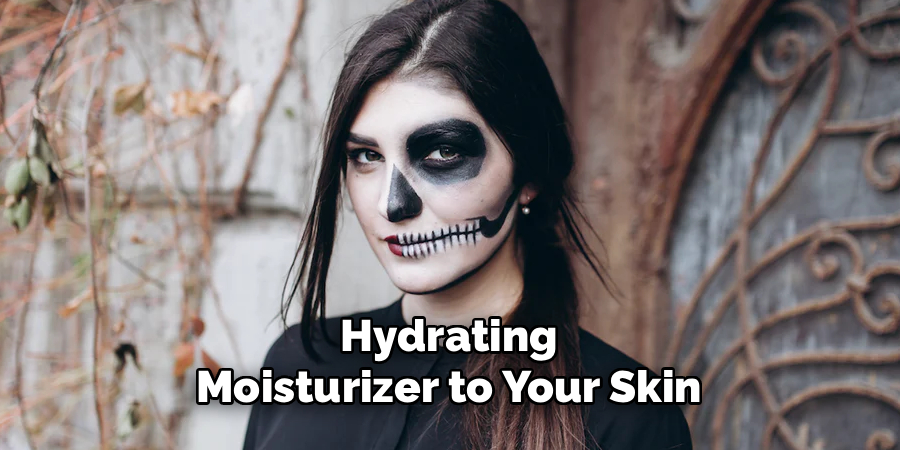
Apply a gentle, hydrating moisturizer to your skin while it’s still slightly damp. This helps lock in moisture and repairs the skin’s barrier after removal.
If you wish, use a calming face mask to reduce any irritation. Hydrating serums are also beneficial for replenishing and nourishing the skin overnight.
Step 9: Clean Up Tools and Assess Your Skin
Finally, clean all your reusable tools, including brushes and sponges, to ensure they are ready for next use. Check your face and neck for any traces of makeup and repeat any necessary steps.
Taking good care of your tools helps prevent skin issues in the future. If your skin feels irritated, consider applying a soothing aloe gel or a lightweight, fragrance-free cream.
Following these steps on how to remove halloween makeup will ensure your skin remains healthy and glowing even after wearing heavy makeup for a night of spooky fun.
Additional Tips
- Always test new removers on a small patch of skin to check for allergies or sensitivities.
- Avoid using harsh soaps, which can strip your skin and cause dryness or irritation.
- Don’t rush through the process; taking your time protects your skin from unnecessary stress.
- Drink water after removing makeup to help your skin rehydrate from the inside out.
- Consider giving your skin a break from heavy makeup for a few days afterwards to allow it to recover fully.
- Be gentle around the eyes and lips, where skin is naturally thinner and more prone to damage.
- Follow up with a nourishing moisturizer to replenish lost hydration and nutrients.
- Don’t forget to remove any remaining makeup residue around the hairline and jawline to prevent clogged pores.
- Use a cleanser that is gentle and suitable for your skin type to avoid stripping away essential oils.
- Always patch test new products before incorporating them into your routine, especially if you have sensitive skin.
- Consider using reusable or eco-friendly makeup wipes to reduce waste and be kinder to the environment.
- Make sure to thoroughly clean makeup brushes and sponges regularly to prevent bacteria buildup and breakouts.
Frequently Asked Questions
Q1: What Is the Best Way to Remove Waterproof Halloween Makeup?
Waterproof Halloween makeup often requires an oil-based remover to break down the long-lasting formulas. Apply the remover and let it sit on the skin before wiping gently.
Being patient and repeating the process prevents irritation. Finish with a gentle cleanser to ensure all makeup is removed.
Q2: Can I Use Baby Wipes to Remove Halloween Makeup?
Baby wipes are convenient but often not effective enough for thick or waterproof makeup. They may also leave behind residue or fragrances that can irritate sensitive skin.
It’s safer to use products designed for makeup removal. Always follow up with a gentle cleanser and moisturizer.
Q3: How Do I Prevent Skin Irritation After Removing Makeup?
Choose mild, fragrance-free products and moisturize immediately after cleansing to support your skin’s barrier. Avoid excessive scrubbing and use soft towels or cotton pads.
If irritation occurs, apply a soothing mask or a cold compress. Refrain from using active ingredients until the skin has calmed down.
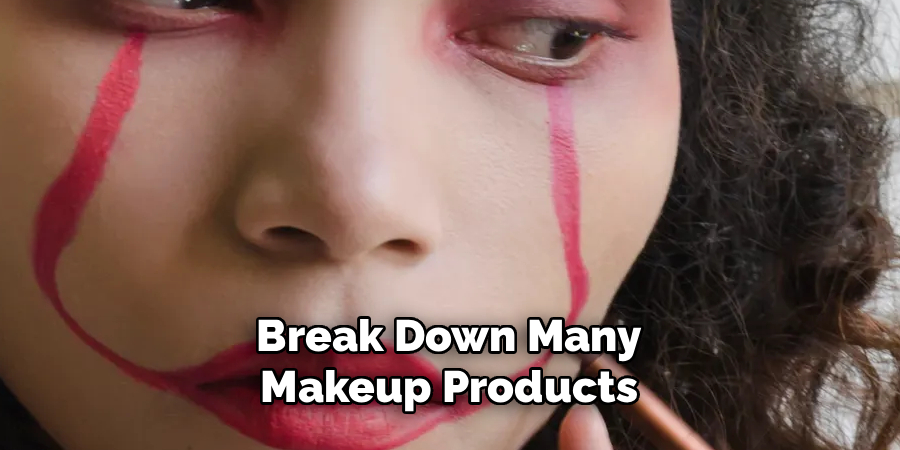
Q4: Is It Safe to Use Coconut Oil for Makeup Removal?
Coconut oil can break down many makeup products and is often used for removal. However, it may clog pores for some skin types, especially acne-prone skin.
If you try coconut oil, patch test first and wash thoroughly with a gentle cleanser afterwards. Monitor your skin’s reaction to ensure it’s the right choice for you.
Conclusion
Removing Halloween makeup doesn’t have to be difficult or damaging to your skin. With the right products, gentle techniques, and a little bit of patience, you can quickly restore your skin’s natural health and glow.
Always listen to your skin and adjust the process according to its unique needs. Remember, caring for your skin after the fun is just as important as the creativity you unleash during Halloween! Thanks for reading this guide on how to remove halloween makeup.
About the Author
Jane Hubbard is a passionate beauty expert with a wealth of experience in makeup, hair, and overall beauty techniques. After years of working as a hairdresser specialist, she followed her entrepreneurial spirit and started her own consultancy business.
Jane has always been driven by her desire to help others feel confident in their own skin, and she does this by sharing her knowledge, experiences, and practical beauty tips. Through her consultancy, she empowers individuals to embrace their unique beauty, offering tailored guidance that boosts both self-esteem and personal style.
Professional Focus
Specializes in makeup, hairstyling, and beauty consulting.
Provides personalized beauty advice, tips, and techniques to help individuals feel confident in their appearance.
Dedicated to staying up-to-date with the latest industry trends and developments.
Passionate about creating a comfortable and empowering experience for every client.
Education History
University of Craft and Design – Bachelor of Fine Arts (BFA) in Woodworking and Furniture Design
Woodworking Apprenticeships – Extensive hands-on training with skilled craftsmen to refine carpentry and furniture making techniques
Online Courses & Masterclasses – Continued education in advanced woodworking techniques, design principles, and specialized tools
Expertise:
Makeup artistry, hairstyling, and beauty consulting.
Personalized beauty techniques to enhance confidence and self-expression.
Educating clients on how to maintain their beauty routines at home.