
Discovering head lice can be unsettling, and if you or your child has blonde hair, the task can become even more daunting. The light color of blonde hair often makes it harder to spot lice and their nits (eggs), which are tiny and almost translucent—especially in the early stages of an infestation.
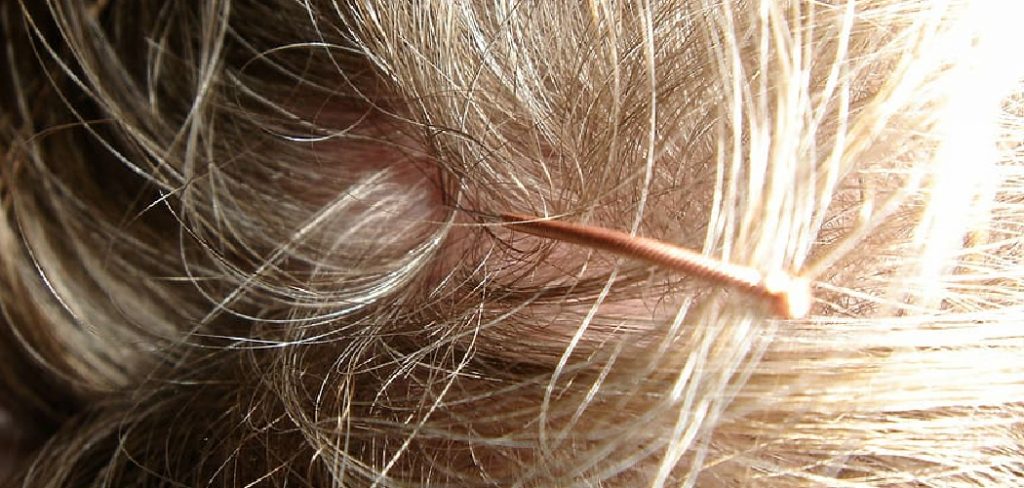
However, early detection is one of the most important steps to control lice, minimize discomfort, and prevent spreading to others in your home or community.
This thorough guide on how to check for lice in blonde hair will walk you through the benefits, preparation, detailed step-by-step instructions, mistakes to avoid, and answers to frequent questions, so you can tackle this challenge with less stress and more certainty.
What Will You Need?
A successful lice check in blonde hair starts with gathering the proper supplies. This helps you work efficiently and catch evidence you might otherwise miss.
- Fine-Toothed Lice Comb: This is your go-to tool. Metal combs with tightly spaced teeth are more effective at removing nits and lice than plastic ones, especially for different hair textures.
- Bright Lighting: Good lighting is critical for checking blonde hair. Use a powerful lamp, a headlamp, or sit near a sunny window so you can see tiny pale nits and dark lice more easily.
- Magnifying Glass (Optional): This can help you distinguish between nits, dandruff, or dust, especially when in doubt.
- Hair Clips or Ties: These help divide hair into sections, making sure you inspect every part from scalp to tip.
- White Towels or Paper Towels: Using white makes any lice, eggs, or debris more visible when you wipe the comb or catch fallout.
- Conditioner (Optional, but highly recommended): Applying a thick white conditioner to damp hair can slow down live lice and make them stand out against light hair, improving your odds of finding them.
- Bowl of Soapy Water: Use this to rinse the comb after each stroke, helping to drown and remove any captured lice.
- Wide-Tooth Comb (Optional): Helpful for detangling before using the lice comb, making the process more comfortable.
Set up all your tools ahead of time—once you start, you’ll want everything within arm’s reach.
10 Easy Steps on How to Check for Lice in Blonde Hair
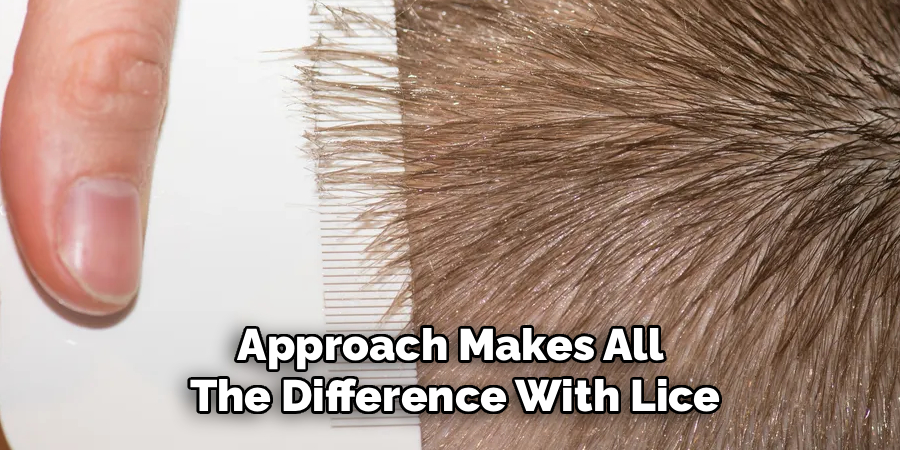
A detailed, careful approach makes all the difference with lice in light-colored hair. Let’s walk through the process step by step.
Step 1: Prep the Space and the Hair
Choose a well-lit area, such as a bathroom with strong overhead lights, or place a chair near a sunny window. Drape a white towel over the shoulders and around the neck of the person being checked. Remove tangles with a wide-tooth comb. If you’re using conditioner, apply a generous layer to damp hair and comb it through evenly. This will help trap lice and nits and contrast them against the pale hair for easier detection.
Step 2: Start With a Careful Visual Check
Before using the lice comb, visually scan for evidence. Part the hair in several places, focusing behind the ears, at the nape of the neck, and along the crown of the scalp. These are the warm areas where lice tend to lay their eggs. Use your fingers to lift small sections close to the scalp. Look for moving brown or gray specks (adult lice) and for nits attached to hair shafts near the scalp—they look like tiny, oval, yellow-tan or white dots and are glued firmly to the hair.
Step 3: Section the Hair for Thoroughness
Use the clips or ties to divide the hair into manageable, small sections. Think of splitting the hair down the middle, then separating each half into several smaller parts. The goal is to work one section at a time so you don’t miss any areas. Each section should be no wider than your lice comb, which ensures the comb’s teeth reach the scalp and pass over every hair.
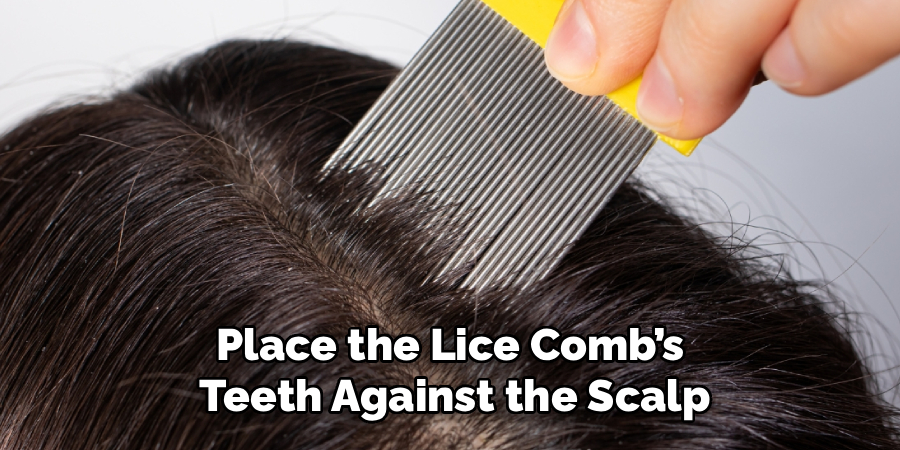
Step 4: Comb From Scalp to Tip
Start with one section. Place the lice comb’s teeth against the scalp and slowly pull it all the way through to the tip. Always keep the comb very close to the scalp on each pass, as newly laid nits are always within about ¼ inch of it. Lice combs with long metal teeth are best for getting as close as possible.
Step 5: Wipe and Inspect the Comb
After every single pass, wipe the comb firmly on a white paper towel or towel. This not only keeps the comb clean but also allows you to inspect what you’re removing. Look for wriggling lice, small translucent nymphs, or oval-shaped, sticky nits. Nits will stick to the teeth of the comb or to the towel and are hard to remove.
Step 6: Rinse the Comb Between Passes
Dip the lice comb into soapy water after each wipe, swishing it to clean off hair, lice, or nits before making the next pass. This prevents lice from sneaking back into clean sections and reduces the chance you’ll miss any evidence.
Step 7: Multiple Passes in Each Section
Don’t move too quickly. Comb each section at least three or four times, approaching from slightly different angles (straight down, from each side, or upward if the hair is long). This greatly improves your chances of catching every nit and live louse.
Step 8: Systematically Cover the Whole Head
Work through every section you’ve clipped, unclipping as you go. For children with thick or very long hair, you may need to divide it into even smaller parts for a thorough check. Stick to a logical pattern—front to back or left to right—so you never lose track or miss a section. If you find nits or lice, return to the area and repeat combing.
Step 9: Learn to Tell Nits from Dandruff
With blonde hair, dandruff or dried product can resemble nits, leading to unnecessary treatments. Nits are firmly attached to the side of hair about a quarter-inch from the scalp and cannot be brushed or flicked off easily. Dandruff and product will move or fall away if touched. When in doubt, use your nails to slide the speck along the hair—if it stays stuck, it’s almost certainly a nit.
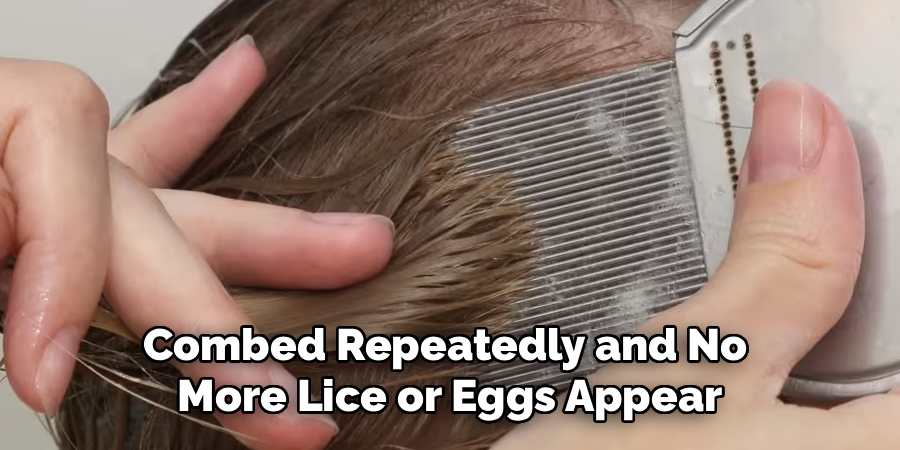
Step 10: Final Inspection and Proper Clean-Up
When every section has been combed repeatedly and no more lice or eggs appear on the comb or towel, do a last, slow visual scan of the trouble spots: behind the ears, crown, and nape. When you’re finished, thoroughly wash all towels and any clothing worn during the check-in in hot water and dry on high heat. Soak combs and hair accessories in hot, soapy water for at least ten minutes. Clean up the area by vacuuming hair or debris, reducing the risk of lice spreading.
5 Things You Should Avoid
Pay close attention to these common mistakes—they can determine your success:
- Relying Only on Visual Checks: With light hair, lice and nits are easily missed. Always use a lice comb—it’s the only sure way to confirm an infestation.
- Not Using Enough Light: Lice and nits can disappear in shadows, especially on blonde hair. Strong, focused lighting makes all the difference.
- Using Chemical Treatments Without Evidence: Never use lice shampoos unless you find actual lice or viable nits. Overuse can cause skin irritation and contribute to lice resistance.
- Confusing Nits With Dandruff: Remember, nits stick so tightly to the hair that you have to pinch or drag them off. Dandruff will flake easily.
- Skipping Thorough Clean-Up: Failing to clean used towels, combs, or your workspace invites reinfestation or the spread of lice to others.
Frequently Asked Questions
Q1: Does Having Blonde Hair Make Someone More Likely to Get Lice?
No. Lice do not care about hair color or type—they’re simply looking for a warm scalp to feed on. The main challenge with blonde hair is that nits are harder to see, which can delay treatment. Regular, careful checks are important so that infestations are caught early before they can spread.
Q2: I Found Just One Nit. What Should I Do Now?
One nit does not always mean a full infestation, but you shouldn’t ignore it. First, check how close the nit is to the scalp: if it’s more than ¼ inch away, it’s likely old or already hatched. If it’s very close, perform a thorough combing of the entire head and check daily for about a week. If you find live lice or more nits, start a treatment plan.
Q3: Can Lice Live on Household Items Like Pillows, Hats, or Couches?
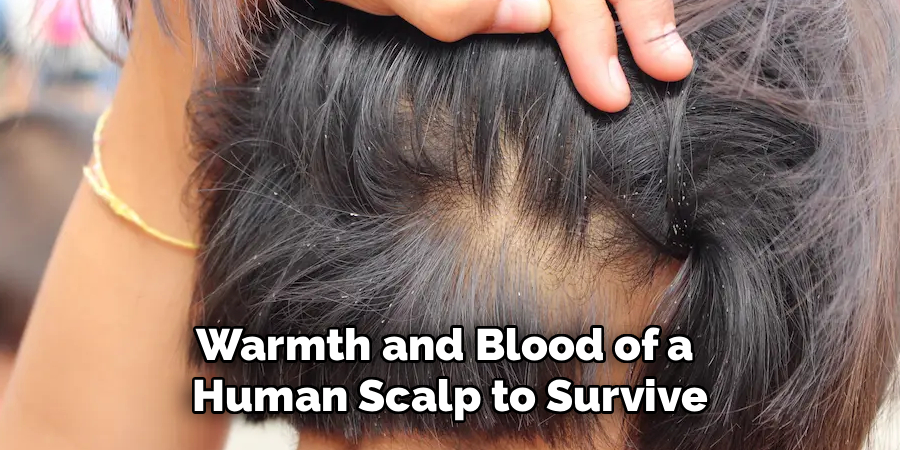
Head lice need the warmth and blood of a human scalp to survive. They die within 24–48 hours off a host. While lice are less likely to spread from objects, it’s still wise to wash items touched by the infested head within the last two days, such as bedding, hats, scarves, and hair accessories. Use hot water and a hot dryer when possible. There’s no need for extreme cleaning or fumigating your home.
Conclusion
Lice checks can feel overwhelming, especially with blonde hair that can make tiny eggs difficult to spot. But with patience, the right tools, and systematic technique, this task becomes manageable—and even empowering.
By performing regular checks, keeping your supplies ready, and knowing exactly what to look for, you can act quickly at the first signs of trouble. This early action means shorter, less frustrating treatments, fewer days missed from school or work, and less emotional stress for everyone involved.
Hopefully, the article on how to check for lice in blonde hair has helped you understand the basics of identifying and treating lice infestations.
About the Author
Jane Hubbard is a passionate beauty expert with a wealth of experience in makeup, hair, and overall beauty techniques. After years of working as a hairdresser specialist, she followed her entrepreneurial spirit and started her own consultancy business.
Jane has always been driven by her desire to help others feel confident in their own skin, and she does this by sharing her knowledge, experiences, and practical beauty tips. Through her consultancy, she empowers individuals to embrace their unique beauty, offering tailored guidance that boosts both self-esteem and personal style.
Professional Focus
Specializes in makeup, hairstyling, and beauty consulting.
Provides personalized beauty advice, tips, and techniques to help individuals feel confident in their appearance.
Dedicated to staying up-to-date with the latest industry trends and developments.
Passionate about creating a comfortable and empowering experience for every client.
Education History
University of Craft and Design – Bachelor of Fine Arts (BFA) in Woodworking and Furniture Design
Woodworking Apprenticeships – Extensive hands-on training with skilled craftsmen to refine carpentry and furniture making techniques
Online Courses & Masterclasses – Continued education in advanced woodworking techniques, design principles, and specialized tools
Expertise:
Makeup artistry, hairstyling, and beauty consulting.
Personalized beauty techniques to enhance confidence and self-expression.
Educating clients on how to maintain their beauty routines at home.