
Two-strand twists are a beloved protective style, celebrated for their beauty, versatility, and simplicity. They give your hair a much-needed break from daily manipulation while promoting length retention.

Yet, one common frustration can stand between you and a perfect twist-out: frizz. Those pesky flyaways can turn a sleek, defined style into a fuzzy halo, seemingly overnight. If you’ve ever spent hours twisting your hair only to be met with frizz days later, you’re not alone.
This guide on how to keep two strand twist from frizzing will walk you through everything you need to know, from preparation to maintenance, to keep your two-strand twists looking flawless and frizz-free.
What Will You Need?
Having the right tools and products on hand is the first step toward a successful and frizz-free twist session. Here’s a list of essentials:
- Sulfate-Free Shampoo: A gentle cleanser that won’t strip your hair of its natural oils.
- Deep Conditioner: A rich, moisturizing treatment to hydrate and strengthen your strands.
- Leave-In Conditioner: A light, water-based product to provide a base layer of moisture.
- Twisting Cream or Butter: A styling product with a good hold to define the twists and seal in moisture. Look for ingredients like shea butter or mango butter.
- Sealing Oil: A light oil like jojoba, grapeseed, or argan oil to lock everything in and add shine.
- Wide-Tooth Comb & Rat-Tail Comb: For detangling and creating clean, precise parts.
- Sectioning Clips: To keep your hair organized as you work.
- Spray Bottle: Filled with water or a water-based refresher spray for rehydrating your hair if it dries out during the process.
- Satin or Silk Bonnet/Scarf: For protecting your twists at night.
- Microfiber Towel: To gently dry your hair without causing friction or frizz.
10 Easy Steps on How to Keep Two Strand Twist From Frizzing
Step 1: Start with Clean and Conditioned Hair
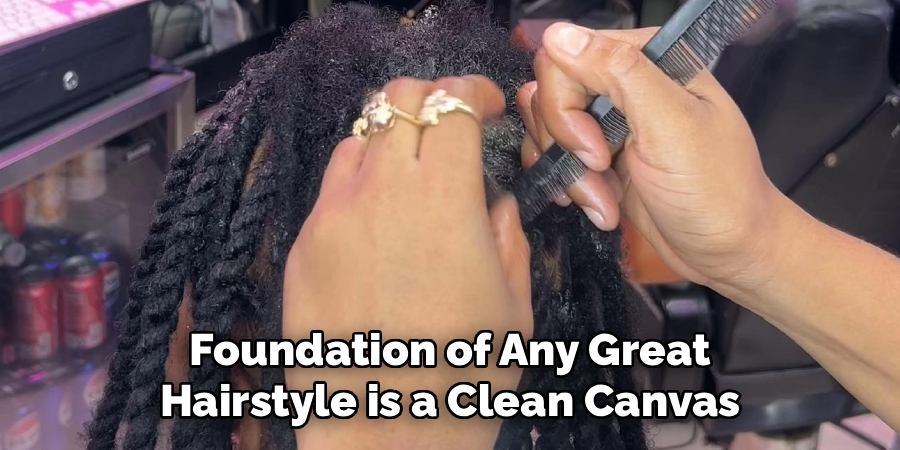
The foundation of any great hairstyle is a clean canvas. Buildup from old products, dirt, and oils can prevent your hair from properly absorbing moisture, leading to dryness and, ultimately, frizz. Start by washing your hair with a gentle, sulfate-free shampoo. Focus the shampoo on your scalp to remove buildup without stripping the natural oils from your hair strands. After rinsing thoroughly, apply a generous amount of a rich deep conditioner from root to tip.
This is a non-negotiable step for frizz prevention. Deep conditioning infuses your hair with intense moisture and nutrients, strengthening the hair cuticle and making it smoother and less prone to frizzing up. For maximum benefits, cover your hair with a plastic cap and let the conditioner sit for at least 30 minutes.
Step 2: Detangle Thoroughly but Gently
Tangles and knots are a major source of frizz. Attempting to twist hair that isn’t fully detangled will result in a bumpy, uneven texture and create friction that lifts the hair cuticle. Once you’ve rinsed out your deep conditioner, your hair should be soft and have some “slip,” making it easier to detangle.
It’s best to detangle while your hair is still wet and saturated with a leave-in conditioner. Start by sectioning your hair into four or more manageable parts. Using a wide-tooth comb or your fingers, begin detangling from the ends of your hair and slowly work your way up to the roots. This method prevents you from creating bigger knots and minimizes breakage.
Step 3: Work on Damp, Not Soaking Wet, Hair
The moisture level of your hair when you install your twists plays a significant role in the outcome. Twisting on hair that is soaking wet can lead to a longer drying time and may result in twists that are less defined and more prone to frizz once they dry, as the strands may not group as tightly. On the other hand, twisting hair that is too dry will make it difficult to get a smooth finish and will likely result in a frizzy, undefined style. The sweet spot is damp hair.
After washing and conditioning, gently squeeze out excess water with your hands and then wrap your hair in a microfiber towel or an old t-shirt for about 10-15 minutes. These materials absorb water without roughing up the hair cuticle, unlike traditional terrycloth towels.
Step 4: Use the L.O.C. or L.C.O. Method
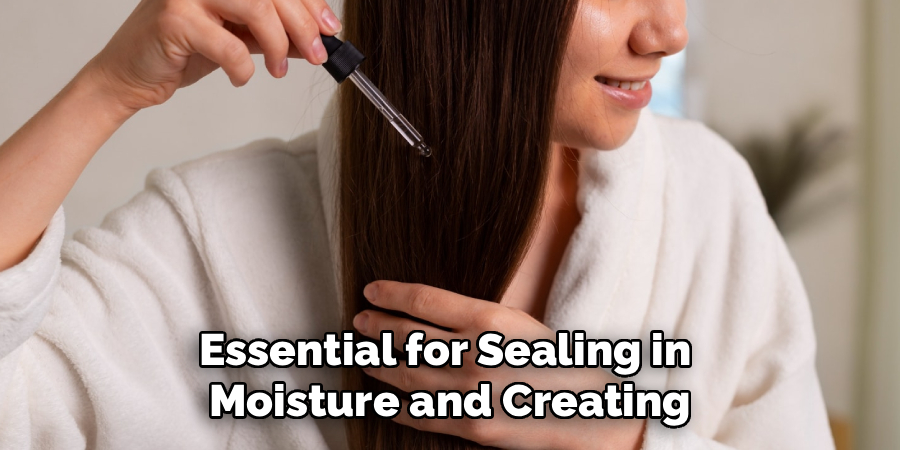
Layering products correctly is essential for sealing in moisture and creating a barrier against the humidity that causes frizz. The L.O.C. (Leave-In, Oil, Cream) or L.C.O. (Leave-In, Cream, Oil) methods are perfect for this. After detangling, apply a water-based leave-in conditioner (L) to each section to hydrate your strands. Next, follow up with your styling cream (C). The cream helps to clump your curls together and provides hold for the twist.
Rake it through the section to ensure every strand is coated. Finally, apply a thin layer of a sealing oil (O) to lock in all the moisture from the previous products. This final layer acts as a sealant, smoothing the cuticle and creating a protective shield that prevents moisture from escaping and humidity from entering. Whether you choose L.O.C. or L.C.O. depends on your hair’s porosity, but both methods are highly effective at combating frizz.
Step 5: Part in Clean, Neat Sections
The neatness of your parts directly impacts the overall look and longevity of your style. A well-parted style looks more polished and helps prevent your twists from tangling together at the roots. Using the tail end of a rat-tail comb, create clean, precise sections. The size of your sections will determine the size of your twists.
For a highly defined twist-out later, smaller twists are better. For a chunkier look, create larger sections. Consistency is key. Try to make your parts as uniform as possible throughout your head. Use sectioning clips to keep the hair you aren’t working on out of the way. This prevents stray hairs from getting caught in your new twist, which is a common cause of frizz and an untidy appearance.
Step 6: Twist Tightly, But Not Too Tight
The way you execute the twist itself is critical. You want to twist the hair tightly enough to create a defined, rope-like pattern that will hold, but not so tightly that you are putting tension on your scalp. Twisting too tightly can lead to discomfort, headaches, and even traction alopecia over time. As you twist the two strands of hair around each other, maintain even tension from the root all the way down to the ends. A common mistake is starting a twist tightly at the root and then losing that tension as you move down the hair shaft. This results in puffy roots and loose ends that are quick to frizz.
Step 7: Smooth and Twirl the Ends
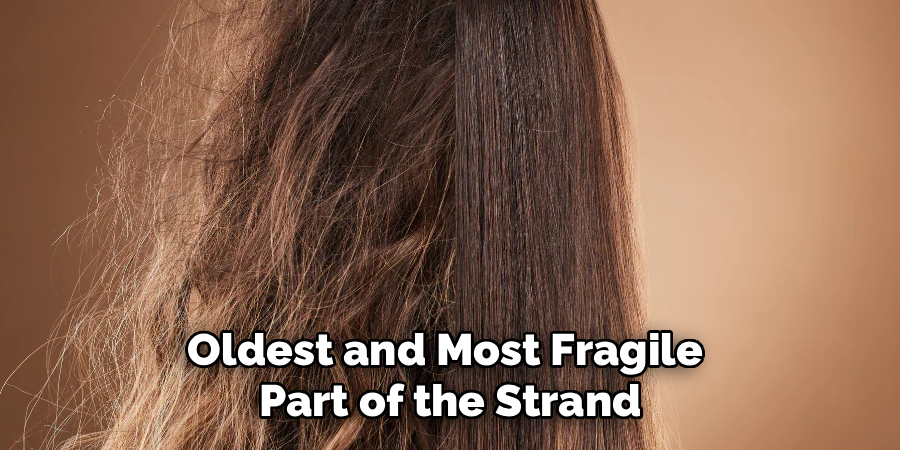
The ends of your hair are the oldest and most fragile part of the strand, making them highly susceptible to frizz and unraveling. Securing them properly is a crucial step for a polished look. As you reach the last inch of your twist, apply a small amount of extra twisting cream or gel to the ends. Then, instead of just letting the twist hang, use your index finger to twirl the ends into a neat coil. This is called finger coiling. The coiling motion helps the ends clump together and seals them, making them less likely to unravel and become frizzy.
Step 8: Allow Your Twists to Dry Completely
This might be the most important step of all. If your twists are not 100% dry before you manipulate or style them, you are inviting frizz to the party. Even a small amount of dampness can cause the hair to puff up and lose its definition. There are a few ways to ensure your hair is fully dry. Air-drying is the gentlest option. Depending on your hair’s thickness and density, this can take anywhere from several hours to a full day or two. Be patient and let nature take its course. If you’re short on time, you can sit under a hooded dryer on a low to medium heat setting.
Step 9: Protect Your Hair at Night
How you protect your hair while you sleep can make or break your style. Cotton pillowcases are highly absorbent and can suck the moisture right out of your hair, leading to dryness and frizz. The friction from tossing and turning against a cotton surface can also rough up your hair’s cuticles. To protect your twists, always sleep on a satin or silk pillowcase, or wrap your hair in a satin bonnet or scarf. These materials have a smooth surface that allows your hair to glide across them without friction, helping to preserve your style and retain moisture.
Step 10: Keep Your Hands Out of Your Hair
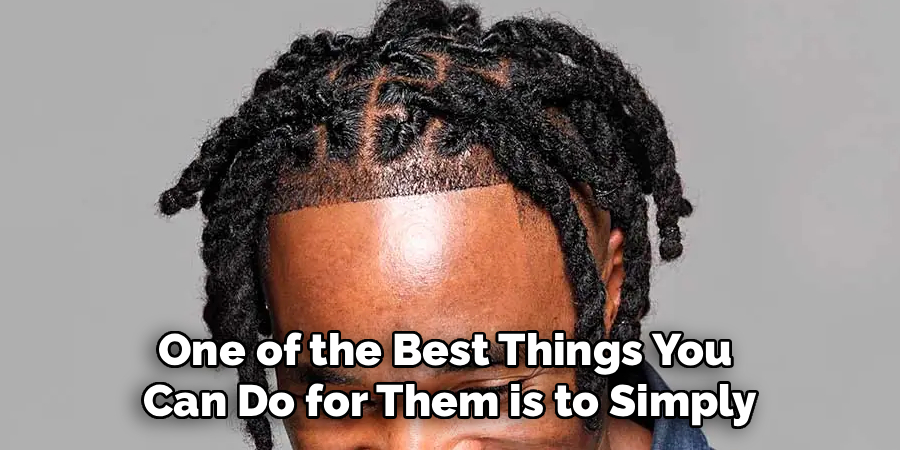
Once your twists are installed and dry, one of the best things you can do for them is to simply leave them alone. Constantly touching, playing with, or re-styling your hair creates friction and disrupts the smooth pattern you worked so hard to create. This is often referred to as “Hand-in-Hair Syndrome,” and it’s a primary cause of premature frizz. Of course, you will need to style your hair, but try to keep manipulation to a minimum.
Conclusion
Achieving and maintaining beautiful, frizz-free two-strand twists is a combination of proper technique, the right products, and consistent care.
By starting with a clean, well-moisturized base, layering your products effectively, and protecting your style from friction and dryness, you can enjoy this versatile protective style for weeks. Remember that patience is key, both during the installation process and in your daily maintenance.
Embrace these tips on how to keep two strand twist from frizzing, and you’ll be well on your way to rocking sleek, defined twists that turn heads for all the right reasons.
About the Author
Jane Hubbard is a passionate beauty expert with a wealth of experience in makeup, hair, and overall beauty techniques. After years of working as a hairdresser specialist, she followed her entrepreneurial spirit and started her own consultancy business.
Jane has always been driven by her desire to help others feel confident in their own skin, and she does this by sharing her knowledge, experiences, and practical beauty tips. Through her consultancy, she empowers individuals to embrace their unique beauty, offering tailored guidance that boosts both self-esteem and personal style.
Professional Focus
- Specializes in makeup, hairstyling, and beauty consulting.
- Provides personalized beauty advice, tips, and techniques to help individuals feel confident in their appearance.
- Dedicated to staying up-to-date with the latest industry trends and developments.
- Passionate about creating a comfortable and empowering experience for every client.
Education History
- University of Craft and Design – Bachelor of Fine Arts (BFA) in Woodworking and Furniture Design
- Woodworking Apprenticeships – Extensive hands-on training with skilled craftsmen to refine carpentry and furniture making techniques
- Online Courses & Masterclasses – Continued education in advanced woodworking techniques, design principles, and specialized tools
Expertise:
- Makeup artistry, hairstyling, and beauty consulting.
- Personalized beauty techniques to enhance confidence and self-expression.
- Educating clients on how to maintain their beauty routines at home.