
Bonded hair extensions are a fantastic way to add length and volume to your hair, but there comes a time when they need to be removed.
Whether your hair has grown out or you’re simply ready for a change, taking them out is a necessary step. While a salon visit is always an option, many people choose to remove their extensions at home.
This guide on how to remove bonded hair extensions at home will walk you through how to do it safely and effectively, helping you restore your natural hair without damage.
What are the Benefits?
Removing your bonded hair extensions at home offers several advantages. The most significant benefit is cost savings. Professional removal can be expensive, and doing it yourself eliminates that salon fee. Convenience is another major plus. You can work on your own schedule, without having to book an appointment and travel to a salon. It also gives you full control over the process, allowing you to work at your own pace and be as gentle as you need to be with your own hair.
What Will You Need?
Before you begin, gather all the necessary tools to make the process smooth and efficient. Having everything on hand will prevent you from having to stop midway through.
- Bond Remover Solution: A quality, specially formulated remover is crucial. Acetone-based removers are common, but oil-based options are gentler on the hair and scalp.
- Extension Removal Pliers/Tool: This tool is designed to crack and break down the keratin bonds.
- Rat-Tail Comb: For sectioning your hair and combing out residue.
- Hair Clips: To hold back sections of your hair and keep your workspace organized.
- Clarifying Shampoo: To wash away any leftover adhesive and oil.
- Deep Conditioner or Hair Mask: To nourish and rehydrate your hair after the removal process.
- Towel: To protect your clothing and surfaces.
10 Easy Steps on How to Remove Bonded Hair Extensions at Home
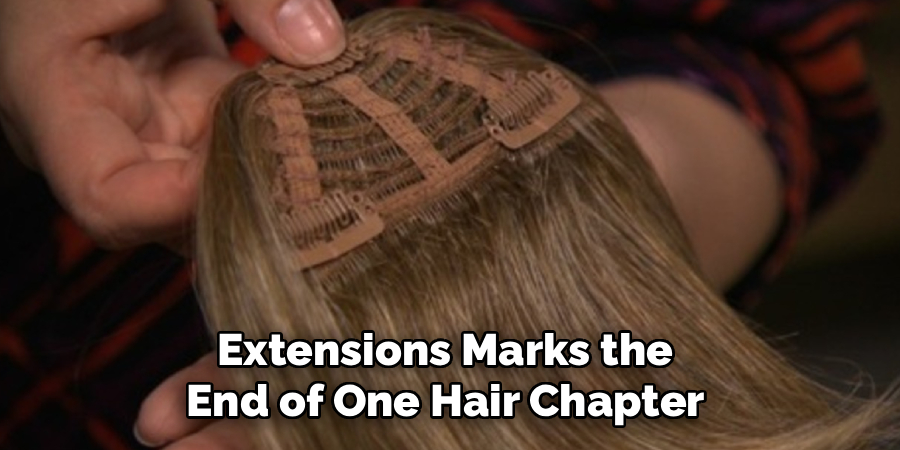
Taking out your bonded hair extensions marks the end of one hair chapter and the beginning of another. While a trip to the salon is always an option, performing the removal process at home can be an empowering and cost-effective choice. The key to a successful at-home removal is patience, preparation, and following a careful, methodical approach. This detailed guide breaks down the process into ten manageable steps, ensuring you can restore your natural hair safely and without causing damage.
Step 1: Prepare Your Workspace
Before you touch a single strand of hair, setting up your environment is a critical first step. A well-prepared workspace streamlines the entire process and prevents mishaps. Choose a room with good, bright lighting, such as your bathroom, so you can clearly see the tiny bonds you’ll be working on.
Stand or sit in front of a large mirror. It’s even better if you can set up a second mirror to see the back of your head. Lay out all your tools on a clean, flat surface so they are within arm’s reach. This includes your bond remover solution, pliers, rat-tail comb, and hair clips. Drape an old towel over your shoulders to protect your clothing and skin from the remover solution, which can be oily or contain chemicals.
Step 2: Brush and Section Your Hair
With your workspace ready, it’s time to prep your hair. Start by gently brushing your hair to detangle any knots. Be extra careful around the bonded areas, working from the ends of your hair upwards to minimize pulling. Once your hair is smooth, the next task is to section it off. This is perhaps the most important organizational step.
Using a rat-tail comb and sturdy hair clips, divide your hair into four equal quadrants: two at the front and two at the back. Clip three of the sections securely out of the way. You will begin with one of the back sections, preferably at the nape of your neck, as it’s the easiest place to start. Working one small, manageable section at a time prevents you from feeling overwhelmed and ensures no bonds are missed.
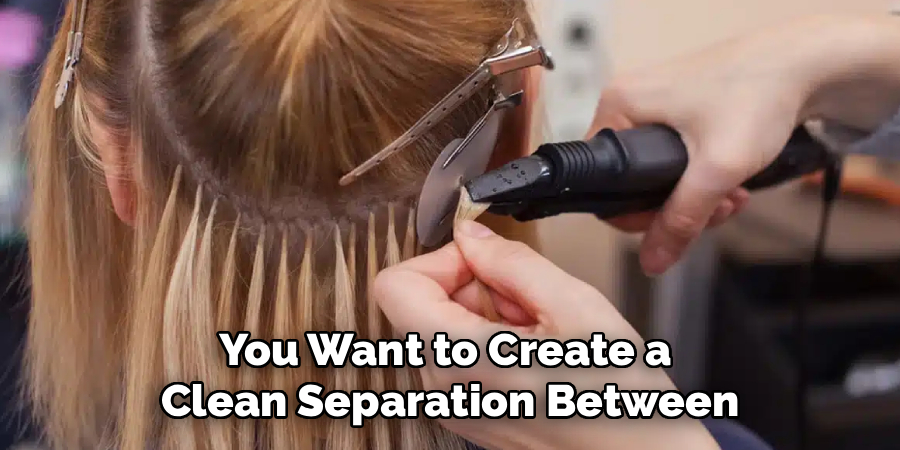
Step 3: Isolate the First Bond
Now you can begin the removal itself. Within the section you’ve left down, use the pointed end of your rat-tail comb to isolate a single hair extension bond. You want to create a clean separation between the hair attached to the bond and the surrounding hair. This precision is vital. It prevents the bond remover from getting on hair that doesn’t need it and protects nearby strands from the pressure of the removal tool. Tuck the surrounding hair away, leaving you with a clear view and direct access to the bond you’re about to work on.
Step 4: Apply the Bond Remover Solution
This is where the magic begins. Take your chosen bond remover solution and apply a small amount directly onto the keratin bond. You do not need to drench it; two to three drops are usually enough to saturate the adhesive. Ensure the solution fully covers the bond. Most products will have instructions specifying how long to let the solution sit, which is typically between 30 and 60 seconds. This waiting period is crucial as it allows the formula to penetrate the hardened keratin and begin breaking it down, making it soft and pliable.
Step 5: Use the Removal Pliers
Once the remover solution has had time to work, pick up your extension removal pliers. Position the tool over the softened bond and clamp down firmly. The purpose of the pliers is not to pull the extension but to crack and shatter the weakened adhesive. Apply pressure a few times along the length of the bond. You might hear a slight crunching sound, which is a good sign that the keratin is breaking apart. This action loosens the bond’s grip on your natural hair, preparing it for a gentle release.
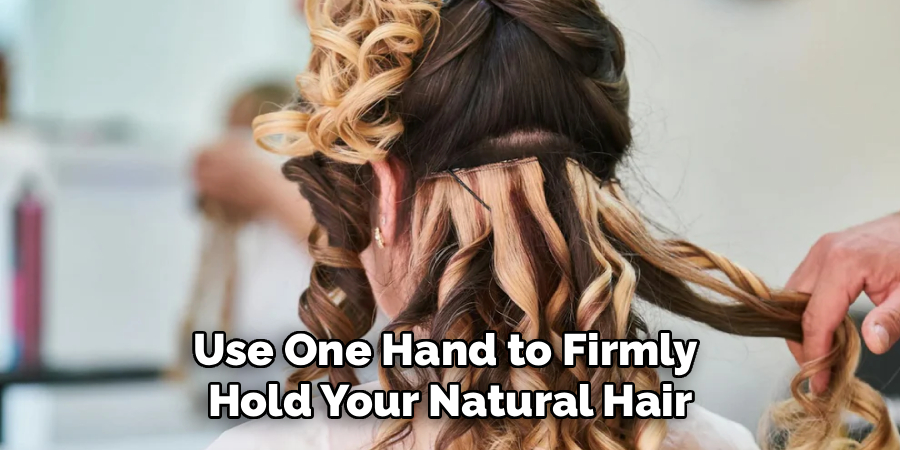
Step 6: Gently Slide the Extension Out
With the bond broken down, it’s time to remove the extension. To avoid any strain on your scalp, use one hand to firmly hold your natural hair at the root, just above the bond. With your other hand, grip the top of the extension and gently try to slide it down and away from your head. If the process has worked correctly, it should slip out smoothly without resistance. Do not, under any circumstances, pull, yank, or force the extension.
Step 7: Reapply Solution if Necessary
Sometimes, a bond is particularly stubborn and doesn’t slide out on the first attempt. This is completely normal. If you feel any resistance, stop pulling immediately. This is your hair’s way of telling you the bond isn’t fully dissolved. Simply apply another drop or two of the remover solution, let it sit for another 30 seconds, and repeat the process with the pliers. It may take two or three tries for a difficult bond, but this patience is what will protect your natural hair from breakage.
Step 8: Comb Out Any Residue
After you’ve successfully removed an extension, you’ll likely find small, flaky, or sticky bits of leftover adhesive in that section of your hair. This is expected. Take your rat-tail comb and gently work through the small patch of hair where the bond was. The fine teeth of the comb will help to dislodge and remove any remaining residue. Be gentle and work slowly to avoid snagging your hair.
Step 9: Repeat the Process for All Extensions
You’ve successfully removed one bond; now you just need to repeat the process for the rest. Continue working methodically: isolate the bond, apply remover, crack with pliers, slide the extension out, and comb out the residue. Move from one bond to the next until the entire first section is complete. Then, unclip the next section and start again. This is the most time-consuming part, so make yourself comfortable. Put on a favorite playlist, a podcast, or a show to help the hours fly by.
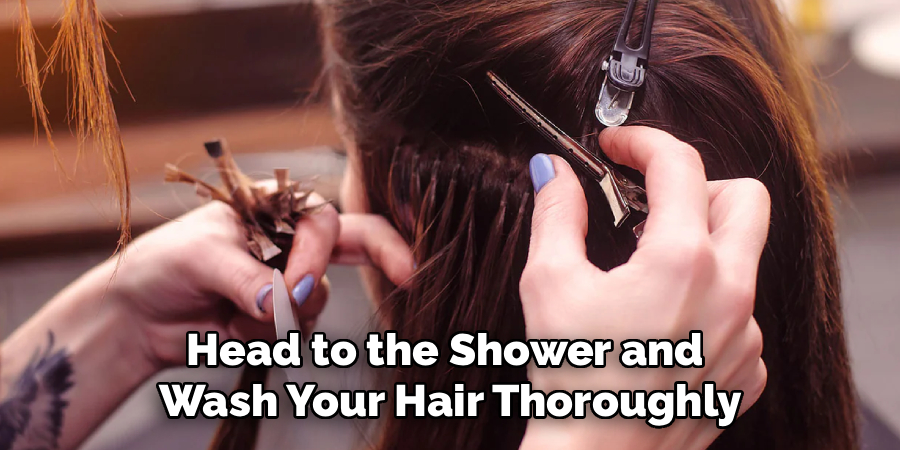
Step 10: Wash and Deep Condition Your Hair
Congratulations, all your extensions are out! Your work isn’t quite finished, though. Your hair and scalp now need some serious post-removal care. Head to the shower and wash your hair thoroughly with a good clarifying shampoo. This will cut through the oily remover and wash away any final traces of adhesive. Afterward, treat your hair to a nourishing deep conditioner or a hydrating hair mask. Apply it generously from roots to ends and let it sit for at least 15-20 minutes. This final step is essential for replenishing moisture and nutrients, leaving your natural hair feeling soft, healthy, and refreshed.
5 Things You Should Avoid
- Don’t Pull or Tug: Never force an extension out. If it doesn’t slide out easily, the bond isn’t ready. Applying more remover and being patient will save your hair from breakage.
- Avoid Using Heat: Do not use a flat iron or other heat tools to try and melt the bonds. This can melt the adhesive into your hair, creating a bigger mess and causing severe damage.
- Don’t Skip the Bond Remover: Attempting to remove bonds without a proper remover solution (for example, with just conditioner or oil) will likely fail and lead to hair loss. These solutions are specifically designed to break down the keratin adhesive.
- Don’t Rush the Process: Set aside several hours for the removal. Rushing increases the likelihood of making mistakes and damaging your hair. Treat it as a self-care session.
- Don’t Forget Aftercare: Skipping the clarifying wash and deep conditioning treatment can leave your hair feeling dry, brittle, and full of residue. Proper aftercare is essential for restoring your hair’s health.
Frequently Asked Questions
Will Removing Bonded Extensions at Home Damage My Natural Hair?
If done correctly and patiently, home removal should not damage your hair. The key is to use the right tools, a quality bond remover, and to never pull on the extensions. Damage typically occurs from rushing or using improper techniques, so following each step carefully is essential for a safe outcome.
How Long Does It Take to Remove a Full Head of Extensions?
The time can vary depending on the number of extensions you have and your experience level. For a full head, you should plan for at least two to four hours. It’s best to set aside an afternoon or evening so you don’t feel pressured to finish quickly.

What if I Can’t Get a Bond Out?
If a particular bond is stubborn, apply more remover and let it sit a little longer. Use the pliers to gently work at it again. If it still won’t budge after a few tries, it’s better to leave it and seek professional help from a stylist rather than risk damaging your hair by forcing it.
Conclusion
Removing bonded hair extensions at home is a manageable task that can save you time and money.
By gathering the right tools, following the steps carefully, and having a lot of patience, you can safely take out your extensions. Remember to be gentle with your hair and finish with a nourishing treatment to ensure your natural locks remain healthy and beautiful.
Hopefully, this guide on how to remove bonded hair extensions at home has provided you with the necessary information to confidently remove your bonded hair extensions at home.
About the Author
Jane Hubbard is a passionate beauty expert with a wealth of experience in makeup, hair, and overall beauty techniques. After years of working as a hairdresser specialist, she followed her entrepreneurial spirit and started her own consultancy business.
Jane has always been driven by her desire to help others feel confident in their own skin, and she does this by sharing her knowledge, experiences, and practical beauty tips. Through her consultancy, she empowers individuals to embrace their unique beauty, offering tailored guidance that boosts both self-esteem and personal style.
Professional Focus
- Specializes in makeup, hairstyling, and beauty consulting.
- Provides personalized beauty advice, tips, and techniques to help individuals feel confident in their appearance.
- Dedicated to staying up-to-date with the latest industry trends and developments.
- Passionate about creating a comfortable and empowering experience for every client.
Education History
- University of Craft and Design – Bachelor of Fine Arts (BFA) in Woodworking and Furniture Design
- Woodworking Apprenticeships – Extensive hands-on training with skilled craftsmen to refine carpentry and furniture making techniques
- Online Courses & Masterclasses – Continued education in advanced woodworking techniques, design principles, and specialized tools
Expertise:
- Makeup artistry, hairstyling, and beauty consulting.
- Personalized beauty techniques to enhance confidence and self-expression.
- Educating clients on how to maintain their beauty routines at home.