
Your feet carry you through thousands of steps every day, often stuffed into tight shoes or pounding against hard pavement.
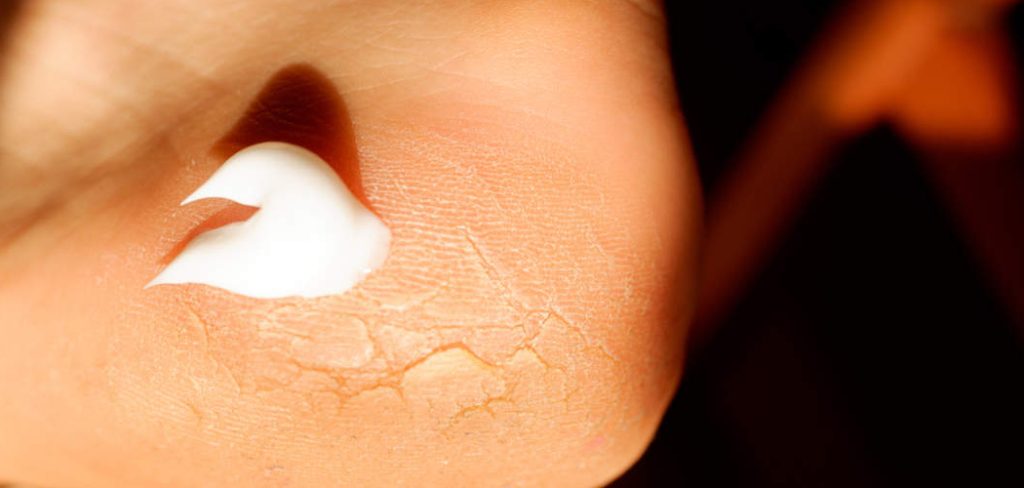
Despite this heavy workload, they are frequently the most neglected part of our skincare routine. We scrub our faces and moisturize our hands, but our feet often only get attention once they become dry, cracked, or painful. If you have been struggling with thick calluses or deeply cracked heels that regular lotion just won’t touch, Urea 40 cream might be the game-changer you need.
This isn’t just a standard moisturizer. Urea 40 is a potent keratolytic emollient, which is a fancy way of saying it breaks down hard skin while adding deep hydration. It is specifically formulated to tackle the toughest skin on your body. Let’s dive into how to use urea 40 cream on feet.
What are the Benefits?
Using a high-concentration urea cream offers more than just temporary relief. It works on a cellular level to improve the condition of your skin.
- Deep Exfoliation: At a 40% concentration, urea dissolves the intercellular matrix—the “glue” holding dead skin cells together. This allows thick, dead skin to slough off without aggressive scrubbing.
- Intense Hydration: Urea is a humectant, meaning it draws moisture from the environment and pulls it deep into the skin layers, rehydrating dried-out heels.
- Healing Properties: It helps accelerate the skin’s cellular renewal process, which is essential for healing deep cracks (fissures) that can be prone to infection.
- Barrier Protection: Regular use strengthens the skin’s natural barrier, making it more resilient against future dryness and environmental stress.
- Antifungal Aid: While not a standalone cure, urea can create an environment that is less hospitable to fungus, often assisting in the treatment of conditions like athlete’s foot when used alongside other medications.
What Will You Need?
Before you start your foot care session, gather these supplies to ensure the process is effective and relaxing.
- Urea 40 Cream: The star of the show. Ensure you have a quality product with a 40% concentration.
- Mild Soap: For cleansing your feet thoroughly before application.
- A Basin or Tub: For soaking your feet.
- Warm Water: Hot enough to be soothing, but not scalding.
- A Clean Towel: To dry your feet completely.
- Pumice Stone or Foot File: To gently remove softened skin.
- Cotton Socks: To lock in the moisture overnight.
- Plastic Wrap (Optional): For an intensive occlusion treatment.
10 Easy Steps on How to Use Urea 40 Cream on Feet
Follow these detailed steps to get the maximum benefit from your treatment. Consistency is key, so try to make this a regular ritual.
Step 1: Prepare a Warm Foot Soak
Start by filling a basin with warm water. You can add Epsom salts or a few drops of essential oil like lavender or tea tree for added relaxation and antiseptic properties. The water should be comfortable to the touch. This step is crucial because it softens the hard outer layer of the skin (the stratum corneum), preparing it to receive the treatment.

Step 2: Soak Your Feet Thoroughly
Place your feet in the water and relax for about 15 to 20 minutes. Do not rush this part. The warm water hydrates the skin and loosens the dead skin cells that make up your calluses. If your heels are extremely thick, you might want to soak for up to 30 minutes. This simple act makes the subsequent exfoliation and moisturizing steps significantly more effective.
Step 3: Cleanse Gently
While your feet are soaking, use a mild soap to wash away dirt, sweat, and bacteria. Pay attention to the spaces between your toes, as these areas can harbor moisture and microbes. A gentle wash ensures that you aren’t trapping any dirt under the heavy cream you are about to apply. Rinse the soap off completely before moving to the next step.
Step 4: Dry Your Feet Completely

Remove your feet from the water and pat them dry with a clean towel. It is vital to dry your feet thoroughly, especially between the toes, to prevent fungal growth. However, try to leave the heels slightly damp—not wet, but hydrated. Applying the cream to slightly damp skin helps seal in that extra moisture.
Step 5: Exfoliate with a Pumice Stone
Now that your skin is soft from the soak, take your pumice stone or foot file and gently buff the rough areas. Focus on the heels and the balls of your feet. Use circular motions and light pressure. The goal is to remove the white, dead skin that is peeling off, not to scrub down to raw, pink skin. Over-exfoliating can cause tenderness, so be gentle.
Step 6: Apply a Generous Amount of Urea 40 Cream
Squeeze a generous amount of Urea 40 cream onto your fingertips. You want enough to cover the affected area comfortably. Apply it directly to the heels, calluses, and dry patches. Massage it in circular motions until you feel it starting to absorb. Avoid applying this high-concentration cream to healthy, thin skin or open wounds, as it may sting.
Step 7: Massage for Better Absorption
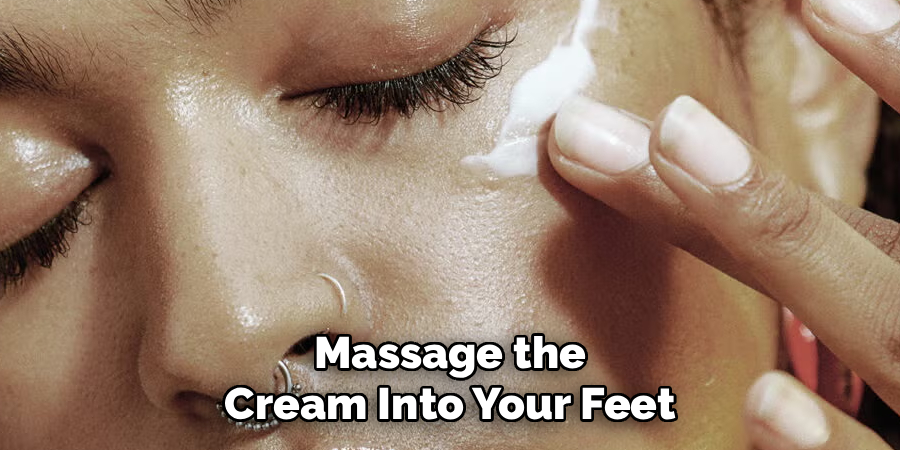
Take a few minutes to really massage the cream into your feet. This isn’t just about spreading the product; the massage increases blood circulation to the area, which aids in healing and rejuvenation. Focus on working the cream into the cracks and fissures. The friction from the massage also generates a little heat, helping the urea penetrate deeper.
Step 8: Wash Your Hands Immediately
Urea 40 is a powerful exfoliant intended for thick, calloused skin. It can be too harsh for the softer skin on your hands, causing peeling or irritation if left on too long. Once you have finished applying the cream to your feet, wash your hands thoroughly with soap and water to remove any residue.
Step 9: Put on Cotton Socks
Once the cream is applied, put on a pair of clean, white cotton socks. Cotton is breathable, but it helps to keep the cream against your skin rather than rubbing off on your sheets. This creates a warm environment that helps the pores open up and absorb the urea. Wear these socks for at least 4 to 8 hours, or ideally, overnight while you sleep.
Step 10: Rinse in the Morning
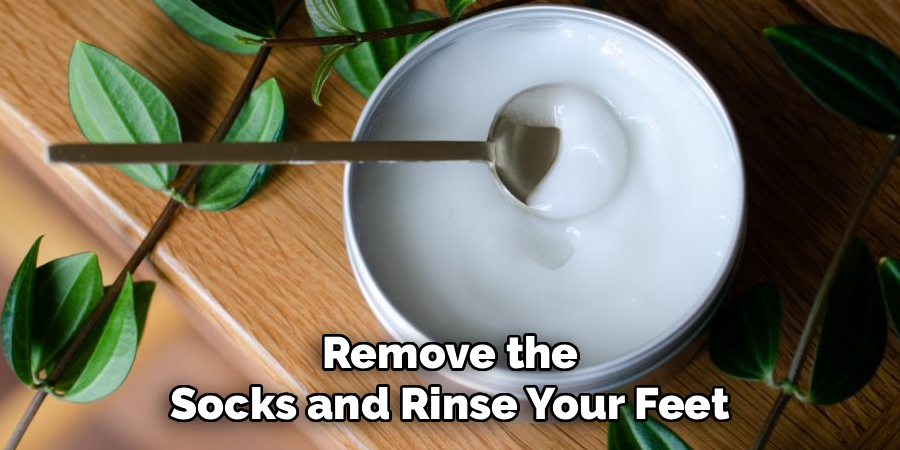
When you wake up, remove the socks and rinse your feet with cool or lukewarm water. You might notice some white residue or peeling skin—this is normal, as the urea has done its job of breaking down the dead cells. Pat your feet dry and apply a regular, lighter moisturizer if you wish to keep them soft throughout the day.
5 Things You Should Avoid
To ensure safety and the best results, keep these warnings in mind.
- Applying to Open Wounds: Never put Urea 40 cream on infected areas, bleeding cracks, or open sores. The high concentration causes intense stinging and can irritate the wound further. Wait for deep cracks to seal slightly before use.
- Using on the Face or Sensitive Areas: This product is strictly for thick, rough skin like heels and elbows. Using it on your face, groin, or other sensitive areas will likely cause chemical burns or severe irritation.
- Over-Exfoliating Before Application: While using a pumice stone is recommended, scrubbing your feet raw before applying the cream is dangerous. The cream is potent enough on its own; combining it with aggressive abrasion can damage the skin barrier.
- Walking Barefoot After Application: Urea creams are often greasy and slippery. Walking around barefoot immediately after application is a major slip hazard. Always put socks on or slippers with grip immediately.
- Ignoring Allergic Reactions: If you feel intense burning, itching, or see a rash developing, stop using the product immediately. Wash it off and consult a doctor. Do not “power through” the pain.
Frequently Asked Questions
1. How Often Should I Use Urea 40 Cream on My Feet?
For severe cases of cracked heels and calluses, you should use the cream twice daily for the first two weeks. Once your skin has healed and smoothed out, you can switch to using it two to three times a week as maintenance to prevent the calluses from returning.
2. Can I Use Urea 40 Cream if I Have Diabetes?
Diabetics often suffer from severe foot issues, and urea cream is frequently prescribed to them. However, because diabetes affects sensation and healing, you must consult your doctor before starting any new foot treatment. They can advise if this concentration is safe for your specific condition.
3. Why Does the Skin Peel After Using Urea 40 Cream?
Peeling is actually the desired effect and a sign that the product is working. Urea 40 is a keratolytic, meaning it breaks down the protein structure of dead skin layers. This causes the old, hard skin to flake or peel off, revealing the softer, healthier skin underneath.
Conclusion
Taking care of your feet doesn’t have to be a chore or an expensive trip to the salon. With a tub of Urea 40 cream and a little consistency, you can treat even the most stubborn cracks and calluses at home.
By following these ten simple steps on how to use urea 40 cream on feet—soaking, exfoliating, applying, and protecting—you are giving your feet the deep hydration and care they deserve. Remember to be patient; while you will see improvements quickly, fully healing deep cracks takes time.
Treat your feet well, and they will carry you comfortably for years to come.
About the Author
Jane Hubbard is a passionate beauty expert with a wealth of experience in makeup, hair, and overall beauty techniques. After years of working as a hairdresser specialist, she followed her entrepreneurial spirit and started her own consultancy business.
Jane has always been driven by her desire to help others feel confident in their own skin, and she does this by sharing her knowledge, experiences, and practical beauty tips. Through her consultancy, she empowers individuals to embrace their unique beauty, offering tailored guidance that boosts both self-esteem and personal style.
Professional Focus
- Specializes in makeup, hairstyling, and beauty consulting.
- Provides personalized beauty advice, tips, and techniques to help individuals feel confident in their appearance.
- Dedicated to staying up-to-date with the latest industry trends and developments.
- Passionate about creating a comfortable and empowering experience for every client.
Education History
- University of Craft and Design – Bachelor of Fine Arts (BFA) in Woodworking and Furniture Design
- Woodworking Apprenticeships – Extensive hands-on training with skilled craftsmen to refine carpentry and furniture making techniques
- Online Courses & Masterclasses – Continued education in advanced woodworking techniques, design principles, and specialized tools
Expertise:
- Makeup artistry, hairstyling, and beauty consulting.
- Personalized beauty techniques to enhance confidence and self-expression.
- Educating clients on how to maintain their beauty routines at home.