
You might have heard the buzz surrounding one of the skincare world’s most intriguing ingredients. It sounds a little intimidating at first—putting venom on your face?
But bee venom cream has taken the beauty industry by storm, earning the nickname “nature’s Botox” for its ability to trick the skin into thinking it has been lightly stung. This process stimulates the body to direct blood toward the area and ramps up the production of collagen and elastin.
In this guide on how to apply bee venom cream, we’ll delve into the benefits of this unique ingredient and provide step-by-step instructions on how to effectively use it in your skincare routine.
What Will You Need?
You don’t need a complicated setup to use bee venom cream, but having the right tools ensures a sanitary and effective application. Here is your checklist:
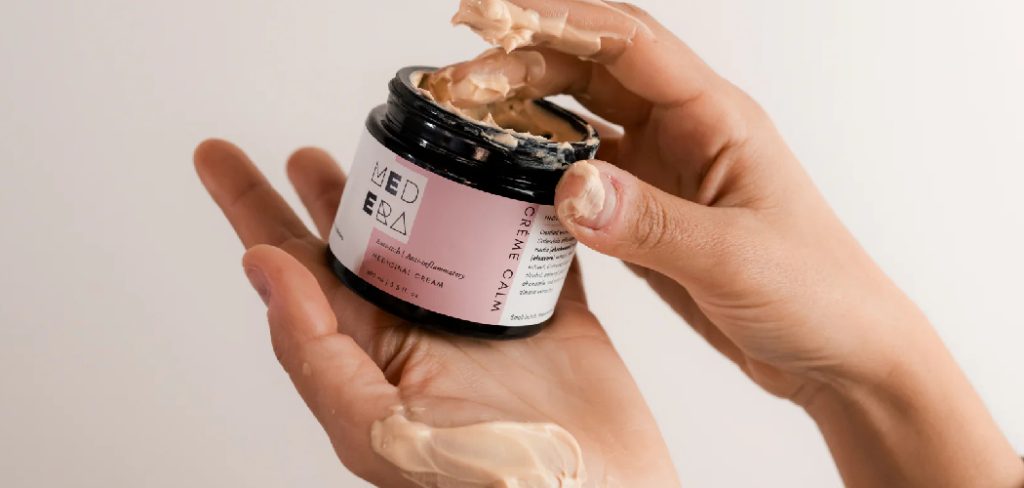
- Your Bee Venom Cream: Ensure you have purchased a high-quality product from a reputable brand.
- Gentle Cleanser: You need a clean canvas for the venom to work.
- Clean Towel: For patting your face dry—never rub!
- Spatula (Optional but recommended): Ideally, use a small skincare spatula to scoop the cream out of the jar to prevent introducing bacteria from your fingers.
- Mirror: Good lighting helps you target specific areas like crow’s feet or laugh lines.
- Timer (for the patch test): Essential for first-time users.
10 Easy Steps on How to Apply Bee Venom Cream
Applying bee venom cream requires a bit more attention than slapping on a standard lotion. Follow these ten steps to ensure you get the maximum benefit while keeping your skin happy.
Step 1: Conduct a Patch Test First
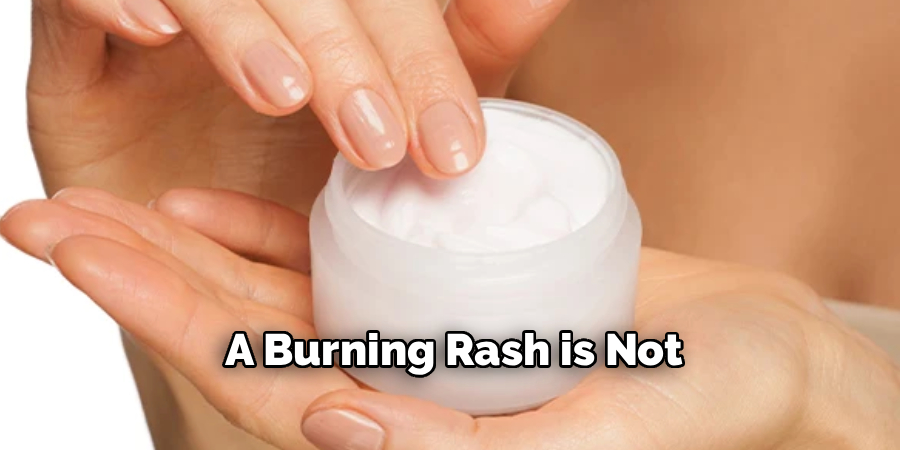
This is the most critical step, especially if you have never used bee products before. Bee venom is a potent allergen for some people. Apply a tiny amount of the cream to the inside of your wrist or behind your ear. Wait at least 24 hours. If you experience severe redness, itching, swelling, or difficulty breathing, wash it off immediately and do not use the product. A slight tingling is normal; a burning rash is not.
Step 2: Cleanse Your Face Thoroughly
Your skin needs to be free of makeup, dirt, and excess oil for the cream to penetrate effectively. Use a gentle, pH-balanced cleanser that doesn’t strip your skin of its natural moisture barrier. Massage the cleanser in circular motions for about 60 seconds to ensure a deep clean. Rinse with lukewarm water—hot water can be too harsh and drying, which might aggravate the skin before you even apply the treatment.
Step 3: Tone and Dry Your Skin
After washing, gently pat your face dry with a clean towel. Leave the skin slightly damp, but not wet. If you use a toner, apply it now. A hydrating toner can help balance your skin’s pH levels and prep the pores to receive the bee venom. Avoid using acid-based toners (like strong glycolic acid) right before bee venom, as the combination might be too intense for sensitive skin types.
Step 4: Warm the Cream
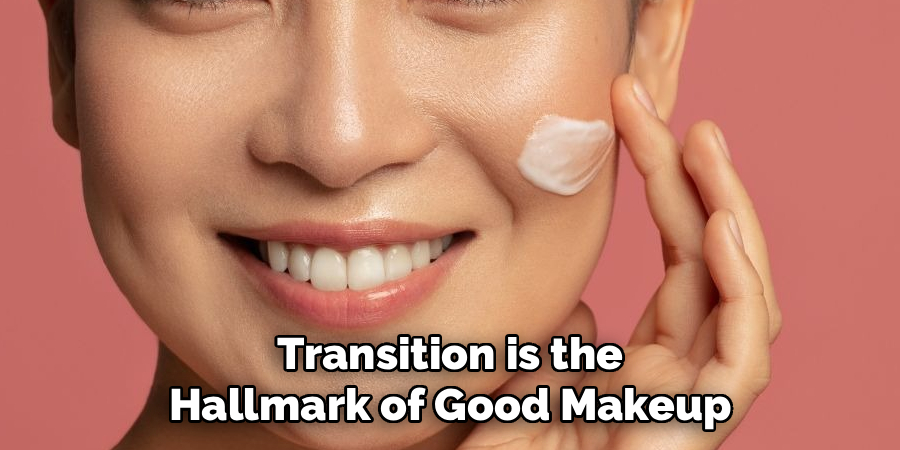
Scoop a pea-sized amount of bee venom cream using your spatula or clean finger. Place it on the back of your hand or between your fingertips. Rub your fingers together gently for a few seconds. Warming the product to body temperature helps it melt slightly, making it easier to spread evenly across your face without dragging the skin. This also activates the ingredients for better absorption.
Step 5: Apply to Key Areas First
Don’t just rub it all over at once. Dot the cream onto your forehead, cheeks, chin, neck, and décolletage. These are the “zones” of your face. By dotting it first, you ensure an even distribution of the product so that one area doesn’t get a heavy dose while another gets none. If you are targeting specific wrinkles, place a slightly larger dot directly on those lines.
Step 6: Massage in Upward Motions
Gravity is the enemy of aging skin, so always work against it. Using your fingertips, gently massage the cream into your skin using upward, sweeping motions. Start from the base of your neck and move up towards your jawline. From the chin, sweep out towards the ears. On the forehead, sweep up towards the hairline. This massage technique helps drain lymph fluids and lift the facial muscles.
Step 7: Focus on Problem Areas
Once the cream is generally distributed, go back and give a little extra love to areas with fine lines. Use your ring finger (which applies the least pressure) to gently tap the cream into crow’s feet, smile lines, or the “11s” between your eyebrows. The tapping motion stimulates blood flow even further in these specific spots, maximizing the plumping effect of the bee venom.
Step 8: Don’t Forget the Neck
The neck is often one of the first places to show signs of aging, yet it is frequently neglected in skincare routines. The skin here is thinner and more delicate. Ensure you carry the application down from your jawline to your collarbone. Use open palms to stroke upwards from the collarbone to the jawline. This helps firm the skin and prevents the “crepey” texture that can develop over time.
Step 9: Allow Time for Absorption
Bee venom cream isn’t usually designed to sit on top of the skin like an occlusive balm; it needs to sink in. Give the product about 5 to 10 minutes to fully absorb before you apply makeup or go to sleep. During this time, you will likely feel a mild tingling sensation. Enjoy it! That sensation is confirmation that the ingredients are active and stimulating blood flow to the epidermis.
Step 10: Wash Your Hands
After you have finished your beautiful facial massage, immediately wash your hands with soap and water. Because the cream contains active venom, you do not want to accidentally rub your eyes or touch sensitive mucous membranes afterwards. The tingling sensation that feels great on your cheeks will feel terrible if it gets into your eyes, so scrubbing your hands is a mandatory final step.
By following these 10 steps, you can give yourself a professional and effective facial massage at home.
5 Things You Should Avoid
To keep your experience positive and effective, steer clear of these common pitfalls.
- Avoid the Eye Area: The skin around your eyes is incredibly thin and sensitive. Unless the product is specifically formulated as an “eye cream,” keep the bee venom away from your lash line and eyelids to prevent irritation and watering eyes.
- Avoid Applying on Open Wounds: If you have active acne breakouts that are open, cuts, or scratches, do not apply bee venom cream to those areas. It will sting intensely and could cause inflammation rather than healing.
- Avoid Overuse: More is not always better. Stick to the recommended usage on the package, which is usually once or twice a day. Overusing active ingredients can compromise your skin barrier and lead to sensitivity.
- Avoid Mixing with Harsh Actives: Be careful using bee venom alongside high-strength retinoids or chemical peels. Introduce one active ingredient at a time to see how your skin reacts before layering them.
- Avoid If You Are Allergic to Bees: This seems obvious, but it bears repeating. If you have a known allergy to bee stings, you should strictly avoid bee venom skincare products, as they can trigger a serious allergic reaction.
Frequently Asked Questions
- Is Bee Venom Cream Painful to Use?
Generally, no. Most users describe the sensation as a mild tingling, prickly, or warming feeling that begins shortly after application. It is not painful like an actual bee sting. If you feel burning or sharp pain, wash it off immediately, as this indicates a reaction rather than the intended effect. - How Long Does It Take to See Results?
Skincare is a marathon, not a sprint. While the “plumping” effect from increased blood flow can be visible almost immediately, lasting anti-aging results usually take time. You can typically expect to see significant improvements in skin texture and fine lines after about 4 to 6 weeks of consistent, daily use. - Can I Use Bee Venom Cream if I Have Sensitive Skin?
Yes, but proceed with caution. Sensitive skin types can benefit from bee venom, but you should start slowly. Use the cream every other day initially to let your skin build up a tolerance. Always prioritize the patch test mentioned in Step 1, and choose a cream that balances the venom with soothing ingredients like shea butter or aloe.
Conclusion
Bee venom cream is a fascinating bridge between nature and science, offering a powerful way to rejuvenate aging skin without invasive procedures.
By following these ten simple steps on how to apply bee venom cream, you can safely incorporate this “nature’s Botox” into your daily regimen. Remember that consistency is the key to seeing real changes in your skin’s texture and firmness.
Always listen to your skin. The goal is a healthy, radiant glow, not irritation. If you treat the product with respect and apply it correctly, you might just find that the buzz about bee venom is well worth it. So, warm up that cream, enjoy the tingle, and get ready to put your best face forward.
About the Author
Jane Hubbard is a passionate beauty expert with a wealth of experience in makeup, hair, and overall beauty techniques. After years of working as a hairdresser specialist, she followed her entrepreneurial spirit and started her own consultancy business.
Jane has always been driven by her desire to help others feel confident in their own skin, and she does this by sharing her knowledge, experiences, and practical beauty tips. Through her consultancy, she empowers individuals to embrace their unique beauty, offering tailored guidance that boosts both self-esteem and personal style.
Professional Focus
- Specializes in makeup, hairstyling, and beauty consulting.
- Provides personalized beauty advice, tips, and techniques to help individuals feel confident in their appearance.
- Dedicated to staying up-to-date with the latest industry trends and developments.
- Passionate about creating a comfortable and empowering experience for every client.
Education History
- University of Craft and Design – Bachelor of Fine Arts (BFA) in Woodworking and Furniture Design
- Woodworking Apprenticeships – Extensive hands-on training with skilled craftsmen to refine carpentry and furniture making techniques
- Online Courses & Masterclasses – Continued education in advanced woodworking techniques, design principles, and specialized tools
Expertise:
- Makeup artistry, hairstyling, and beauty consulting.
- Personalized beauty techniques to enhance confidence and self-expression.
- Educating clients on how to maintain their beauty routines at home.