
Making your own body cream can be a rewarding and simple process. It allows you to move away from store-bought products, which often contain complex chemical lists, and embrace a more natural approach to skincare.
Creating your own cream gives you complete control over what you put on your body. You can tailor the ingredients to suit your specific skin type, address concerns like dryness or sensitivity, and choose your favorite scents.
This guide on how to make body cream will walk you through everything you need to know to create a luxurious, homemade body cream right in your own kitchen.
What are the Benefits?
Creating your own body cream offers numerous advantages. First, you have full transparency and control over the ingredients. This means you can select high-quality, natural components and avoid synthetic fragrances, preservatives, and chemicals that might irritate your skin. Customization is another significant benefit; you can adjust the formula to match your skin’s needs, whether it’s extra hydration for dry patches or calming ingredients for sensitive areas.
From a financial perspective, making body cream at home can be more cost-effective in the long run. While there’s an initial investment in ingredients and tools, buying in bulk often proves cheaper than continuously purchasing high-end commercial products. Finally, the process itself is a creative and satisfying activity, leaving you with a product you can be proud to use or give as a thoughtful, personalized gift.
What Will You Need?
To get started, you will need a few key ingredients and some basic kitchen equipment.
Ingredients:
- 1/2 cup Shea Butter or Mango Butter (for a creamy base)
- 1/2 cup Coconut Oil
- 1/4 cup Almond Oil or Jojoba Oil (liquid carrier oil)
- 10-15 drops of Essential Oils for fragrance (like lavender, chamomile, or frankincense)
- 1 teaspoon of Vitamin E Oil (acts as a natural preservative and is great for skin)
- Optional: 1-2 tablespoons of Arrowroot Powder or Cornstarch (to reduce greasiness)
Tools:
- Double boiler or a small saucepan and a heat-safe glass bowl
- Hand mixer or stand mixer
- Spatula
- Measuring cups and spoons
- Airtight glass jars or containers for storage
10 Easy Steps on How to Make Body Cream
Step 1: Measure Your Ingredients
Precision is key to achieving the right consistency. Carefully measure out your shea or mango butter, coconut oil, and your chosen liquid carrier oil, like almond or jojoba oil. Having everything measured and ready before you begin the melting process will make the entire experience smoother and more efficient. Set your ingredients next to your stovetop so they are within easy reach for the next step.
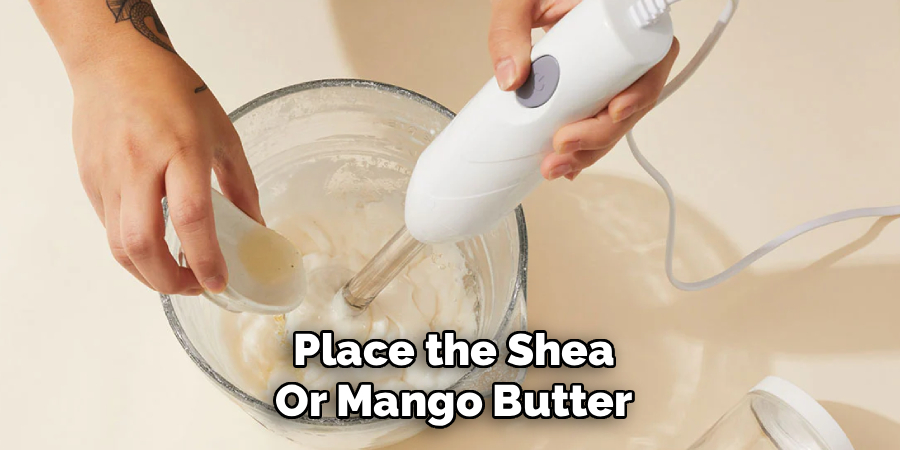
Step 2: Melt the Butters and Oils
Set up your double boiler. If you don’t have one, you can create a makeshift version by placing a heat-safe glass bowl over a saucepan filled with a few inches of water. Place the shea or mango butter and coconut oil into the top of the double boiler or the glass bowl. Heat the water on a medium-low setting, allowing the butters and oils to melt slowly and evenly. Stir occasionally with a spatula until the mixture is completely liquid and well combined. This gentle heating method prevents the oils from overheating, which can diminish their beneficial properties.
Step 3: Add the Liquid Carrier Oil
Once the butter and coconut oil have fully melted into a clear liquid, remove the bowl from the heat. Be careful, as the bowl will be hot. Place it on a heat-resistant surface. Now, pour in your measured liquid carrier oil—such as almond oil or jojoba oil—into the melted mixture. Stir everything together thoroughly to ensure all the oils are fully integrated.
Step 4: Cool the Mixture
This step is crucial for achieving a whipped, creamy texture. Allow the oil mixture to cool. You can leave it at room temperature for a few hours, or for a faster process, place the bowl in the refrigerator for about 30 to 60 minutes. You want the mixture to cool and start solidifying, becoming opaque and firm to the touch but not completely hardened. It should have a soft, gel-like consistency.
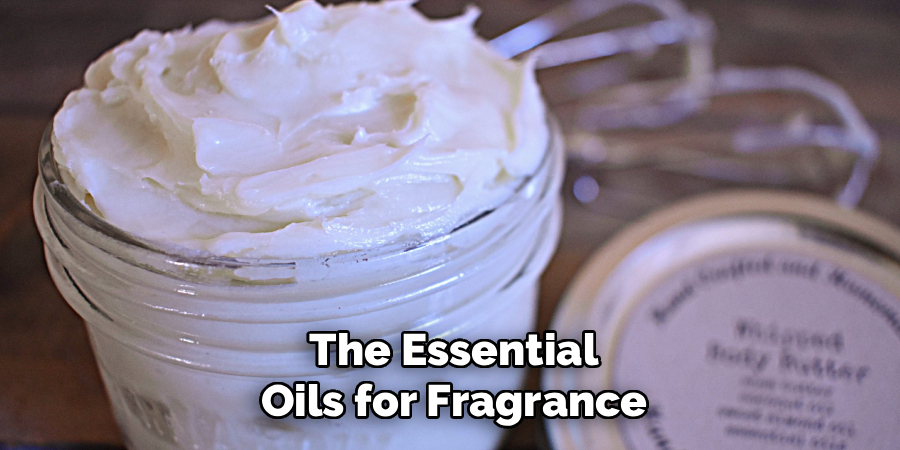
Step 5: Prepare for Whipping
Once the mixture has cooled to the right consistency, you can prepare for the whipping stage. If you used arrowroot powder or cornstarch to cut the greasy feel, now is the time to add it. Sprinkle it over the surface of the cooled oil mixture. This is also the perfect time to add your Vitamin E oil and the essential oils for fragrance.
Step 6: Whip the Cream
Using a hand mixer or a stand mixer, begin whipping the mixture on a low speed. As the ingredients start to combine, gradually increase the speed to high. Continue to whip for 5 to 10 minutes. You will see the mixture transform. It will lighten in color and increase in volume, developing a fluffy, light, and airy texture, similar to whipped cream or frosting.
Step 7: Scrape Down the Sides
Periodically, stop the mixer and use a spatula to scrape down the sides of the bowl. This ensures that all the ingredients are evenly incorporated and that the final product has a consistent texture throughout. Pushing the mixture from the sides back toward the center helps get rid of any unwhipped pockets, resulting in a smoother final cream.
Step 8: Check the Consistency
After several minutes of whipping, check the consistency. It should be light, fluffy, and hold its shape. If it still seems too dense or oily, you can try chilling it again in the refrigerator for another 10-15 minutes before whipping it once more. This can help it firm up and whip into a lighter texture.
Step 9: Transfer to Containers
Once you are satisfied with the texture of your body cream, carefully spoon it into your clean, dry, airtight glass jars or containers. Use your spatula to get every last bit out of the bowl. Storing the cream in an airtight container is important to keep it fresh and prevent contamination. Amber or dark-colored jars are an excellent choice as they help protect the sensitive essential oils from light degradation.
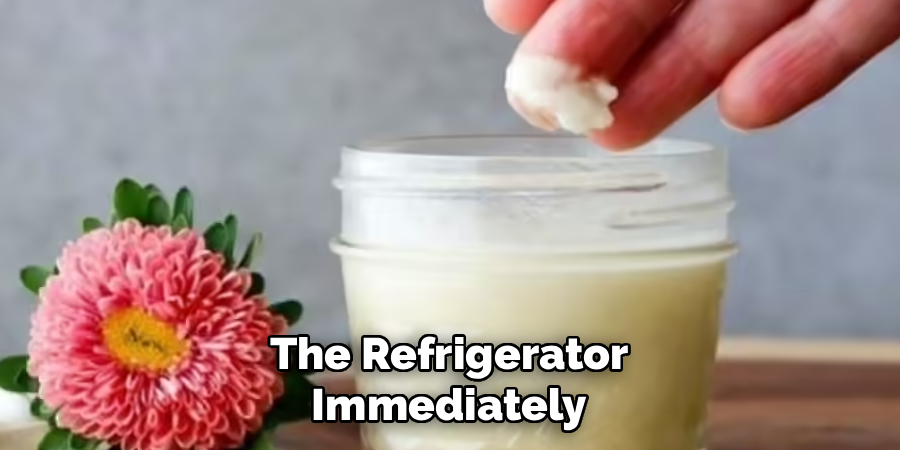
Step 10: Store Properly
Store your homemade body cream in a cool, dark place away from direct sunlight and heat. A cabinet or drawer is ideal. Because it contains no synthetic preservatives, it’s best to use it within six months. If your home is very warm, the cream might soften or melt. If this happens, you can simply place it in the refrigerator for a short time to firm it up again.
By following these steps, you can make your own nourishing and natural body cream at home. Experiment with different oils and scents to find the perfect combination for your skin.
5 Things You Should Avoid
- Overheating the Oils: Melting your butters and oils on high heat can destroy their delicate nutrients. Always use a low, gentle heat with a double boiler.
- Adding Essential Oils When Hot: Never add essential oils to the hot oil mixture. The heat will cause them to evaporate quickly and can reduce their therapeutic and aromatic qualities. Wait until the mixture has cooled.
- Whipping a Warm Mixture: Trying to whip the oils while they are still warm or liquid will not work. You must chill the mixture until it is opaque and firm to achieve a fluffy texture.
- Introducing Water: Be careful not to get any water into your cream during the process. Water can introduce bacteria and cause the cream to spoil quickly since this recipe does not contain strong preservatives.
- Using Dirty Equipment: Ensure all your tools, bowls, and containers are thoroughly cleaned and completely dry. Any contaminants can reduce the shelf life of your body cream and introduce unwanted bacteria.
Frequently Asked Questions
- Why Did My Body Cream Turn Out Greasy?
A greasy feel is often due to the high concentration of butters and oils. To reduce this, you can add a tablespoon or two of arrowroot powder or cornstarch during the whipping stage. You can also select lighter carrier oils, like grapeseed oil, which absorb more quickly into the skin and feel less heavy. - Can I Use Different Butters or Oils?
Yes, this recipe is very flexible. You can substitute shea butter with mango or cocoa butter, and almond oil with jojoba, avocado, or grapeseed oil. Each variation will result in a slightly different texture and offer unique skin benefits, so feel free to experiment to find what your skin loves most. - How Long Will My Homemade Body Cream Last?
Without synthetic preservatives, this cream should last for about six months when stored in a cool, dark place. The Vitamin E oil acts as a mild, natural preservative. To maximize shelf life, always use clean hands or a small scoop to take cream from the jar to avoid introducing bacteria.
Conclusion
Creating your own body cream is an empowering and straightforward way to take charge of your skincare routine.
By following these steps on how to make body cream, you can craft a pure, nourishing product that is perfectly suited to your needs. You get to avoid harsh chemicals, save money, and enjoy the process of making something wonderful with your own hands.
Give it a try and treat your skin to the luxury of a homemade, all-natural body cream.
About the Author
Jane Hubbard is a passionate beauty expert with a wealth of experience in makeup, hair, and overall beauty techniques. After years of working as a hairdresser specialist, she followed her entrepreneurial spirit and started her own consultancy business.
Jane has always been driven by her desire to help others feel confident in their own skin, and she does this by sharing her knowledge, experiences, and practical beauty tips. Through her consultancy, she empowers individuals to embrace their unique beauty, offering tailored guidance that boosts both self-esteem and personal style.
Professional Focus
- Specializes in makeup, hairstyling, and beauty consulting.
- Provides personalized beauty advice, tips, and techniques to help individuals feel confident in their appearance.
- Dedicated to staying up-to-date with the latest industry trends and developments.
- Passionate about creating a comfortable and empowering experience for every client.
Education History
- University of Craft and Design – Bachelor of Fine Arts (BFA) in Woodworking and Furniture Design
- Woodworking Apprenticeships – Extensive hands-on training with skilled craftsmen to refine carpentry and furniture making techniques
- Online Courses & Masterclasses – Continued education in advanced woodworking techniques, design principles, and specialized tools
Expertise:
- Makeup artistry, hairstyling, and beauty consulting.
- Personalized beauty techniques to enhance confidence and self-expression.
- Educating clients on how to maintain their beauty routines at home.