
The desire for a sun-kissed, healthy glow is timeless, but concerns about sun damage and the chemicals in commercial tanning products have led many to seek safer, more natural alternatives. Creating your own tanning lotion offers a perfect solution, giving you complete control over the ingredients you put on your skin while avoiding the harsh additives often found in store-bought options.
When you embark on the journey of learning how to make tanning cream, you can customize the color, scent, and nourishing properties to perfectly match your skin’s needs. This guide will walk you through the process, from understanding the basic components to applying your finished product for a flawless, natural-looking tan. By embracing a do-it-yourself approach, you can achieve a beautiful glow while simultaneously feeding your skin with wholesome, beneficial ingredients.
Understanding Homemade Tanning Creams
Types of DIY Tanning Creams
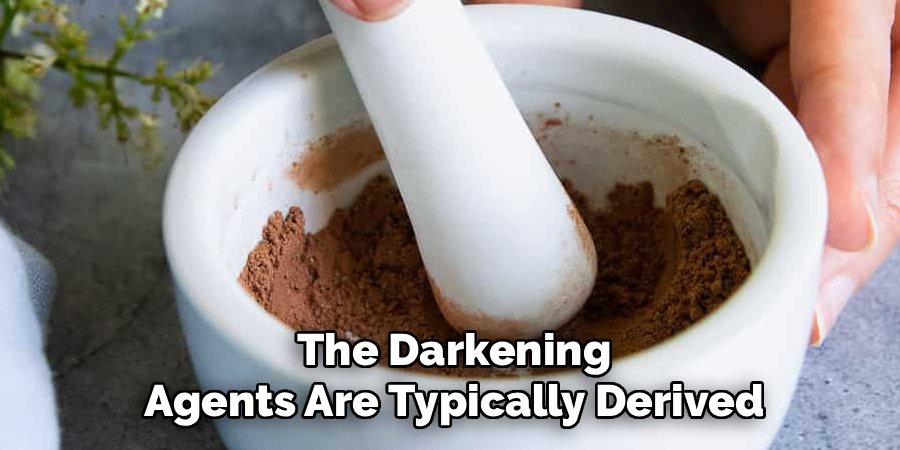
Before you begin mixing, it’s important to understand the two primary categories of homemade tanning creams. The first and most popular type is the sunless tanner. This kind of cream uses natural pigments to temporarily stain the top layer of your skin, creating a tan without any sun exposure. The darkening agents are typically derived from common kitchen ingredients like strongly brewed tea, coffee, or cocoa powder. The resulting color is temporary and fades as your skin naturally exfoliates, making it a safe way to achieve a bronze look year-round.
The second category is the tanning accelerator. Unlike sunless tanners, these creams are designed to be used in conjunction with sun exposure. They do not contain pigments to stain the skin but are formulated with rich, nourishing oils that hydrate the skin and may help enhance the body’s natural melanin production when you are outdoors. These lotions focus on moisturizing and protecting the skin during sunbathing to promote a deeper, more even tan while minimizing dryness. For this guide, we will focus primarily on creating a natural sunless tanner, as it offers a beautiful glow without the risks associated with UV radiation.
Key Ingredients and Their Roles
The beauty of a homemade tanning cream lies in its simplicity and the functionality of each component. At its core, every recipe contains three main types of ingredients. First is the lotion base, which serves as the vehicle for the color and provides moisture. You can use a high-quality, pre-made unscented lotion for convenience, or create your own base from scratch using skin-loving butters like shea butter or cocoa butter, combined with oils such as coconut oil. These butters create a thick, protective barrier that locks in moisture.
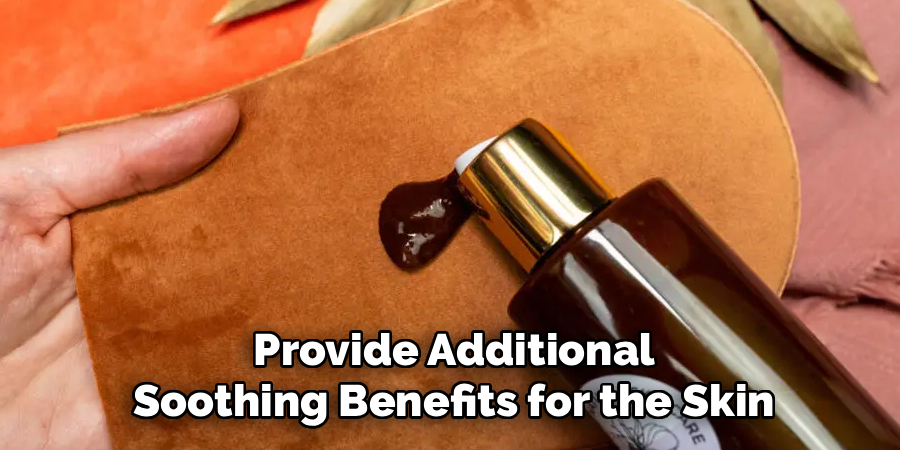
Next is the darkening agent, which is responsible for giving your skin its tanned appearance. For a sunless tanner, this will be a natural pigment. Finely sifted cocoa powder is a popular choice as it mixes well and provides a beautiful, buildable brown hue. Strongly brewed black tea or coffee is also an excellent option; the tannins in these liquids create a natural stain on the skin. Finally, you can include optional nourishing additions to enhance the cream’s benefits. A few drops of vitamin E oil can act as a natural preservative and offer antioxidant properties, while essential oils like lavender or chamomile can add a pleasant, subtle fragrance and provide additional soothing benefits for the skin.
Gathering Your Ingredients and Tools
Essential Ingredient Checklist
To create a basic yet effective sunless tanning cream, you will need a few key ingredients that are likely already in your home or easily found at a health food store. The foundation of your cream is a high-quality, unscented white lotion. Choosing an unscented base is crucial, as added fragrances can sometimes react with the darkening agent or irritate the skin. For your darkening agent, you have a couple of excellent choices. Unsweetened cocoa powder is a fantastic option; ensure it is finely sifted to prevent a gritty texture in your final product. Alternatively, you can use strongly brewed black tea. To prepare this, you would steep several tea bags in a minimal amount of hot water to create a very concentrated liquid. If you are building your cream from raw oils instead of a pre-made lotion, you will also need ingredients like shea butter and coconut oil, which will be melted down to form your base.
Necessary Equipment
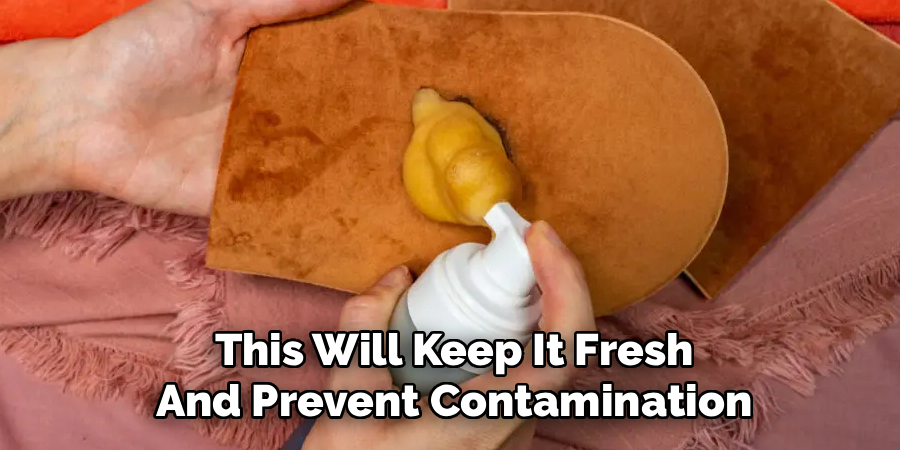
You do not need specialized laboratory equipment to make your own tanning cream; a few common kitchen tools will suffice. You will need a medium-sized mixing bowl to combine your ingredients. A whisk is essential for ensuring the darkening agent is fully incorporated into the lotion base, creating a smooth and uniform color without any lumps or streaks. If you are making a larger batch or using raw butters, a hand mixer can make the whipping process much easier and result in a fluffier texture. Measuring cups and spoons are necessary for accuracy, especially when you are first developing your recipe and want to replicate your results. Finally, you will need an airtight container, such as a glass jar or a plastic tub, to store your finished cream. This will keep it fresh and prevent contamination.
A Step-by-Step Guide on How to Make Tanning Cream
Step 1: Prepare Your Darkening Agent
The first step in creating your sunless tanner is preparing the ingredient that will provide the color. If you are using cocoa powder, measure it out and sift it through a fine-mesh sieve into a small bowl. This step is critical for breaking up any clumps and ensuring the powder will dissolve smoothly into your lotion base, preventing a gritty or streaky application.
If you opt for black tea, you will need to create a highly concentrated infusion. Place about eight black tea bags into a heatproof cup and pour just enough boiling water to cover them—typically around one cup. Let the tea steep for at least 20-30 minutes, or until it has cooled completely. The goal is to extract as much of the dark tannin pigment as possible. Once it has steeped and cooled, squeeze the tea bags thoroughly to get every last drop of concentrated liquid before discarding them. This concentrated tea will be your liquid pigment.
Step 2: Create Your Lotion Base
Next, prepare the lotion that will carry the color. If you are using a pre-made, unscented lotion, simply measure out your desired amount—usually one to two cups—and place it in your main mixing bowl. This is the simplest and quickest method.
If you are creating the base from scratch, you will need a double boiler or a heatproof bowl set over a saucepan of simmering water. Combine equal parts of solid butters and oils, such as a half-cup of shea butter and a half-cup of coconut oil. Gently heat the mixture, stirring occasionally, until all the ingredients have completely melted into a smooth, liquid state. Once melted, remove it from the heat.
Step 3: Combine the Ingredients
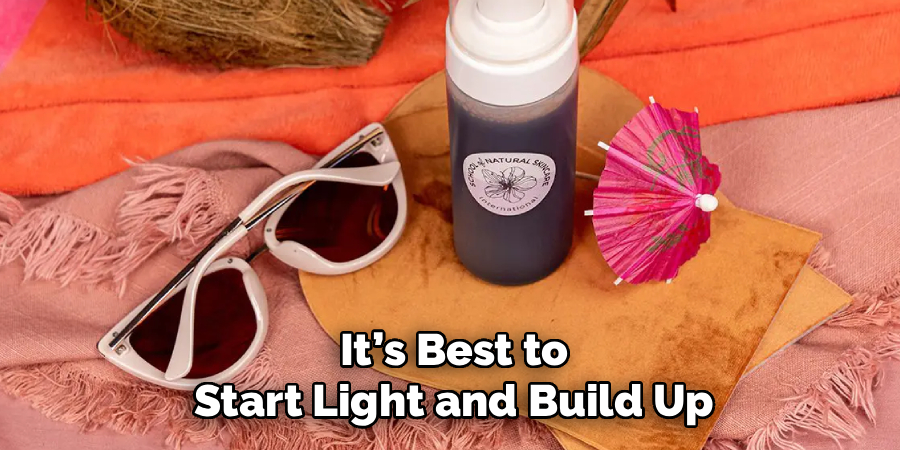
This is where your tanning cream comes to life. Begin adding your prepared darkening agent to the lotion base very gradually. If using cocoa powder, add one tablespoon at a time to your lotion, whisking vigorously after each addition. Continue adding powder until you achieve the desired shade. Remember that the color in the bowl will look much darker than it will appear on your skin, so it’s best to start light and build up.
If using concentrated tea, add it to the lotion one tablespoon at a time while whisking continuously. The liquid will thin the lotion slightly, so be careful not to add too much at once. Whisk until the color is completely uniform, and no swirls or streaks are remaining. The goal is a smooth, homogenous mixture.
Step 4: Customize Your Cream
Once you are happy with the color and consistency, you can add nourishing extras to elevate your cream. This is an optional but highly recommended step. Add about a teaspoon of vitamin E oil, which acts as a powerful antioxidant for your skin and can help prolong the cream’s shelf life. You can also incorporate a few drops of a gentle essential oil for fragrance. Lavender, chamomile, or frankincense are excellent choices as they are known for their skin-soothing properties. Avoid phototoxic oils like lemon or bergamot, especially if you plan to spend any time in the sun. Whisk these final additions in until they are fully blended.
Step 5: Test and Store Your Cream
Before committing to a full-body application, it’s wise to test the color. Apply a small amount of the cream to an inconspicuous area of your skin, like your inner wrist or stomach. Let it sit for several hours to see how the color develops and ensure it works with your skin tone. If it’s too light, you can add more darkening agent to the main batch.
Once you are satisfied with your creation, carefully transfer the cream into your airtight container using a spatula. Store it in a cool, dark place, like a cabinet or drawer. If you used brewed tea in your recipe, the cream will have a shorter shelf life and should be stored in the refrigerator and used within one to two weeks to prevent spoilage.
How to Apply Your Homemade Tanning Cream for a Flawless Finish
Pre-Application Skin Prep
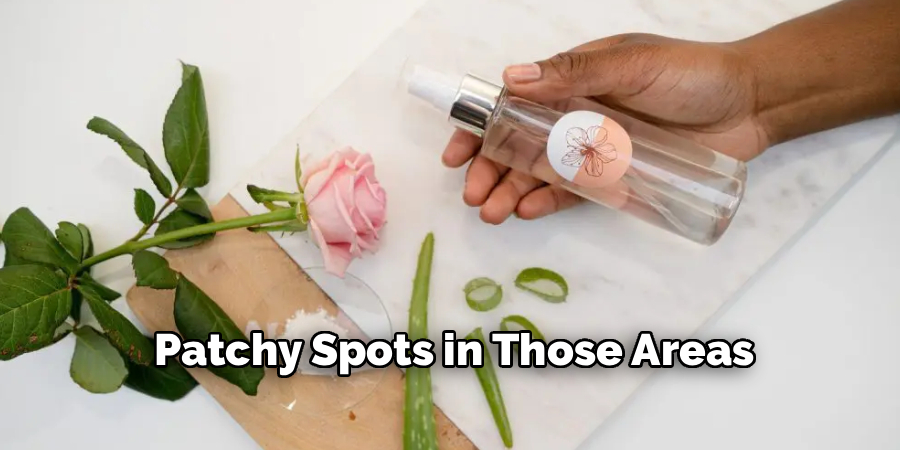
Achieving a smooth, even, and natural-looking tan starts long before you open your jar of homemade cream. The most crucial step is exfoliation. Approximately 24 hours before you plan to apply the tanner, use a gentle body scrub, exfoliating mitt, or dry brush to slough away any dead skin cells. Pay special attention to notoriously dry areas like your knees, elbows, ankles, and heels. Dead skin absorbs more pigment, and skipping this step will result in dark, patchy spots in those areas. After exfoliating, apply a light, regular moisturizer to your entire body to create a hydrated canvas. This ensures the tanning cream will glide on smoothly and be absorbed evenly.
Application Technique
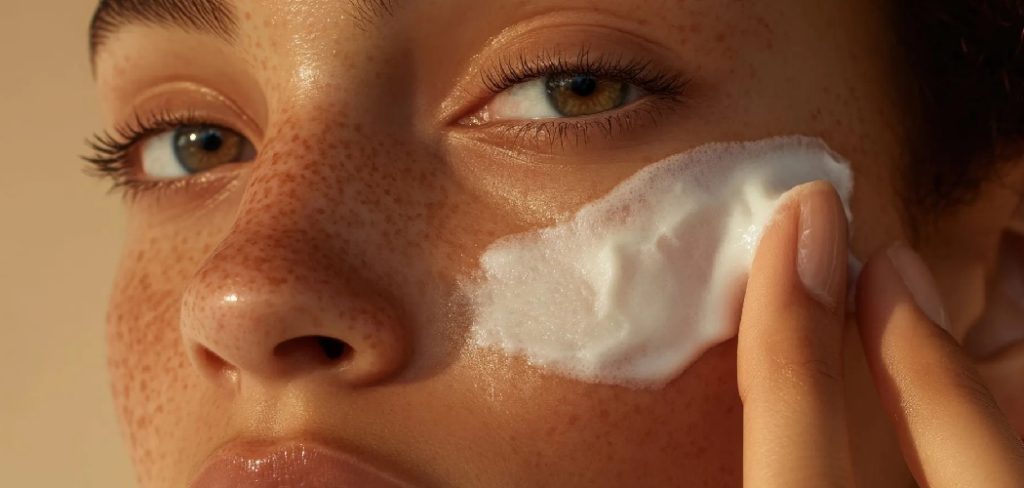
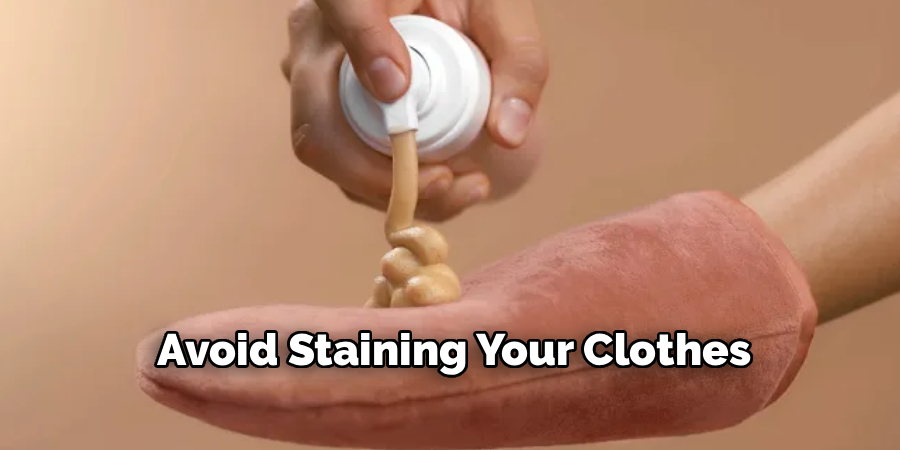
When you are ready to apply your tanning cream, work in a well-lit room to ensure you can see where you are applying the product. For a streak-free result, it is highly recommended to use a tanning mitt. Dispense a small amount of the cream onto the mitt and apply it to your skin in long, sweeping, circular motions. This technique helps to buff the product into the skin and prevents sharp lines. Start with larger areas like your legs and arms, working your way up your body. Use the leftover product on the mitt for areas that tend to grab more color, such as your hands, feet, and face. Apply the cream very sparingly on your knees, elbows, and ankles. After you are finished, allow the cream to dry completely before getting dressed to avoid staining your clothes and smudging your tan.
Customizing Your Tan: Adjusting the Color
Achieving a Deeper Tan
One of the greatest advantages of a DIY tanning cream is the ability to customize the depth of your tan. If your initial test patch comes out too light, you can easily intensify the color. To achieve a deeper tan, simply increase the concentration of your darkening agent. If you are using cocoa powder, add another tablespoon or two to your mixture, whisking thoroughly to incorporate it. If you are using brewed tea, you can create a more potent concentrate by using more tea bags in the same amount of water. It is always best to make these adjustments incrementally, testing the color as you go.
Building Color Gradually
For the most natural and foolproof tan, it is often better to build the color gradually rather than aiming for a dark tan in a single application. Start with a lighter-colored cream and apply it consistently over several days. Each application will add a subtle layer of color, allowing you to slowly build up to your desired shade. This method gives you more control over the final result and significantly reduces the risk of streaks or an unnatural orange hue. Once you have reached the perfect shade, you can maintain it by applying the cream every few days or as needed.
Safety and Shelf Life of Your DIY Cream
Understanding Shelf Life
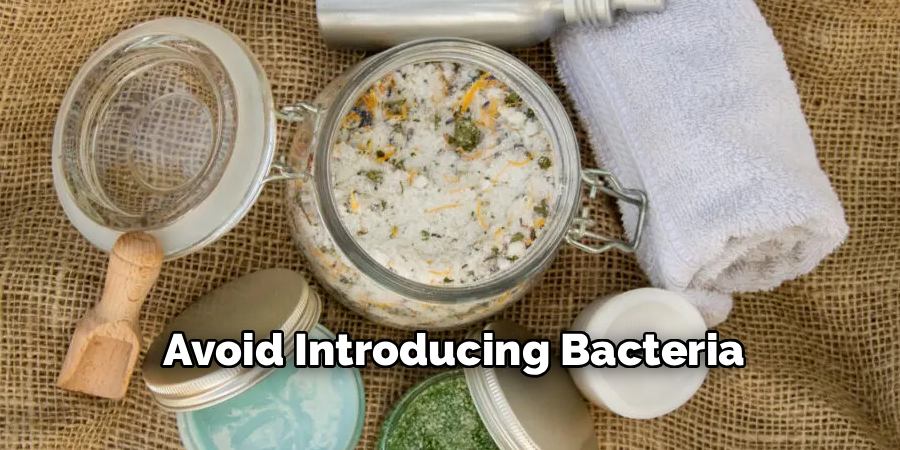
Unlike commercial products loaded with preservatives, your homemade tanning cream has a limited shelf life. The exact duration depends on the ingredients you use. If your recipe is purely oil- and powder-based (e.g., shea butter and cocoa powder), it will be quite stable and can last for several months if stored correctly in a cool, dark place. However, the moment you introduce water-based ingredients, such as brewed tea or aloe vera, the risk of bacterial and mold growth increases dramatically. Creams made with these ingredients must be stored in the refrigerator and should be used within one to two weeks. Always use clean hands or a spatula to remove the cream from its container to avoid introducing bacteria.
Patch Testing for Allergies
Even when using all-natural ingredients, the possibility of an allergic reaction or skin sensitivity still exists. It is essential to perform a patch test before applying the cream to your entire body, especially if you have sensitive skin or known allergies. Apply a small amount of the finished cream to a discreet patch of skin, such as the inside of your elbow or behind your ear. Leave the cream on for at least 24 to 48 hours and monitor the area for any signs of irritation, such as redness, itching, burning, or a rash. If any of these symptoms occur, do not use the cream. This simple step can save you from a widespread and uncomfortable reaction.
Enhancing and Maintaining Your Natural Glow
Moisturize Daily
Once you have achieved your desired tan, the key to making it last is hydration. Your sunless tan exists only on the outermost layer of your skin, which is constantly shedding. The drier your skin, the faster it will exfoliate, and the quicker your tan will fade and become patchy. To prolong the life of your glow, moisturize your entire body daily with a regular, high-quality lotion. This keeps your skin supple and slows down the natural exfoliation process, helping your tan fade more evenly and last several days longer.
Gentle Cleansing
How you wash your skin can also impact the longevity of your tan. Harsh soaps, especially those with sulfates, can strip the color from your skin prematurely. When you shower, opt for a gentle, sulfate-free body wash. Use your hands to lather the soap rather than an abrasive loofah or washcloth, which can scrub your tan away. When you get out of the shower, gently pat your skin dry with a soft towel instead of rubbing vigorously. These small adjustments will help preserve the color you worked to build and keep your skin looking beautifully sun-kissed for as long as possible.
Conclusion
Creating your own tanning cream is a rewarding process that puts you in full command of your skincare. It allows you to achieve a beautiful, healthy-looking glow without exposing your skin to harmful UV rays or the questionable chemicals found in many commercial products. By following a few simple steps and understanding the role of each natural ingredient, you can craft a product that is perfectly tailored to your skin tone and preferences. Knowing how to make tanning cream is more than just a fun DIY project; it is an empowering step toward a more natural and personalized beauty routine. Enjoy the creative process, relish the peace of mind that comes with using wholesome ingredients, and embrace the radiant, natural-looking glow you’ve created all on your own.
About the Author
Jane Hubbard is a passionate beauty expert with a wealth of experience in makeup, hair, and overall beauty techniques. After years of working as a hairdresser specialist, she followed her entrepreneurial spirit and started her own consultancy business.
Jane has always been driven by her desire to help others feel confident in their own skin, and she does this by sharing her knowledge, experiences, and practical beauty tips. Through her consultancy, she empowers individuals to embrace their unique beauty, offering tailored guidance that boosts both self-esteem and personal style.
Professional Focus
- Specializes in makeup, hairstyling, and beauty consulting.
- Provides personalized beauty advice, tips, and techniques to help individuals feel confident in their appearance.
- Dedicated to staying up-to-date with the latest industry trends and developments.
- Passionate about creating a comfortable and empowering experience for every client.
Education History
- University of Craft and Design – Bachelor of Fine Arts (BFA) in Woodworking and Furniture Design
- Woodworking Apprenticeships – Extensive hands-on training with skilled craftsmen to refine carpentry and furniture making techniques
- Online Courses & Masterclasses – Continued education in advanced woodworking techniques, design principles, and specialized tools
Expertise:
- Makeup artistry, hairstyling, and beauty consulting.
- Personalized beauty techniques to enhance confidence and self-expression.
- Educating clients on how to maintain their beauty routines at home.