
Retinol is widely celebrated as the gold standard for anti-aging skincare, but applying it to the delicate eye area requires a gentle touch and specific knowledge to avoid irritation. Many people shy away from using powerful active ingredients near their eyes, yet this is often where the very first signs of aging, like crow’s feet and fine lines, begin to appear on our faces.

By mastering the correct application techniques, you can safely harness the transformative power of vitamin A to smooth texture and brighten dark circles without compromising your skin barrier. This guide on how to use retinol eye cream provides a safe roadmap to incorporating this potent ingredient into your nightly routine, ensuring you wake up looking refreshed and radiant rather than red and sensitive.
Understanding Retinol Eye Cream
Retinol eye creams are specialized formulations designed to deliver the potent benefits of vitamin A—such as increased collagen production and faster cell turnover—specifically to the thinnest skin on your body. Unlike standard facial retinoids, which can be too harsh for the orbital area, these eye-specific products often contain encapsulated retinol or lower concentrations mixed with soothing buffers like ceramides and hyaluronic acid. Using them consistently can dramatically reduce the appearance of fine lines, wrinkles, and hyperpigmentation while thickening the dermis over time.
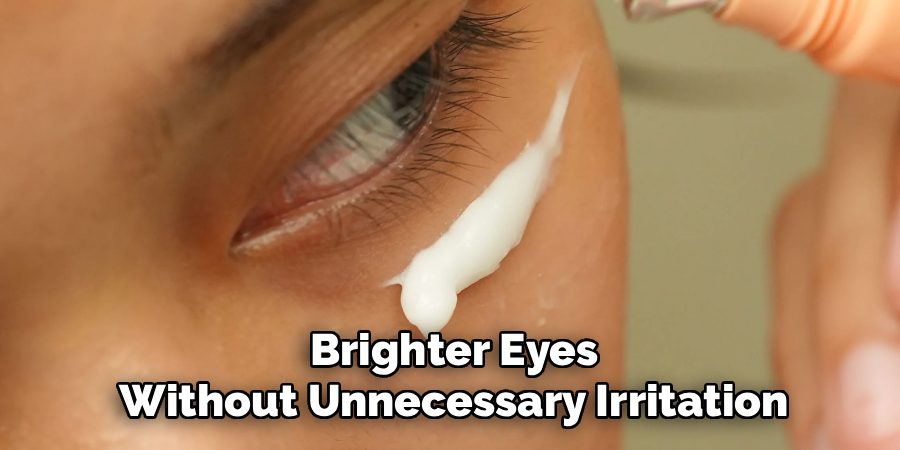
However, patience is key, as the skin around the eyes has fewer oil glands and is more prone to dryness, meaning the acclimation process might take longer than it does for the rest of your face. Understanding this balance between potency and protection is crucial for achieving youthful, brighter eyes without unnecessary irritation.
Tools and Materials You’ll Need
Before diving into the steps of using retinol for your eyes, it’s important to have the necessary tools and materials. Here are some items you should have on hand:
- Eye cream or eye serum with retinol
- Gentle facial cleanser
- Face cloth or soft washcloth
- Moisturizer (optional)
Having all of these materials ready will make the process of incorporating retinol into your eye care routine much easier.
7 Simple Step-By-Step Guidelines on How to Use Retinol Eye Cream
Step 1: Start with a Clean Slate
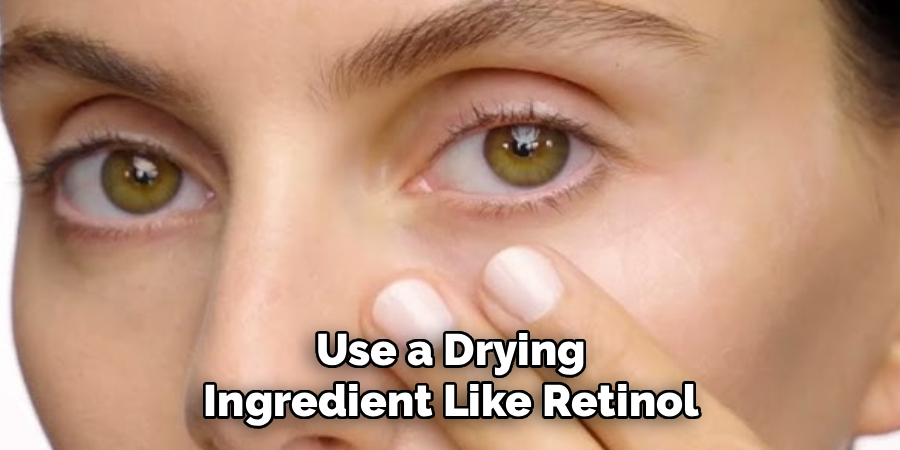
Before applying any active ingredients, it is imperative that your skin is completely free of makeup, dirt, and environmental pollutants that accumulate throughout the day. Use a gentle, fragrance-free cleanser that washes away impurities without disrupting your skin’s natural moisture barrier or leaving a residue. Gently massage the cleanser around your face, being careful not to tug at the delicate eye area, and rinse thoroughly with lukewarm water. Hot water can strip essential oils and exacerbate dryness, which is exactly what you want to avoid when preparing to use a drying ingredient like retinol.
Once your face is clean, carefully pat it dry with a soft, clean towel—do not rub. It is critical to wait until your skin is completely dry before moving on to the next step, as applying retinol to damp skin can increase its absorption rate significantly. While better absorption sounds positive, in the case of retinoids, it often leads to deeper penetration than intended, resulting in stinging, redness, and unnecessary irritation. Ensuring your skin is bone-dry acts as a natural safety buffer for the sensitive skin around your eyes.
Step 2: Apply a Moisturizing Buffer
For those who are new to retinol or have particularly sensitive skin, creating a protective barrier before applying the active ingredient is a game-changing technique often recommended by dermatologists. Take a small amount of a basic, hydrating eye cream or your standard facial moisturizer and lightly dab it around the orbital bone. This layer serves as a buffer that slows down the absorption of the retinol, allowing your skin to receive the benefits without being overwhelmed by the potency of the vitamin A all at once.
This “sandwich method”—moisturizer, retinol, moisturizer—is incredibly effective at mitigating the common side effects known as “retinization,” such as flaking and peeling. By hydrating the skin first, you ensure that the moisture barrier remains intact, which keeps the skin plump and resilient. Allow this first layer of moisturizer to absorb fully for about one to two minutes so that it doesn’t dilute the retinol you are about to apply, but simply prepares the canvas for safe and effective treatment.
Step 3: Measure the Correct Amount
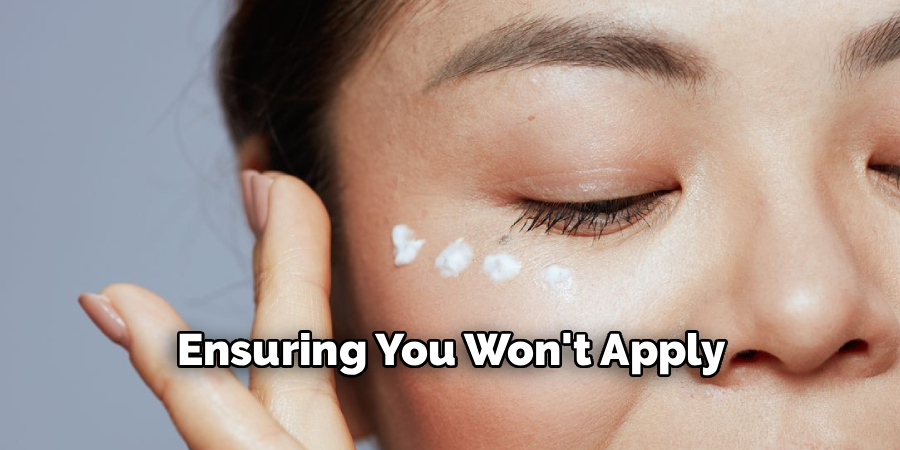
One of the biggest misconceptions about skincare is that more product equals faster results, but with potent ingredients like retinol, less is decidedly more. You only need a pea-sized amount of retinol eye cream for both eyes combined—roughly half a pea size per eye. Squeeze this small amount onto your ring finger, which is naturally the weakest finger on your hand, ensuring you won’t apply too much pressure during application.
Using too much product won’t erase wrinkles faster; instead, it will likely lead to contact dermatitis, redness, and an uncomfortable burning sensation that could force you to stop using the product entirely. Consistency over time is far more valuable than the quantity applied in a single night. By strictly adhering to this small amount, you allow your skin to build tolerance gradually, maximizing the long-term anti-aging benefits while keeping adverse reactions to an absolute minimum.
Step 4: Dot the Product Around the Orbital Bone
Once you have the correct amount of product on your ring finger, gently press it against the ring finger of your other hand to distribute the cream evenly between them. Next, gently tap small dots of the cream along the orbital bone—the hard bone you can feel around your eye socket. Start from the inner corner of the under-eye area, moving outwards towards the temples, and then up along the brow bone, creating a “C” shape around each eye.
Avoid placing the product directly on your eyelids or too close to the lash line unless the specific product instructions explicitly state it is safe to do so. Retinol naturally migrates or travels slightly across the skin as it warms up and absorbs. By placing it on the orbital bone, you ensure that the product will spread effectively to the targeted areas without getting into the eye itself, which could cause stinging and blurred vision. This strategic placement targets crow’s feet and under-eye bags safely.
Step 5: Gently Massage the Cream In
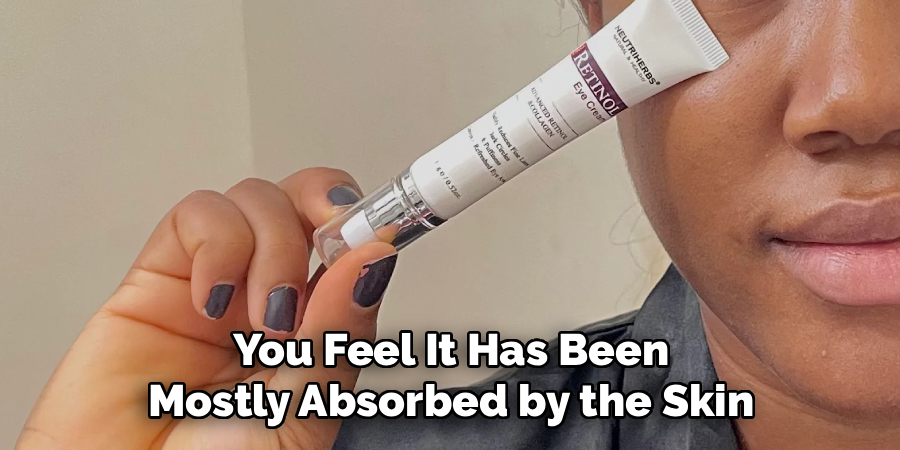
Using that same gentle ring finger, begin to connect the dots you applied in the previous step using a soft, patting motion. Do not drag, pull, or rub the skin, as the mechanical stress of tugging can actually contribute to the formation of looser skin and wrinkles over time. Instead, think of it as pressing the product into the skin so it can be absorbed properly. Continue this light tapping motion until the white cream disappears and you feel it has been mostly absorbed by the skin.
This tapping technique also has the added benefit of stimulating lymphatic drainage, which can help reduce puffiness around the eyes. Be patient and take your time; the goal is to treat this area with the utmost care. If you feel you have excess product on your finger, extend the application out towards your temples, where smile lines and crow’s feet tend to deepen. This ensures you are treating the entire area that is prone to dynamic wrinkles without overloading the delicate skin directly beneath the eye.
Step 6: Seal with a Final Layer of Moisture
If you are using the “sandwich method” mentioned earlier, or if your skin generally leans towards the dry side, it is highly beneficial to follow up your retinol application with another layer of moisturizer. Wait a few minutes for the retinol to fully sink in, then apply a rich, nourishing cream over the top. This final step functions as an occlusive seal, locking in the active ingredients and preventing transepidermal water loss throughout the night.
Retinol increases cell turnover, a process that can be drying, so compensating with extra hydration is essential for maintaining a healthy skin barrier. Look for ingredients like ceramides, peptides, or squalane in your top layer, as these repair and soothe the skin. By sealing everything in, you mitigate the risk of waking up with dry, flaky patches, ensuring your skin remains soft and supple while the retinol works its magic deep within the dermis to stimulate collagen production.
Step 7: Apply Sunscreen the Next Morning
The final and perhaps most critical step of using retinol eye cream actually happens the following morning. Retinol works by exfoliating the skin and bringing new, fresh cells to the surface, which makes your skin significantly more sensitive to sunlight and UV damage. Failing to protect this new skin can reverse all the anti-aging benefits you are trying to achieve and even lead to more hyperpigmentation and sun damage.
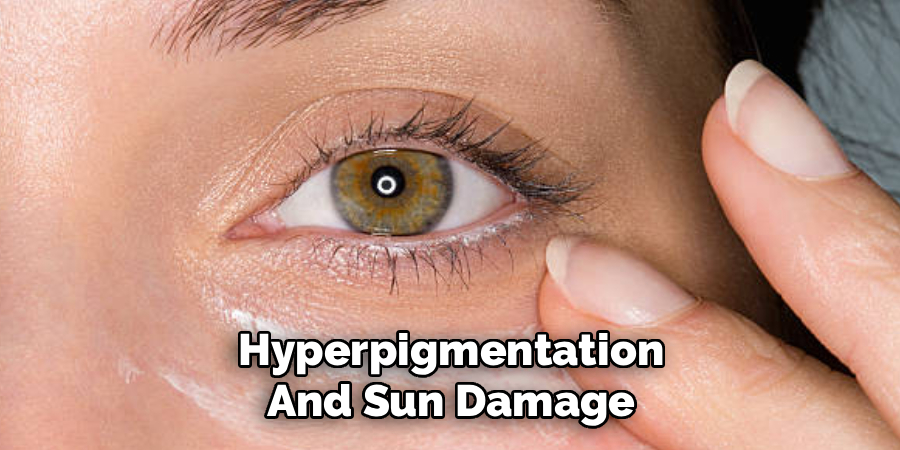
You must apply a broad-spectrum sunscreen with an SPF of at least 30 every single morning, regardless of whether it is sunny or cloudy outside. Make sure to gently apply the sunscreen around the eye area, or use sunglasses for physical protection if your eyes are sensitive to chemical sunscreens. Treating retinol as a nighttime-only commitment is a mistake; it is a 24-hour cycle that requires diligent sun protection during the day to ensure the results are safe, effective, and long-lasting.
Following these steps on how to use retinol eye cream can help you achieve brighter, smoother and more youthful-looking eyes. Additionally, it is important to mention that results may vary from person to person due to individual skin types and conditions.
Tips for Beginners
If you are completely new to the world of retinol, the most important rule is to start slowly and listen to your skin. Dermatologists recommend a “low and slow” approach: start by applying your retinol eye cream only one or two nights a week for the first fortnight. If your skin tolerates this well without redness or peeling, increase usage to every other night for another few weeks before eventually attempting nightly application.
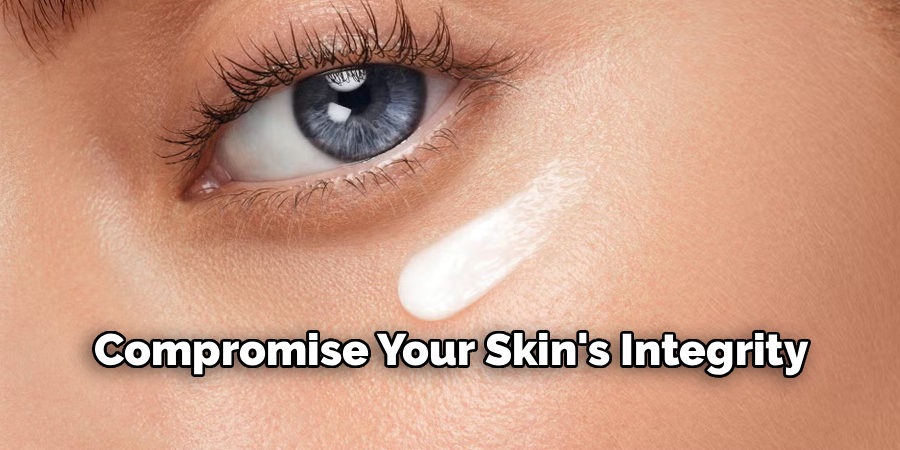
Always prioritize barrier health over frequency; if you notice any stinging, skip a few days and focus solely on hydration until your skin recovers. Additionally, avoid using other strong active ingredients, such as exfoliating acids (AHAs/BHAs) or benzoyl peroxide, in the same routine as your retinol, as this combination can lead to severe irritation and compromise your skin’s integrity.
Common Mistakes to Avoid
A frequent error is applying retinol to damp skin, which enhances penetration too deeply and causes unnecessary irritation. Another mistake is using a face retinol around the eyes instead of a specific eye formula; facial products are often too potent for thin eye skin.
Many users also give up too quickly when they don’t see immediate results, forgetting that retinol takes at least 12 weeks to show visible changes. Finally, neglecting neck and temple areas is common—ensure you blend outwards to treat all surrounding fine lines.
Frequently Asked Questions
Q1: Can I Use Retinol Eye Cream In The Morning?
A1: Generally, it is best to use retinol eye cream exclusively at night because sunlight degrades vitamin A, rendering it less effective and potentially unstable. Furthermore, because retinol brings fresh, delicate skin cells to the surface, applying it in the morning increases your vulnerability to UV damage immediately after application. While some newer formulations claim to be photostable for daytime use, sticking to a nighttime routine is the safest bet to maximize anti-aging results while minimizing the risk of sun sensitivity and irritation.
Q2: What Should I Do If My Skin Gets Red Or Flaky?
A2: If you experience redness, flaking, or a stinging sensation, stop using the retinol product immediately and switch to a gentle, recovery-focused routine. Focus on using fragrance-free cleansers and rich barrier-repairing moisturizers containing ceramides and hyaluronic acid to heal the skin. Do not attempt to “push through” the irritation, as this can damage your moisture barrier; instead, wait until your skin has completely healed, and then reintroduce the retinol at a much lower frequency, perhaps mixing it with moisturizer to dilute its strength.

Conclusion
Incorporating retinol eye cream into your skincare regimen is a proven strategy for maintaining youthful, vibrant eyes, but it demands respect and consistency. By choosing the right product, applying it with care, and adhering to the “low and slow” philosophy, you can smooth fine lines and brighten the eye area effectively.
Remember that skincare is a marathon, not a sprint; patience and diligent sun protection are your best allies in achieving lasting results. Thanks for reading this guide on how to use retinol eye cream.
About the Author
Jane Hubbard is a passionate beauty expert with a wealth of experience in makeup, hair, and overall beauty techniques. After years of working as a hairdresser specialist, she followed her entrepreneurial spirit and started her own consultancy business.
Jane has always been driven by her desire to help others feel confident in their own skin, and she does this by sharing her knowledge, experiences, and practical beauty tips. Through her consultancy, she empowers individuals to embrace their unique beauty, offering tailored guidance that boosts both self-esteem and personal style.
Professional Focus
- Specializes in makeup, hairstyling, and beauty consulting.
- Provides personalized beauty advice, tips, and techniques to help individuals feel confident in their appearance.
- Dedicated to staying up-to-date with the latest industry trends and developments.
- Passionate about creating a comfortable and empowering experience for every client.
Education History
- University of Craft and Design – Bachelor of Fine Arts (BFA) in Woodworking and Furniture Design
- Woodworking Apprenticeships – Extensive hands-on training with skilled craftsmen to refine carpentry and furniture making techniques
- Online Courses & Masterclasses – Continued education in advanced woodworking techniques, design principles, and specialized tools
Expertise:
- Makeup artistry, hairstyling, and beauty consulting.
- Personalized beauty techniques to enhance confidence and self-expression.
- Educating clients on how to maintain their beauty routines at home.