
Lash extensions are a fantastic way to achieve long, voluminous lashes without the daily hassle of mascara. However, sometimes you might find yourself wanting a bolder, more dramatic look, especially between fills. Perhaps your natural lashes are very light, or the extensions have faded slightly over time due to wear and tear. If you are wondering how to make lash extensions look darker, you have come to the right place.
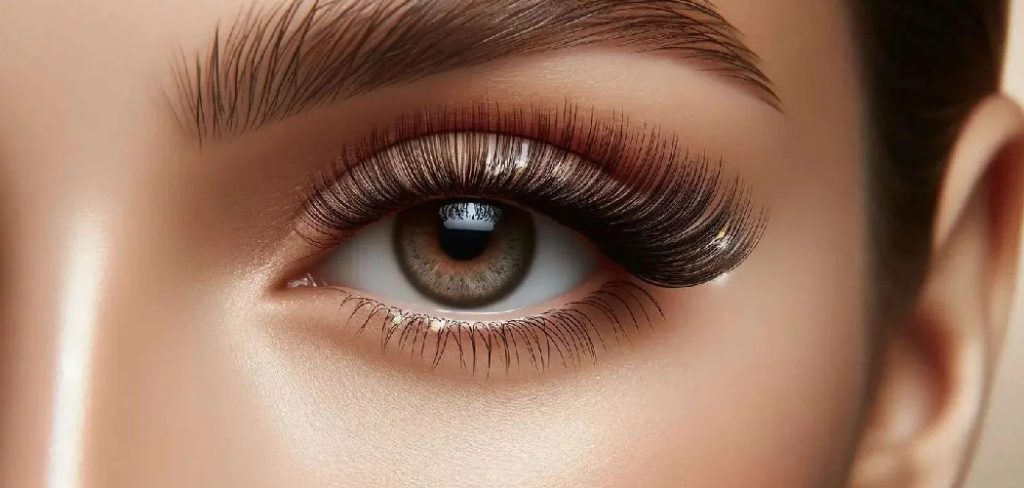
Achieving that fresh, deep black finish is possible with the right techniques and products that are safe for your delicate eye area. This guide will walk you through simple, lash-artist-approved methods to safely enhance the color and intensity of your lash extensions. We will ensure they look stunningly full and dark without compromising their longevity or causing premature shedding. By following these steps, you can maintain that salon-fresh look right from the comfort of your home.
When it comes to maintaining the flawless look of your lash extensions, proper care and attention are essential. With a few simple steps, you can keep them looking vibrant and dramatic while preserving their health. This guide is designed to help you achieve maximum impact for your lashes, focusing on safe, effective methods to keep them looking their best. Whether you’re new to lash extensions or a seasoned pro, these tips will help you enhance their appearance and maintain their salon-quality finish for as long as possible.
Why Lash Extensions May Lose Their Darkness
Before diving into the solutions, it is helpful to understand why your lashes might not look as bold as they did on day one. Several factors contribute to extensions losing their luster or appearing less dark over time. The most common culprit is simply the accumulation of daily debris. Makeup residue, natural facial oils, dead skin cells, and even dust can settle onto the lash fibers. This creates a grayish or dull film that masks the true deep black pigment of the synthetic lash.
Additionally as your natural lashes grow out, the extensions move further away from the lash line. This gap can make the lash line appear less dense and therefore less dark. Sometimes, the issue isn’t fading but rather the contrast between your natural lash color and the extension. If you have fair natural lashes, the roots might show through as they grow, diluting the overall dark effect. Understanding these causes is the first step in revitalizing your look and bringing back that intense drama you love.
7 Step-by-Step Guide: How To Make Lash Extensions Look Darker
Step 1: Clean Your Lashes Thoroughly
The absolute foundation of reviving the deep color of your extensions is starting with a completely clean base. Over time, makeup residue, natural oils, and dust build up on your lashes, creating a dull, matte film that masks their true darkness. Using a specially formulated, oil-free lash cleanser is essential for maintaining both the look and health of your extensions.
You must gently work the cleanser through your lashes with a soft cleansing brush, moving from base to tip, to dissolve any buildup without weakening the adhesive bond. Proper cleansing not only enhances their appearance immediately by removing the greyish cast but is also vital for overall lash health. It prevents potential infections and ensures your extensions last longer, giving you a fresh canvas for any further enhancements.
Step 2: Use an Extension-Safe Coating Sealant
One of the most effective ways to add immediate depth and shine is by applying a clear or black-tinted protective coating sealant. These products are specifically designed for lash extensions and work by adding a glossy layer that rejuvenates the fiber’s appearance. A black sealant specifically can deposit a subtle tint that reinforces the dark color of the lashes while simultaneously locking the adhesive in place.
When you apply this product, you are essentially refreshing the surface of the extension, making it look hydrated and bold. You should apply the sealant sparingly to the base and length of the lashes, being careful not to over-saturate them, which could cause clumping. This simple step acts like a topcoat for nail polish, reviving the look instantly while offering protection against oil and moisture.
Step 3: Apply an Oil-Free Lash Serum
While many people associate serums with growth, certain oil-free formulas are excellent for conditioning the lashes and adding a healthy sheen that translates to darkness. Dry, brittle extensions can look lighter because they reflect light unevenly. By keeping the lashes conditioned with a specialized serum, you ensure the fibers remain smooth and glossy, which naturally makes them appear darker and richer.
You must verify that the serum is 100% compatible with lash adhesive, as any oil content will dissolve the glue and cause premature shedding. Apply the serum carefully along the lash line and gently sweep it through the lashes. This hydration helps the extensions maintain their structural integrity and deep color, preventing that chalky, faded look that often occurs with older extensions.
Step 4: Utilize Water-Based Mascara Specifically for Extensions
If cleansing and sealing aren’t providing enough drama, you can opt for a mascara made strictly for lash extensions. Regular mascaras contain oils and waxes that are impossible to remove without damaging the extensions, but water-based formulas are safe to use sparingly. When you apply this specific type of mascara, focus on the tips of the lashes rather than the base to avoid creating a buildup that is difficult to clean.
This adds instant volume and pigment, effectively darkening the overall look of your set. You should use a light hand and layer slowly to prevent clumping, which can pull on the natural lashes. This is an excellent temporary fix for special occasions when you need that extra pop of color and intensity without committing to a permanent change.
Step 5: Fill in the Lash Line with Oil-Free Eyeliner
Sometimes the lack of darkness isn’t the lashes themselves but the gaps in the lash line. Using an oil-free, liquid, or gel eyeliner to tightline or fill in the spaces between the roots can create the illusion of a much denser, darker lash line. This technique mimics the look of a fresh fill by closing up any visible skin between the extensions. You must be extremely gentle when applying the liner to avoid tugging on the extensions or disrupting the adhesive bond.
Avoid pencil liners, as they often contain waxes that can get stuck in the lashes and are hard to remove. By darkening the skin at the base of the lashes, you create a solid backdrop that makes the extensions stand out and appear significantly fuller and blacker by contrast.
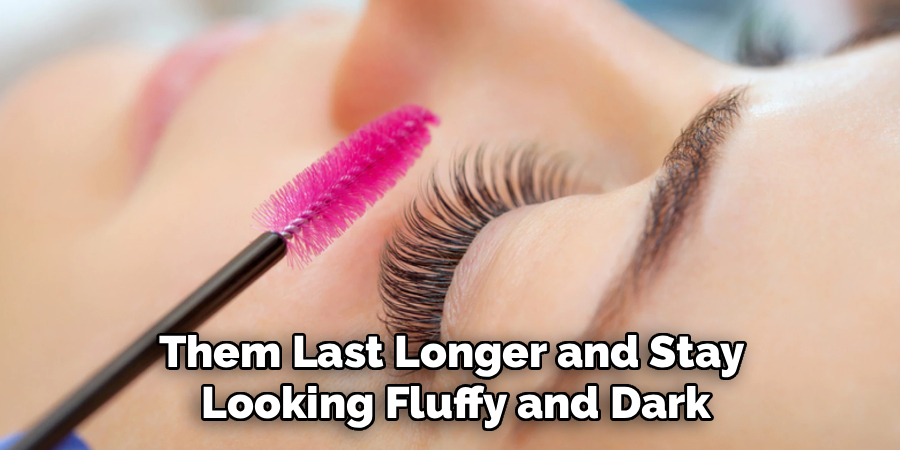
Step 6: Brush Your Lashes Daily with a Spoolie
It might seem simple, but regular brushing is crucial for maintaining the dark, fluffy appearance of your extensions. When lashes get tangled or crisscrossed, they can look messy and less defined, which detracts from their density and color. By using a clean spoolie brush every morning and after washing your face, you separate the lashes and ensure they are all facing the correct direction.
This alignment maximizes the surface area of the black fibers, creating a uniform and solid wall of color. You should support the lashes from underneath with your finger and gently roll the brush through the tips to fluff them up. This daily grooming habit keeps the set looking tidy and full, which naturally enhances the perception of darkness and volume without adding any product at all.
Step 7: Schedule a Fill Appointment Sooner
Ultimately, the most effective method for restoring maximum darkness is to replenish the extensions themselves. As natural lashes shed and grow out, the set loses density, which inevitably makes it look lighter and sparser. Scheduling your fill appointments a few days or a week earlier than usual ensures that your lash line remains constantly full. During a fill, your lash artist removes outgrown extensions and replaces them with fresh, dark ones close to the lash line.
This keeps the density high and the color intense. If you constantly feel your lashes aren’t dark enough, discussing a tighter maintenance schedule with your artist is a proactive solution. It guarantees you never reach that “faded” stage and keeps your eyes looking consistently bold and beautiful.
Frequently Asked Questions
Can I Use Regular Mascara On My Lash Extensions?
No, you should never use regular waterproof or oil-based mascara on extensions. The oils will break down the adhesive, causing lashes to fall out prematurely. Additionally, the waterproof formulas require scrubbing to remove, which damages natural lashes. Only use water-based mascaras specifically formulated for lash extensions to ensure longevity.
How Often Should I Clean My Lash Extensions?
You should clean your lash extensions daily. Daily cleansing removes oils, dead skin, and makeup residue that can break down the adhesive and cause blepharitis (eyelid inflammation). A gentle, oil-free foaming cleanser is best. keeping them clean actually helps them last longer and stay looking fluffy and dark.
Will Tinting My Natural Lashes Help Them Look Darker?
Yes, tinting your natural lashes before getting extensions can help, especially if you have blonde or light-colored natural lashes. A tint dyes your natural hairs black, so they blend seamlessly with the black extensions. This creates a uniform, dark look and prevents light roots from showing through as they grow.
Why Do My Lashes Look Grey Or Dusty?
Lashes often look grey or dusty due to a buildup of makeup residue, eyeshadow fall-out, or dead skin cells. This accumulation coats the black fibers, dulling their shine. A thorough wash with a dedicated lash cleanser and a fluffy brush usually restores their deep black color and glossy finish immediately.
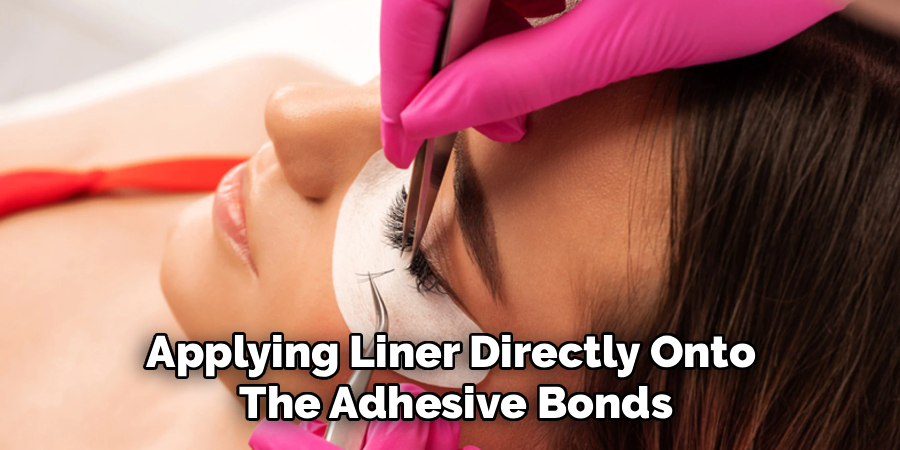
Is It Safe To Use Eyeliner With Lash Extensions?
Yes, you can use eyeliner, provided it is oil-free and easy to remove. Liquid or felt-tip liners are generally safer than wax-based pencils or gel pots. Avoid applying liner directly onto the adhesive bonds, and always remove it gently at the end of the day to prevent buildup and potential infection.
Conclusion
maintaining that deep, dramatic look with your lash extensions doesn’t have to be a struggle. By understanding the causes of fading and implementing a solid care routine, you can keep your eyes looking captivating between appointments. From proper cleansing to using the right enhancing products, these small steps make a massive difference in the longevity and aesthetics of your set. Remember, the goal is to protect your investment while achieving the look you desire. We hope this guide on how to make lash extensions look darker empowers you to take control of your lash maintenance. Try incorporating these tips into your daily beauty regimen, and enjoy the confidence that comes with having flawlessly dark, voluminous lashes every single day.
About the Author
Jane Hubbard is a passionate beauty expert with a wealth of experience in makeup, hair, and overall beauty techniques. After years of working as a hairdresser specialist, she followed her entrepreneurial spirit and started her own consultancy business.
Jane has always been driven by her desire to help others feel confident in their own skin, and she does this by sharing her knowledge, experiences, and practical beauty tips. Through her consultancy, she empowers individuals to embrace their unique beauty, offering tailored guidance that boosts both self-esteem and personal style.
Professional Focus
- Specializes in makeup, hairstyling, and beauty consulting.
- Provides personalized beauty advice, tips, and techniques to help individuals feel confident in their appearance.
- Dedicated to staying up-to-date with the latest industry trends and developments.
- Passionate about creating a comfortable and empowering experience for every client.
Education History
- University of Craft and Design – Bachelor of Fine Arts (BFA) in Woodworking and Furniture Design
- Woodworking Apprenticeships – Extensive hands-on training with skilled craftsmen to refine carpentry and furniture making techniques
- Online Courses & Masterclasses – Continued education in advanced woodworking techniques, design principles, and specialized tools
Expertise:
- Makeup artistry, hairstyling, and beauty consulting.
- Personalized beauty techniques to enhance confidence and self-expression.
- Educating clients on how to maintain their beauty routines at home.