
Liquid blush is a game-changer for achieving that dewy, “lit-from-within” glow. Unlike powders that can sometimes sit on top of the skin, liquid formulas melt in, creating a seamless and natural-looking flush of color. While many people reach for brushes or sponges, the best tool for the job is often right at your fingertips—literally. Your fingers provide the perfect amount of warmth to help the product blend effortlessly into your skin for a second-skin finish.
However, the highly pigmented nature of these blushes can be intimidating for beginners, who fear ending up with clown-like streaks. This guide is here to demystify the process and show you exactly how to apply liquid blush with fingers for a flawless, radiant complexion every single time.
Liquid blush is a game-changer for achieving that natural, lit-from-within glow, but getting the application just right can make all the difference. With a few simple tips and techniques, you can master the art of using your fingers to lightly dab and diffuse the product for a look that complements your unique features. The secret lies in building the color gradually and blending seamlessly, ensuring a soft, radiant finish that enhances your complexion.
How to Apply Liquid Blush with Fingers: A Step-by-Step Guide
Step 1: Prep Your Skin for a Smooth Canvas
The key to a seamless blush application is a well-prepped base. Start with your usual skincare routine, ensuring your face is clean and moisturized. Hydrated skin prevents the blush from clinging to dry patches and looking blotchy. After your moisturizer has fully absorbed, apply your foundation or tinted moisturizer as you normally would.
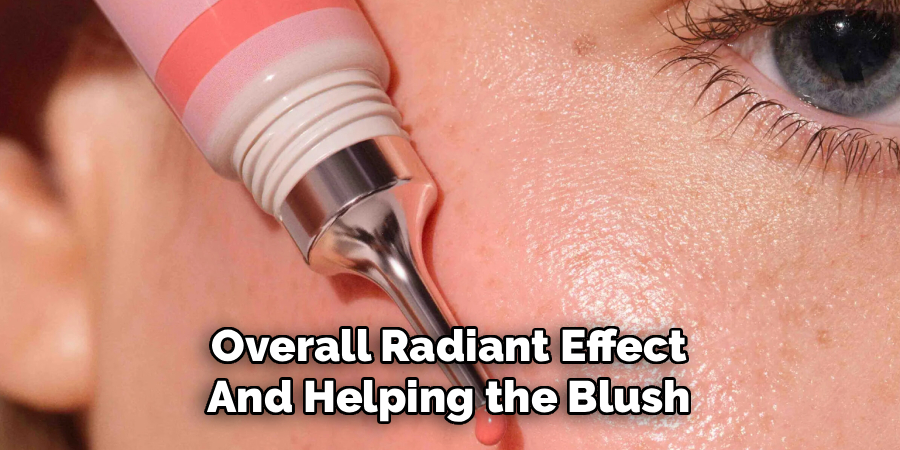
If you use a setting powder, it is best to apply it after your liquid blush. Applying a liquid over a powder can cause the products to pill and create a cakey, uneven texture. A dewy or satin-finish foundation works particularly well with liquid formulas, enhancing the overall radiant effect and helping the blush blend beautifully.
Step 2: The Back-of-Hand Palette
Liquid blushes are famously pigmented, meaning a little goes a very long way. To avoid applying too much product directly to your face, dispense a small amount onto the back of your hand first. The back of your hand will act as your artist’s palette, giving you complete control over how much product you pick up.
For a doe-foot applicator, one or two small dots are plenty. If it is a pump, start with less than half a pump. Using your hand as a palette also allows the product to warm up slightly, which makes it even easier to blend when you transfer it to your cheeks. This simple habit is the number one rule for preventing those dreaded splotchy blush mistakes.
Step 3: Pick Up the Product with Your Ring Finger
When it comes to finger application, not all fingers are created equal. Your index finger tends to be the strongest and can easily apply too much pressure, leading to a heavy-handed application. Instead, use your ring finger or middle finger to pick up the blush from your hand-palette.
These fingers have a naturally lighter touch, which is ideal for building color gradually and achieving a soft, diffused look. Gently tap your chosen finger into the blush on the back of your hand. You want just a thin, even layer of product on your fingertip before you move to your face. This controlled approach is a core part of learning how to apply liquid blush with fingers.
Step 4: Dot the Blush onto the Apples of Your Cheeks
Now it is time to place the color. The classic placement for a youthful, healthy glow is on the apples of your cheeks. To find them, simply smile genuinely into the mirror; the round, plump part that pops up is your target. Using your ring finger, gently dot the blush onto the apples of your cheeks. Start with two or three small dots.
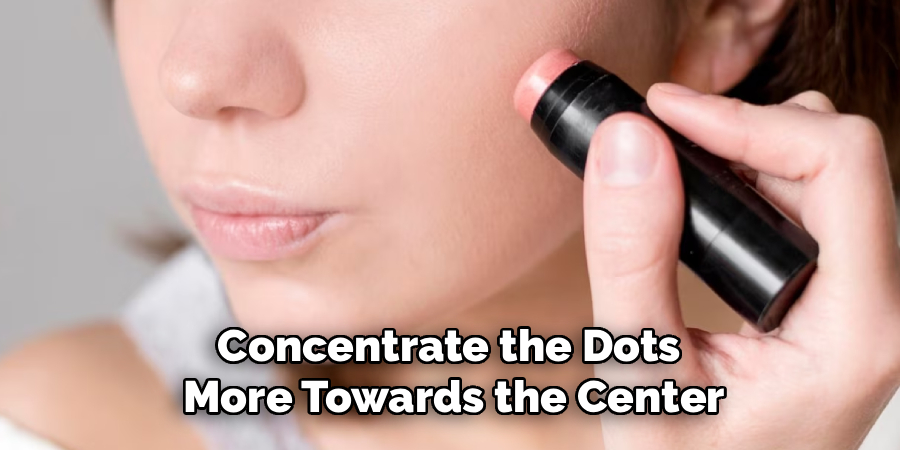
The placement of these dots is important. For a more lifted look, place the dots slightly higher, along the upper curve of your cheekbones. For a fuller, sun-kissed look, concentrate the dots more towards the center of your face. It is always better to start with less and add more if needed.
Step 5: Tap and Blend
This is the most crucial step: blending. Using a clean ring finger, begin to gently tap over the dots of blush. Use a light, stippling motion rather than a rubbing or swiping one. Rubbing can move your foundation underneath and create streaks. The tapping motion presses the product into the skin, melting it seamlessly with your base.
Start by tapping the dots to spread them out, then continue tapping around the edges to diffuse the color and blur any harsh lines. The warmth from your fingers will help the formula melt into your skin, creating that coveted natural finish. Keep tapping until the color looks like a soft, believable flush with no obvious start or end points.
Step 6: Build the Color Gradually if Needed
After you have blended out the initial dots, step back and assess the intensity. If you want a more vibrant pop of color, you can now go back for a second layer. Go back to your hand-palette and pick up a tiny bit more product with your ring finger. This time, place one or two dots directly on top of the area where you want the most intensity, usually the very center of the apple of your cheek.
Again, use a clean finger to tap and blend the new layer, focusing on a smaller area this time. This layering technique allows you to build up to your desired level of color without overwhelming your face, ensuring the blush looks natural and well-integrated.
Step 7: Set Your Work for All-Day Wear
Once you are happy with your blush, you can take an optional step to ensure it lasts all day. If you have oily skin or prefer a more matte finish, you can now lightly set your face. Take a large, fluffy brush and a translucent setting powder. Tap off any excess powder from the brush. Very gently dust the powder over your cheeks and the rest of your face.
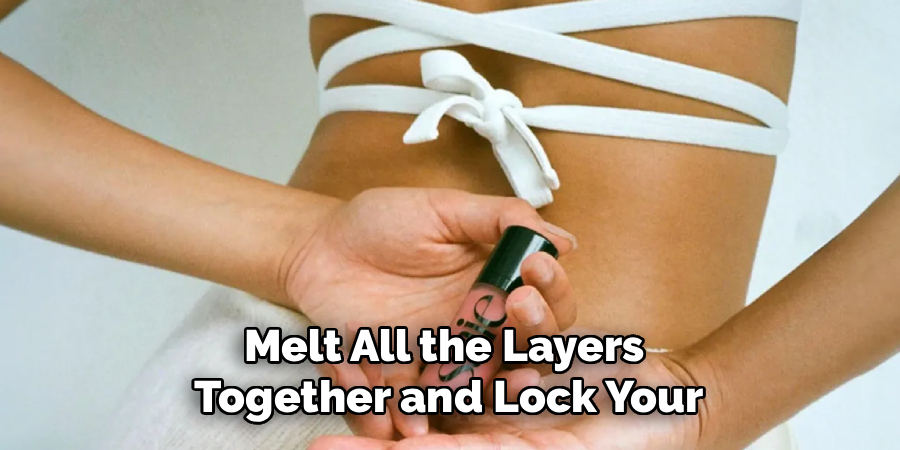
The key is to use a light hand so you do not dull the beautiful, dewy finish you just created. For an even more skin-like finish, you can finish with a spritz of a setting spray to melt all the layers together and lock your look in place.
Popular Liquid Blush Brands
When it comes to liquid blush, several brands stand out for their quality and popularity. Rare Beauty by Selena Gomez has become a favorite for its highly pigmented and blendable formula that provides a natural flush. Another well-loved option is NARS, offering a range of shades that suit various skin tones with a lightweight texture. For a more affordable yet effective choice, e.l.f.
Cosmetics’ liquid blushes deliver excellent performance at a budget-friendly price. Glossier’s Cloud Paint is also a fan favorite, celebrated for its seamless application and soft, buildable color. Whether you’re looking for a vibrant pop of color or a subtle, natural glow, these brands offer liquid blushes that cater to a variety of preferences and needs.
Frequently Asked Questions
Can I Use My Fingers if I Have Acne-Prone Skin?
Yes, but you must prioritize cleanliness. Always wash your hands thoroughly with soap and water before touching your face or your makeup products. This prevents the transfer of bacteria that can lead to breakouts. As long as your hands are clean, using your fingers is perfectly fine and can sometimes be more hygienic than using a dirty brush or sponge.
Will Applying with Fingers Ruin My Foundation?
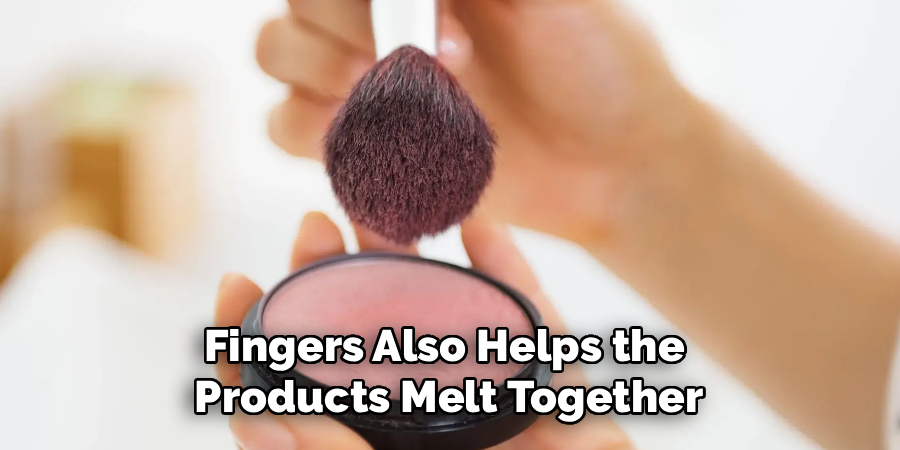
Not if you use the correct technique. The key is to tap, not rub. A gentle tapping or stippling motion presses the liquid blush into your base makeup without disturbing it. Swiping or rubbing the blush will drag your foundation and cause patchiness. The warmth from your fingers also helps the products melt together seamlessly for a more natural look.
How Do I Choose the Right Liquid Blush Color for My Skin Tone?
- Fair Skin: Opt for soft pinks, light peaches, and sheer plums.
- Medium Skin: Rich pinks, warm mauves, and peachy corals are very flattering.
- Olive Skin: Try shades of rose, bronze, or vibrant peach to bring out your skin’s warmth.
- Deep Skin: Look for deep berry shades, rich reds, and bright tangerines for a beautiful pop of color.
What if I Accidentally Apply Too Much Blush?
Do not worry, it is an easy fix! Take your damp foundation sponge or the brush you used for your foundation (with a little bit of leftover product on it) and gently tap it over the edges of the blush. This will help to sheer out the color and blend it into your skin. If it is still too intense, you can apply a tiny bit more foundation over the top to tone it down.
Liquid Blush vs. Cream Blush: What Is the Difference?
Liquid and cream blushes both offer a dewy finish, but their texture differs.
- Liquid Blush: Has a thinner, more fluid consistency. It is often more pigmented and dries down faster, making it great for longevity.
- Cream Blush: Is thicker and more emollient, often found in a pot or a stick. It tends to stay more dewy on the skin and is very easy to blend, making it great for beginners or dry skin types.
Conclusion
Mastering liquid blush application is one of the best skills you can add to your makeup routine, and using your fingers makes the process intuitive, quick, and effective. The warmth of your skin helps the product blend to a flawless, second-skin finish that is difficult to replicate with tools.
By starting with a small amount on the back of your hand, using a gentle tapping motion, and building the color slowly, you can avoid common mistakes and achieve a radiant, healthy glow every time. So, do not be intimidated by those potent formulas. Now that you know how to apply liquid blush with fingers, you are ready to unlock a world of dewy, long-lasting color and give your cheeks the most natural-looking flush imaginable.
About the Author
Jane Hubbard is a passionate beauty expert with a wealth of experience in makeup, hair, and overall beauty techniques. After years of working as a hairdresser specialist, she followed her entrepreneurial spirit and started her own consultancy business.
Jane has always been driven by her desire to help others feel confident in their own skin, and she does this by sharing her knowledge, experiences, and practical beauty tips. Through her consultancy, she empowers individuals to embrace their unique beauty, offering tailored guidance that boosts both self-esteem and personal style.
Professional Focus
- Specializes in makeup, hairstyling, and beauty consulting.
- Provides personalized beauty advice, tips, and techniques to help individuals feel confident in their appearance.
- Dedicated to staying up-to-date with the latest industry trends and developments.
- Passionate about creating a comfortable and empowering experience for every client.
Education History
- University of Craft and Design – Bachelor of Fine Arts (BFA) in Woodworking and Furniture Design
- Woodworking Apprenticeships – Extensive hands-on training with skilled craftsmen to refine carpentry and furniture making techniques
- Online Courses & Masterclasses – Continued education in advanced woodworking techniques, design principles, and specialized tools
Expertise:
- Makeup artistry, hairstyling, and beauty consulting.
- Personalized beauty techniques to enhance confidence and self-expression.
- Educating clients on how to maintain their beauty routines at home.