
The trend of embracing natural skin texture has brought an adorable beauty secret into the spotlight: faux freckles. Whether you were born with a few that you want to enhance or you are starting from a blank canvas, adding a sprinkle of dots across your nose and cheeks can instantly give you a youthful, sun-drenched appearance. It is a playful way to change up your look without any long-term commitment or sun damage.
Gone are the days when full-coverage foundation was the only goal; now, the focus is on fresh, spirited skin that looks effortlessly undone. You don’t need to be a professional makeup artist to pull this off, either. With the right tools—like a brow pencil, a freckle pen, or even some root spray—anyone can master this technique. In this guide, we will show you exactly how to do fake freckles with makeup so they look realistic, last all day, and blend seamlessly with your natural complexion. Get ready to achieve that perfect summer glow, no matter the season.
7 Step-by-Step Guide: How To Do Fake Freckles With Makeup
Step 1: Prep Your Skin for a Flawless Base
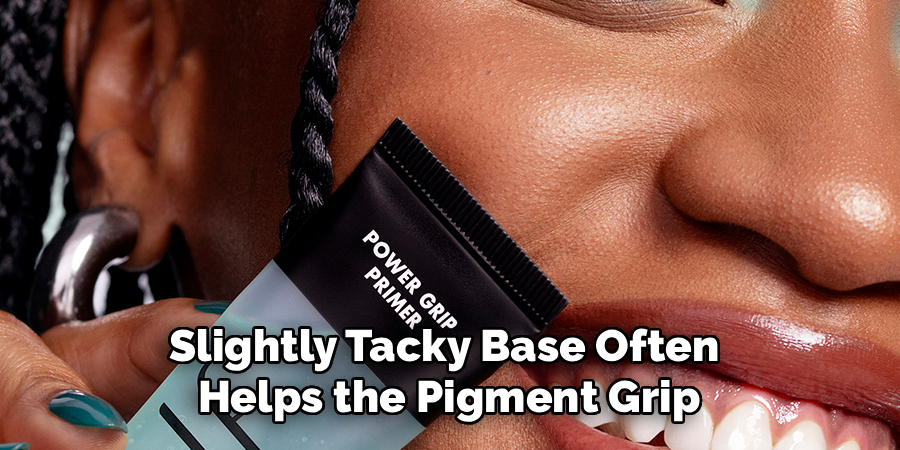
Before you even pick up your freckle tool, preparing your canvas is the most critical part of the process. If your skin is too oily or has dry patches, the product might slide off or cling to texture in an unflattering way. Start by cleansing your face thoroughly and applying a lightweight moisturizer that suits your skin type. Let that sink in fully before moving on to your base makeup. You want your foundation or concealer to be applied and set, but keep the powder light in the areas where you plan to add the dots. A slightly tacky base often helps the pigment grip better, ensuring your sun-kissed look lasts much longer throughout the day.
Step 2: Choose the Right Product and Shade
Selecting the correct shade is the secret to making your faux spots look convincing rather than costume-like. You generally want a color that is one or two shades darker than your natural skin tone or matches your eyebrow color. Cool-toned browns or ashy taupes tend to look more realistic than warm, reddish browns, which can sometimes look like irritation or blemishes. You can use a variety of products such as a fine-tip brow pencil, a specialized freckle pen, a cream contour stick, or even a brow pomade. Test the color on the back of your hand first to ensure it harmonizes with your complexion and doesn’t stand out too starkly against your foundation.
Step 3: Map Out Placement on the Face
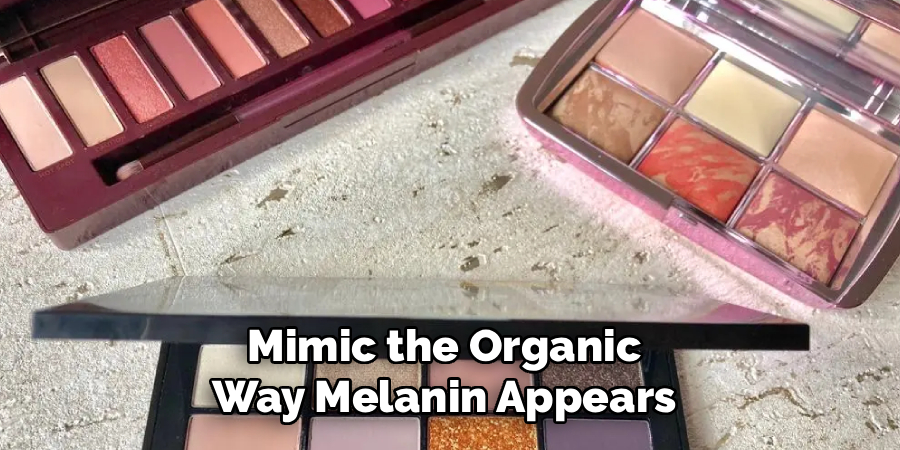
Placement is everything when it comes to achieving a natural effect. Think about where the sun naturally hits your face when you have been outside. Typically, freckles congregate across the bridge of the nose and fan out onto the tops of the cheeks. You might also find a stray few on the forehead or chin. Avoid creating a perfectly symmetrical pattern, as real skin pigmentation is random and scattered. Start by visualizing a “W” shape across your face, connecting your cheeks over your nose. This area is the sweet spot for application. Keep the distribution irregular, with some clusters denser than others, to mimic the organic way melanin appears on the skin.
Step 4: Apply the First Layer of Dots
Begin applying your dots using your chosen tool, starting in the center of your nose and working outward. If you are learning how to do fake freckles with makeup, remember that a light hand is essential. Gently press the tip of your pencil or brush onto the skin to create small, distinct marks. Do not worry about making them perfect circles; irregular shapes actually look more authentic. Vary the pressure you use for each dot to create different sizes and intensities. Some should be tiny and faint, while others can be slightly larger and more pigmented. This variation mimics the depth and dimension of real freckles, preventing the look from appearing flat or drawn-on.
Step 5: Soften and Blot for Realism
Once you have applied a small cluster of dots, do not let them set completely. Immediately take your ring finger or a clean makeup sponge and gently tap over the fresh marks. This step is absolutely crucial because it picks up excess product and stamps a sheerer version of the dot onto the surrounding skin. This “copy and paste” method creates a second generation of fainter freckles that look like they are sitting under the skin rather than just on top of it. It also blurs the sharp edges of the initial dots, making them look lived-in and natural. Continue this process of applying and blotting until you have covered the desired area.
Step 6: Add Dimension with a Second Shade
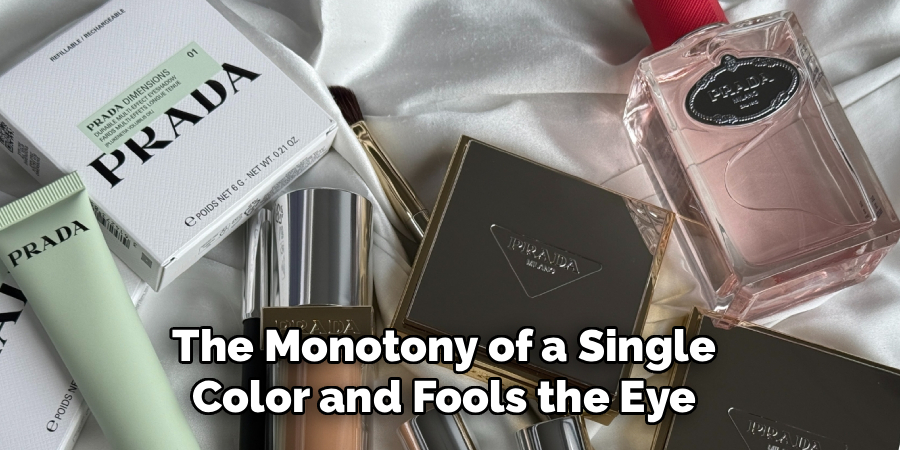
Real skin pigmentation is rarely just one uniform color. To take your look to the next level, consider using a second product that is slightly lighter or darker than your first one. Go back in and add a few more scattered dots in between the ones you have already created. This layering technique adds incredible depth and realism to the final result. You don’t need to do as many dots this time; just a few strategic placements will do the trick. By mixing tones, you simulate the way real freckles fade and darken over time. It breaks up the monotony of a single color and fools the eye into thinking this is your natural skin texture.
Step 7: Set the Look with Translucent Powder
After you are satisfied with the placement and intensity of your faux freckles, you need to lock them in place so they don’t smudge or fade. Take a fluffy brush and dip it into a translucent setting powder. Tap off the excess and very lightly sweep it over the area where you applied the freckles. Be careful not to drag the brush, as this could smear your hard work. A light dusting of powder helps to mattify the product, making it look like it is part of your skin rather than sitting on top of it. This step also ensures that any cream or liquid products you used are fully set and won’t transfer onto clothes or phones.
Step 8: Apply Blush and Bronzer Seamlessly
Now that your freckles are set, you can proceed with the rest of your complexion routine. Applying blush and bronzer over your faux freckles helps to integrate them further into your makeup look. Choose a cream or powder blush and apply it gently over the apples of your cheeks and across the nose. The color will sit beautifully on top of the freckles, making them peek through like they are naturally part of your flushed skin. Bronzer can be dusted on the high points of the face to enhance that sun-warmed aesthetic. The key here is to layer products sheerly so you don’t completely cover up the work you just did, but rather enhance the overall sunny vibe.
Step 9: Final Touches and Setting Spray
The final step is to ensure everything melts together for a seamless finish. A setting spray is your best friend here. Mist your face generously with a dewy or natural-finish setting spray. This helps to remove any powdery residue and brings the natural glow back to your skin. The moisture from the spray helps the freckle product meld with your foundation and powder, making the texture look indistinguishable from real skin. Once the spray dries, do a final check in natural lighting. If any dots look too harsh, you can tap them again with your finger. If you need more definition, you can carefully add one or two tiny dots back in.
Frequently Asked Questions
What Is The Best Product To Use For Fake Freckles?
The best product depends on your skill level and desired longevity.
- Freckle Pens: Specifically designed for this purpose, they offer a sheer, buildable formula.
- Brow Pencils: Great for beginners; choose a fine tip for precision.
- Root Touch-Up Spray: Advanced technique for a splattered, realistic effect.
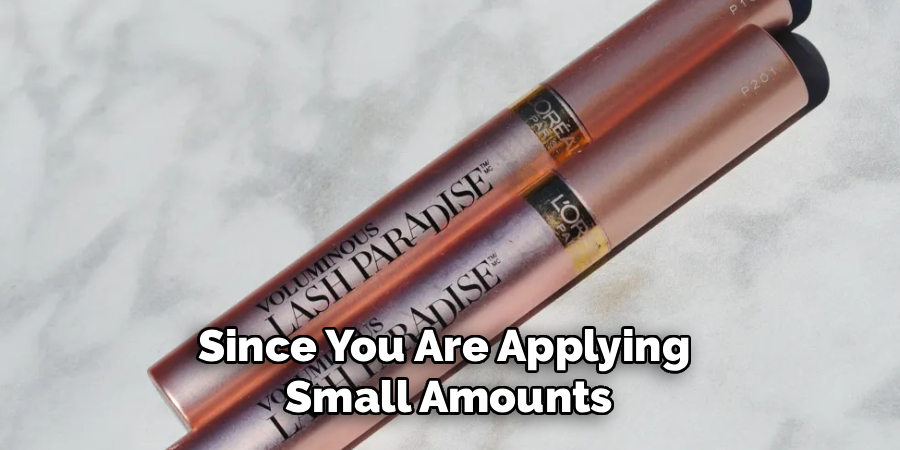
Will Fake Freckles Clog My Pores?
Generally, no, provided you are using non-comedogenic makeup products. Since you are applying small amounts of product in specific areas, the risk is low. However, always ensure you remove your makeup thoroughly at the end of the day with a good cleanser to prevent any potential buildup or breakouts.
How Long Do Faux Freckles Last?
The longevity depends on the product used and your skin type.
- Pencils/Pens: Typically last until you wash your face (8-12 hours).
- Henna: Can last anywhere from 3 to 7 days for a semi-permanent look.
- Self-Tanner: May last 2 to 4 days as it stains the skin.
Can I Do Fake Freckles On Dark Skin Tones?
Absolutely! The technique is universal. The key is selecting a product shade that is deeper than your natural complexion. Look for deep espresso browns, cool-toned dark browns, or even maroon tints. Testing the color on your jawline first ensures it shows up beautifully without looking grey or ashy.
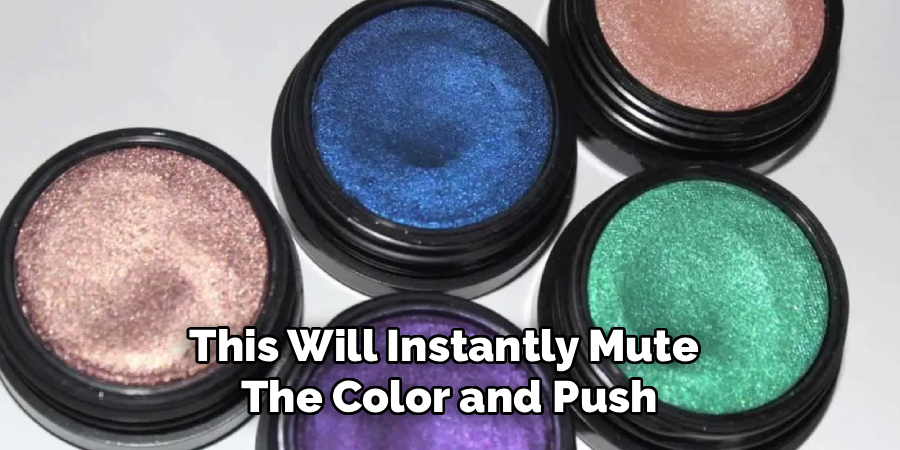
How Do I Fix Freckles That Look Too Dark?
If you went a little heavy-handed, don’t panic. You don’t need to start over. simply take a damp makeup sponge with a tiny bit of leftover foundation and dab it over the dark spots. This will instantly mute the color and push the “freckle” back into the background for a softer look.
Conclusion
Creating faux freckles is one of the most fun and versatile makeup techniques you can learn. It instantly adds a fresh, youthful energy to your face and celebrates the beauty of natural skin texture. By following these simple steps—from prepping your base to layering different shades—you can customize the look to be as subtle or as bold as you like. Remember, the goal is imperfection; the more random and scattered your application, the more authentic it will look.
We hope this guide has given you the confidence to experiment with your makeup routine. Next time you want to channel that summer holiday vibe, you will know exactly how to do fake freckles with makeup to achieve a flawless result. So grab your brow pencil or freckle pen and start dotting your way to a sun-kissed glow today!
About the Author
Jane Hubbard is a passionate beauty expert with a wealth of experience in makeup, hair, and overall beauty techniques. After years of working as a hairdresser specialist, she followed her entrepreneurial spirit and started her own consultancy business.
Jane has always been driven by her desire to help others feel confident in their own skin, and she does this by sharing her knowledge, experiences, and practical beauty tips. Through her consultancy, she empowers individuals to embrace their unique beauty, offering tailored guidance that boosts both self-esteem and personal style.
Professional Focus
- Specializes in makeup, hairstyling, and beauty consulting.
- Provides personalized beauty advice, tips, and techniques to help individuals feel confident in their appearance.
- Dedicated to staying up-to-date with the latest industry trends and developments.
- Passionate about creating a comfortable and empowering experience for every client.
Education History
- University of Craft and Design – Bachelor of Fine Arts (BFA) in Woodworking and Furniture Design
- Woodworking Apprenticeships – Extensive hands-on training with skilled craftsmen to refine carpentry and furniture making techniques
- Online Courses & Masterclasses – Continued education in advanced woodworking techniques, design principles, and specialized tools
Expertise:
- Makeup artistry, hairstyling, and beauty consulting.
- Personalized beauty techniques to enhance confidence and self-expression.
- Educating clients on how to maintain their beauty routines at home.