
Glamnetic nails offer a stunning, salon-quality manicure in minutes, making them a go-to choice for a quick and flawless look. While the application is famously simple, knowing how to take them off correctly is just as important to protect your natural nails. Improper removal can lead to damage, leaving your nails weak and brittle. If you’ve enjoyed your gorgeous press-ons and are now ready for a change, you might be wondering about the safest way to get them off without a struggle.
This guide will provide a clear, step-by-step process showing you exactly how to remove glamnetic nails gently and effectively. We’ll cover simple techniques that dissolve the adhesive without causing harm, ensuring your natural nails remain healthy, strong, and ready for your next set. Say goodbye to forceful pulling and hello to a damage-free removal process.
Removing press-on nails doesn’t have to be a frustrating or damaging experience. With the right tools and techniques, you can safely take off your Glamnetic nails at home without compromising the health of your natural nails. Whether you’re preparing for a fresh manicure or just giving your nails a breather, a gentle removal process is key to maintaining their strength and appearance. Follow these easy steps to ensure a smooth, stress-free transition.
The Definitive Guide on How to Remove Glamnetic Nails
Step 1: Gather Your Removal Tools
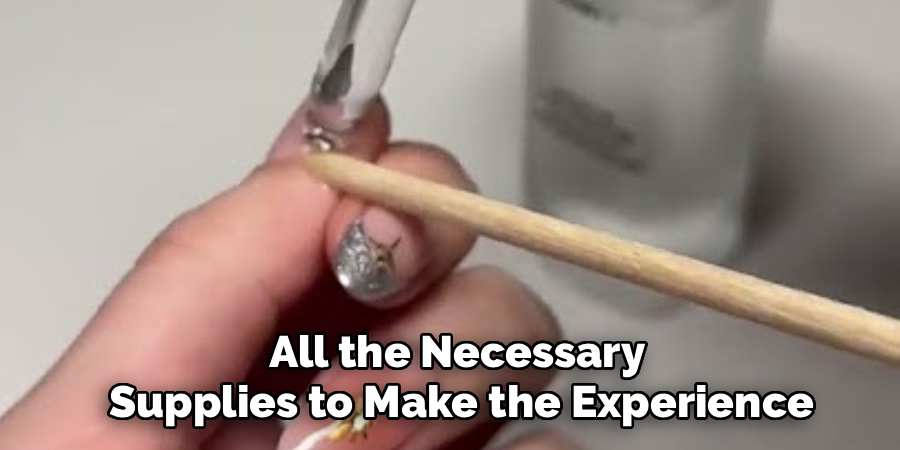
Before you begin the removal process, it is essential to gather all the necessary supplies to make the experience smooth and efficient. You will need a bowl of warm, soapy water, a wooden cuticle stick or orangewood stick, a nail file or buffer, acetone-free nail polish remover, and a rich cuticle oil or hand cream. Having everything within reach prevents you from rushing and potentially causing damage by prying the nails off prematurely. Using warm water helps to soften the nail glue, while the cuticle stick provides the gentle leverage needed to lift the press-on nail away from your natural nail bed without causing trauma.
Step 2: Trim and File the Press-On Nails
If your Glamnetic nails are long, trimming them down can make the removal process much easier. Use a nail clipper to shorten the length of the press-on nails. After trimming, take a nail file and gently file the top surface of each nail. This step is crucial because it breaks the seal of the top coat, allowing the remover solution to penetrate the adhesive more effectively. Be careful not to file too aggressively, as you only want to remove the shiny finish, not the entire artificial nail or your natural nail underneath. This preparation makes the soaking step significantly more effective.
Step 3: Begin the Warm Water Soak
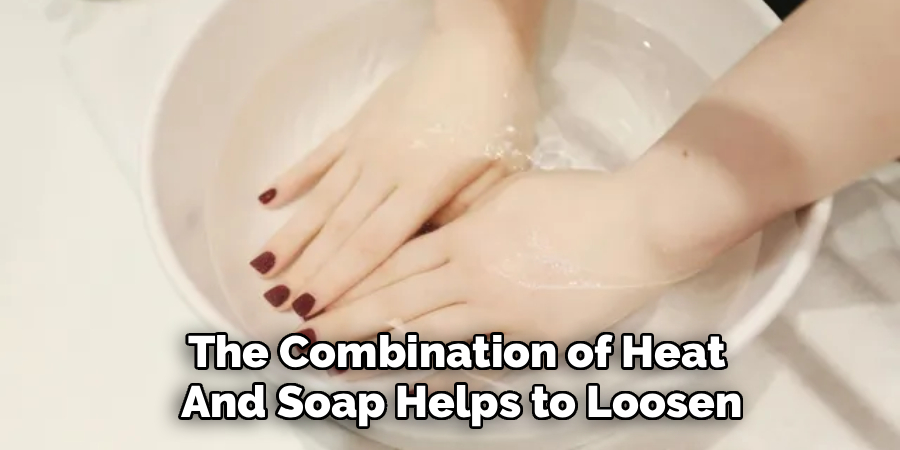
Fill a shallow bowl with warm water and add a few drops of dish soap. The combination of heat and soap helps to loosen the adhesive bond holding the press-on nail to your natural nail. Submerge your fingertips in the warm, soapy water and let them soak for at least 15 to 20 minutes. This is a great time to relax, listen to a podcast, or watch a show. Patience is key during this step; the longer you soak, the easier the nails will come off. Rushing this process is the most common cause of nail damage, so give the glue ample time to soften and dissolve.
Step 4: A Gentle Method for How to Remove Glamnetic Nails
After soaking, the adhesive should be significantly weakened. Take your wooden cuticle stick and gently slide it under the edge of one of the press-on nails. Start at the cuticle area and carefully work your way around the sides. If you feel any resistance or pain, do not force it. Instead, return your hand to the warm water for another five to ten minutes of soaking. A properly loosened nail will lift off with minimal pressure. This gentle approach is the core of learning how to remove glamnetic nails properly, as it prioritizes the health and integrity of your natural nail plate above all else.
Step 5: Address Any Stubborn Residue
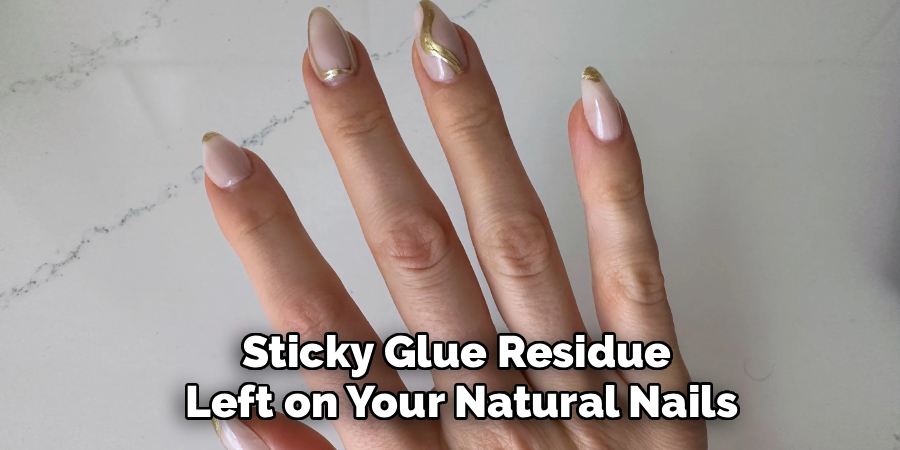
Once all the Glamnetic nails have been removed, you will likely have some sticky glue residue left on your natural nails. To tackle this, dip a cotton ball or pad in an acetone-free nail polish remover and gently rub it over each nail. Acetone-free formulas are less harsh and drying than pure acetone, making them a better choice for maintaining nail health. Continue rubbing until all the adhesive is gone. If some spots are particularly stubborn, you can use a nail buffer to lightly buff away the remaining residue, leaving you with a clean and smooth surface.
Step 6: Clean and Buff Your Natural Nails
With the press-ons and adhesive gone, it is time to give your natural nails some attention. Wash your hands thoroughly with soap and water to remove any lingering nail polish remover or residue. Afterward, gently buff the surface of your nails with the soft side of a nail buffer. This will smooth out any minor ridges or imperfections and restore a natural shine. Take this opportunity to also file and shape your nails as desired, creating a clean and uniform look. This step prepares your nails for the final, most important part of the process: rehydration.
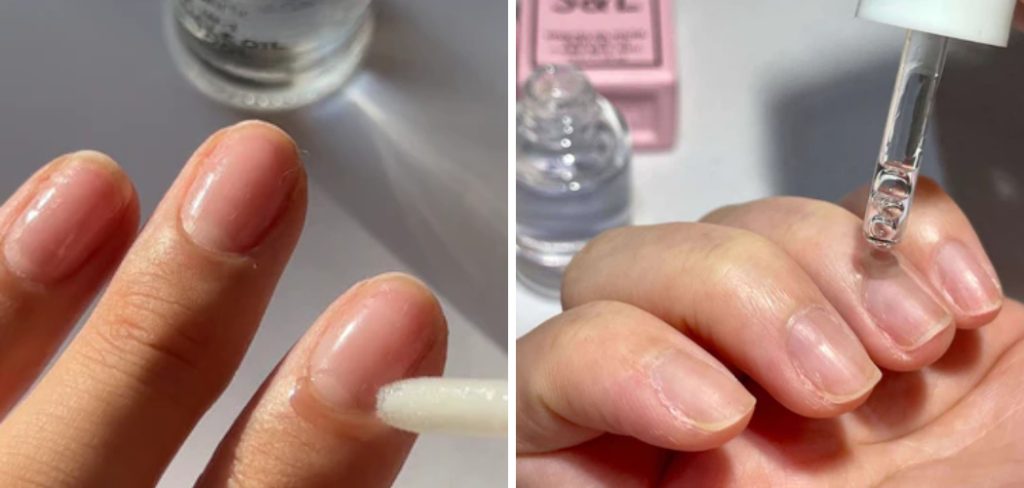
Step 7: Rehydrate Your Nails and Cuticles
The final and most crucial step in the removal process is to rehydrate your nails and the surrounding skin. The soaking and remover can strip away natural oils, so replenishing that moisture is vital for preventing brittleness and breakage. Apply a generous amount of cuticle oil directly onto your cuticles and massage it into the nail bed and surrounding skin. Follow up with a rich hand cream to lock in the moisture. This restorative treatment will leave your nails feeling strong, healthy, and nourished, ensuring they are in perfect condition for whenever you decide to apply your next set.
Alternative Removal Methods
If you’re looking for alternative methods to remove nail enhancements, there are several options to consider that may be gentler or more convenient. One popular method is using a nail file to manually file down the product. This method requires patience and care to avoid damaging the natural nail underneath. Another option is utilizing pre-soaked removal wraps, which are small pads infused with acetone.
These wraps can be applied directly to the nails, minimizing the exposure of your skin to acetone while effectively breaking down the product. For those who prefer a less chemical-based approach, some products on the market claim to soften nail enhancements through oil-based solutions, though they may take longer to work. Carefully choosing the right method for your needs ensures a healthier and safer removal process.
Frequently Asked Questions
Does Removing Glamnetic Nails Damage Your Natural Nails?
No, if removed correctly, Glamnetic nails should not cause damage. The key is to avoid forcefully pulling or prying them off. Following a gentle removal process involving soaking and using a cuticle stick will dissolve the adhesive and allow the nails to lift off without harming the nail plate underneath.
Can You Reuse Glamnetic Nails After Removing Them?
Yes, one of the great benefits of Glamnetic nails is that they are reusable. After removing them, gently buff away any remaining glue residue from the back of the press-on. Once clean, you can store them back in their original packaging, ready for your next application with fresh adhesive.
How Long Should I Wait Before Applying a New Set?
It is a good idea to give your natural nails a break for at least a day or two between sets. This allows them to breathe and fully rehydrate, especially after you have applied cuticle oil and hand cream. If your nails feel weak, consider waiting a week before applying a new set.
What Is the Best Way to Remove the Glue Residue?
The most effective way is to soak a cotton ball in an acetone-free nail polish remover and rub it over the nail. If the residue is particularly stubborn, you can gently buff the nail surface with a soft nail buffer. A small amount of cuticle oil can also help dissolve leftover adhesive.
What if the Nails Are Not Coming Off After Soaking?
If you feel resistance, do not force the nail off. It simply means the adhesive needs more time to dissolve. Submerge your fingers back into the warm, soapy water for an additional 10-15 minutes. Patience is crucial; the nails will lift easily once the glue has sufficiently softened.
Conclusion
Proper removal is just as important as a flawless application when it comes to press-on nails. By following these simple, gentle steps, you can ensure that your natural nails remain strong and healthy. The key takeaways are to be patient, use warm, soapy water to loosen the adhesive, and never force a nail off. Mastering how to remove glamnetic nails correctly not only protects your nail health but also allows you to reuse your favorite sets, making them a sustainable and beautiful manicure option. Now you can confidently wear and remove your Glamnetic nails, knowing you are taking the best possible care of your hands.
About the Author
Jane Hubbard is a passionate beauty expert with a wealth of experience in makeup, hair, and overall beauty techniques. After years of working as a hairdresser specialist, she followed her entrepreneurial spirit and started her own consultancy business.
Jane has always been driven by her desire to help others feel confident in their own skin, and she does this by sharing her knowledge, experiences, and practical beauty tips. Through her consultancy, she empowers individuals to embrace their unique beauty, offering tailored guidance that boosts both self-esteem and personal style.
Professional Focus
- Specializes in makeup, hairstyling, and beauty consulting.
- Provides personalized beauty advice, tips, and techniques to help individuals feel confident in their appearance.
- Dedicated to staying up-to-date with the latest industry trends and developments.
- Passionate about creating a comfortable and empowering experience for every client.
Education History
- University of Craft and Design – Bachelor of Fine Arts (BFA) in Woodworking and Furniture Design
- Woodworking Apprenticeships – Extensive hands-on training with skilled craftsmen to refine carpentry and furniture making techniques
- Online Courses & Masterclasses – Continued education in advanced woodworking techniques, design principles, and specialized tools
Expertise:
- Makeup artistry, hairstyling, and beauty consulting.
- Personalized beauty techniques to enhance confidence and self-expression.
- Educating clients on how to maintain their beauty routines at home.