
There’s something satisfying about making a nail color that doesn’t exist in the bottle you already own. Sometimes the shade you want is close—almost right—but not quite there. Mixing gel polish gives you a way to adjust that. You can soften a bright pink, mute a bold coral, or build a color that works with a specific outfit, season, or mood without buying five more bottles you may only use once.
It also changes how you think about color. Instead of choosing from what’s available, you start making small decisions yourself. That may sound ambitious if you’re new to gel, but in practice it’s usually a matter of working slowly, testing often, and accepting that a tiny amount of pigment can change everything. This guide on how to mix gel nail polish colors walks through the process step by step, with a few cautions that are worth taking seriously if you want the polish to cure properly and wear well.
Materials You’ll Need
- Gel base coat
- Gel top coat
- UV or LED lamp
- Gel nail polish colors of your choice
- Nail buffer or file
- Alcohol wipes or rubbing alcohol
- Clean brush or orangewood stick
8 Step-by-step Guidelines on How to Mix Gel Nail Polish Colors
Step 1: Get Comfortable with Basic Color Theory
This is the part people tend to skip, then regret later when the pretty lavender they imagined turns into a dull gray-purple. Color theory matters. Not in an intimidating, art-school way, but in a practical one.
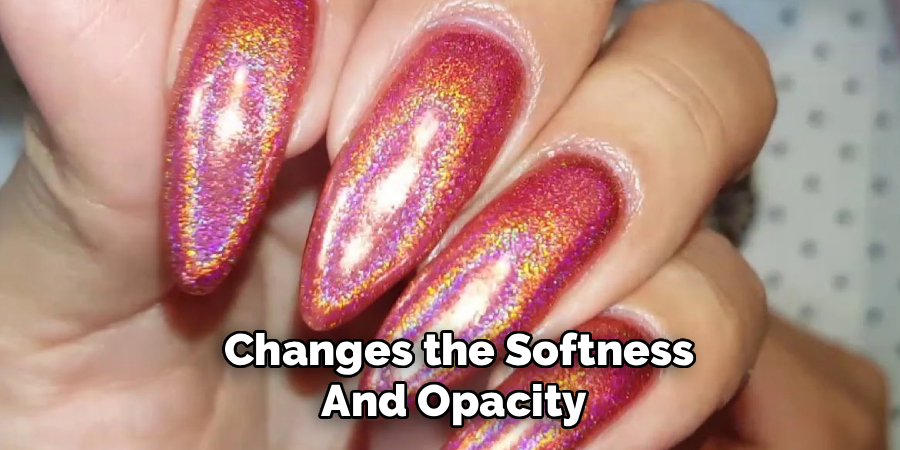
If you mix red and blue, you may get a purple—but the exact purple depends on the undertones in both shades. Add white and you can lighten it, though that also changes the softness and opacity. Black deepens a color fast, sometimes too fast. For pastels, white usually has to do most of the work, with the stronger shade added in very small amounts.
A basic color wheel can help, especially in the beginning. It won’t solve every mixing problem, since gel formulas vary, but it gives you a decent sense of direction before you waste product. And that matters. If you experiment on the palette first with tiny amounts, you’ll start to notice patterns: which blues lean cool, which reds make things muddy, which yellows brighten rather than dull.
Step 2: Use the Right Mixing Surface
Your palette matters more than it might seem. Gel polish needs a non-porous surface, so use glass, metal, or silicone. Those materials let you move the product around cleanly and see the true color while you mix.
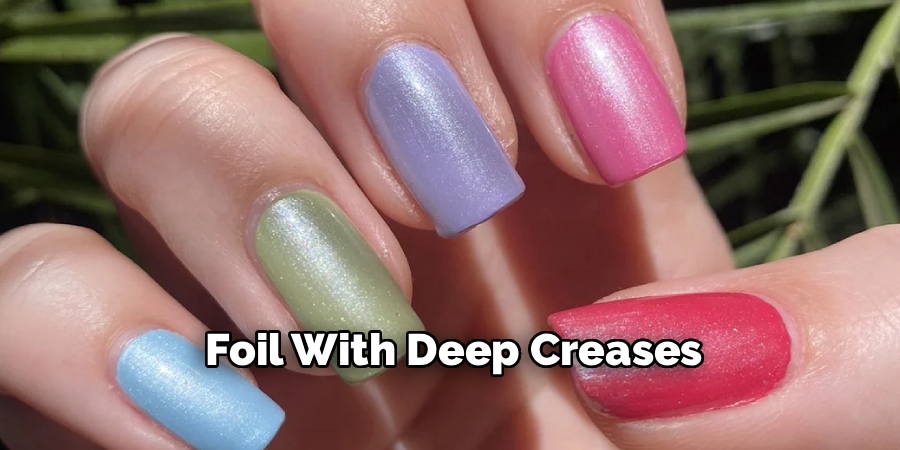
Paper towels, cardboard, and foil with deep creases—none of these are ideal. Paper and cardboard absorb product, and textured surfaces make it harder to mix evenly. Foil can work in a pinch, though it’s not always the easiest surface for checking consistency.
Wipe the palette down before you begin. Dust, old pigment, lint, even a dried speck of yesterday’s color can affect the mixture. A lint-free wipe with rubbing alcohol usually takes care of it. It’s a small step, but skipping it can leave you wondering why your custom nude suddenly has a blue-gray streak in it.
Step 3: Be Careful About Mixing Brands
If possible, stick to gel polishes from the same brand or at least the same product line. That advice may sound overly cautious, yet there’s a real reason for it. Gel systems are formulated differently, and those differences can affect texture, cure time, and stability.
Sometimes, two brands mix without any obvious issue. Sometimes they don’t. The blend may separate, wrinkle under the lamp, or cure unevenly. Not always, but often enough that it’s worth testing instead of assuming.
If you do mix across brands, make a tiny test batch first. Watch how it behaves on the palette. Does it get stringy? Does it seem to bead oddly or develop an unusual texture? Thencute a swatch. If it stays soft in the middle or shrinks at the edges, that’s your answer. Better to find out on plastic than after a full manicure.
Step 4: Start with the Base Color
When you begin mixing, place the lightest or most dominant color on the palette first. This gives you more control. If you’re making a pale pink, for example, it’s usually smarter to start with white and add a touch of red rather than trying to dilute a puddle of red after the fact.
Dark pigments are strong. Annoyingly strong. One drop of black, navy, or deep burgundy can shift the whole color much more than you expected. Lighter shades, by contrast, are easier to build on gradually.
Try to mix enough for the full manicure at once. Include a little extra if you can. Recreating a custom color later is possible, but getting an exact match—same tone, same depth, same undertone—is often harder than people think.
Step 5: Add Other Colors Slowly
This is where patience stops being a nice idea and becomes necessary. Pick up a very small amount of your secondary color with a tool or brush, then blend it into the base a little at a time. Really little. Less than you think you need.
Deep shades can take over almost immediately. Black is the obvious culprit, but dark blue, plum, and even some reds can do the same. Once too much goes in, there’s no clean way to pull it back out. You’re left trying to compensate by adding more base color, which can waste product and throw off the consistency.
Mix fully after each addition. Then stop and look at it. The color on the palette may still shift slightly once spread thin or cured, so there’s no benefit in rushing. Slow mixing usually leads to fewer corrections.
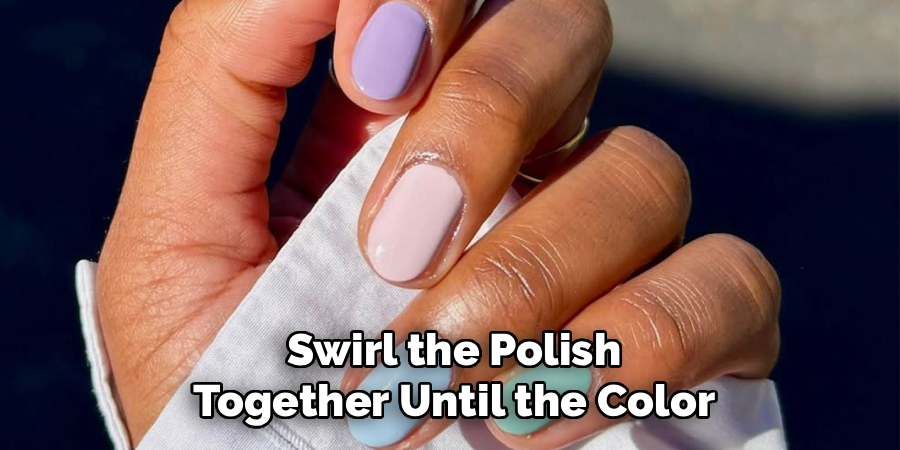
Step 6: Blend Thoroughly, but Gently
Use your dotting tool, wood stick, or brush to fold and swirl the polish together until the color looks even all the way through. Make sure you scrape across the palette surface as you mix. Unblended streaks often hide underneath the center of the puddle.
What you don’t want to do is whip air into it. Stirring too aggressively can create bubbles, and those bubbles may show up during application or curing. Not every tiny bubble ruins the polish, but they certainly don’t help.
If bubbles appear, let the mixture sit for a minute or two. Often they rise and disappear on their own. A properly mixed gel should look smooth and uniform, not marbled or streaked. That smoothness tends to show up later in the finished manicure, especially under a glossy top coat.
Step 7: Test the Shade on a Swatch Stick
Always swatch before applying. Always. The color in a thick puddle is not the color you’ll necessarily see on the nail, and gel can look different once it’s spread into a thin coat and cured.
Paint a little onto a clear or white swatch stick and cure it under your lamp. White sticks usually show the color more clearly, while clear ones can help if you want to see how translucent the mix is. Either way, this step gives you a much better read on the final result.
Then evaluate it honestly. Is it too cool? Too bright? More sheer than expected? Does it need a touch more white, or maybe a tiny bit of a warmer tone? Swatching takes an extra minute or two, but it can save a full set from ending in disappointment.
Step 8: Apply and Cure the Custom Color
Once the shade looks right, apply it as you would any other gel polish. Prep the nails properly, use your base coat, and cure according to the product instructions. Then apply your custom color in thin coats.
Thin is important here. Even if the mixed gel looks smooth and rich on the palette, a thick layer can cause curing problems, especially if you’ve added a lot of dark pigment. Use a small amount on the brush and keep it even across the nail, avoiding the cuticle area.
Cure the first coat based on the recommendations for the primary brand used in the mix. Add a second coat if needed for depth or opacity, then finish with a top coat. If your system leaves a tacky layer, wipe it off as directed. A little cuticle oil at the end helps too. And yes, there is a particular kind of satisfaction in wearing a color you made yourself.
Following these steps on how to mix gel nail polish colors will allow you to create unique and personalized shades that can’t be found in stores.
Common Mistakes to Avoid
A few issues come up again and again.
Don’t mix traditional air-dry nail polish with gel polish. They are different systems, and the result usually will not cure the way you want. Avoid blending directly on the nail as well. It tends to create uneven thickness, messy edges, and inconsistent color from finger to finger.
Another common mistake is adding too much dark pigment too early. That nearly always creates extra work. Clean your tools between shades so you don’t contaminate the next mix, and store leftovers in an opaque, airtight container away from light. Even indirect daylight from a window can start curing gel over time.
Frequently Asked Questions
Q1: Can You Mix Different Brands of Gel Polish Together?
You can, technically. Whether you should is a different question.
Different brands may use different formulas, photo-initiators, pigment loads, and recommended cure times. Because of that, some mixed batches seem fine at first and then wrinkle, separate, or cure unevenly later. For the most predictable results, it’s usually safer to stay within one brand or line.
If you decide to mix brands anyway, test a small amount first on a swatch stick. Cure it fully and pay attention to texture, finish, and wear before using it on all ten nails.
Q2: How Do You Store a Custom Mixed Gel Polish?
If you have leftover gel, transfer it into a small opaque container with a secure lid. Plastic or glass can work as long as the container blocks light well.
This part matters because gel polish reacts to UV exposure, and sunlight through a window may be enough to start that process. Store the mixture in a cool, dark place and label it if possible. If you’ve mixed something especially specific—say, a muted mauve with a gray undertone—you’ll thank yourself later.
Q3: Why Is My Mixed Gel Polish Not Curing Properly?
There are a few possible reasons. The first is formula incompatibility, especially if different brands were combined. The second is pigment load. Very dark or heavily pigmented mixes can make it harder for light to penetrate the full layer, which may leave the center under-cured.
Application thickness is another common issue. If the coat is too thick, even a good formula may not cure evenly. Try thinner layers, test the mix before full application, and make sure your lamp is functioning properly and suited to the gel you’re using.
Show Off Your Custom Nail Art
Once you get the hang of mixing, your options open up quite a bit. You’re no longer limited to the shades that happen to exist in your drawer or at the beauty supply store. If a color feels too bright, too cool, or too flat, you can adjust it. That’s the real appeal.
Start small. Keep notes on what you mixed and roughly how much of each color you used. You do not need a perfect lab-style formula, but a simple note like “white + one dot coral + tiny touch of brown” can save you from guessing later.
If you’ve been curious about custom gel shades, this is a good place to begin: one palette, a few colors, a swatch stick, and a little patience. Thanks for reading this guide on how to mix gel nail polish colors.
About the Author
Jane Hubbard is a passionate beauty expert with a wealth of experience in makeup, hair, and overall beauty techniques. After years of working as a hairdresser specialist, she followed her entrepreneurial spirit and started her own consultancy business.
Jane has always been driven by her desire to help others feel confident in their own skin, and she does this by sharing her knowledge, experiences, and practical beauty tips. Through her consultancy, she empowers individuals to embrace their unique beauty, offering tailored guidance that boosts both self-esteem and personal style.
Professional Focus
Specializes in makeup, hairstyling, and beauty consulting.
Provides personalized beauty advice, tips, and techniques to help individuals feel confident in their appearance.
Dedicated to staying up-to-date with the latest industry trends and developments.
Passionate about creating a comfortable and empowering experience for every client.
Education History
University of Craft and Design – Bachelor of Fine Arts (BFA) in Woodworking and Furniture Design
Woodworking Apprenticeships – Extensive hands-on training with skilled craftsmen to refine carpentry and furniture making techniques
Online Courses & Masterclasses – Continued education in advanced woodworking techniques, design principles, and specialized tools
Expertise:
Makeup artistry, hairstyling, and beauty consulting.
Personalized beauty techniques to enhance confidence and self-expression.
Educating clients on how to maintain their beauty routines at home.