

Ever needed a convincing black eye for a costume, a school play, or a short film, only to realize you’ve got zero special effects makeup in the house? Happens more than you’d think. Performers, students, weekend hobbyists—they all run into this wall when the budget’s thin or the supplies just aren’t there.
Here’s the thing, though. You can fake a pretty believable bruise using stuff already sitting in your kitchen. This guide on how to fake a black eye without makeup covers the safest methods, a bit on why real bruises look the way they do, and seven steps to pull it off without a single tube of theatrical makeup. Let’s get started.
Safety First: Protecting Your Skin
Before you grab anything to smear near your face, keep one thing in mind. The skin around your eyes is the thinnest on your whole body, and it reacts fast—to friction, to staining agents, to substances that wouldn’t bother the back of your hand at all. Something that seems totally harmless elsewhere may cause redness or irritation here.
So, patch test. Always. Dab a little product on the inside of your arm and wait fifteen minutes or so to see if anything stings, itches, or swells up. Keep whatever you’re using out of your actual eyes, and have a clean, damp cloth within reach so you can wipe fast if you need to. Wearing contacts? Take them out first. These feel like fussy little steps, but they protect your vision and spare you a lot of grief later.
Understanding How Bruises Actually Look
A good fake black eye starts with paying attention to how a real one behaves—and real ones are surprisingly complicated. A bruise is never a single flat color. It shifts as it heals. Fresh, it tends to look red or pinkish; within a day or tw,o it deepens into purple and blue. Then it starts to fade, moving through green, yellow, and a muddy brown before it finally clears.
There’s also a logic to where the color sits. Bruises follow the bone and tissue underneath, so around the eye, the color usually pools below the socket and along the brow bone. The edges? Soft. Blurry. Never a clean, sharp line. Hold onto these details, because they’re what separates a convincing effect from something that looks like a kid drew it on with a marker.
7 Step-by-step Guidelines on How to Fake a Black Eye Without Makeup
Ready to build your bruise? Work through these seven steps on how to fake a black eye without makeup in order. Each one sets up the next, so resist the urge to jump ahead.
Step 1: Gather Your Household Materials
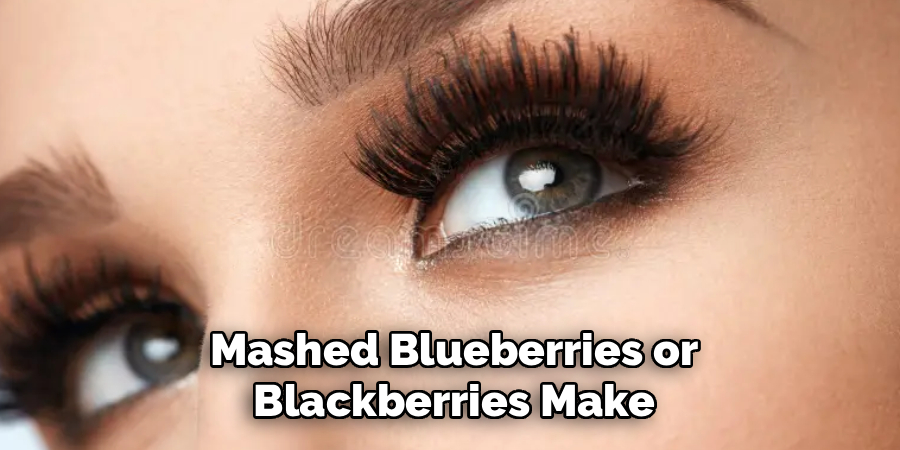
First, round up the things that’ll stand in for makeup. Cocoa powder, coffee grounds, and crushed colored chalk all work as eyeshadow substitutes. For darker tones, mashed blueberries or blackberries make a paste that stains skin nicely.
You’ll also need a small bowl for mixing, a soft brush or cotton swab to apply with, and a bit of water to thin things out. Lay it all on a clean surface before you start. Getting organized now means you won’t be scrambling mid-application and accidentally smearing your work. It’s a bit like prepping your ingredients before you actually start cooking.
Step 2: Prep and Clean the Skin
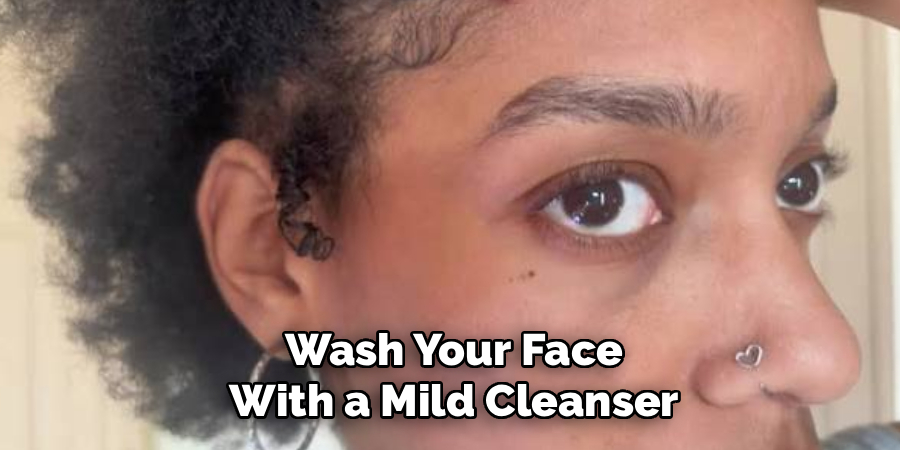
Wash your face with a mild cleanser and pat it dry. Clean skin takes color more evenly, and you’ll dodge the irritation that leftover oil or grime can stir up. Skip the moisturizer right beforehand—a slightly dry surface grabs powders and stains better than a slick one.
Tie your hair back so stray strands stay out of the way. If you want a tacky base that helps powders cling, dab the tiniest bit of water or aloe vera gel around the eye. You’re aiming for barely damp, not wet. This thin layer works like a primer, giving your homemade pigments something to hold onto instead of sliding right off.
Step 3: Map Out the Bruise Shape
Plan before you commit to color. Look in the mirror and lightly mark where the bruise will go—below the eye, along the brow bone. A real black eye usually covers the lower lid, the inner corner by the nose, and sometimes creeps toward the cheekbone.
With a clean finger or dry brush, sketch this zone faintly. Don’t press hard or lock in bold lines yet. You’re just making a rough map so the color ends up in believable spots. And remember, bruises are rarely symmetrical—a slightly lopsided shape actually reads as more authentic than a tidy circle around the eye ever could.
Step 4: Apply the Base Color
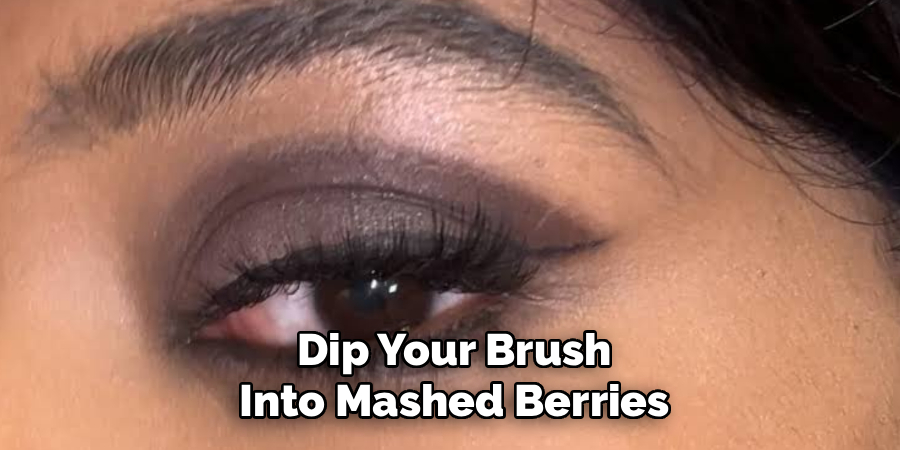
Now build with your darkest tones. Dip your brush into mashed berries or cocoa thinned with water, then press it gently onto the area nearest the nose and right under the eye. Those spots tend to carry the deepest color on a real injury.
Go thin. Multiple light layers beat one heavy coat every time, because they give you control and keep the color from looking like a solid block. Let each pass dry a little before adding the next. Concentrate your darkest pigment where the “impact” would’ve landed—usually just beneath the eye—and leave the outer edges lighter for the moment.
Step 5: Add Color Variation
Flat bruises look fake, so mix it up. Lightly dust coffee grounds or chalk in green, yellow, and reddish shades around the edges of your base. This echoes the patchy way a real bruise heals.
Blend these outward with a soft, dry brush until they fade into your skin. Keep the center darkest while the surrounding area carries those healing colors. Slow down here—this layering is what really sells the illusion. A hint of red near the inner corner suggests something fresh and tender, which makes the whole thing more convincing.
Step 6: Blend the Edges
Nothing gives away a fake injury faster than a hard outline. Take a clean, dry brush or your fingertip and soften every edge, sweeping outward in little motions so the color melts into your skin with no obvious border.
Pay extra attention to the top and bottom of the bruise, where the transition should be the most gradual. If a patch looks too dark or too sharp, buff it gently with a dry cotton pad to diffuse the pigment. The edges should end up hazy, almost like a shadow. This is often the step that decides whether your effect looks cheap or genuinely makes people do a double take.
Step 7: Set and Check Your Work
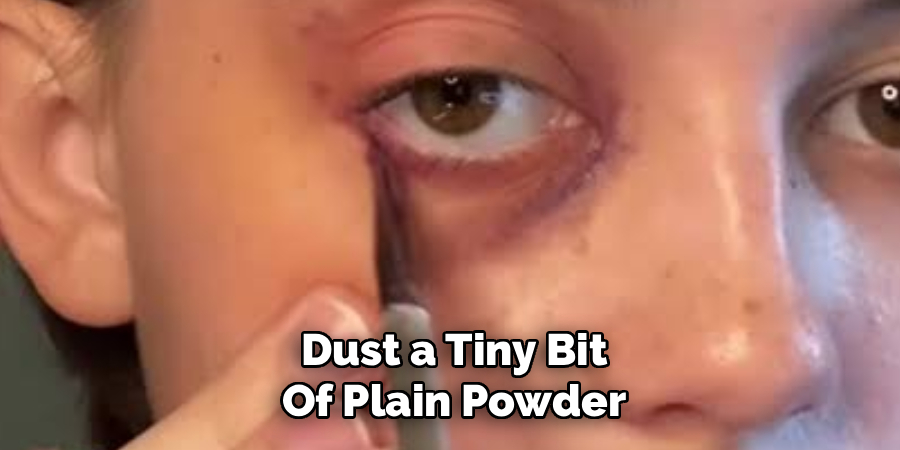
Last, lock it in. Dust a tiny bit of plain powder—cornstarch or baby powder works—over the area to cut shine and keep things in place. Try not to touch the bruise much after this, since the oils on your fingers can smear all that careful work.
Then step back and check it under different lighting. Daylight, indoor lamps, your phone camera—each one reveals something different. Tweak as needed: a touch more color here, a stubborn edge blended there. Once it looks right to you, you’re set for the performance, the photoshoot, or whatever the occasion happens to be.
Common Mistakes in Fake Injury Makeup
Even careful beginners trip up. The most common slip is relying on one color, which leaves the bruise flat and obviously fake. Sharp, defined edges are another giveaway—real ones blur.
People also tend to make their bruises too symmetrical or too big for the eye area. And plenty forget the color variation, skipping the greens and yellows that signal a bruise on the mend. Sidestep these and your effect should hold up much better.
Removal and Skin Recovery
When the event wraps, take everything off gently. Start with a soft, damp cloth to lift loose powder, then a mild cleanser for any stains the berries or cocoa left behind. Don’t scrub—the skin around your eyes irritates easily, which is sort of the whole reason it bruises so readily in the first place.
After cleansing, rinse with cool water and pat dry. A light, fragrance-free moisturizer will soothe the area and bring back some hydration. Notice any redness? A cold compress can settle it. Give your skin a little breathing room before piling on new products, and drink some water to help things recover overnight.
When to Use This Effect
A fake black eye is great for Halloween, theater, film projects, and creative photography. It’s a cheap route to realism when special effects supplies aren’t an option. But use it with some thought.
Never fake an injury to deceive people in harmful ways—pretending to be a victim of abuse for sympathy, attention, or to mislead authorities can do real damage and undercut people who’ve actually been hurt. Be aware of where you turn up with it, too, since a believable bruise may genuinely alarm a stranger, a coworker, or a family member. A little honesty about what it’s for keeps the whole thing harmless.
Frequently Asked Questions
Can I Use Food Items Safely Near My Eyes?
Mostly, yes—with caution. Cocoa powder, coffee grounds, and mashed berries are generally fine for short-term use on skin. But the eye area is delicate, so patch test first and keep these substances away from the eye itself. If anything stings or you spot redness, wash it off right away. Steer clear of anything acidic or spicy, and don’t apply food items at all if the skin nearby is broken or already irritated.
How Long Does a Homemade Fake Black Eye Last?
Usually a few hours, though it depends on your materials and how much you move or sweat. Berry stains tend to hang on longer than loose powders, which rub off pretty easily. Setting your work with a light dusting of cornstarch buys you more time. For an all-day thing, pack a small touch-up kit so you can refresh the color and re-blend any edges that fade.
Will These Materials Stain My Skin Permanently?
No—the staining is temporary. Berry juice and cocoa might leave a faint tint for a little while, but ordinary washing clears most of it fast. Your skin sheds and renews itself, so any leftover color should fade within a day at most. To speed things along, use a gentle cleanser and lukewarm water. Hard scrubbing tends to irritate the delicate skin around your eyes more than the stain ever would.
Your Bruise, Your Way
Faking a black eye without makeup turns out to be easier than it sounds, once you get how real bruises look and where they sit. A handful of household items, a steady hand, and the seven steps above are really all it takes for a convincing effect on almost any creative project. Just protect your skin, blend those edges until they disappear, and use the whole thing responsibly.
Grab your supplies and start experimenting—your most realistic bruise yet is only a few thin layers away. Thanks for reading this guide on how to fake a black eye without makeup.

About the Author
Jane Hubbard is a passionate beauty expert with a wealth of experience in makeup, hair, and overall beauty techniques. After years of working as a hairdresser specialist, she followed her entrepreneurial spirit and started her own consultancy business.
Jane has always been driven by her desire to help others feel confident in their own skin, and she does this by sharing her knowledge, experiences, and practical beauty tips. Through her consultancy, she empowers individuals to embrace their unique beauty, offering tailored guidance that boosts both self-esteem and personal style.
Professional Focus
Specializes in makeup, hairstyling, and beauty consulting.
Provides personalized beauty advice, tips, and techniques to help individuals feel confident in their appearance.
Dedicated to staying up-to-date with the latest industry trends and developments.
Passionate about creating a comfortable and empowering experience for every client.
Education History
University of Craft and Design – Bachelor of Fine Arts (BFA) in Woodworking and Furniture Design
Woodworking Apprenticeships – Extensive hands-on training with skilled craftsmen to refine carpentry and furniture making techniques
Online Courses & Masterclasses – Continued education in advanced woodworking techniques, design principles, and specialized tools
Expertise:
Makeup artistry, hairstyling, and beauty consulting.
Personalized beauty techniques to enhance confidence and self-expression.
Educating clients on how to maintain their beauty routines at home.