

To clean a nail polish bottle, remove excess polish with acetone-soaked cotton balls, soak the bottle in warm water to loosen residue, scrub the interior with a small brush, and let it air dry completely. The entire process takes about 15–20 minutes and costs next to nothing.
Nail polish bottles are small, but they can be surprisingly tricky to clean. Whether you want to refill a favorite bottle with a custom color blend, repurpose it for glitter or nail art tools, or simply rescue a thick, goopy bottle before the polish becomes unusable—knowing how to clean one properly makes a real difference.
The good news? You don’t need any fancy equipment or professional-grade products. With a few household items and the right technique, you can have a spotless, reusable nail polish bottle in under 20 minutes. This guide on how to clean nail polish bottle walks you through exactly how to do it, step by step.
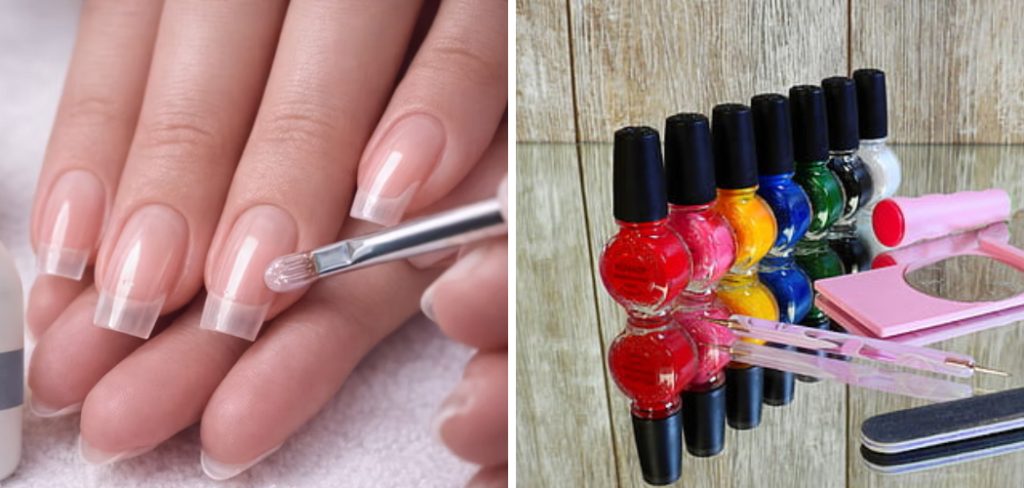
Tools and Materials You’ll Need
Before you get started, gather the following supplies:
- Acetone nail polish remover – The most effective solvent for breaking down dried polish
- Cotton balls or cotton pads – For wiping and scrubbing surfaces
- Small bottle brush or pipe cleaner – To reach the inside of the bottle
- Warm water – For soaking and rinsing
- Dish soap – A gentle degreaser to remove oily residue
- Paper towels – For blotting and drying
- Tweezers or a toothpick – Helpful for removing stubborn dried bits near the neck of the bottle
- Rubber gloves – Optional, but worth considering if your skin reacts to acetone
Having everything ready before you start prevents interruptions mid-process and tends to make the whole job faster and less frustrating.
7 Simple Step-by-step Guidelines on How to Clean Nail Polish Bottle
Step 1: Empty the Bottle Completely
Start by making sure the bottle is as empty as possible. If there’s still usable polish inside, transfer it to another clean bottle using a small funnel or dropper. Pour any remaining polish onto a paper towel and let it air dry before disposing of it—never pour polish down the drain, as it can clog pipes and harm the environment.
Once empty, remove the brush applicator and set it aside. You’ll clean this separately. An empty bottle is much easier to work with, and skipping this step tends to cause frustration halfway through.
Step 2: Loosen Dried Polish Around the Neck
Dried polish tends to build up around the bottle’s neck and threading over time, making it nearly impossible to open or close properly. Dip a cotton ball in acetone and press it firmly around the neck of the bottle, holding it there for 30–60 seconds.
Use a toothpick or tweezers to gently scrape away any loosened chunks. Be careful not to scratch the glass. This step alone may significantly improve how easily the cap screws on and off—extending the life of the bottle in the process.
Step 3: Fill the Bottle with Acetone
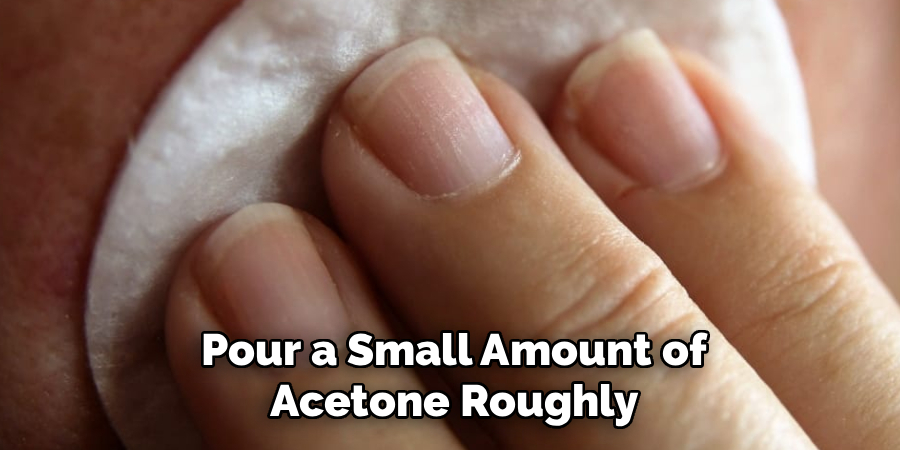
Pour a small amount of acetone—roughly enough to fill the bottle one-quarter of the way—directly inside. Seal it tightly with the cap and shake vigorously for 30–60 seconds. The acetone will dissolve the polish residue clinging to the interior walls.
After shaking, pour the acetone out onto a paper towel. Streaks of color in the liquid indicate it’s working. Repeat once or twice if visible residue remains. Acetone evaporates quickly, so any lingering odor shouldn’t last long.
Step 4: Soak the Bottle in Warm Water
Once you’ve completed the acetone rinse, fill a small bowl with warm (not boiling) water and a few drops of dish soap. Place the open bottle into the bowl and let it soak for 5–10 minutes. This helps remove any remaining acetone residue, oily film, or faint color tint left behind in the glass.
Warm water also loosens stubborn bits near the bottom or sides that acetone may have missed. It’s a gentle step that prepares the bottle for a final scrub without risking damage.
Step 5: Scrub the Interior with a Small Brush
After soaking, use a small bottle brush or pipe cleaner to scrub the inside thoroughly. Work in circular motions to dislodge any remaining residue from the walls and bottom, paying close attention to the base—where dried polish tends to settle and harden over time.
If you’re using a pipe cleaner, bending one end into a slight hook shape makes it considerably easier to reach the curved inner walls. Rinse with warm water after scrubbing to check your progress. Repeat if needed until the interior looks completely clear.
Step 6: Clean the Brush Applicator
The brush applicator needs attention too. Dip it in a small cup of acetone and gently work the bristles back and forth against the cup’s bottom—you’ll see the color bleed out almost immediately. Once the bristles look clear, rinse them under warm water and reshape them with your fingers.
If the bristles have become stiff or clumped from dried polish, soaking them in acetone for up to 5 minutes before scrubbing may help restore their flexibility. A clean, well-maintained brush appears to make a noticeable difference in application quality when the bottle is back in use.
Step 7: Rinse, Dry, and Inspect
Give the bottle one final rinse under warm running water, then shake out any remaining droplets. Place it upside down on a clean paper towel and allow it to air dry completely—typically around 15–20 minutes. Avoid using a hairdryer or any direct heat source, as sudden temperature changes can crack glass bottles.
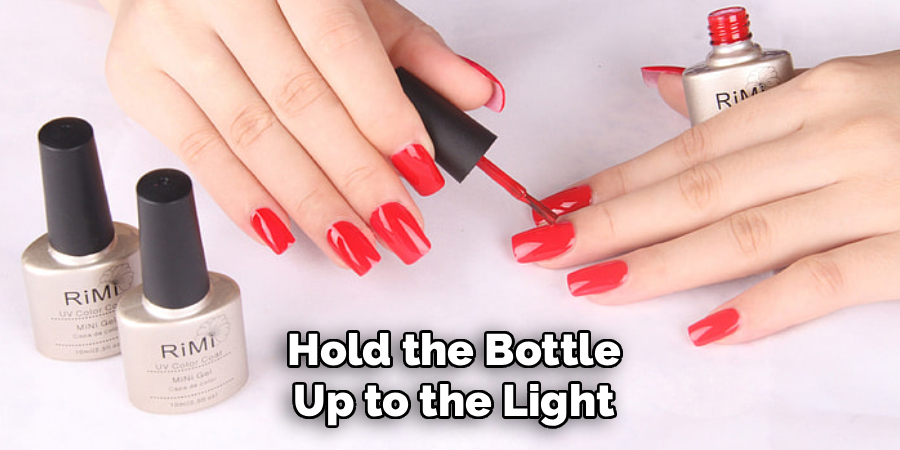
Once dry, hold the bottle up to the light and inspect it from all angles. The glass should look clear, with no visible residue or color tint. If everything checks out, the bottle is ready to be refilled or repurposed. If not, repeat steps 3–5 before drying again.
Following these steps on how to clean nail polish bottle can help prolong its lifespan and keep it in good condition for future use.
Common Mistakes to Avoid
- Using water alone without acetone – Water cannot dissolve nail polish. Always use acetone as your primary cleaning agent before introducing water.
- Skipping the soak – Jumping straight to scrubbing without soaking first makes the job harder and risks scratching the bottle’s interior.
- Pouring acetone down the drain – Acetone is a chemical solvent and should be disposed of responsibly, not washed into household drainage systems.
- Not drying the bottle completely – Moisture left inside can dilute any new polish you add, altering its consistency and color.
- Forcing dried brush bristles – Yanking on stiff bristles can break them. Always soften them with acetone first before attempting to clean or reshape them.
How Much Will It Cost?
Cleaning a nail polish bottle is one of the most budget-friendly DIY tasks you can take on. Here’s a rough breakdown:
- Acetone nail polish remover: $3–$8 for a standard bottle, which contains enough for dozens of cleaning sessions
- Cotton balls: $2–$4 for a pack of 100
- Small bottle brush or pipe cleaners: $2–$5 for a multipack
- Dish soap: $2–$4, with only a small drop needed per session
Getting set up will likely cost somewhere between $9 and $21. After that, the ongoing cost per clean drops to virtually nothing—most of these supplies last a very long time. Compared to buying a new bottle of polish whenever an old one gets thick or dirty, this approach could save a meaningful amount over time, and it’s considerably better for the environment.
Frequently Asked Questions
Can You Reuse A Nail Polish Bottle After Cleaning It?
Yes, you can reuse a nail polish bottle after cleaning it properly. Glass nail polish bottles are durable and designed to hold solvent-based products. As long as the bottle is completely clean and dry before refilling, it will function just as well as a new one. Many nail art enthusiasts repurpose old bottles to store custom color blends or nail treatments.
Is It Safe To Use Acetone Inside The House?
Acetone appears to be safe for indoor use, provided you work in a well-ventilated area. Open a window or turn on a fan to keep air circulating, as acetone fumes can cause dizziness or headaches in enclosed spaces. Keep it away from open flames, as it is highly flammable. Wearing rubber gloves is also worth considering if you have sensitive skin.
How Do You Remove Nail Polish From The Outside Of The Bottle?
To clean the outside of a nail polish bottle, soak a cotton ball in acetone and wipe it across any stained areas in a firm, circular motion. For stubborn spots, hold the soaked cotton ball against the area for 20–30 seconds before wiping. Finish with a clean damp cloth to remove any acetone residue, then dry the surface with a paper towel.
Ready for a Fresh Start?
Cleaning a nail polish bottle is a simple, satisfying task that saves money, reduces waste, and gives your favorite bottles a second life. The key is working in the right order—acetone first, then warm water, then a good scrub and a thorough dry. Follow the steps in this guide and you’ll have a spotless bottle ready to use again in no time.
Once you’ve mastered the process, it quickly becomes second nature. Keeping your supplies together in a small pouch or box means they’re always within reach the next time a bottle needs a refresh. Thanks for reading this guide on how to clean nail polish bottle.

About the Author
Jane Hubbard is a passionate beauty expert with a wealth of experience in makeup, hair, and overall beauty techniques. After years of working as a hairdresser specialist, she followed her entrepreneurial spirit and started her own consultancy business.
Jane has always been driven by her desire to help others feel confident in their own skin, and she does this by sharing her knowledge, experiences, and practical beauty tips. Through her consultancy, she empowers individuals to embrace their unique beauty, offering tailored guidance that boosts both self-esteem and personal style.
Professional Focus
Specializes in makeup, hairstyling, and beauty consulting.
Provides personalized beauty advice, tips, and techniques to help individuals feel confident in their appearance.
Dedicated to staying up-to-date with the latest industry trends and developments.
Passionate about creating a comfortable and empowering experience for every client.
Education History
University of Craft and Design – Bachelor of Fine Arts (BFA) in Woodworking and Furniture Design
Woodworking Apprenticeships – Extensive hands-on training with skilled craftsmen to refine carpentry and furniture making techniques
Online Courses & Masterclasses – Continued education in advanced woodworking techniques, design principles, and specialized tools
Expertise:
Makeup artistry, hairstyling, and beauty consulting.
Personalized beauty techniques to enhance confidence and self-expression.
Educating clients on how to maintain their beauty routines at home.