

You can safely use makeup to conceal healed burn scars using a layered approach: moisturize, apply SPF, use a color corrector, build foundation in thin layers, set with powder, and finish with setting spray. Always wait until the skin has fully closed before applying any cosmetics.
Burn scars leave marks—not just on the skin, but on how you move through the world. A kitchen accident, a medical procedure, prolonged sun exposure: the cause matters less than the daily reality of seeing the result. Some days it’s easy to forget. For others, it’s the first thing you notice in the mirror.
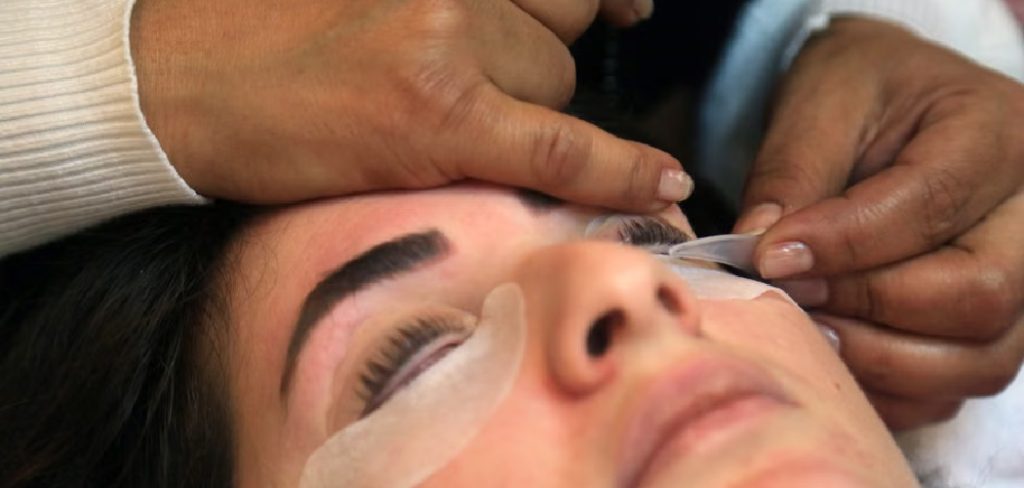
The good news is that makeup, when used correctly, can significantly reduce the visibility of burn marks. Not in a “cake it on and hope for the best” way—but through a deliberate, skin-respecting technique that builds coverage gradually and actually holds up through a full day.
This guide on how to cover burns with makeup covers everything from skin prep to product selection to a seven-step application routine. It also addresses when makeup isn’t the right call, and what alternatives exist for those who want longer-term solutions.
Can You Apply Makeup on Burned Skin?
Yes—but the timing matters more than the product.
Applying cosmetics to fully healed burn scars is generally safe and can dramatically reduce their visibility. The critical distinction is between healed skin and skin that’s still in recovery. Fresh burns, open wounds, or any area that’s still weeping, blistering, or showing signs of infection should never have makeup applied. Doing so risks introducing bacteria, disrupting the healing process, and causing further tissue damage.
Once the skin has fully closed, makeup becomes a viable option. For anything beyond a mild first-degree burn, it’s worth getting a dermatologist’s sign-off before starting a cosmetic routine over scarred tissue. A professional can assess whether your skin is ready and flag any ingredients that might cause unexpected reactions, given your specific scar type.
Understanding the Different Types of Burn Marks
Burn scars aren’t uniform, and the type of scarring you’re dealing with shapes which coverage approach will actually work.
First-degree burns affect only the epidermis—the outermost skin layer. They tend to leave minimal scarring: slight discoloration, maybe some minor texture changes. Most first-degree marks respond well to a standard full-coverage foundation without much additional prep.
Second-degree burns reach into the dermis and can leave more pronounced, sometimes raised, discolored patches. These require more layering and patience to cover effectively.
Third-degree burns destroy multiple skin layers and often result in significant scarring that may need medical treatment before any cosmetic application is appropriate.
Two scar types show up most often with moderate-to-severe burns. Hypertrophic scars are raised, firm, and often red or pink—they stay within the boundaries of the original wound. Keloid scars are thicker, with tissue that grows beyond the wound’s edges. Each responds differently to makeup, and what works well on one may look uneven on the other. Some experimentation is unavoidable.
Why People Use Makeup to Conceal Burn Scars?
The practical appeal is obvious: it’s non-invasive, affordable, and immediate. No recovery time, no medical referrals, no waiting. But the reasons people reach for cosmetic coverage often go deeper than aesthetics.
Research has consistently linked visible scarring to lower self-esteem, heightened social anxiety, and reduced quality of life. Cosmetic camouflage—when done well—can help people feel more at ease in social situations, at work, or in photographs. For some, it acts as a bridge while they explore longer-term treatment options like laser therapy or microneedling. For others, it’s simply a way to reclaim some control over their appearance on days when that matters.
Neither motivation is more valid than the other.
What Products You’ll Need Before You Start
Having the right tools makes a significant difference in both application and how long coverage lasts. Before you begin, gather the following:
- Gentle, fragrance-free moisturizer — scarred skin tends to run drier than surrounding tissue
- Broad-spectrum sunscreen (SPF 30 or higher) — non-negotiable for UV-sensitive scar tissue
- Color-correcting primer or concealer — peach or orange tones for purple/blue scars; green for red or pink scars
- Full-coverage, long-wear foundation matched to your skin tone
- Full-coverage concealer for spot correction
- Translucent or skin-toned setting powder
- Damp beauty blender or makeup sponge
- Setting spray — waterproof if you need extended wear
Look for products labeled “non-comedogenic” and “fragrance-free.” Scarred skin is more reactive than healthy skin, and fragrances or alcohol-based formulas can trigger irritation even when the scar itself is fully healed.
7 Steps on How to Cover Burns With Makeup
Step 1: Cleanse and Moisturize the Area
Start with a clean surface. Use a gentle, fragrance-free cleanser to remove any oils or residue from the scarred area, then apply a lightweight hydrating moisturizer. Because scarred skin holds less moisture than surrounding skin, skipping this step often leads to foundation that sits unevenly or looks dry and cakey.
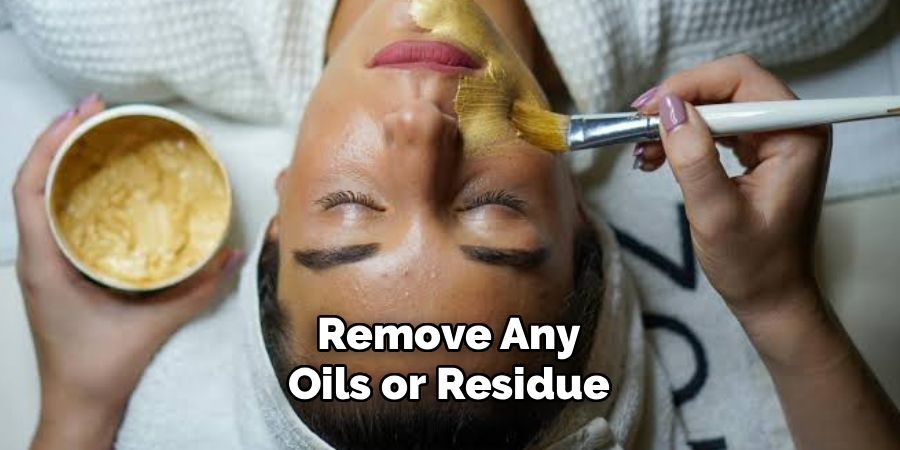
Let the moisturizer absorb fully—five to ten minutes is usually enough. Rushing this part tends to cause pilling when you apply the next layer.
Step 2: Apply Sunscreen
Scarred tissue lacks the melanin protection of unaffected skin, which makes it considerably more susceptible to UV damage and post-inflammatory darkening. Apply a broad-spectrum SPF 30 or higher over the moisturized area and give it at least five minutes to settle before moving on.
Skipping this step doesn’t just risk immediate sun damage—over time, UV exposure can cause the scar to deepen in color, making concealment increasingly difficult.
Step 3: Apply a Color Corrector
Color correctors neutralize the unwanted undertones in your skin before foundation goes on. For red or pink scars, a green-tinted corrector works well. For purple or blue-toned scars, reach for a peach or orange shade.
Apply the corrector directly over the scar using a small brush or your fingertip, pressing gently rather than rubbing. The goal is to cancel out the discoloration—not to blend it out entirely. Feather the edges slightly into the surrounding skin so there’s no hard line.
Step 4: Build Foundation in Thin Layers
Choose a full-coverage, long-wear foundation that closely matches your skin tone. Liquid formulas tend to perform better on textured scars because they can be layered gradually without looking thick or mask-like.
Using a damp beauty blender, apply foundation with a stippling motion—pressing and bouncing rather than swiping. This approach builds coverage without disturbing the color corrector underneath. Blend outward at the edges to merge seamlessly with your natural skin.
Build in thin layers and assess between each one. Over-applying in a single pass almost always results in a heavy, uneven finish.
Step 5: Spot Conceal Any Remaining Areas
Once the foundation layer is down, look closely at the covered area. If parts of the scar are still visible, use a full-coverage concealer to spot-treat those sections. Press gently with a small brush or fingertip and blend carefully.
On raised scar tissue, work the concealer into the uneven surface using a fine brush. Taking extra time here pays off in the final result.
Step 6: Set with Powder
A light dusting of translucent or skin-toned setting powder locks the coverage in place and reduces transfer throughout the day. Use a fluffy brush and apply with a genuinely light hand—excess powder tends to settle into textured areas and draw attention to the surface irregularities you’re trying to soften.
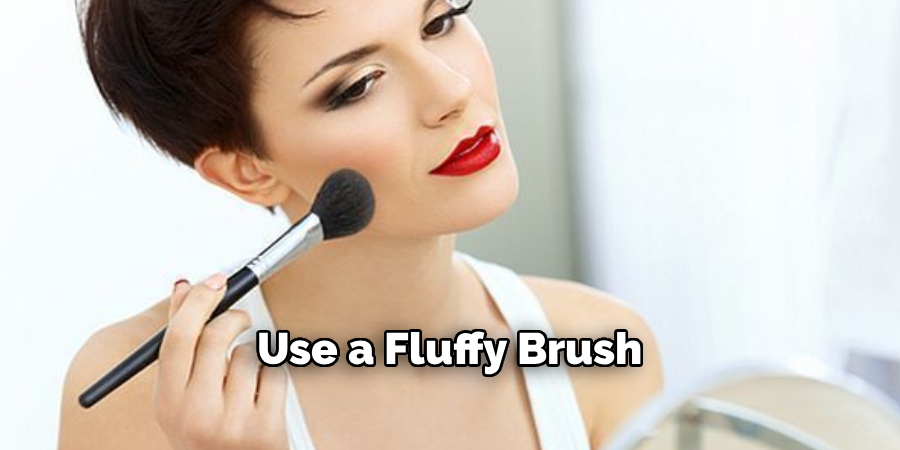
For situations where you need extra durability, try “baking”: apply a more generous layer of powder to the area, leave it for five to ten minutes, then brush away the excess. This technique sets the makeup firmly and extends its wear time noticeably.
Step 7: Finish with Setting Spray
Setting spray acts as a sealant, locking in everything underneath and giving the skin a natural finish rather than a powdery look. Hold the bottle roughly 30 centimeters from the skin and mist evenly.
For longer days, outdoor events, or high-humidity situations, opt for a waterproof formula. It makes a meaningful difference in how coverage holds up by the end of the day.
Following these steps on how to cover burns with makeup will not only help hide any unwanted scars or discoloration but also give you the confidence to face the world with a flawless complexion. But always remember, your natural beauty shines through no matter what.
When Should You Avoid Wearing Makeup on a Burn Scar?
Makeup isn’t always appropriate, and pushing past the warning signs can set back recovery.
Avoid applying any cosmetics to a burn that hasn’t fully healed, is still open or weeping, or shows signs of infection—redness spreading beyond the scar’s edge, swelling, warmth, or discharge are all indicators to stop and seek medical advice. If you’re currently undergoing active treatment—topical steroids, laser therapy, silicone gel application—check with your doctor before introducing makeup into the mix. Certain cosmetic ingredients can interfere with these treatments or provoke unexpected reactions.
Hot, humid conditions are also worth factoring in. Sweat breaks down coverage faster and can cause irritation on sensitive scar tissue.
Alternatives to Makeup Coverage
For those who want something beyond daily cosmetic application, several options are worth exploring alongside or instead of makeup.
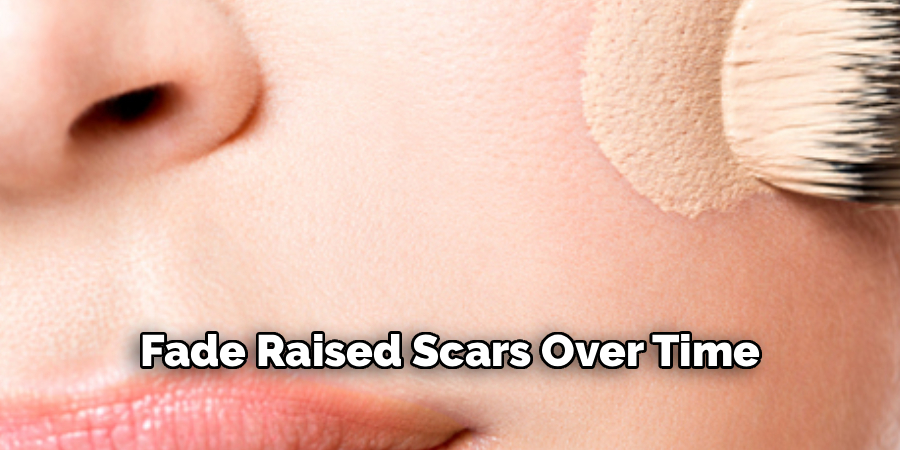
Medical-grade silicone sheets and gels are widely used to flatten and fade raised scars over time with consistent use. Compression garments are another clinical option, particularly for larger areas. Dermatological treatments—laser resurfacing, microneedling, and chemical peels—can produce lasting reductions in scar visibility, though they typically require multiple sessions and a consultation to determine suitability.
For a lighter daily alternative, tinted skincare products like BB creams or tinted SPF moisturizers offer some coverage without a full makeup routine. They won’t match the performance of dedicated scar coverage, but for minimal scarring or low-stakes days, they can be enough.
A dermatologist or plastic surgeon can help you work out which combination of approaches fits your specific scar type and skin condition.
Frequently Asked Questions
Can I Use Regular Foundation to Cover a Burn Scar?
Standard foundation can work for lighter or older scarring where discoloration is minimal. For more pronounced scars—especially those with significant color or texture—full-coverage formulas designed for scar concealment tend to perform considerably better. Products like Dermablend or KVD Beauty Good Apple offer the pigment density needed to mask deeper discoloration. Regular foundation alone may produce inconsistent results, particularly on raised or textured scar tissue.
How Long After a Burn Should I Wait Before Using Makeup?
Makeup should only be applied once the skin has fully closed and healed. First-degree burns may recover within a week or two. Second- and third-degree burns require significantly longer—often several months—and may need medical clearance before any cosmetics are introduced. When in doubt, get a professional opinion rather than guess.
Will Makeup Damage My Burn Scar or Slow Down Healing?
On fully healed skin, makeup does not damage scars or interfere with recovery. The risk comes from using the wrong products—those containing harsh fragrances, alcohol, or irritating actives—on tissue that’s still sensitive. Stick to gentle, skin-friendly formulations, and remove makeup thoroughly each evening with a mild cleanser. Leaving coverage on overnight increases the risk of clogged pores and low-grade inflammation on already-reactive skin.
What Are the Best Makeup Products Specifically Formulated for Scar Coverage?
Brands that specialize in high-coverage cosmetics—such as Dermablend, Vichy Dermablend, and KVD Beauty—are commonly recommended for scar concealment. These products are formulated with higher pigment concentrations than standard cosmetics and are typically tested for skin sensitivity. Look for labels indicating “full coverage,” “long-wear,” and “dermatologist-tested” as a starting point.
Is It Safe to Use Color Correctors on Sensitive Scar Tissue?
Generally, yes—provided the product is fragrance-free and formulated for sensitive skin. Color correctors work purely through pigment, neutralizing unwanted tones before foundation is applied. Apply with a light pressing motion rather than rubbing, which can irritate more reactive scar tissue. If you notice redness or discomfort after use, discontinue and consult a dermatologist.
Your Skin, Your Terms
Covering a burn scar with makeup is a skill. The first few attempts may feel clumsy or produce results that aren’t quite right—that’s normal. With practice, the process gets faster, the results improve, and the routine starts to feel like second nature rather than a project.
The most important thing is to listen to your skin. Irritation, unusual redness, or any sign of a reaction are signals to stop and reassess. Switch products, simplify the routine, or check in with a dermatologist if something isn’t working.
Whether this becomes a daily ritual or something you reach for on specific occasions, the underlying goal stays the same: to feel comfortable and confident in your own skin—on your own schedule. Thanks for reading this guide on how to cover burns with makeup.

About the Author
Jane Hubbard is a passionate beauty expert with a wealth of experience in makeup, hair, and overall beauty techniques. After years of working as a hairdresser specialist, she followed her entrepreneurial spirit and started her own consultancy business.
Jane has always been driven by her desire to help others feel confident in their own skin, and she does this by sharing her knowledge, experiences, and practical beauty tips. Through her consultancy, she empowers individuals to embrace their unique beauty, offering tailored guidance that boosts both self-esteem and personal style.
Professional Focus
Specializes in makeup, hairstyling, and beauty consulting.
Provides personalized beauty advice, tips, and techniques to help individuals feel confident in their appearance.
Dedicated to staying up-to-date with the latest industry trends and developments.
Passionate about creating a comfortable and empowering experience for every client.
Education History
University of Craft and Design – Bachelor of Fine Arts (BFA) in Woodworking and Furniture Design
Woodworking Apprenticeships – Extensive hands-on training with skilled craftsmen to refine carpentry and furniture making techniques
Online Courses & Masterclasses – Continued education in advanced woodworking techniques, design principles, and specialized tools
Expertise:
Makeup artistry, hairstyling, and beauty consulting.
Personalized beauty techniques to enhance confidence and self-expression.
Educating clients on how to maintain their beauty routines at home.