

Replacing a broken compact powder mirror is a DIY fix that costs between $10 and $25 and takes under 30 minutes. You’ll need a replacement mirror cut to size, mirror-safe adhesive, gloves, rubbing alcohol, and a soft cloth. Measure the original mirror first, remove broken pieces carefully, clean the compartment, and bond the new mirror in place.
This guide on how to replace broken compact powder mirror covers everything: what to buy, how to measure, how to remove the broken pieces safely, and how to secure the new mirror so it actually stays put.
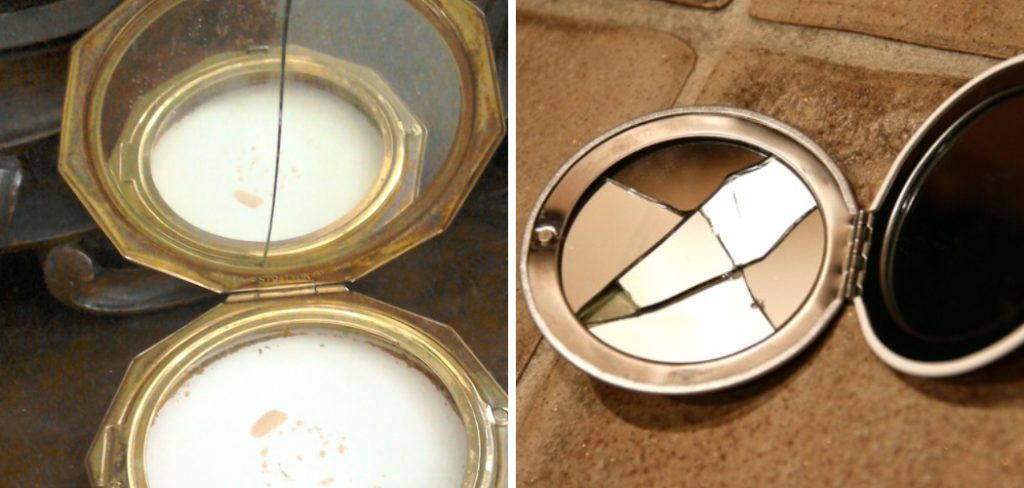
Dropping your compact and watching the mirror splinter into pieces is the kind of minor disaster that somehow feels worse than it has any right to. One second, it’s fine; the next, you’re picking shards out of your makeup bag. The instinct is to toss the whole thing—but that’s rarely the right call, especially if it’s a compact you love.
Replacing the mirror yourself is easier than most people assume. It doesn’t require special skills, a trip to a repair shop, or much money. With the right materials and a bit of care, you can have your compact looking as good as it did before in less than an hour.
What You Should Know About Compact Powder Mirrors Before You Start?
Most compact mirrors are thin panels of glass or acrylic—lightweight by design, which also makes them prone to shattering on impact. They’re held in place either by adhesive or a small plastic lip around the compartment’s edge, sometimes both.
The shape varies by brand. Round, oval, and rectangular are the most common. What matters most before you buy a replacement is knowing the exact dimensions of your original mirror, ideally in millimeters. A mirror that’s even a few millimeters too wide won’t sit flush, and one that’s too narrow will shift every time you open the compact.
Acrylic mirror sheets tend to be the smarter choice for home repairs. They’re shatterproof, lighter than glass, and easy to trim at home without specialized equipment. The reflective quality is comparable to glass for everyday use, and the cost is generally lower.
8 Steps on How to Replace Broken Compact Powder Mirror
Step 1: Gather Your Supplies
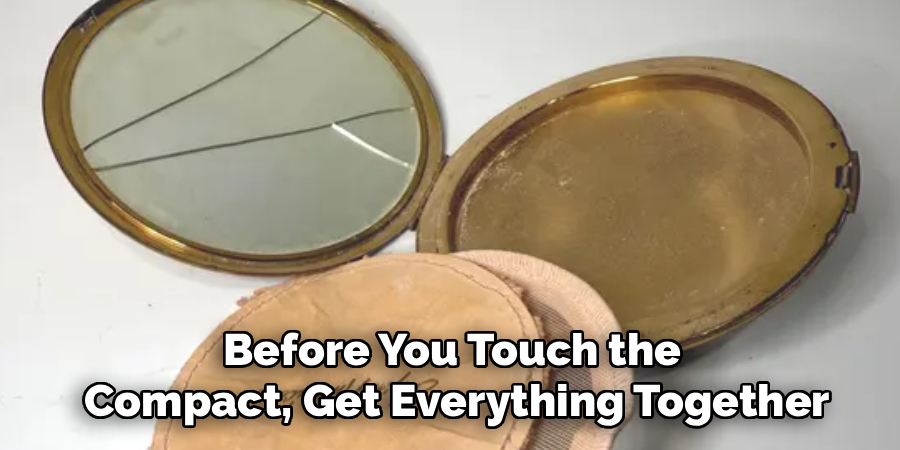
Before you touch the compact, get everything together. You’ll need a replacement mirror cut to your measurements, mirror-safe adhesive or double-sided tape, tweezers or a flat prying tool, a soft cloth, rubbing alcohol, and a pair of gloves.
Pay attention to the adhesive. Standard craft glues—the kind you’d use for paper or fabric—can deteriorate the reflective coating on the back of a mirror over time, leaving you with a cloudy, discolored result. Use an adhesive specifically labeled as mirror-safe.
Step 2: Measure the Original Mirror
Measure the broken mirror before removing it, while the pieces are still roughly in position. Note the length, width, and thickness in millimeters.
Most compact mirrors fall somewhere between 50mm and 80mm in diameter, though this varies considerably by brand. Measuring before removal gives you the most accurate reference point. Getting this step wrong means waiting for a second order to arrive—an entirely avoidable delay.
Step 3: Remove the Broken Pieces Safely
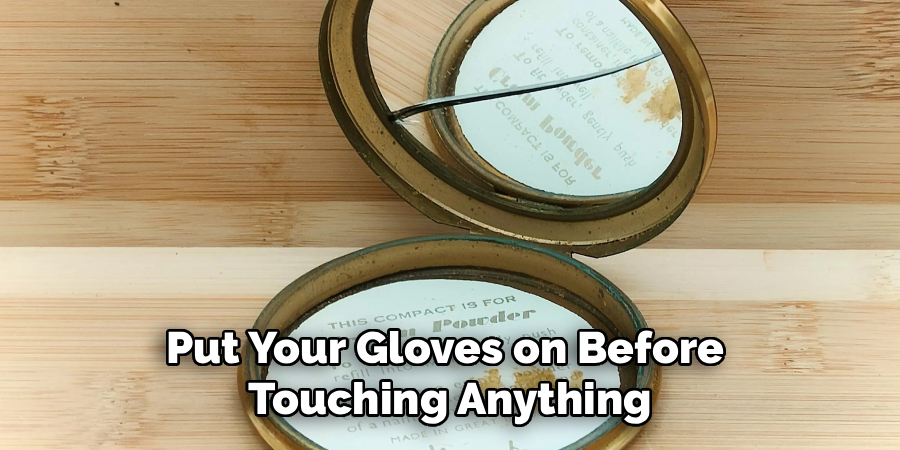
Put your gloves on before touching anything. Even large-looking shards have invisible micro-edges that cut easily.
Use tweezers or a flat-edged tool to lift fragments from the outer edges inward. Place each piece directly into a folded piece of newspaper or a sealed bag—never loose in a bin where someone might reach in without thinking. Work slowly. There’s no benefit to rushing this step, and a small cut is the most likely consequence of doing so.
Step 4: Clean the Mirror Compartment Thoroughly
Once the compartment is clear, dampen a soft cloth with rubbing alcohol and wipe the entire surface. Old adhesive residue, fine glass particles, and dust tend to collect in the corners—all of which will interfere with the bond if left behind.
Let it dry completely before moving on. A clean, dry surface is what allows the new mirror to sit flat and stay there.
Step 5: Order or Cut Your Replacement Mirror
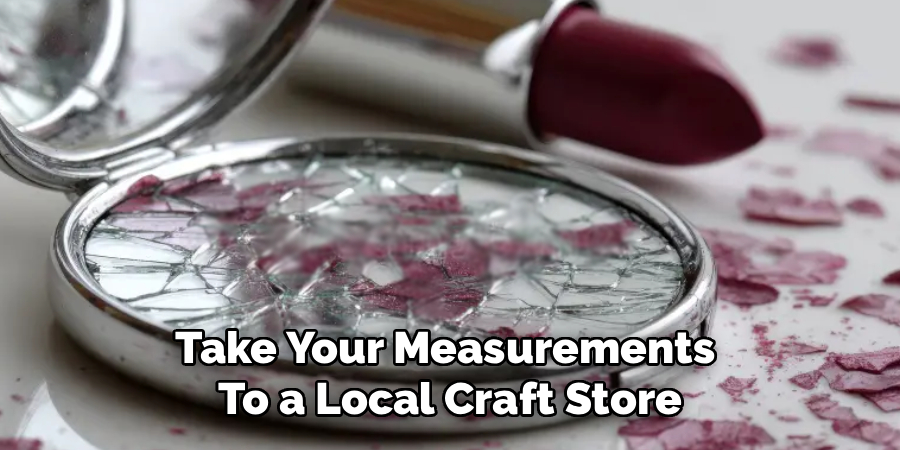
Take your measurements to a local craft store, glass shop, or online retailer. Many hardware stores will cut glass to size for a small fee, which is a convenient option if you want glass rather than acrylic.
If you’re going the acrylic route, a scoring tool and a straight edge are all you need to make a clean cut at home. Acrylic mirror sheets are widely available online and typically cost between $5 and $15 for a sheet large enough to yield several replacements. Whichever material you choose, double-check the dimensions against your compact one more time before committing to a final cut.
Step 6: Apply Adhesive to the Compact
Apply a thin, even layer of mirror adhesive to the bottom of the compartment. If you’re using liquid adhesive rather than tape, apply it in small dots around the perimeter rather than spreading it across the full surface—this reduces the chance of it seeping out when you press the mirror down.
Wait 30 to 60 seconds after applying. That brief window lets the adhesive become slightly tacky, which improves both bonding strength and centering accuracy.
Step 7: Place the New Mirror into the Compact
Lower the replacement mirror into the compartment starting from one edge, pressing down gently as you go. Avoid sliding it once it contacts the adhesive—dragging creates air bubbles and throws off alignment.
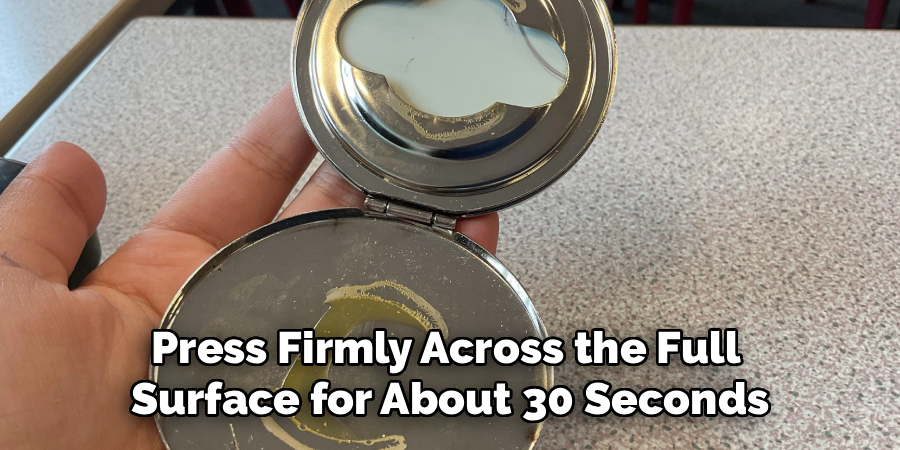
Press firmly across the full surface for about 30 seconds. Check that the mirror sits flush beneath any frame or lip around the compartment. A mirror that protrudes even slightly is more likely to shift or detach during regular use.
Step 8: Let the Adhesive Cure Before Using the Compact
Close the compact gently and leave it alone for at least two hours. Some adhesives recommend up to 24 hours for a permanent hold—check the packaging to be sure.
Once cured, open the compact and press lightly around the mirror’s edges to confirm it’s stable and even. If nothing shifts, you’re done.
Following these steps on how to replace broken compact powder mirror can save you from buying a new one and also reduce waste.
Common Mistakes That Derail This Repair
Skipping the cleaning step is the most frequent problem. Old adhesive residue acts as a barrier between the new mirror and the compartment surface, which may cause the bond to fail within days.
Using standard craft glue instead of mirror-safe adhesive is another issue that only shows up later—usually as a cloudy or yellowish discoloration spreading from the edges of the mirror. By then, the damage to the reflective coating is permanent.
Ordering without measuring is a mistake that simply costs time. And opening the compact before the adhesive has cured fully can shift the mirror out of position, requiring a complete restart.
How Much Does This Repair Cost?
A small acrylic mirror sheet—enough for several replacements—typically costs $5 to $15 online or at a craft store. Custom-cut glass from a hardware store generally runs $5 to $20, depending on thickness and size. Mirror adhesive or double-sided mirror tape adds another $5 to $10, and a single purchase covers many future repairs.
Most people spend between $10 and $25 total. For a luxury compact that originally cost $50 or more, that’s a meaningful saving—and it keeps a quality product out of the trash.
Frequently Asked Questions
Can I Use Any Type Of Mirror For A Compact Replacement?
Not all mirrors work well for this repair. Standard window glass is too thick and heavy for most compacts and lacks the reflective coating quality of purpose-made mirror glass or acrylic. For best results, use a thin acrylic mirror sheet or a pre-cut glass mirror designed for compact use—both are available at craft stores and online retailers. Acrylic is generally the better choice for home repairs: it’s shatterproof, lightweight, and easy to cut without specialized tools.
How Long Does The Adhesive Take To Dry Before I Can Use My Compact?
Most mirror-safe adhesives become touch-dry within 30 to 60 minutes but need two to four hours to reach full cure strength. Some heavy-duty formulas recommend leaving the repair undisturbed for up to 24 hours. Always check the manufacturer’s instructions on the packaging—rushing this step is the most common reason replacement mirrors shift or detach shortly after the repair.
Is It Safe To Repair A Compact Mirror At Home Without Professional Help?
Yes. The process requires no specialized tools or technical skills. The primary safety concern is handling broken glass, which is why gloves are essential throughout the removal step. As long as you follow each step carefully, measure accurately, and use a mirror-safe adhesive, the result will be as secure and functional as the original.
What’s The Difference Between Acrylic And Glass Mirror Replacements?
Acrylic mirror sheets are shatterproof, lighter, and easier to cut at home, making them the more practical option for most DIY repairs. Glass mirrors offer slightly sharper reflection clarity but are heavier, more fragile, and require a glass cutter or professional cutting service to size correctly. For everyday compact use, the difference in reflection quality is minimal.
Where Can I Buy A Replacement Mirror Cut To Size?
Local craft stores, hardware stores, and glass shops are reliable options for custom-cut mirrors. Online retailers also offer pre-cut mirror panels in common compact sizes, as well as acrylic mirror sheets that you can trim yourself. Search using your mirror’s dimensions in millimeters to narrow results quickly.
Your Compact Is Worth Saving
A shattered mirror doesn’t have to mean the end of your compact. With accurate measurements, a clean surface, and the right adhesive, the repair holds just as well as the original and takes less time than most people expect.
The steps on how to replace broken compact powder mirror that matter most: measure before you remove anything, clean thoroughly before you bond anything, and give the adhesive the full time it needs to cure. Get those three things right, and you’ll have a compact that’s ready to go back into regular use.

About the Author
Jane Hubbard is a passionate beauty expert with a wealth of experience in makeup, hair, and overall beauty techniques. After years of working as a hairdresser specialist, she followed her entrepreneurial spirit and started her own consultancy business.
Jane has always been driven by her desire to help others feel confident in their own skin, and she does this by sharing her knowledge, experiences, and practical beauty tips. Through her consultancy, she empowers individuals to embrace their unique beauty, offering tailored guidance that boosts both self-esteem and personal style.
Professional Focus
Specializes in makeup, hairstyling, and beauty consulting.
Provides personalized beauty advice, tips, and techniques to help individuals feel confident in their appearance.
Dedicated to staying up-to-date with the latest industry trends and developments.
Passionate about creating a comfortable and empowering experience for every client.
Education History
University of Craft and Design – Bachelor of Fine Arts (BFA) in Woodworking and Furniture Design
Woodworking Apprenticeships – Extensive hands-on training with skilled craftsmen to refine carpentry and furniture making techniques
Online Courses & Masterclasses – Continued education in advanced woodworking techniques, design principles, and specialized tools
Expertise:
Makeup artistry, hairstyling, and beauty consulting.
Personalized beauty techniques to enhance confidence and self-expression.
Educating clients on how to maintain their beauty routines at home.