

Orange palms are the classic giveaway of a self-tan session gone sideways. You blend the product beautifully across your legs and arms, then glance down and spot streaky, pumpkin-toned hands staring back at you. It happens to beginners and seasoned tanners alike, and the good news is that it is completely fixable. Learning how to remove self tanner from hands fast means you can head out the door with confidence instead of hiding your fingers in your pockets all day.
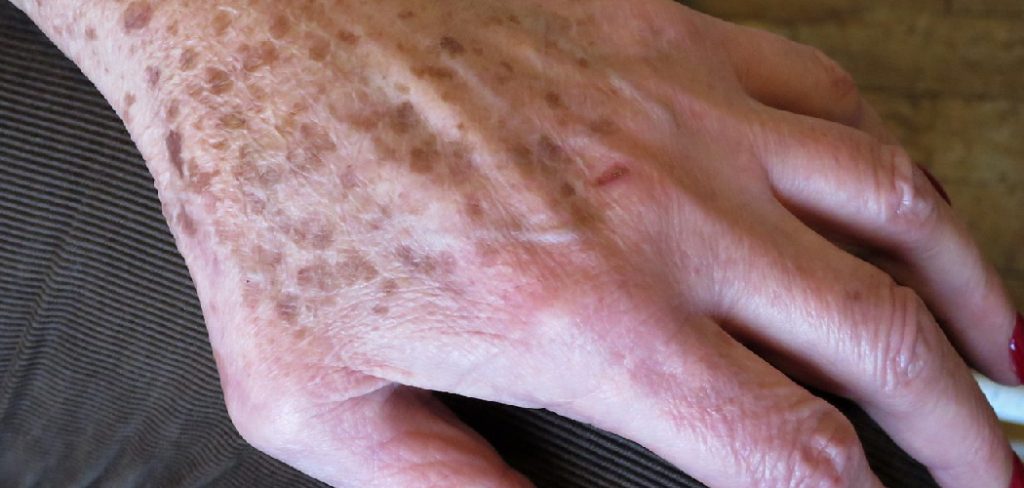
Self tanner clings to hands so stubbornly because the palms have thicker skin, more creases, and drier patches that grab onto the color-developing ingredient. That combination turns a light mistake into a bold stain. The trick is knowing which gentle household tools lift the pigment without wrecking your skin. This guide walks you through a simple, beginner-friendly routine using items you likely already own. By the end, you will feel calm and capable, ready to erase mistakes quickly and keep your hands looking natural.
Why Removing Self Tanner From Your Hands Quickly Matters
Acting fast makes the whole job easier, and understanding why helps you treat stains with confidence. Self tanner works by reacting with the top layer of skin, and that reaction keeps deepening for several hours after you apply it. Catching a smudge early, before the color fully develops, means you remove pigment while it still sits near the surface where it lifts easily.
There is a real payoff, too. Quick treatment saves you from days of awkward orange palms, protects the natural look of your overall tan, and spares your skin from harsh scrubbing later. You also avoid transferring color onto clothes, phones, or light-colored surfaces. A little prompt action turns a frustrating mishap into a five-minute fix you can handle at home, empowering you to tan freely without fear of mistakes.
Step-by-Step Guide to How to Remove Self Tanner From Hands Fast
Work through these seven steps in order for the smoothest results. Go gently, test products on a small patch first, and remember that patience beats aggressive scrubbing every time, since rough handling can irritate your skin without lifting more color.
Step 1: Wash With Warm Water and Soap First
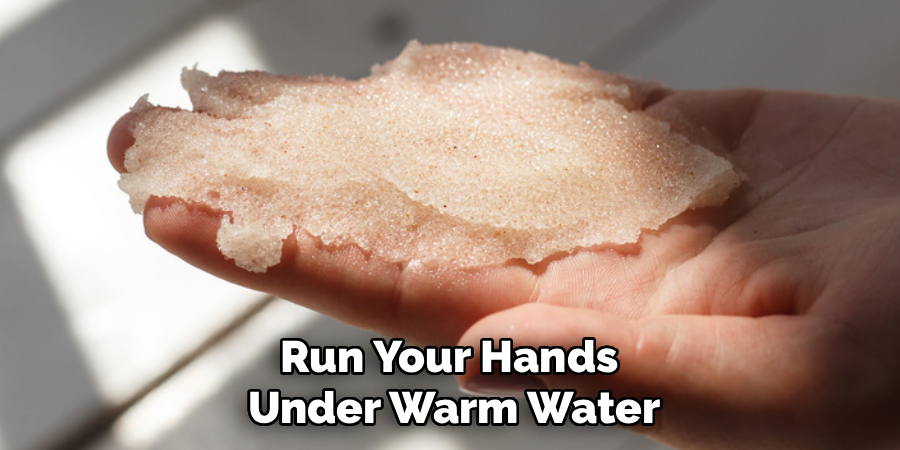
Start with the simplest move before reaching for anything stronger. Run your hands under warm water and lather up with a gentle soap, working the suds into your palms, knuckles, and between your fingers for a full minute. Warm water softens the top layer of skin and loosens fresh product before it fully sets. Rinse and pat dry, then check your progress in good light. This basic wash often removes a surprising amount of surface color on its own, and it gives every following step a much cleaner surface to work on.
Step 2: Exfoliate the Stained Skin Gently
Self tanner sits on dead skin cells, so buffing them away lifts the color with them. Grab a damp washcloth, a soft exfoliating mitt, or a gentle sugar scrub, and rub your hands in slow circular motions. Focus on the darkest areas like your knuckles, cuticles, and the sides of your fingers where product tends to pool. Keep the pressure light and steady rather than harsh, because your goal is to polish away pigmented cells, not scrape raw skin. Rinse afterward and reassess. You should already see the stain fading noticeably at this point.
Step 3: Reach for Lemon Juice and Baking Soda
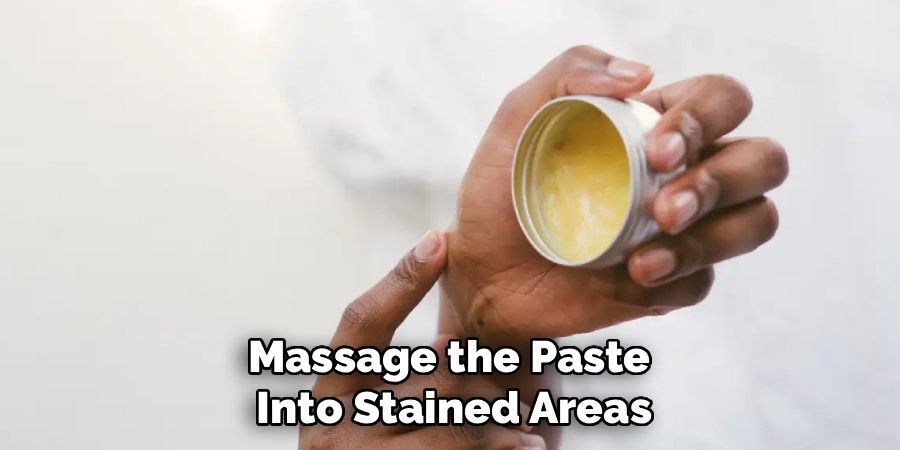
When plain washing is not enough, this kitchen duo is one of the best ways to remove self tanner from hands fast without special products. Mix fresh lemon juice with a spoonful of baking soda until you get a light paste. The lemon’s natural acidity breaks down the color while the baking soda adds gentle scrubbing power. Massage the paste into stained areas for about thirty seconds, then let it sit for two minutes before rinsing. Follow with a rinse of cool water, and repeat once if faint traces linger. Moisturize afterward, since lemon can leave skin feeling dry.
Step 4: Try Baby Oil or Makeup Remover
Oil-based products loosen the bond between pigment and skin, making them a soft, skin-friendly option. Pour a generous amount of baby oil, coconut oil, or a creamy makeup remover onto a cotton pad and press it against the stained spots. Let it soak in for three to five minutes so the oil can work into the creases where color hides. Then wipe firmly and watch the pigment transfer onto the pad. This method is especially kind to sensitive or dry hands, and it doubles as a quick way to fix small smudges right after application.
Step 5: Use a Non-Gel Whitening Toothpaste
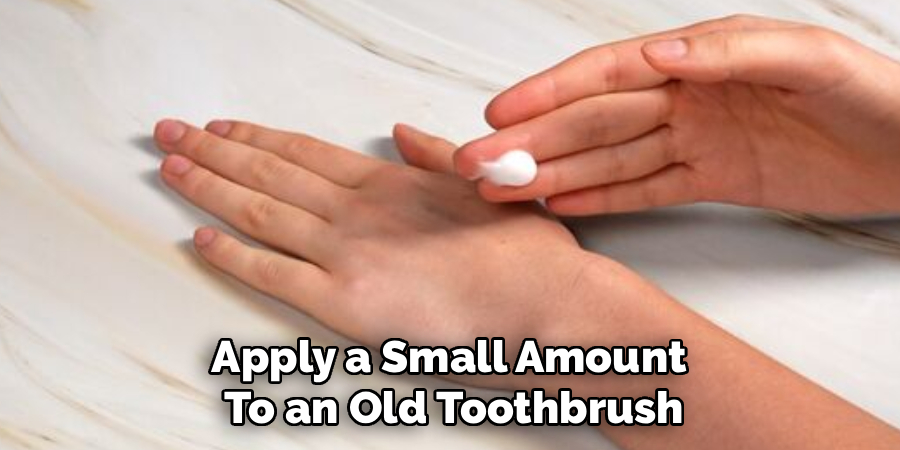
Here is a clever trick for stubborn spots on knuckles and fingertips. A dab of non-gel whitening toothpaste contains mild abrasives and brightening agents that target concentrated color. Apply a small amount to an old toothbrush or your fingertip, then gently scrub the darkest patches for about a minute. The action combines light exfoliation with a subtle lifting effect, which knowing how to remove self tanner from hands fast really depends on for those tough final traces. Rinse thoroughly with warm water and inspect the results. Use this method sparingly, since it works best as a spot treatment rather than an all-over solution.
Step 6: Soak in Warm Water for Extra-Stubborn Stains
Sometimes color settles deep into dry, cracked areas that resist quick fixes. In that case, a warm soak works wonders. Fill a bowl with warm water and add a splash of gentle soap or a spoonful of baking soda, then submerge your hands for five to ten minutes. Soaking softens hardened skin and loosens clinging pigment so it wipes away with far less effort. After the soak, gently exfoliate one more time with your washcloth or mitt. This patient approach is perfect when you have a little time and want to avoid scrubbing too hard.
Step 7: Moisturize and Reassess Under Good Light
This final step is the one people skip, yet it matters more than you might think. All that washing, scrubbing, and soaking can leave your hands dry, so apply a rich, unscented moisturizer to soothe and restore the skin. Once absorbed, examine your hands under bright, natural light to spot any faint shadows you missed. Moisturizing also smooths the skin, which helps the rest of your tan blend seamlessly. If a trace of color remains, wait a few hours before repeating a gentle method, giving your skin time to recover between treatments.
Frequently Asked Questions
Will These Methods Damage My Skin?
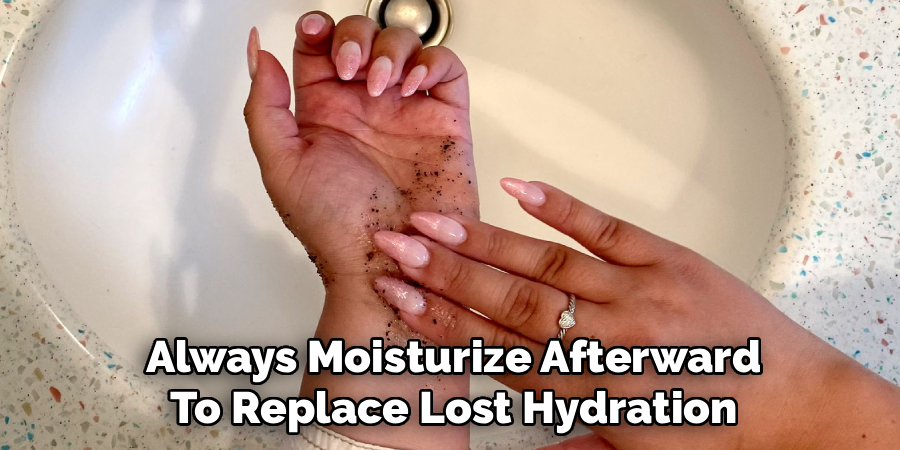
Not if you stay gentle and patient. Each method here uses mild household items and light pressure, so your skin stays protected. The key is avoiding harsh scrubbing or repeating treatments back to back. Always moisturize afterward to replace lost hydration, and give irritated skin a rest before trying again. If you notice redness or stinging, stop, rinse, and switch to a soothing oil-based option instead.
How Fast Can I Actually See Results?
Most people notice real improvement within five to ten minutes, especially when treating fresh stains. A simple wash and exfoliation often fades the bulk of the color immediately. Stubborn, fully developed stains may need a second round or a warm soak, which adds a little time. Acting quickly after application always gives the fastest results, since the pigment has not yet locked into the deeper layers of your skin.
Can I Prevent Stained Hands Next Time?
Absolutely, and prevention is easier than removal. Apply self tanner with a mitt or gloves to keep the product off your palms entirely. If you use bare hands, wash them thoroughly right after blending, and use a damp cotton pad to swipe between your fingers and around your nails. A light layer of moisturizer on your palms before tanning also creates a barrier that stops color from grabbing on.
What if Only My Knuckles Are Orange?
Knuckles collect extra color because the skin there is thicker and more textured. For targeted fixes, use the whitening toothpaste trick or the lemon and baking soda paste directly on those spots. Scrub gently in small circles, rinse, and repeat once if needed. Because you are treating a small area, you can afford to focus your effort there without worrying about the rest of your hands.
Are Store-Bought Tan Removers Worth It?
They can be helpful, especially for frequent tanners who want a dedicated product. Tan removers are formulated to break down color quickly and often work in minutes. That said, the household methods in this guide are just as effective for most situations and cost far less. Try the simple approaches first, and consider a store-bought remover only if you tan often or deal with persistent staining.
Conclusion
Orange palms might feel like a tanning disaster, but as you can see, they are one of the easiest mistakes to undo once you know the right sequence. The secret is simple. Start with a warm wash, exfoliate the stained skin, lift stubborn color with lemon, oil, or toothpaste, soak when needed, and always finish by moisturizing. Understanding how to remove self tanner from hands fast gives you a reliable routine that works with gentle items already sitting in your kitchen and bathroom.
So the next time your hands come out a shade too bold, take a breath and trust the process. Work through each step calmly, repeat a method only if a faint trace lingers, and treat your skin kindly along the way. With a little patience and these expert-backed tricks, you can keep your tan looking flawless and your hands looking natural. Go ahead and give it a try, your confidence will thank you.

About the Author
Jane Hubbard is a passionate beauty expert with a wealth of experience in makeup, hair, and overall beauty techniques. After years of working as a hairdresser specialist, she followed her entrepreneurial spirit and started her own consultancy business.
Jane has always been driven by her desire to help others feel confident in their own skin, and she does this by sharing her knowledge, experiences, and practical beauty tips. Through her consultancy, she empowers individuals to embrace their unique beauty, offering tailored guidance that boosts both self-esteem and personal style.
Professional Focus
Specializes in makeup, hairstyling, and beauty consulting.
Provides personalized beauty advice, tips, and techniques to help individuals feel confident in their appearance.
Dedicated to staying up-to-date with the latest industry trends and developments.
Passionate about creating a comfortable and empowering experience for every client.
Education History
University of Craft and Design – Bachelor of Fine Arts (BFA) in Woodworking and Furniture Design
Woodworking Apprenticeships – Extensive hands-on training with skilled craftsmen to refine carpentry and furniture making techniques
Online Courses & Masterclasses – Continued education in advanced woodworking techniques, design principles, and specialized tools
Expertise:
Makeup artistry, hairstyling, and beauty consulting.
Personalized beauty techniques to enhance confidence and self-expression.
Educating clients on how to maintain their beauty routines at home.